How to Make an Easy Bell Sleeve Pattern For a DIY Dress

Today, I'm going to show you how to make a bell sleeve dress, as well as how to draw a bell sleeve pattern from scratch. This super simple tutorial will give you all the steps to achieve this lovely, flowy, and delightful dress.
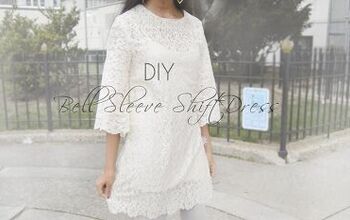
This off-the-shoulder bell sleeve dress is one of my favorite looks for the summer, giving you options to dress it up or down. You don’t need many materials, either.
You don't need to go out and buy a pattern. You will measure yourself and cut the pattern accordingly, so the dress will fit you like a glove. Let's get this tutorial started.
Tools and materials:
- 2.5 yards of checkered fabric
- 1 meter elastic
- Measuring tape
- Pins
- Scissors
- Sewing machine
- Matching thread
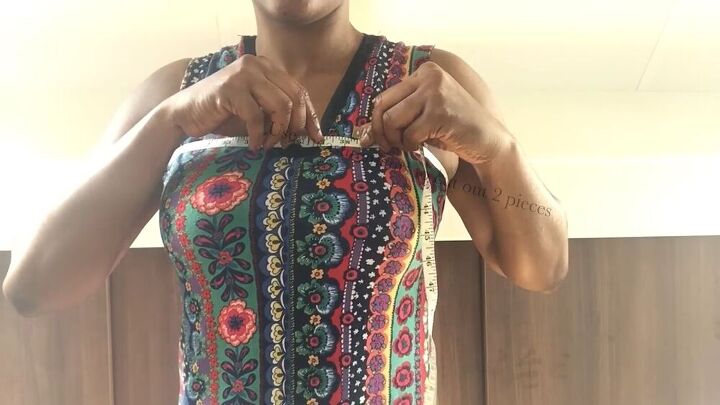
1. Measure yourself
Measure your chest and add 20 inches. Next, measure how long you want the dress to be.
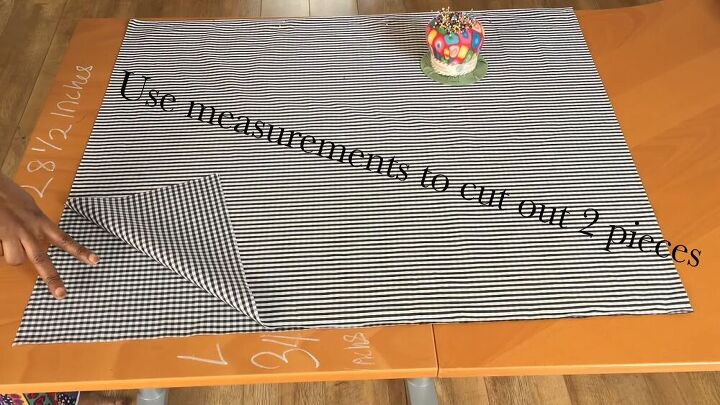
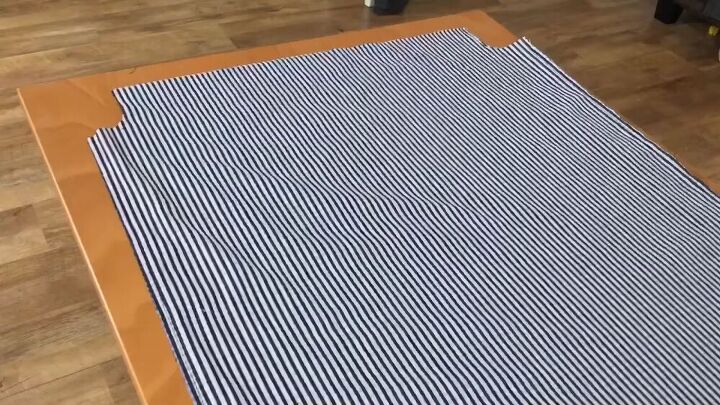
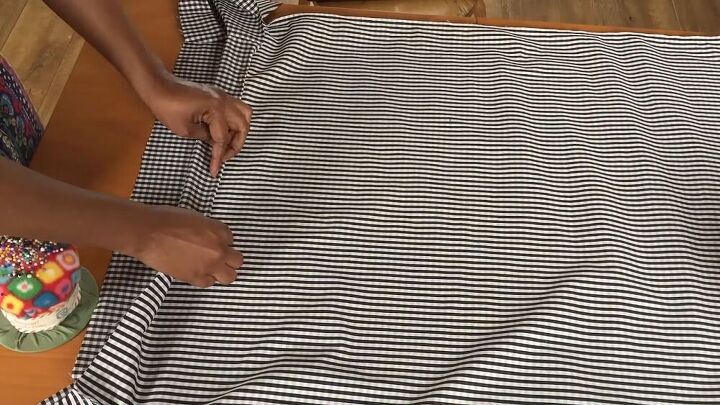
Use these measurements and fold your fabric so you cut out 2 pieces.
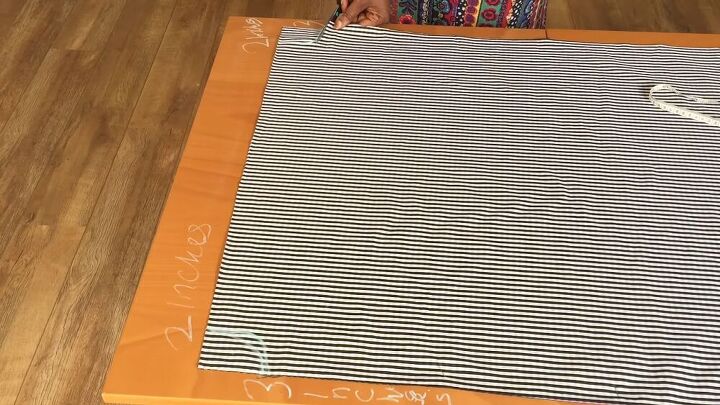
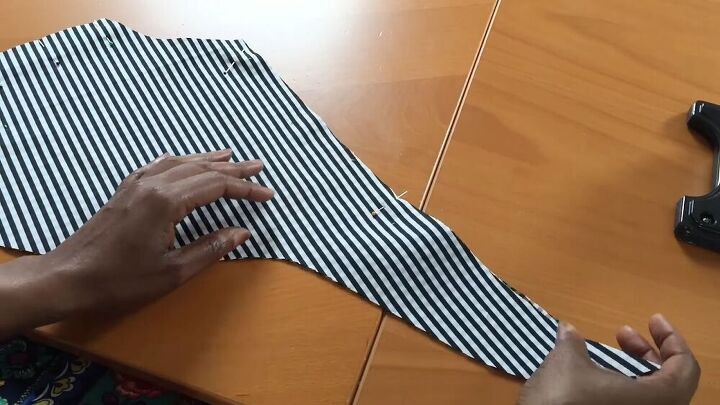
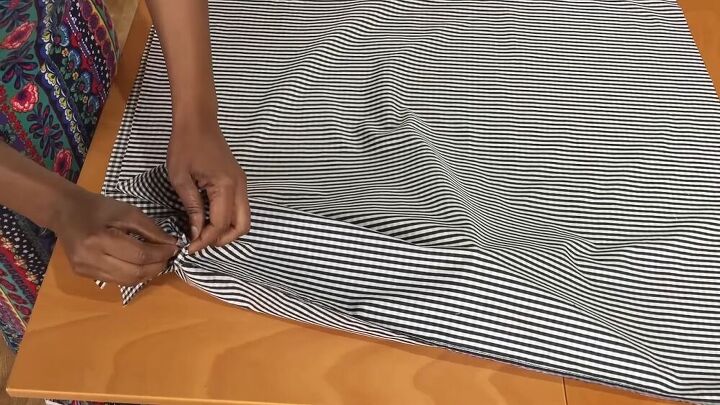
Measure your armhole and create a curve on the fabric, as shown. Repeat the same on either side, cut it out, and pin it in place.

Now, take your sleeve measurements, including the length.
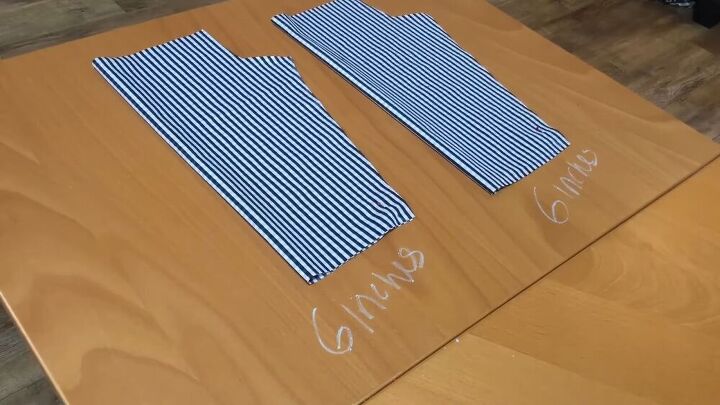
Cut the top half of the sleeve with the fabric on fold using your measurements. Cut the armhole to fit the dress.
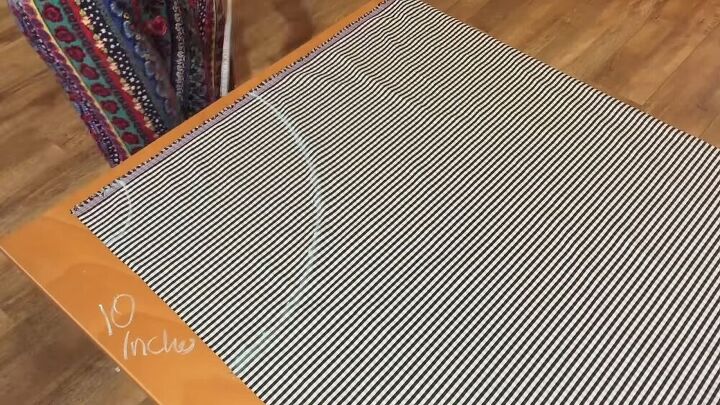
3. Make the bell sleeve pattern
Here’s the best part! Take another piece of fabric, fold it in half and draw a half-circle on the edge. Measure 10 inches from the first circle and create a second, larger circle.
Make sure the whole circumference is 10 inches from the first, smaller half-circle.
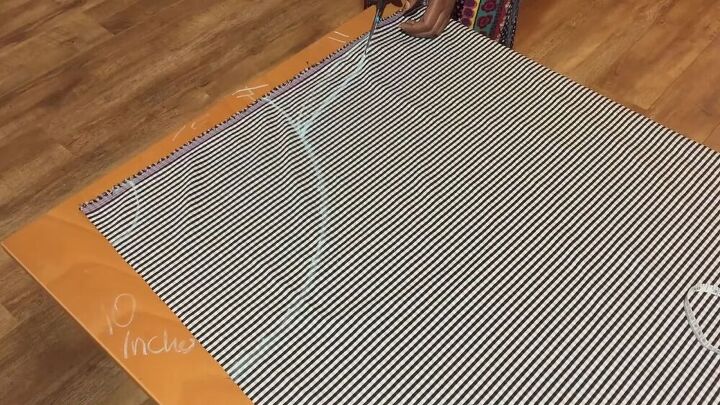
Draw a tail 4 inches from the end of the second circle and cut out the pattern.
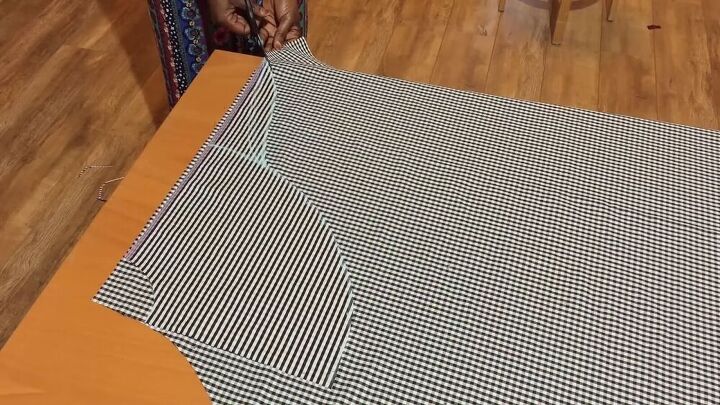
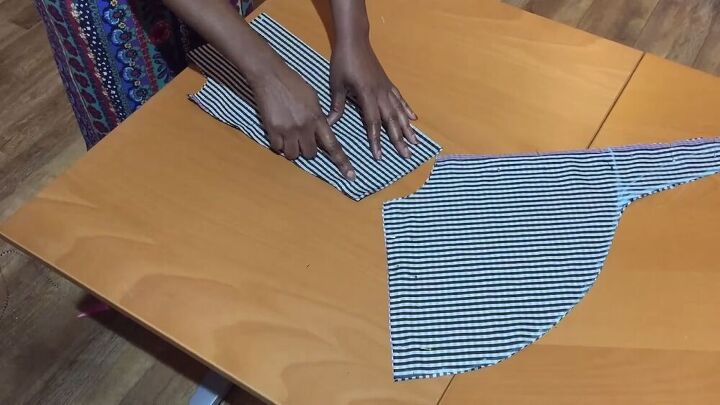
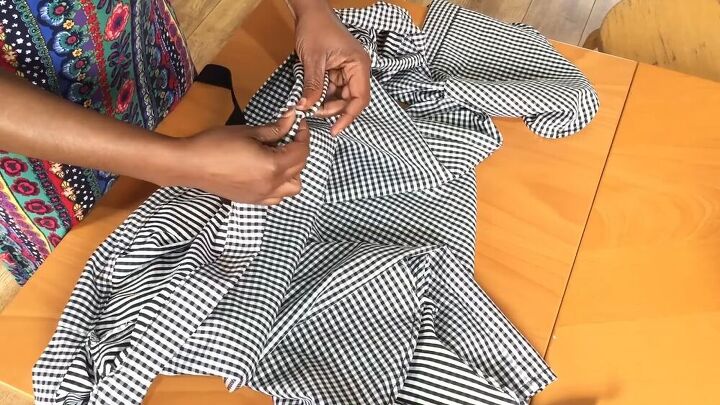
Cut the smaller half-circle, and then use the piece as a pattern to make another piece by cutting around it. Repeat the above steps to make the second bell sleeve. Pin the pieces together and repeat these steps for the other sleeve.
4. Sew the bell sleeve
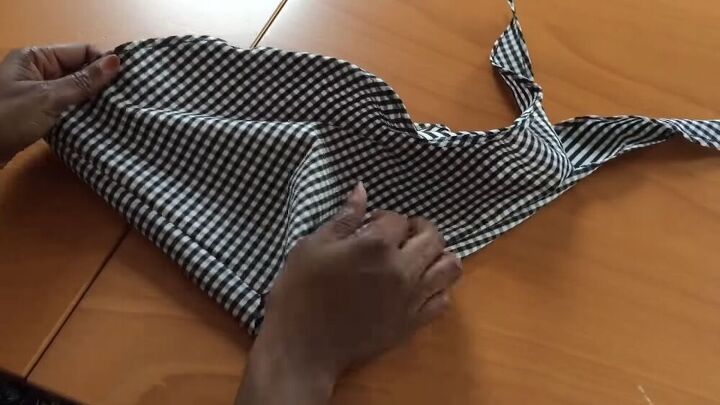
Now it’s time to attach your bell sleeve to your actual sleeve. Make sure the sleeve’s opening matches the bell sleeve’s top half circle. If it doesn’t cut the edges until it fits.
Turn your bell sleeve inside out and sew the sleeve all around, leaving the tail and bottom part loose. For those parts, simply fold and hem the edges.
This is what it should look like.
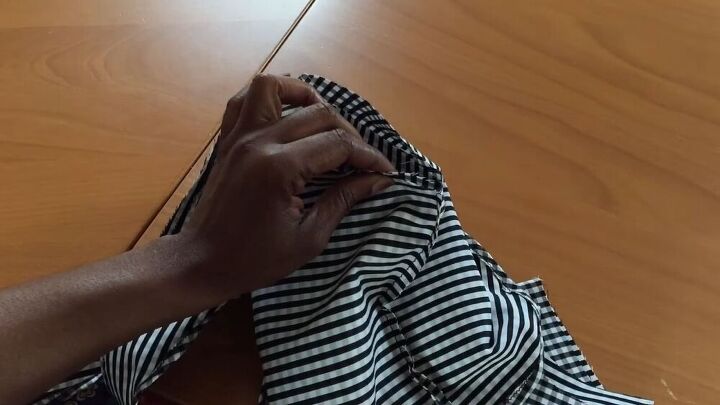
Sew your sleeve and attach the sleeve to the bell sleeve, right sides together. Make sure the tail is on the opposite side of the armhole. Pin and sew all around. Now you should have your completed sleeve.
5. Sew your dress
Sew your dress, starting with the side seams and bottom hems.
6. Attach the sleeves to the dress
Assemble the sleeves first, and then pin in place, making sure everything is correct and in line. Sew your sleeves on your dress, with the right sides facing each other.
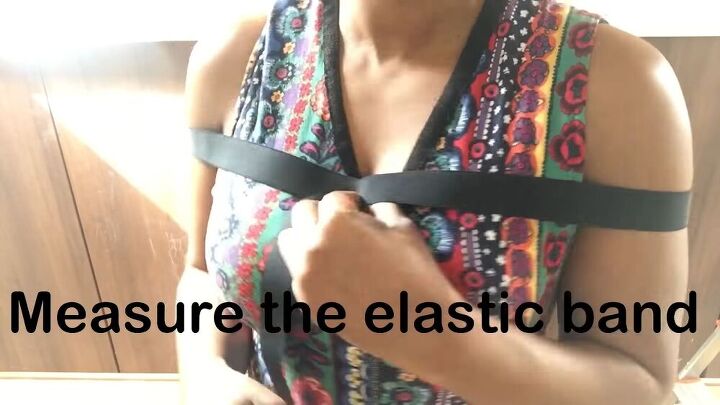
7. Add your elastic
Measure your elastic around the width of your chest area, just under the shoulders.
Create a tunnel for the elastic by folding the top part of your dress. Pin in and place and sew all around using a straight stitch. Don’t forget to leave a small gap so that you can feed through the elastic.
Insert the elastic using a safety pin, sew the elastic, and stitch your ga closed.

DIY bell sleeve dress tutorial
How snazzy does this DIY bell sleeve dress look? I hope you enjoyed this tutorial as much as I enjoyed showing you how to make this off-shoulder bell sleeve dress. Let me know your thoughts in the comments below.
The author may collect a small share of sales from the links on this page.


Comments
Join the conversation