How to Make a Simple Shift Dress With Bell Sleeves & Applique Flowers

I’m so excited to show you how to make a simple shift dress with bell sleeves out of Ankara and linen fabrics. A light shift dress is so chic for the summer. This DIY shift dress tutorial also shows you how to make and attach an applique.
This beautiful DIY shift dress will be a perfect addition to your wardrobe. Let’s get started with making this simple but stunning DIY shift dress.
Tools and materials:
- 3+ yards of fabric
- Non-woven interfacing
- Patterned fabric for applique
- Bias tape
- Tailor’s chalk
- Scissors
- Pins
- Measuring tape
- Sewing machine
- Iron
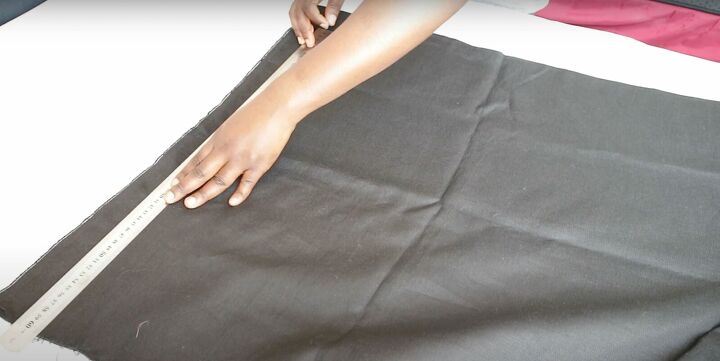
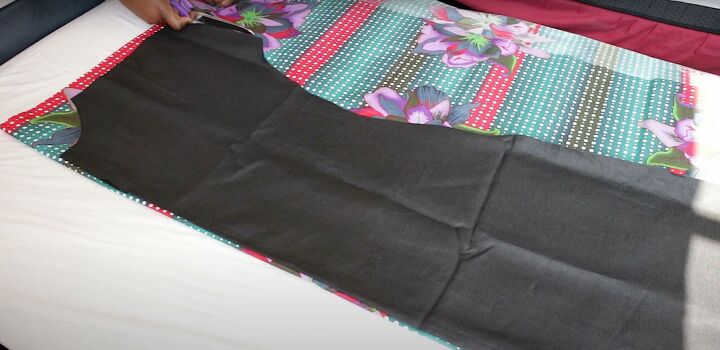
1. Make the shift dress sewing pattern
Fold your fabric in half. In this tutorial, I’m using 2 different fabrics: one for the front in plain black and patterned fabric for the back.
Start with the front pattern. Draw a horizontal line at the top to serve as a reference line. Take and plot your measurements to match the ones I’m putting on the fabric.
Start with the armhole 8 inches down from the reference line. Square the measurement out.
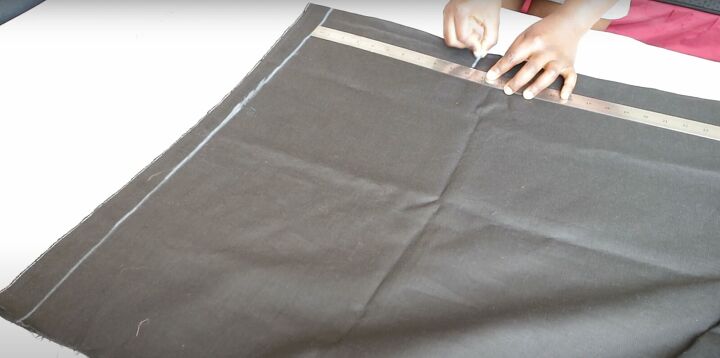
Mark the shoulder to waist measurement and square out. In this tutorial, I marked it 17 inches.
The next horizontal measurement is the waist to hip measurement or hip depth. Here it is 9 inches.
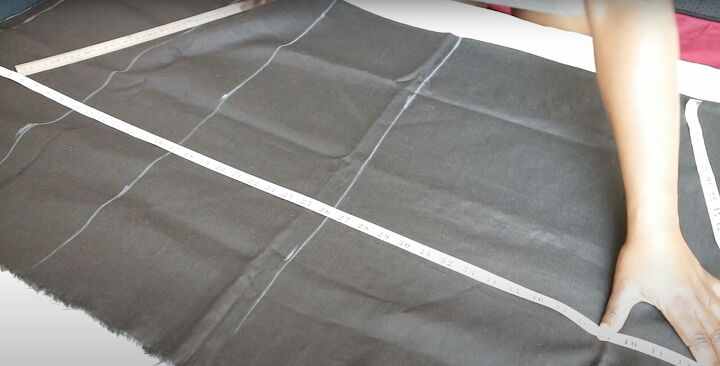
Mark your desired length.
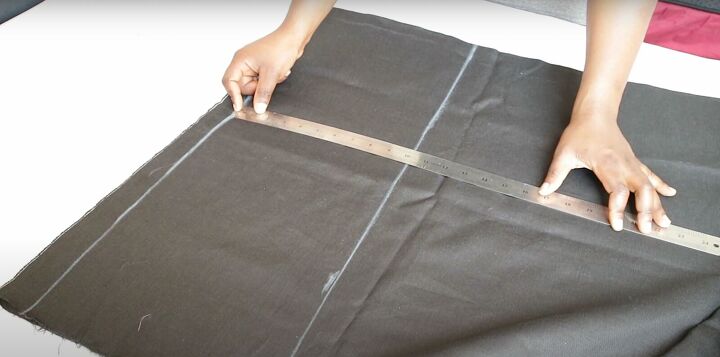
Start from the middle of your neckline all the way down to your desired length. Mark this on the first reference line.
Divide your bust and hip circumference by 4 and add 4 inches for ease for both.
Mark these on their reference lines.
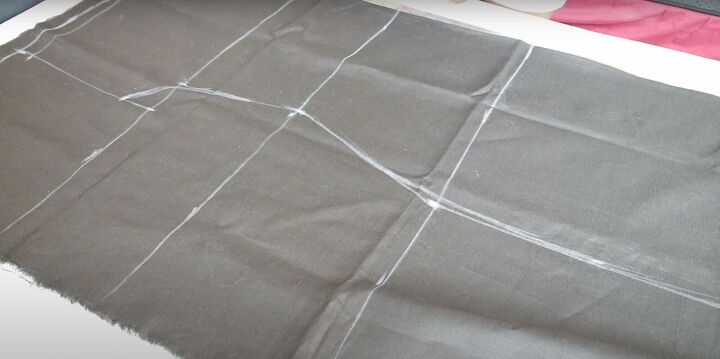
Square all the measurements out and curve the armhole. Mark the neckline to be 3 to 4 inches.
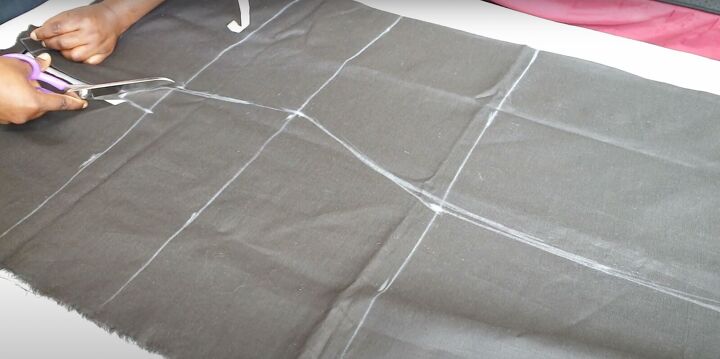
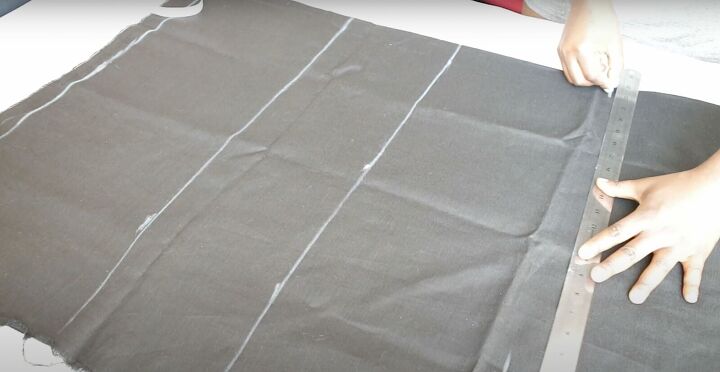
Cut the fabric out.
Cut the center of the neckline open for a V neck on the fold about 6 inches down.
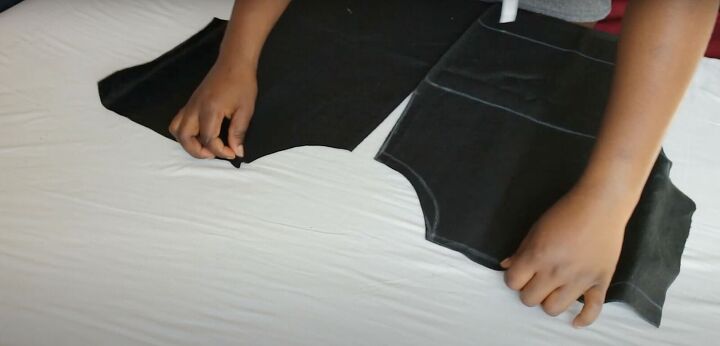
2. Make the sleeves
You determine your sleeve length. Here, just trim the fabric to your desired length and width to form 2 large rectangles.
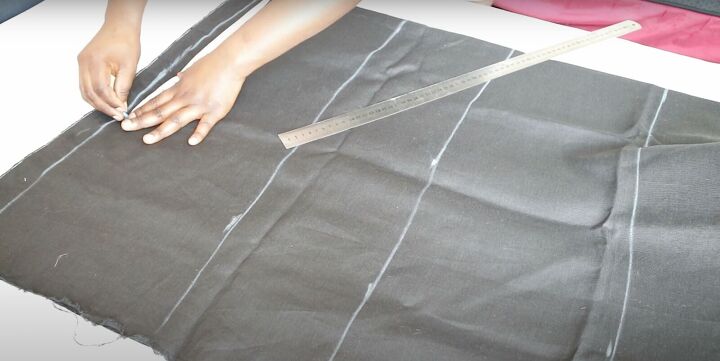
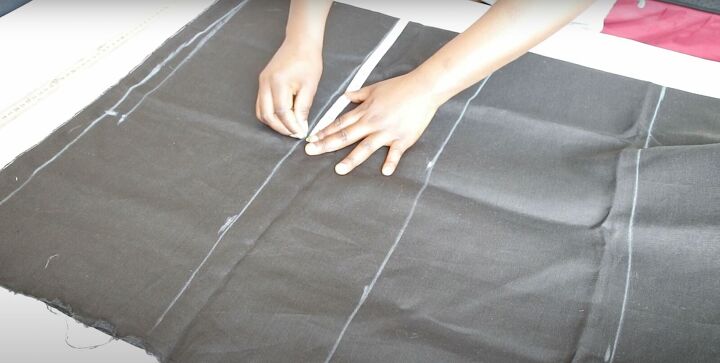
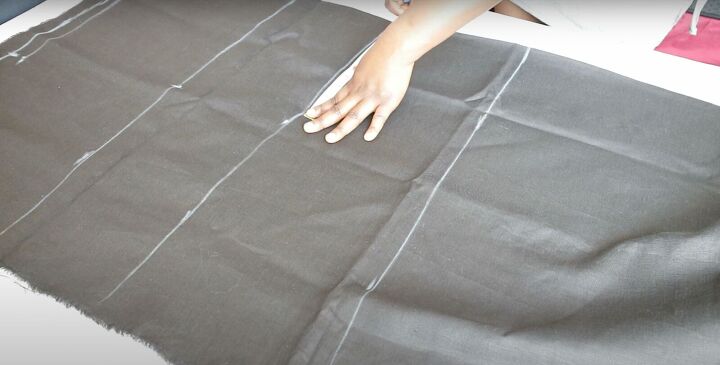
3. Make the back pattern
Fold the back fabric and use the front panel as a template.
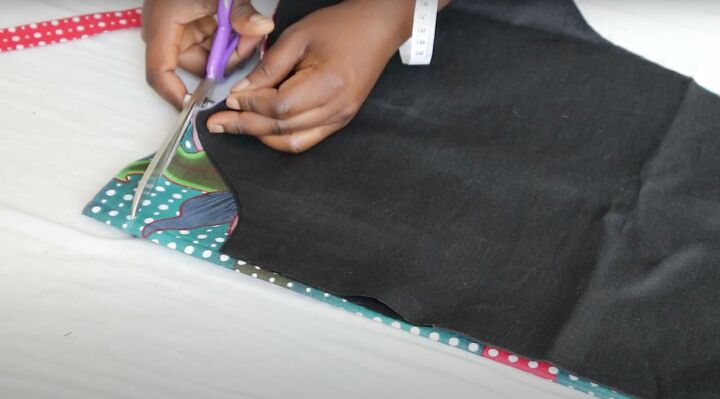
Mark the back neckline at 1 inch and freehand draw the neck curve. Cut the back out.
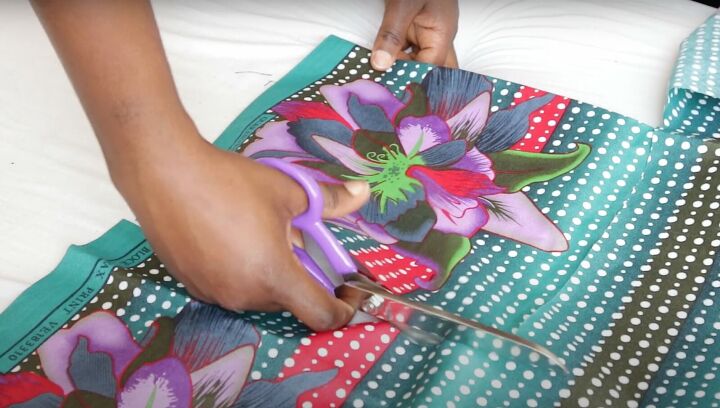
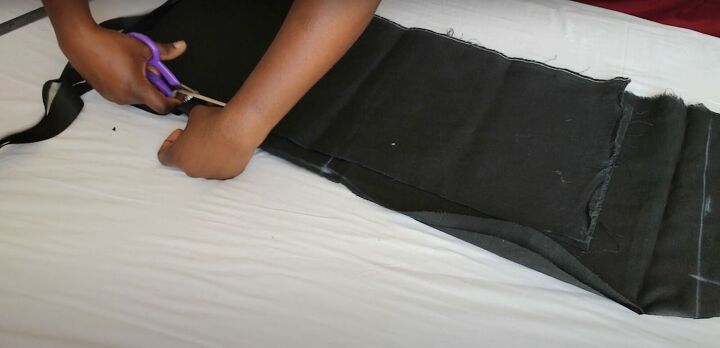
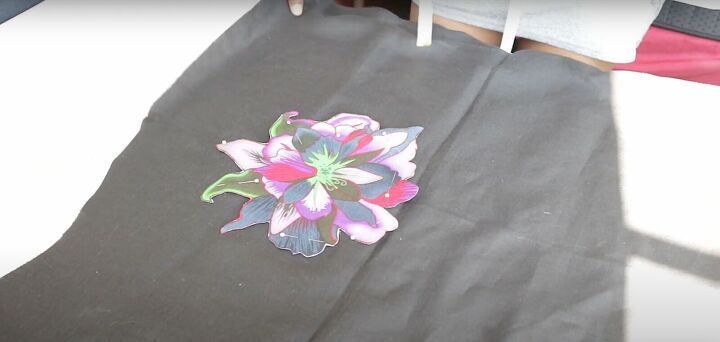
4. Make the applique
Choose your desired pattern for the applique.
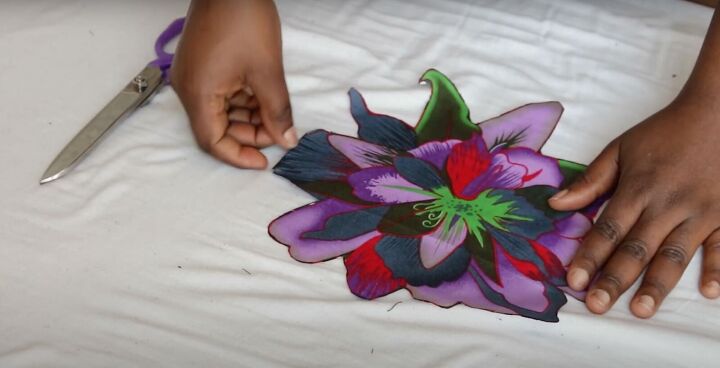
Cut it out carefully.
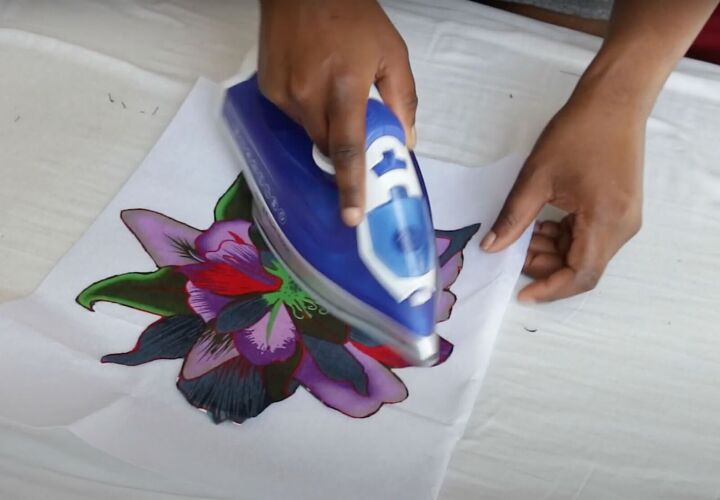
Lay the applique on the interfacing. Cut to size. Press on the front and back. Once it’s firmly secured, trim the interfacing.
5. Secure the applique
Lay the applique on the right side of the fabric in your desired location. Pin in place.
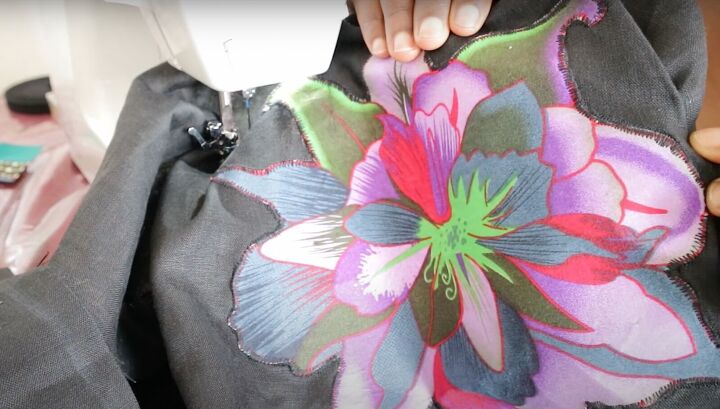
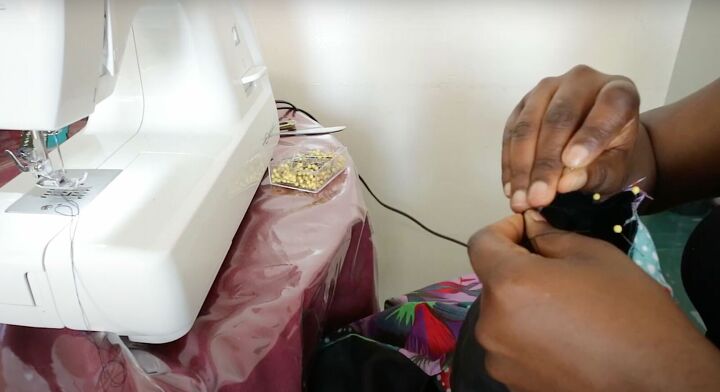
Zigzag stitch into position. This might take a while but with patience you’ll be rewarded with a beautiful applique.

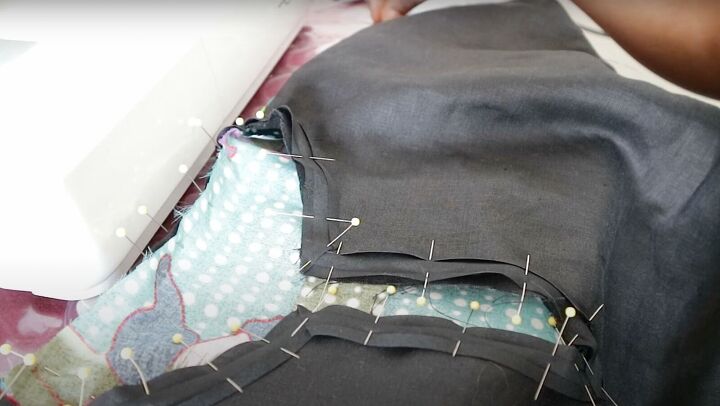
6. Sew the dress together
Place the front and back right sides together. Pin at the shoulders. Sew the shoulders with a straight stitch. Pin and sew the side seams together with a straight stitch.
Place the bias tape around the neckline on the right side, pinning it in place. Join together with a straight stitch sewing right at the edge of the tape.

Flip the bias tape inside the garment to the wrong side. Press flat with a iron. Sew to secure.
I pleated the sleeves using a fork. To see how to do this, watch my DIY pleated skirt tutorial.
Sew the sleeves right sides together. Turn them so the right sides are facing out. Have the dress wrong sides facing out. Insert the sleeves into the armholes so their right sides are touching. Pin in place and sew into position.
Hem the bottom of the dress with a double fold.

How to make a simple shift dress with bell sleeves
The DIY shift dress tutorial is done! I hope I showed you how to make a simple shift dress and you made one for summer. Please let me know in the comments if you’ve made it and what your thoughts are..
The author may collect a small share of sales from the links on this page.


Comments
Join the conversation
Wow! You make it so simple to follow. Will give it try 😉