How to Make a Bodysuit From a Dress - Easy DIY Bodysuit Tutorial

In this thrift flip tutorial, I will show you how to make a bodysuit out of a sleeveless maxi velvet dress. Be warned that velvet can be a bit slippery and hard to work with, but I am pretty pleased with how this DIY bodysuit turned out.
I'll show you how to make the DIY bodysuit sewing pattern, as well as how to make a bodysuit from a dress. Let's go!
Tools and materials:
- Sleeveless maxi dress
- Underwear (to trace)
- Snap closures
- Scissors
- Pins
- Fabric chalk
- Ruler
- Sewing machine
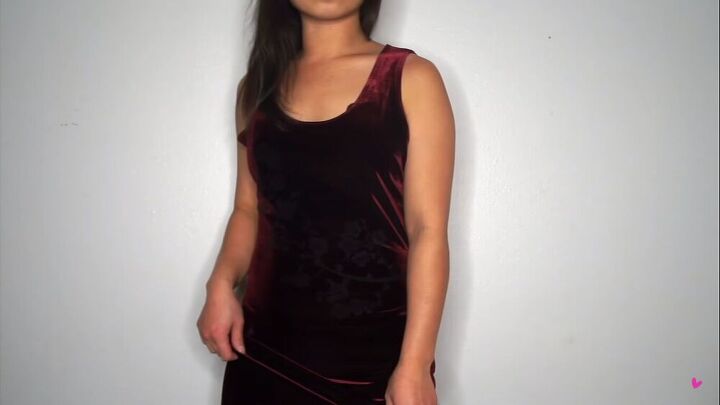
This is the thrifted maxi dress I wanted to upcycle. My original plan was to simply shorten the dress and add sleeves, but I noticed a few discolored spots and realized I would have to cut more, and that’s how I decided to make the DIY bodysuit.
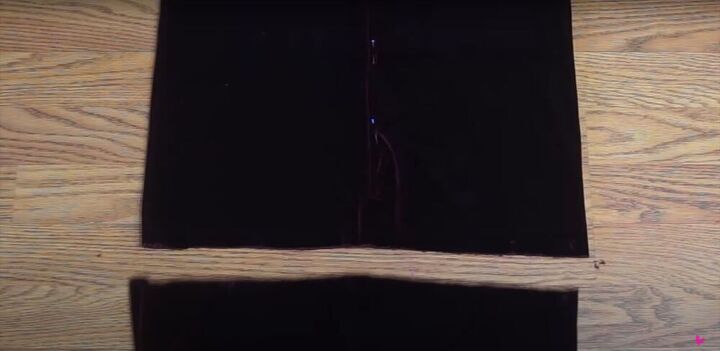
1. Cut the fabric
To begin, I cut the dress from maxi length to mini.
2. Rip the seam
To maximize my fabric, I undid the hemming at the armhole.
3. Sew the darts
I tried on the dress and marked where to make darts on either side, to make the armholes more fitted. Then I removed the dress, pinned the darts, and sewed. Instead of backstitching, I tied a double knot at the end of each dart to prevent puckering at the bust.

4. Rip the side seams
I opened up the side seams of the dress, so I could lay it flat and use the armhole to trace out a sleeve.
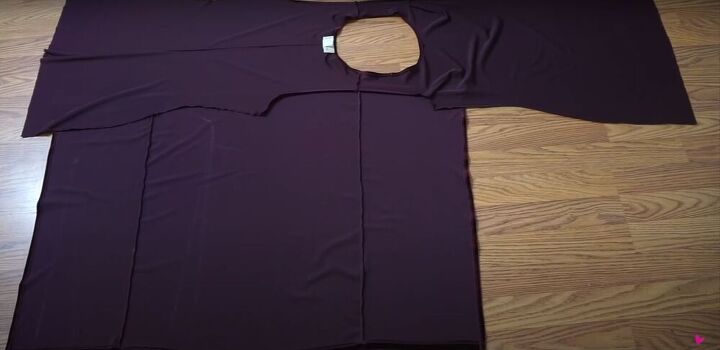
5. Make the sleeves
I used the fabric that I removed from the bottom of the dress to create the sleeves. I laid the dress over the excess fabric, and lined up the shoulder seam with what was originally the side seam of the dress, and made sure both armholes were level with each other.
For instructions on how to trace out the armhole and measure out and mark the length of the sleeve, see the video from 2:15-2:44. Then, I cut out the sleeves.
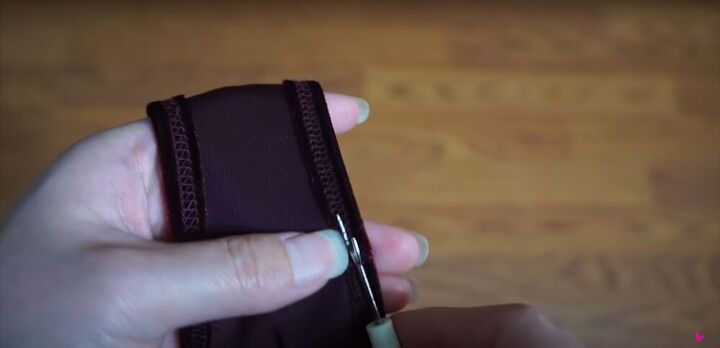
6. Rip the hem at the wrist
At the wrist, I opened up just enough of the hem to sew the sleeve closed, before folding the hem back in.
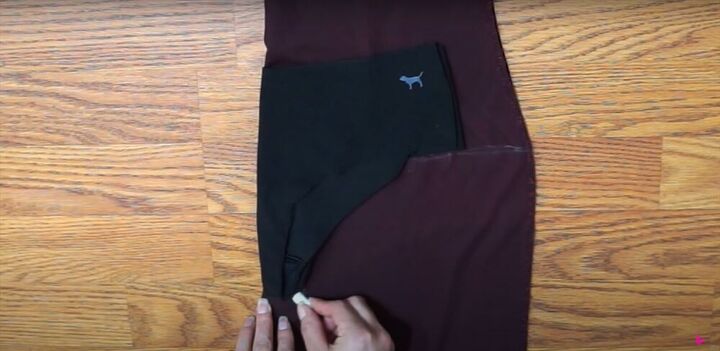
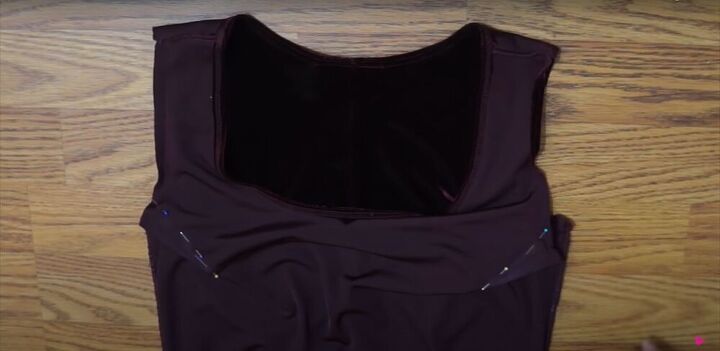
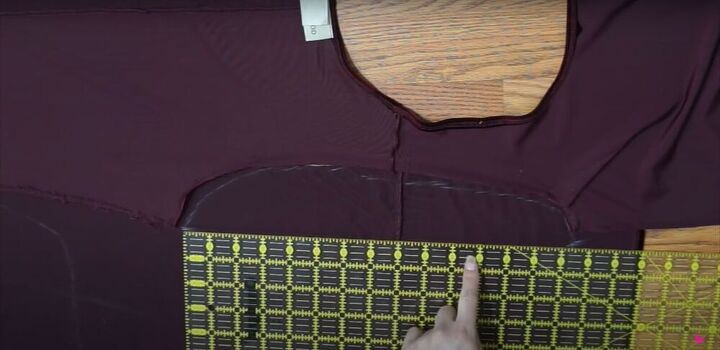
7. DIY bodysuit sewing pattern using underwear
Moving on to the body, I marked where I wanted the side of the bodysuit to end, then traced out the crotch using a pair of underwear.
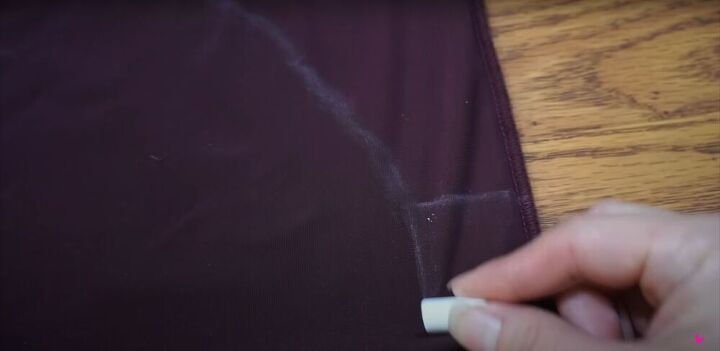
On the back, I extended the crotch by 2 inches, and added seam allowance.
8. Cut out the bodysuit
Then, I cut the fabric along the marked lines.

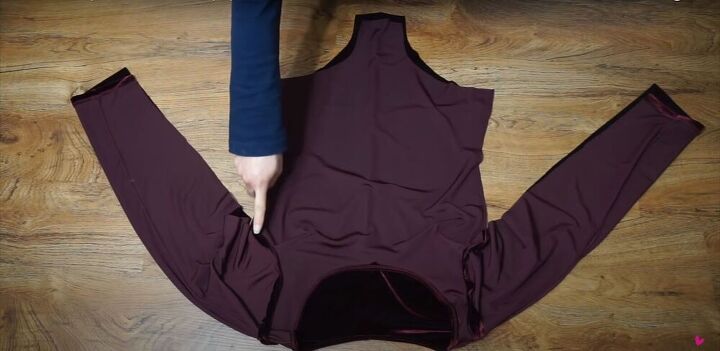
9. Pin and sew the sleeves
I pinned the sleeves in the armholes and sewed them down.
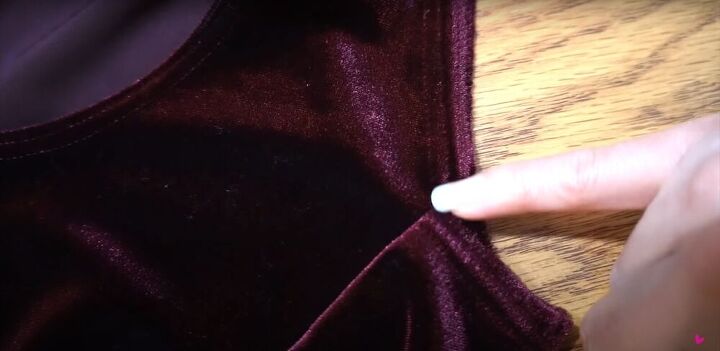
The dart made an awkward angle on the armhole, so I folded it in to create a smoother curve. I didn’t want to alter the armhole anymore in case it changed the fit, so I planned to capture just enough of the folded part to hide any raw edges when I attached the sleeve.
10. Topstitch
There were still visible stitch marks along the shoulder seam, which I wanted to hide. So I folded the shoulder seam towards the body, and topstitched ⅛ of an inch from the seam, trying to sew as close to the original marks as possible so everything would blend together.
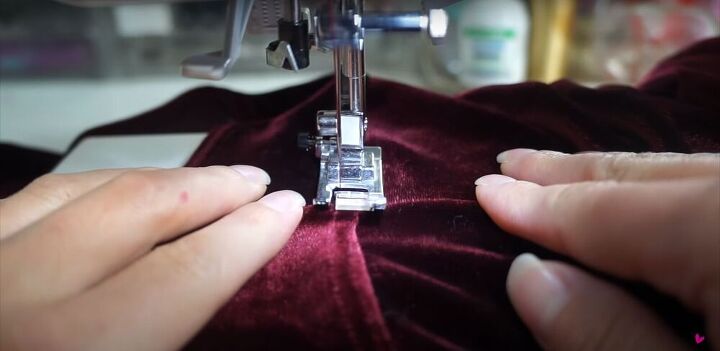
11. Pin and sew the side seams
To close the sleeves and side seams, I started at the armpit and sewed down the side, then went back to the armpit and sewed down the sleeve.
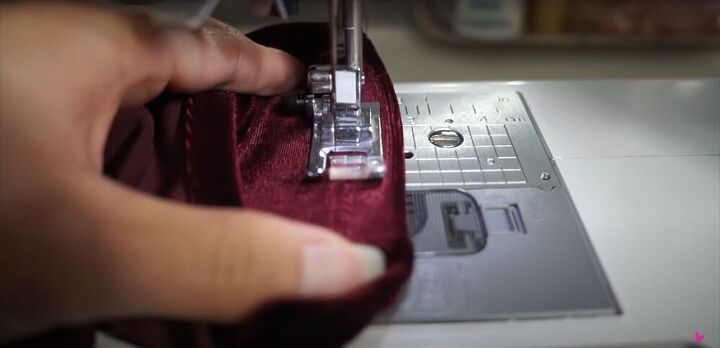
When everything was done, I replaced the stitching at the wrist that I had opened previously.
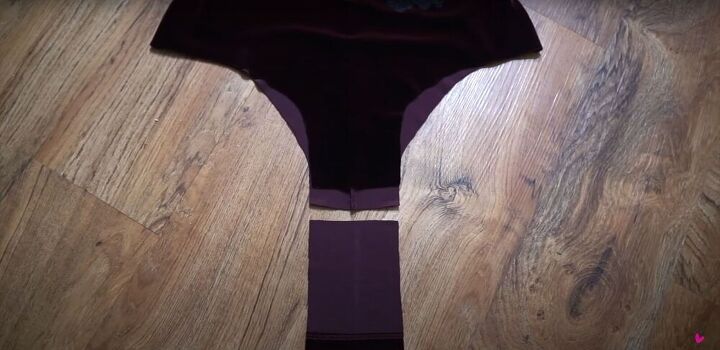
12. Add fabric
The crotch ended up being too short, so I extended it with a 4-inch strip.

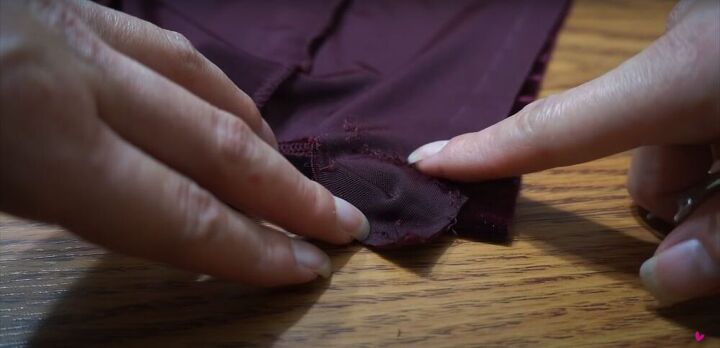
13. Finish edges and hem
To hem the bottom edges, I finished the raw edges with a zigzag stitch, then folded them in once and sewed them down. I folded the end of the crotch in by ½ an inch, and the rest I folded in by ¼ of an inch.
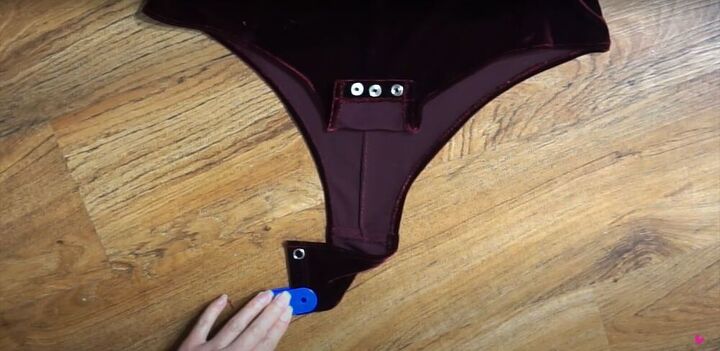
14. Attach snap closures
All that was left was to attach the snaps, and that completed the thrift flip!

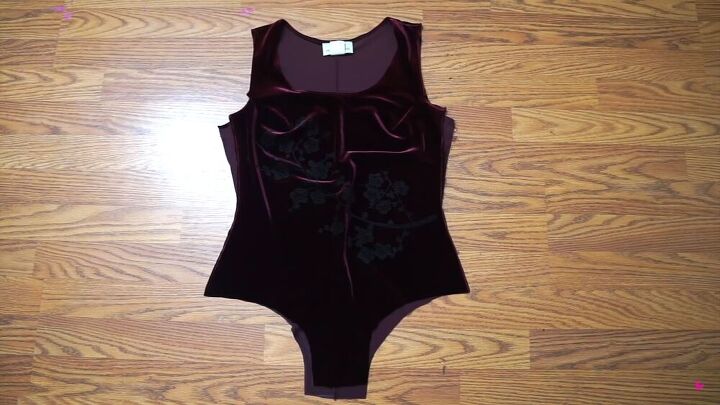
DIY bodysuit tutorial
I love wearing a bodysuit under a skirt. I chose to pair this red velvet bodysuit with all black to enhance the vampy vibe of the burgundy color and velvet texture.

I can also wear my DIY bodysuit with warm tones like burnt orange and gold for an elegant look.
I hope you enjoyed this tutorial on how to make a bodysuit from a dress. What do you think of the final result? If you make a bodysuit of your own using this tutorial, I would love to see your results.
The author may collect a small share of sales from the links on this page.


Comments
Join the conversation