Looking for a Romantic Summery Dress? Try This Corset Dress Tutorial

In this corset dress tutorial, I’ll be showing you how to make your own corset dress from scratch. I previously did a separate video on creating a corset dress sewing pattern according to your measurements, which you can watch first.
Once you have your pattern ready, it’s time to start the cutting and sewing!
Tools and materials:
- Fabric 1.5 meters (1.64 yards)
- Pattern
- Sewing machine
- Pins
- Needle and thread
- Measuring tape
- Buttons
- Zipper
- Scissors
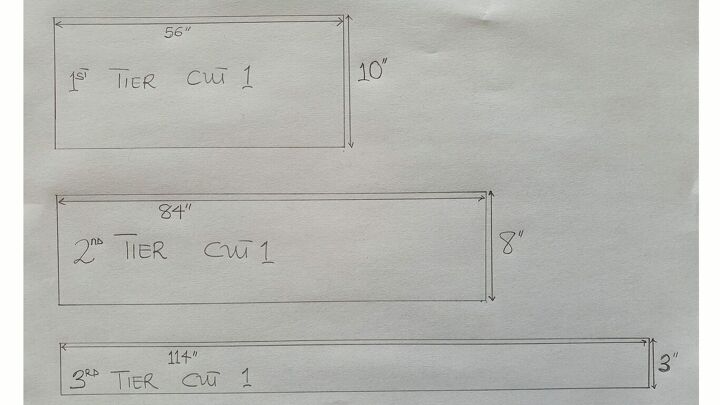
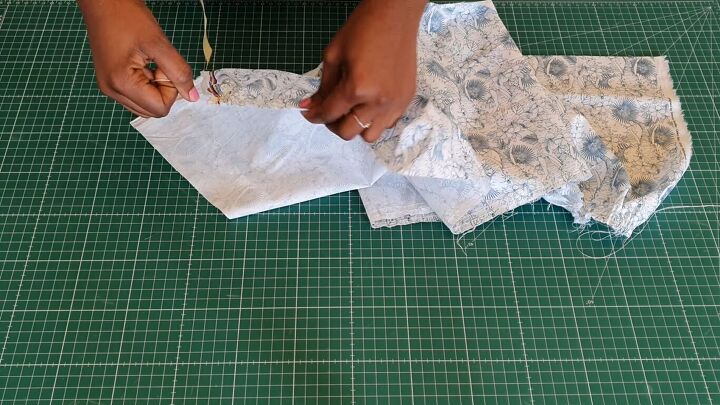
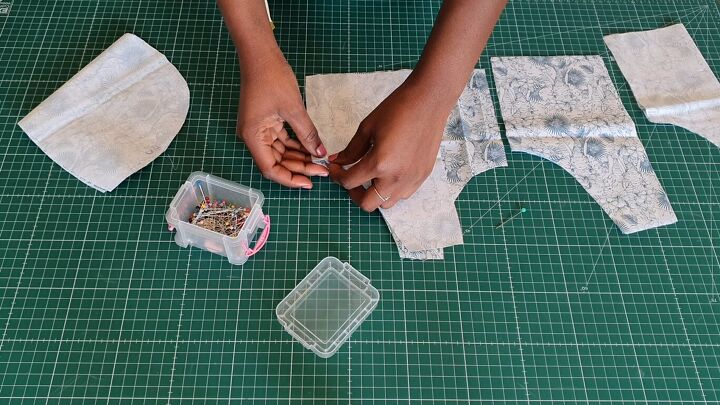
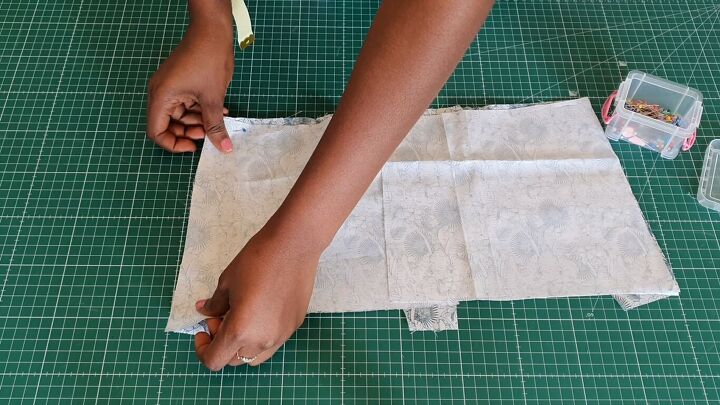
1. Cut out the fabric pieces
These are the measurements I used to cut out my tiers.
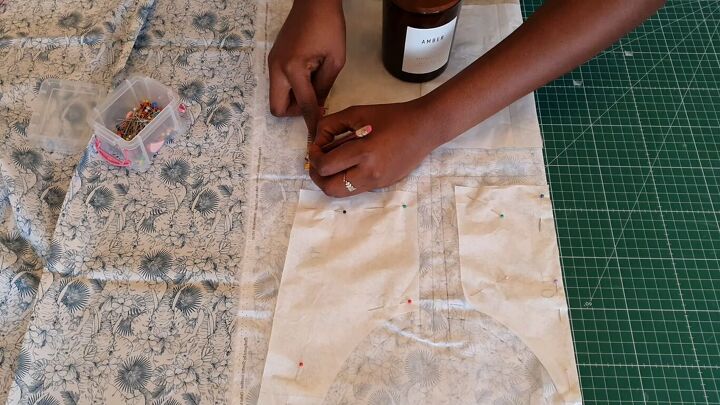
Then, I layed out the bodice pattern pieces, pinned them to the fabric, and cut around them, adding a half-inch seam allowance.
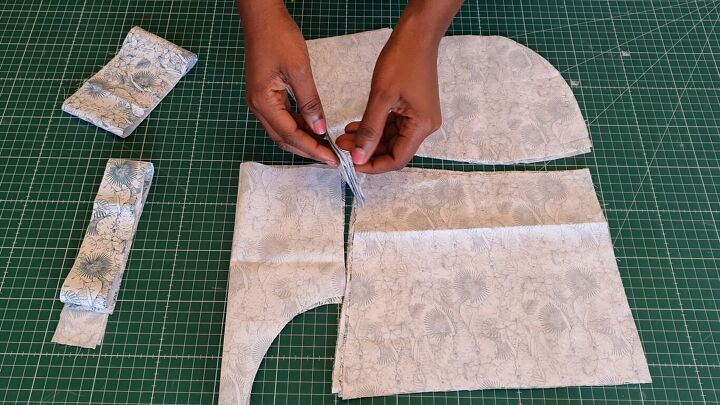
Now, you should have all of your pieces cut out:
- 4 back pieces
- 2 center front pieces
- 4 bra cup pieces
- 4 side front pieces
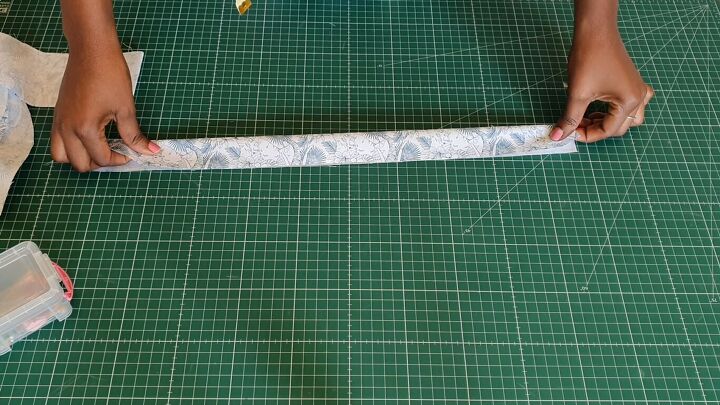
- Straps for tying the front part
- Frills for the bra cups
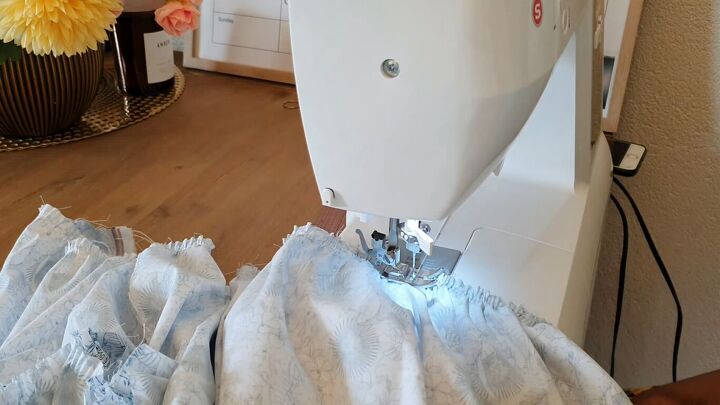
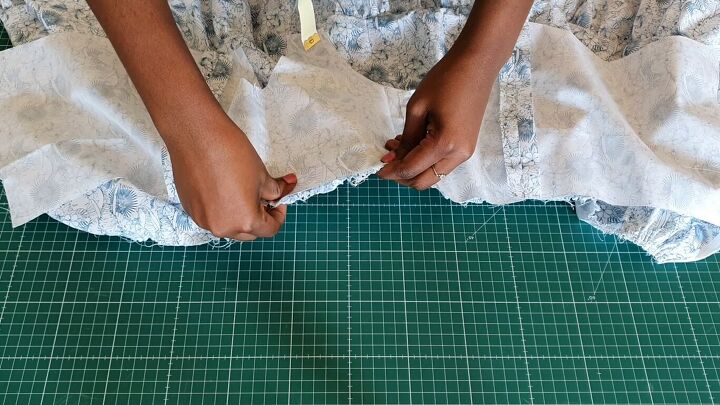
2. Stitch and gather
I sewed the gathered stitches on the tiered pieces. Then, I went ahead and pulled the gathers to form the ruffles.
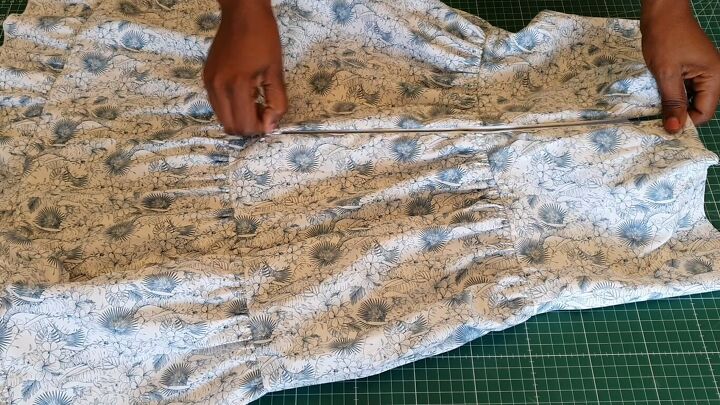
3. Sew the tiers together
Once that was done, I joined the tiers accordingly; pinning them in place, then sewing them together.
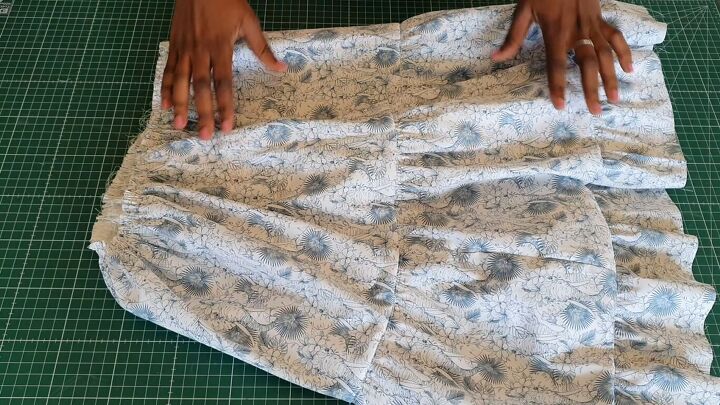
This is how the skirt should look. Be sure to take out the gathering stitches so that they don’t show.
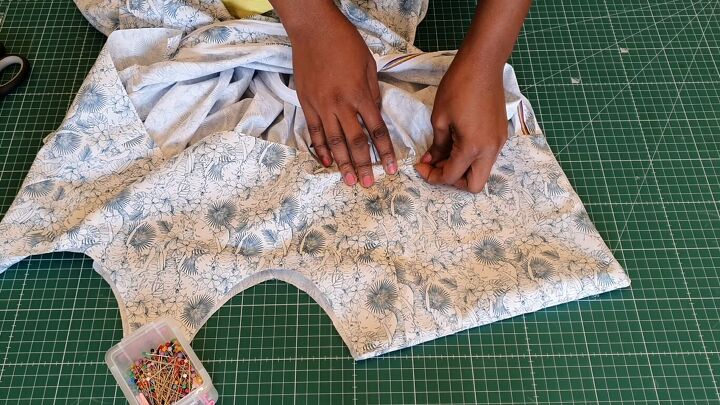
4. Construct the front of the corset dress
Attach the side front to the center front pieces for both the main fabric and the lining.
5. Gather the frills
I also gathered the frills for the bra cups by folding the fabric in half, then stitching the gathered stitches on the raw edges.
6. Sew the front
Stitch the front pieces together. For the frills, make sure you finish the sides (stitch it in and turn it over before you create the gathered stitches so that the ends are neat).
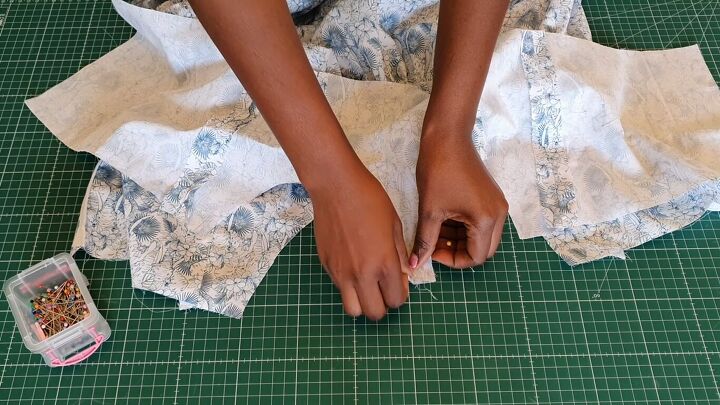
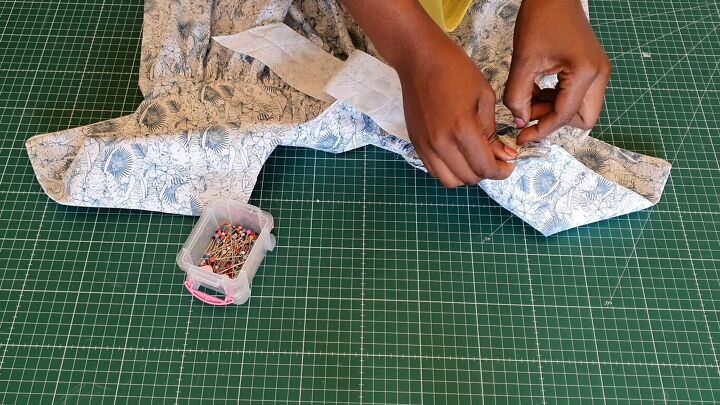
7. Attach the front to the back
Pin the back pieces to the front piece at the side seams, for both the exterior and lining fabrics. Stitch in place.
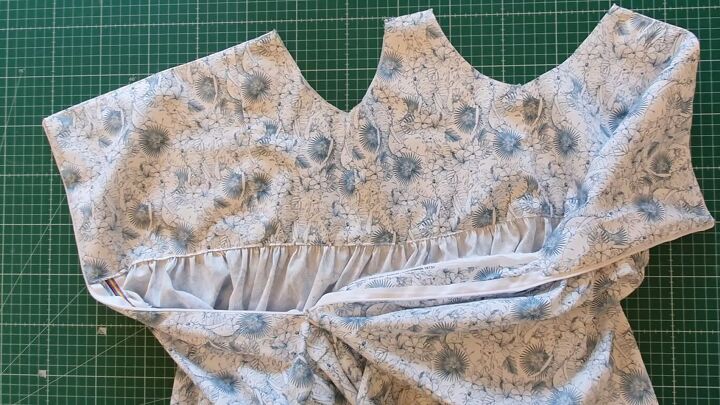
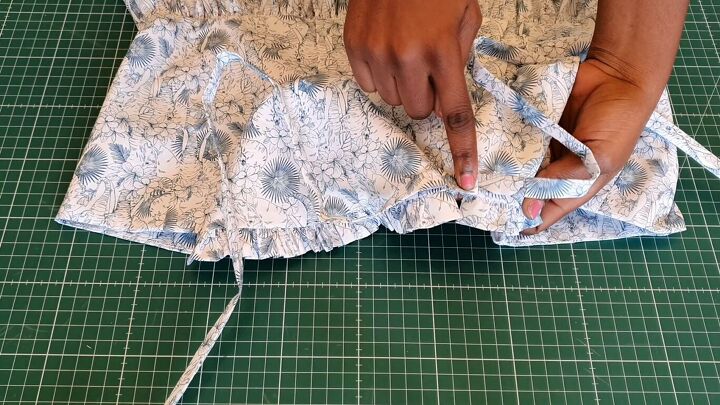
8. Attach the top to the skirt
Next, attach the bottom of the top to the waist of the skirt, making sure they are both the same length. If not, release or pull in more gathers. Pin in place, then sew down.
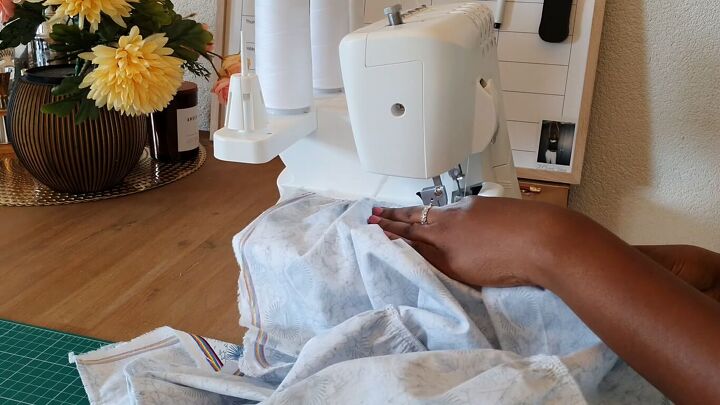
9. Serge
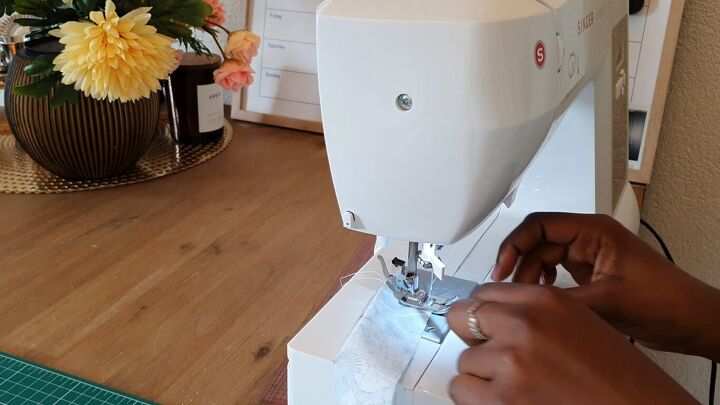
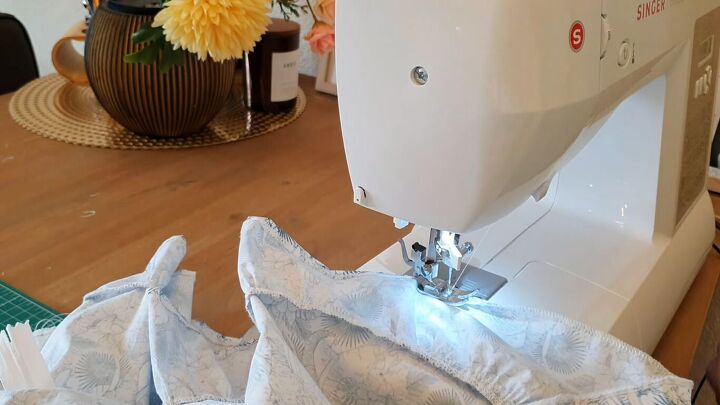
Finish all the raw edges with a serger, or a zigzag stitch if you don’t have a serger.
10. Fix the zipper
Sew the zipper into the back of the corset dress.
11. Attach the lining to the top
Pin the lining pieces to the outer fabric with right sides facing, then stitch them together. At the back, stitch as close as you can to the zipper, as this will help finish the zipper.
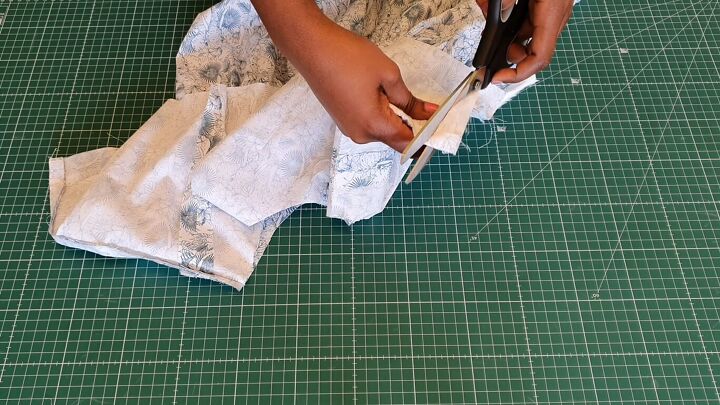
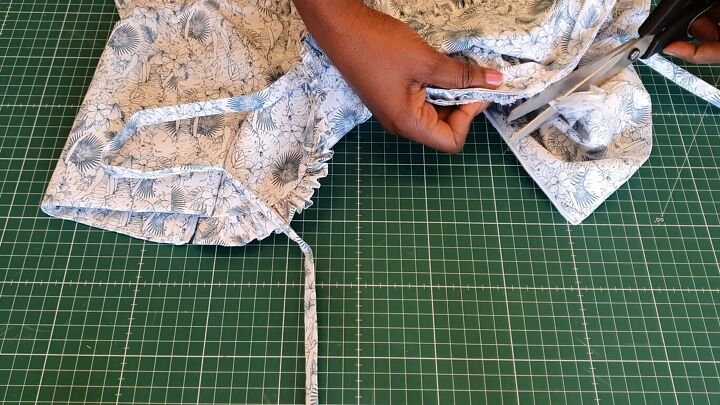
12. Trim the corners
Trim off the corners so that once you flip it to the right side, it will be sharp.
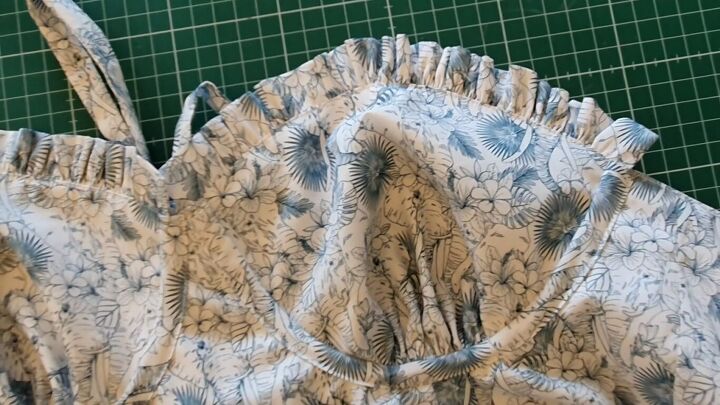
13. Finish the lining
To finish the raw edges of the lining, flip in the half-inch seam allowance of the lining fabric and pin it to the waist. Use the “stitch in the ditch” method to stitch it to the waistband.
If you’re unfamiliar, this is when you sew down the channel of a seam (the "ditch") to secure fabric pieces in place without the stitches being seen on the outside.
This is how the dress looks from the inside now.
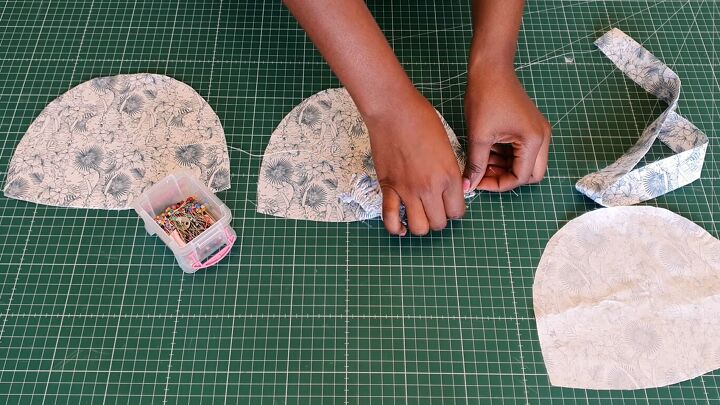
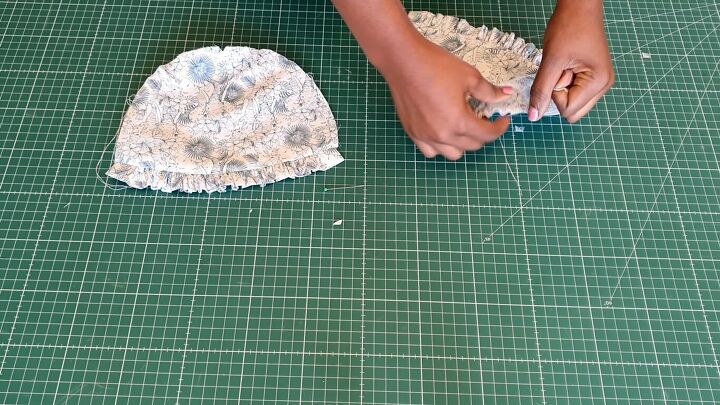
14. Prepare the bra cups
Pull on the gathering stitches to create the ruffled frills, then pin them in place. Sew down with an understitch so that the inner parts don’t roll out.
Once attached, sew gather stitches around the curved edge of the bra cups and pull on them to create more gathers.
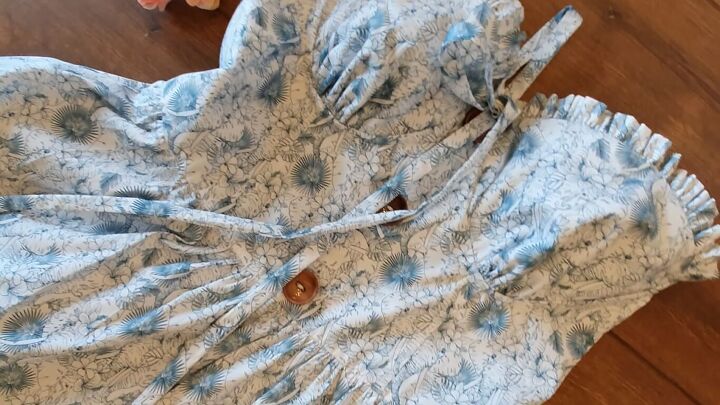
15. Attach the bra cups
Pin the bra cups in place, starting with the center, so that the seams are equal.
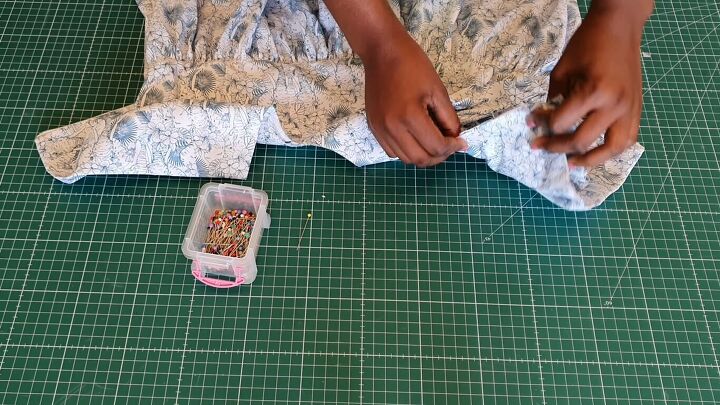
16. Add the bias strap
I cut a bias strap and pinned it on the side of the bra cup, so that the corset cup is sandwiched between the bias strap and the other side of the top. This will help finish the seam after it has been stitched.
Remember to put the strap between the cup and the center front.
17. Trim the seam
Trim the seam that connects the bra cup to the top.
18. Finish the raw edges
Finish the raw edges of the seam with a bias, which will also serve as a topstitch.
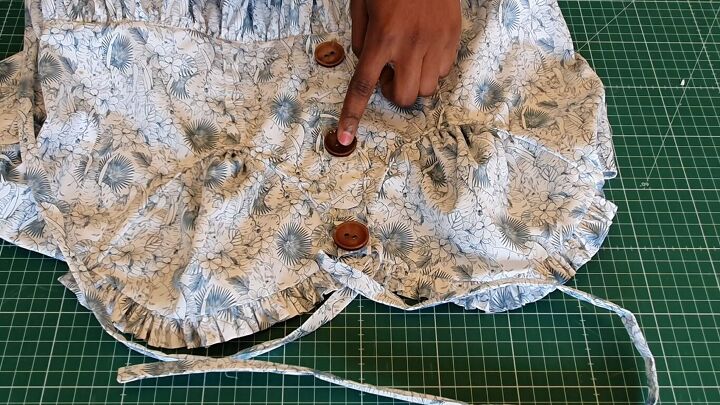
19. Add a placket
I also added a placket of one inch with buttons. Pin the placket, sew down, then hand-sew the buttons.
20. Hem
Finish the hem of the dress.
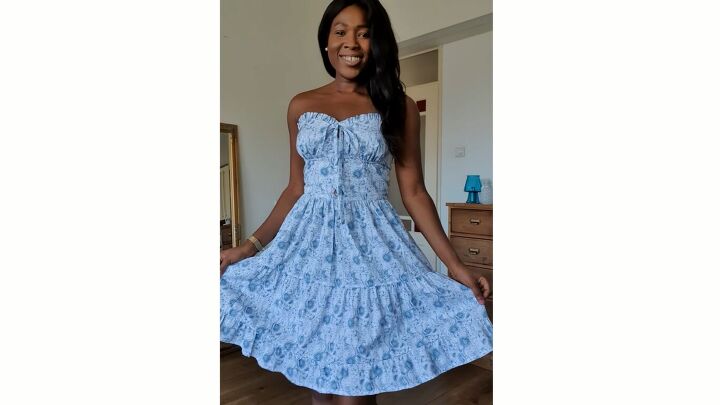
Corset dress tutorial
Here’s the final dress. I’m really pleased with how this pretty DIY corset-style dress turned out. Let me know what you think of this tutorial and the result in the comments section.
The author may collect a small share of sales from the links on this page.


Comments
Join the conversation
I absolutely love it!! I’m just not that talented to make that!!