How to Sew a Cute Cottagecore Pattern Dress

Today, I'm going to be making a charming cottagecore pattern dress from a quilt cover.
You'll see how to sew a dress with a half circle skirt and a square neckline. And no zipper needed!
Let's have fun thrift flipping this pretty rose-patterned quilt cover into a dress you'll love to wear.
Tools and materials:
- Double/king size quilt cover or fabric
- Shirt or top as template
- 1/4 inch wide elastic
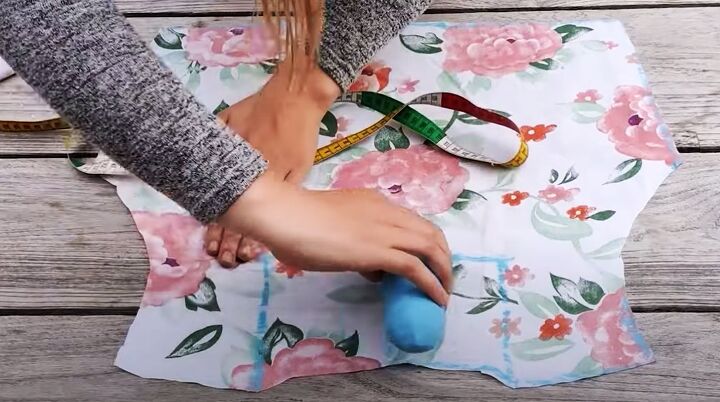
- Tailor's chalk
- Measuring tape
- Pins
- Scissors
- Sewing machine
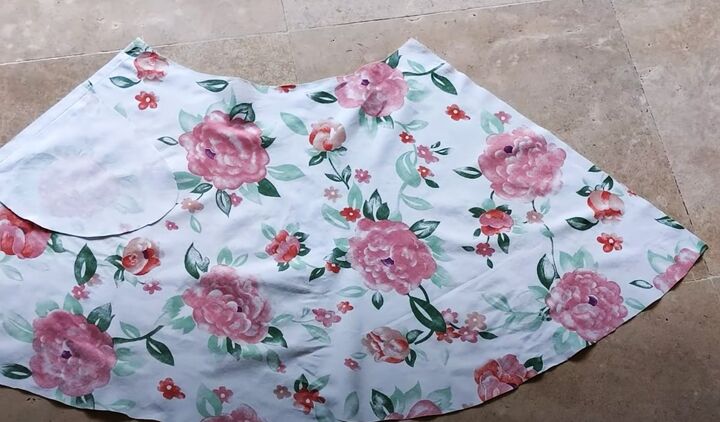
1. Cut out the skirt
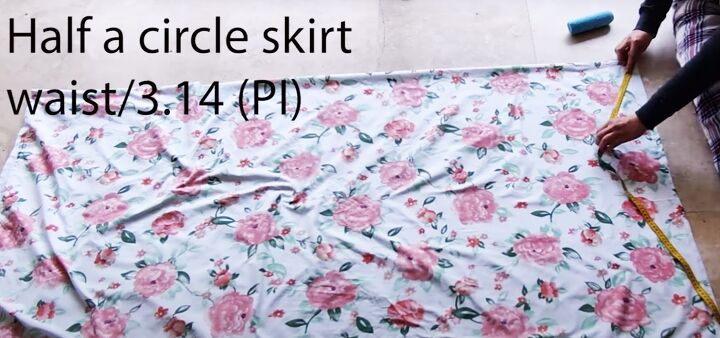
Separate the quilt cover into two pieces. We're only going to use one of them.
Fold the fabric in half widthways.
Measure your bust and divide the figure by 3.14 for the radius. I'm using my bust measurement because I'm adding elastic to the waistband and I need to be able to get the dress on and off.
If you prefer to have a zipper, measure your waist instead.
Draw a quarter circle with this radius, starting at one corner of the folded edge.
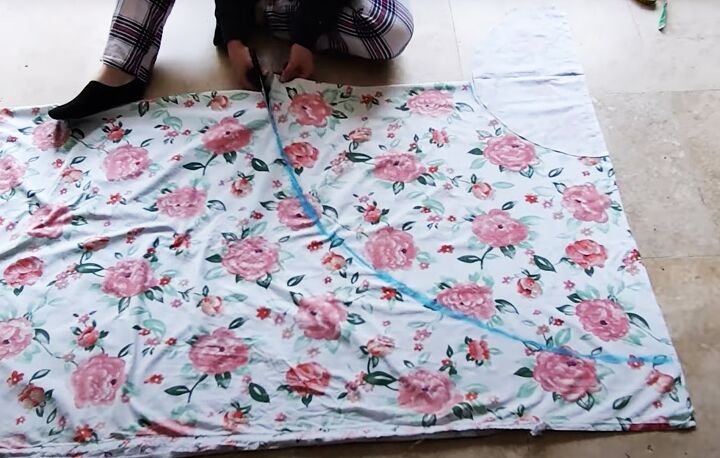
Add your desired skirt length to the radius of the small circle. Draw a second quarter circle outside the first, starting from the same point.
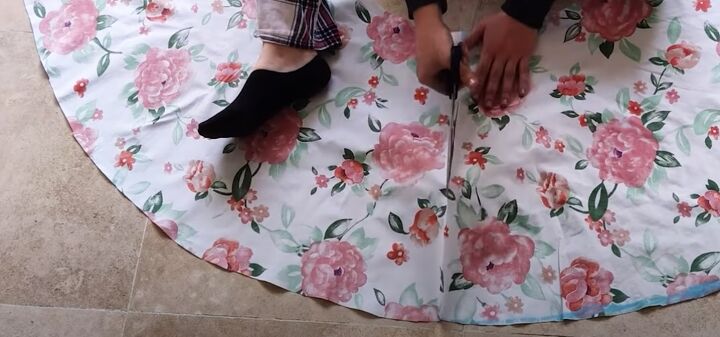
Cut out the skirt. Cut the half circle in half so you can add pockets.
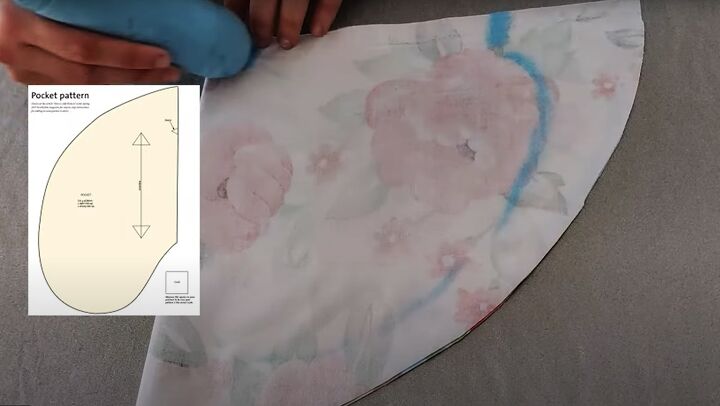
2. Add the pockets
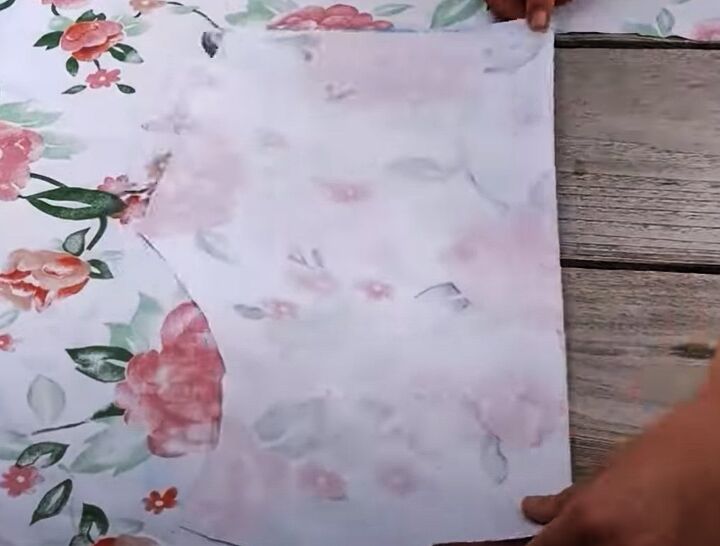
Draw around your hand or use a pocket pattern and cut four pocket pieces.
Sew one pocket piece to each side seam, 8 inches below the top edge and with the right sides together.
Sew the side seams, sewing around the pocket bags.
3. Make the double bodice
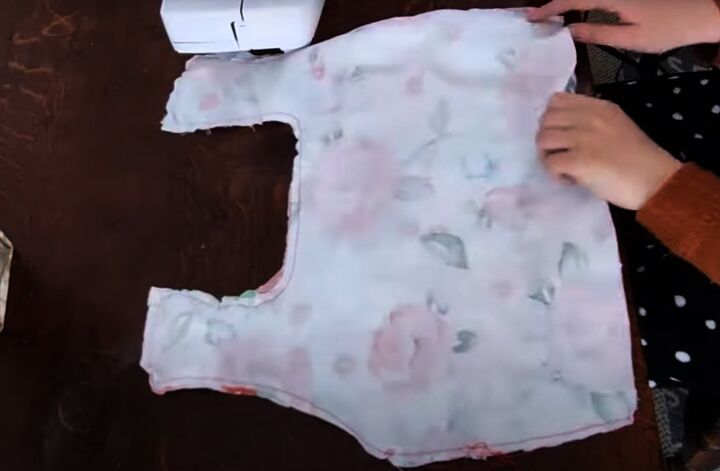
Use a well-fitting top as a template for the bodice.
Fold in the sleeves and draw around half the top. Cut it out and fold it to cut the other half, so they match.
Mark 4 inches in from the top of the armhole on each side for the shoulder straps.
Draw a square neckline 6 inches deep between the marks and cut it out.
Cut three more pieces the same.
Sew the bodice piece together in pairs, with the right sides facing and as close to the edge as possible. Leave the bottom edges open.
Turn the pieces right side out. Top stitch the seams.
Join the front and back bodices at the shoulder and side seams.

4. Join the top and skirt
Tuck the top inside the skirt with the right sides facing. Pin and sew them together, matching the side seams.
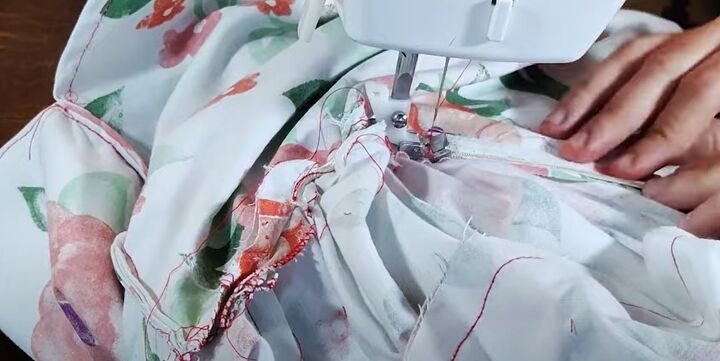
5. Elastic waist and ties
Cut a piece of elastic to fit around your waist.
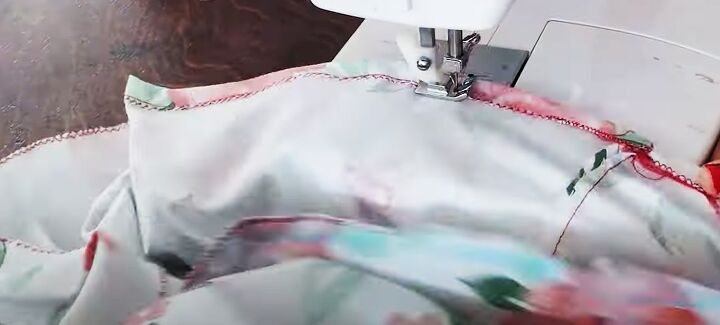
Divide the elastic and the waist seam into four sections and pin and sew the elastic into place, stretching it between the pins.
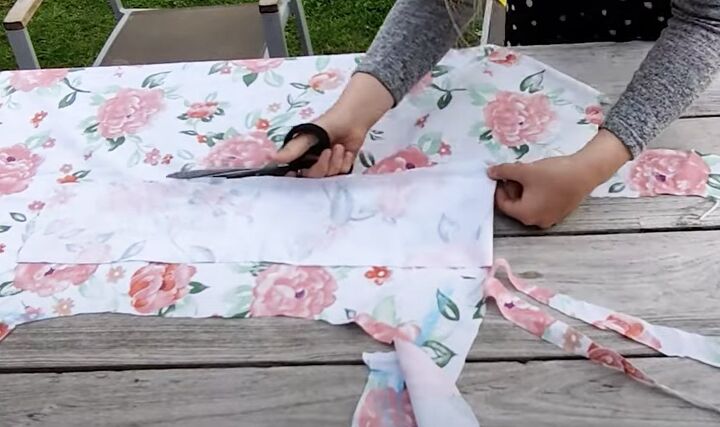
Cut a waist tie, 5 inches deep and double your waist measurement in length.
Fold the tie in half along the length with right sides together and sew the long edge and one short edge closed.
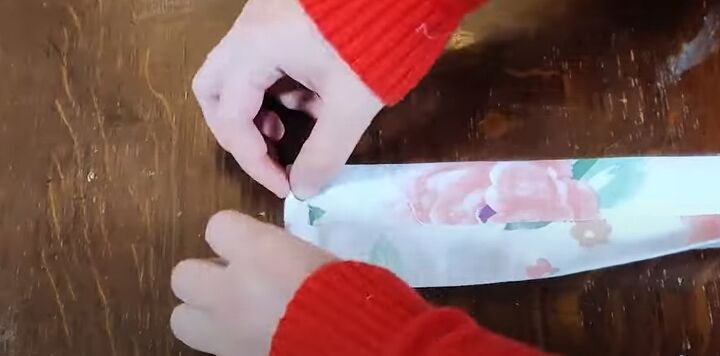
Turn the tie right side out and press. Close the other short edge.
6. Finishing
I like to hang a garment for 24 - 48 hours before hemming.
Turn up a double or single hem.
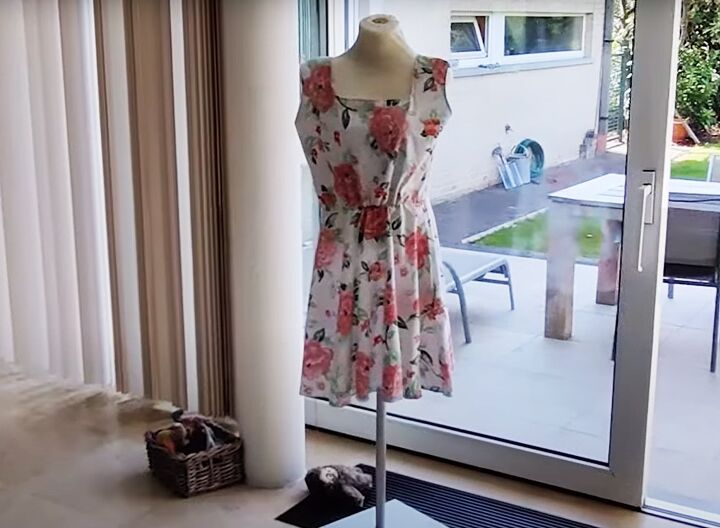

DIY cottagecore pattern dress
So how cute is this cottagecore DIY dress? I love the waist tie, it looks really pretty and also covers up any imperfections around the waistline.
If you prefer to or your fabric is suitable, you can make a single bodice instead of the double one that I did.
If you do that, you should make a facing for the armholes and neckline. I found it easier to just make a double bodice!
If you make this dress, I'd love it if you would let me know in the comments.
Next, check out my Easy Upcycled Denim Skirt Tutorial.
The author may collect a small share of sales from the links on this page.


Comments
Join the conversation