How to Sew a Super Cute Cottagecore Shirt

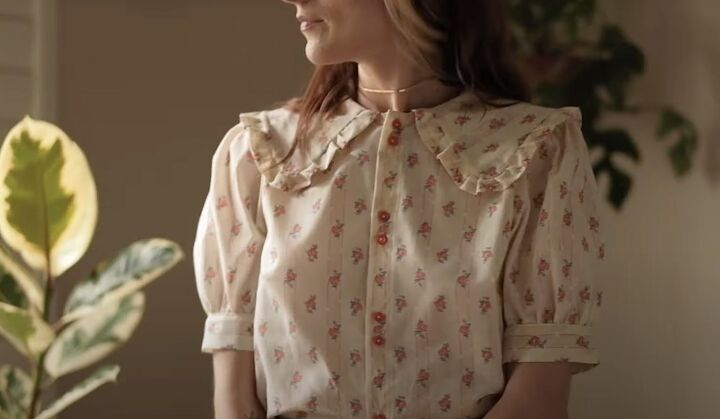
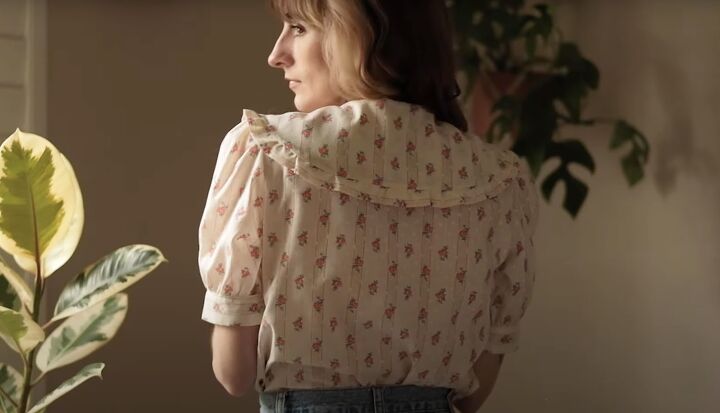
Today, I'm making this beautiful Antoinette cottagecore shirt. It's a ruffle shirt with three collar and three sleeve variations, so you can get lots of different looks from it.
I especially love this big statement collar and the cute gathered sleeves, so that's today's project. I had a lot of fun making it and it's a great wardrobe staple garment as well.
The best fabrics for this would be poplin, cotton or linen. I chose a cottagecore print but it looks equally stunning in a solid color.
Tools and materials:
- Antoinette pattern
- Light to medium weight fabric
- Paper for pattern
- Bias tape
- Buttons
- Pins
- Scissors
- Ruler
- Tailor's chalk
- Fray Check (optional)
- Sewing machine
- Buttonhole attachment (optional)
- Serger (optional)
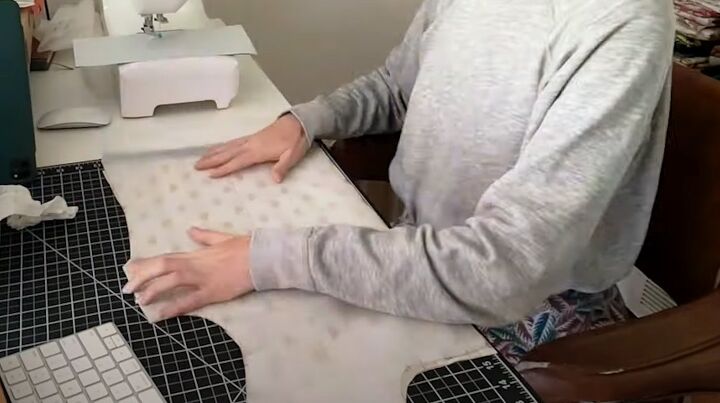
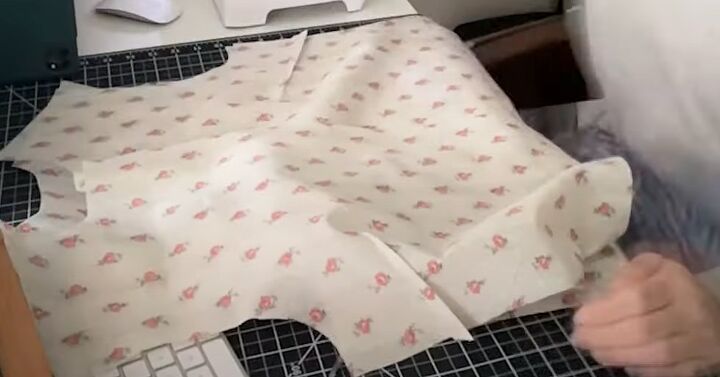
1. Cut out fabric
Print out the pattern to 100% scale, tape the pages together as shown, and cut out the individual pieces.
Transfer all pattern markings and you're ready to start.
2. Assemble the bodice
Pin and sew the bust darts, finishing by knotting the threads together at the points instead of backstitching.
Connect the front and back bodice pieces at the shoulders. Finish all seams with a serger, French seams or a zigzag stitch.
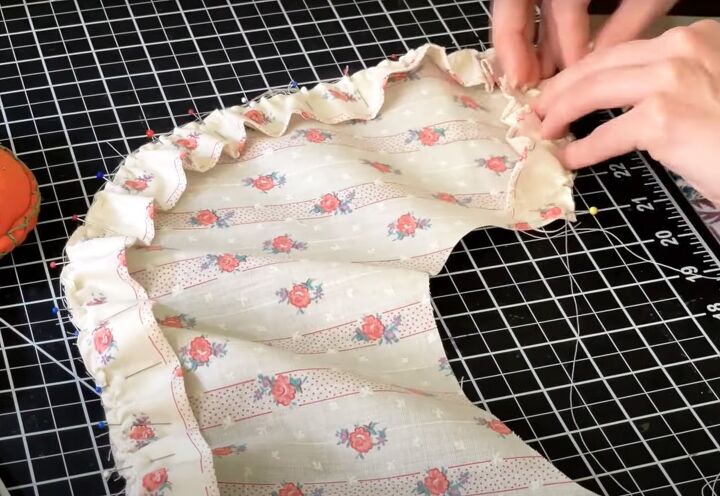
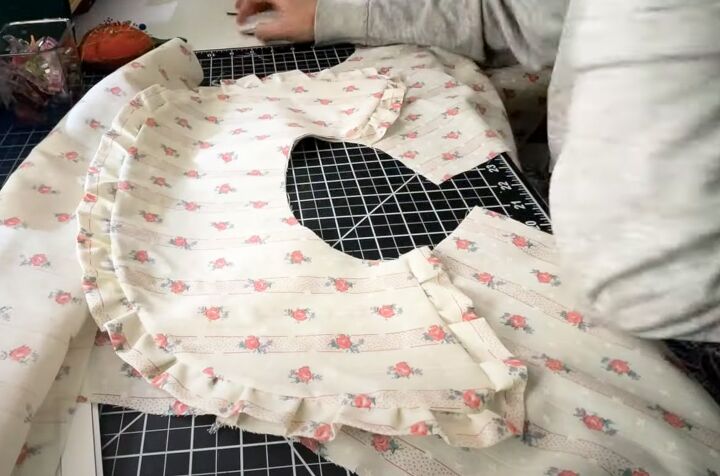
3. Construct the collar
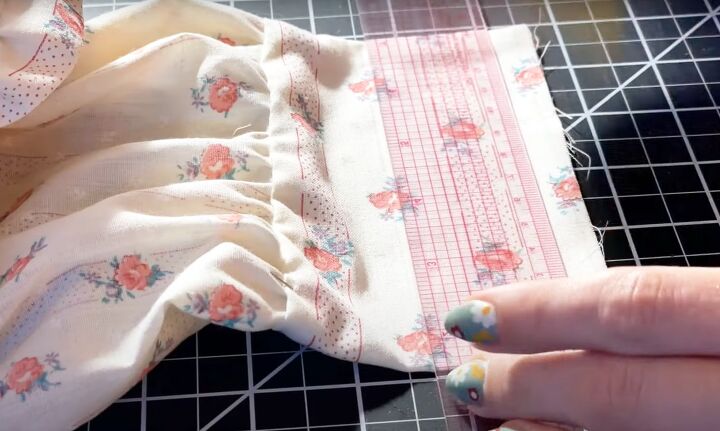
Gather the ruffle for the collar and pin it to the outer and front edges. Make sure to spread the gathers evenly.
It took me several tries to get this right, but it's worth taking your time over because it's the main focus of the shirt.
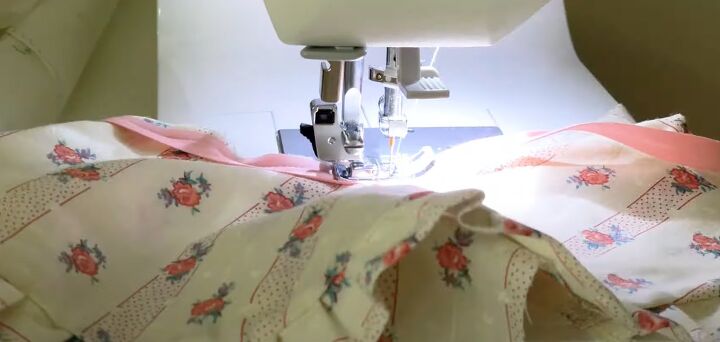
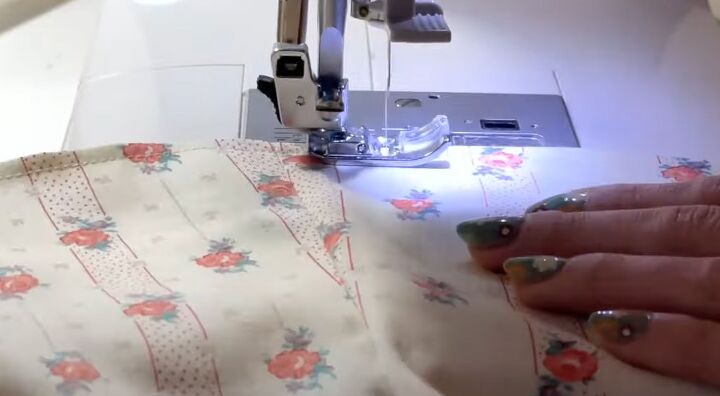
When you're happy with the effect, sew the ruffle to the collar. I found it easiest to do this with the ruffle on top as I was sewing.
That way the feeders didn't disturb the gathers and I could guide them through manually.

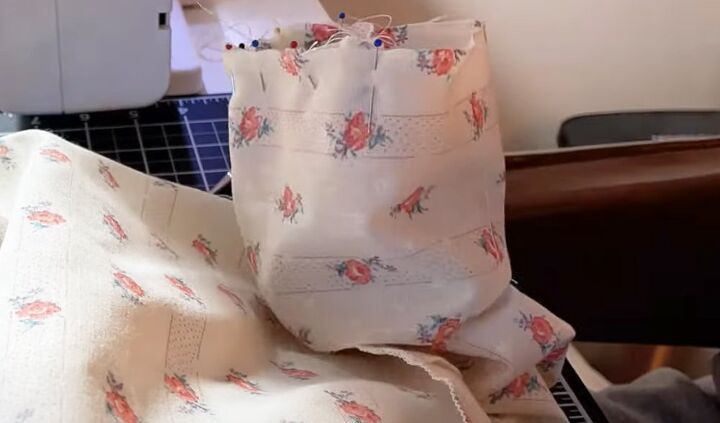
Place the second collar piece over the first, with right sides together and the ruffles sandwiched between them.
Pin the three layers together around the outer and front edges and sew them in place.
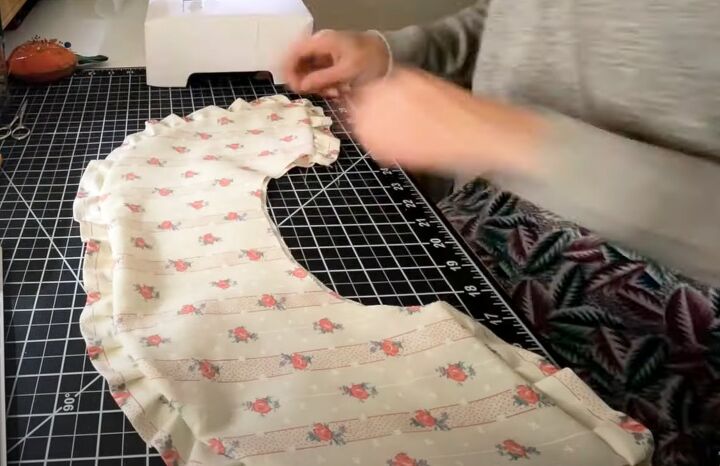
Check that the ruffle is correctly stitched between the layers, then trim the seam allowance and turn the collar right side out.
4. Attach the collar
Pin the collar to the neck edge, with right sides together, and sew in place.
Finish the raw edge with bias tape. You can pin the tape over the seam first, or do as I do and place it as you sew.
It saves a lot of time but it takes a bit of practice, so I recommend trying it on some scrap fabric first.
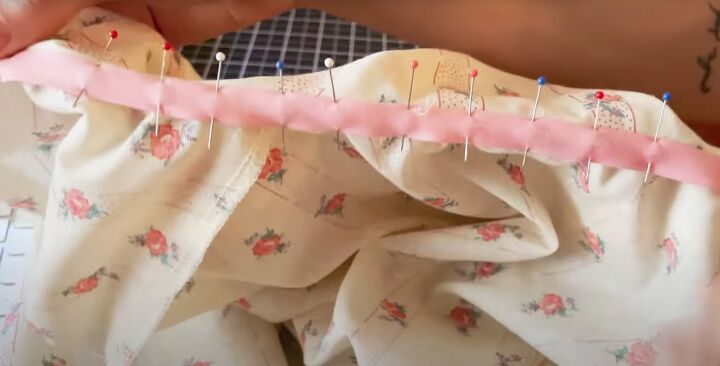
After the inside of the bias tape is stitched down, fold it over the seam, pin it to encase the raw edges, and sew along the edge of the tape.
Once the collar is attached, turn in and press the button plackets and sew them down.
5. Insert the sleeves
Gather the sleeve head to fit the armhole.
This is another important element of the style, so make sure the gathers are very evenly distributed as you pin and sew them in place.
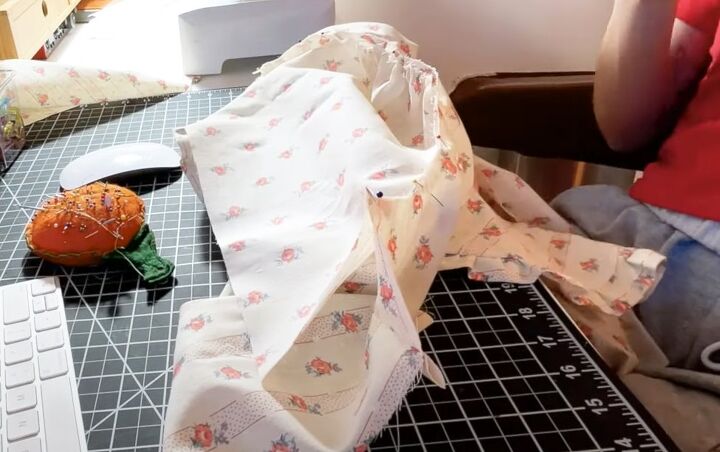
6. Side seams and cuffs
Join the side and sleeve seams, from the end of the sleeve to the lower edge of the shirt, and finish the raw edges.
Gather the end of the sleeves to fit the cuffs. Sew the short edges of the cuffs together.
Slip the cuff over the end of the sleeve, with right sides facing, and pin the gathers in place.
Sew the cuff to the edge of the sleeve. Turn the cuff and sleeve right side out and mark the cuff hemline.
Fold the raw edge of the cuff to the inside and press. Sew it down and finish the raw edge.
7. Lower hem
Finish the raw edge at the bottom of the shirt, turn it under and sew in place.
8. Buttons and buttonholes
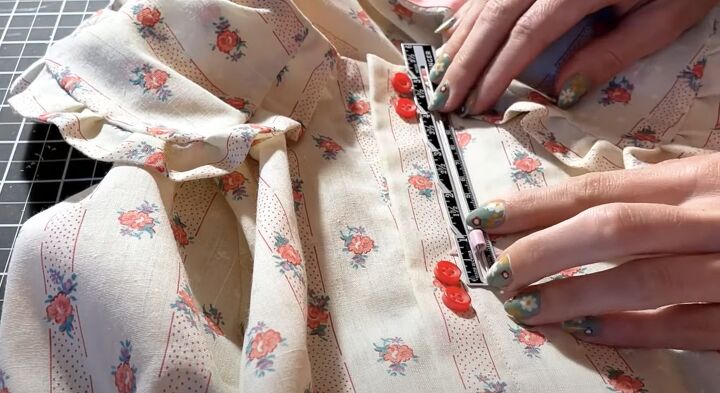
Choose your buttons for the front fastening and decide how you want to place them.
Measure the position of your buttonholes so they're evenly spaced. I wanted my buttons in groups of two, so I offset them either side of the original buttonhole marks.
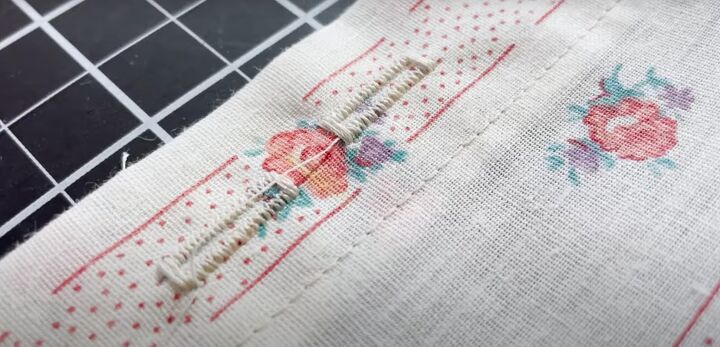
Sew the buttonholes and make sure you're happy with them before snipping them open and attaching the buttons.
I added Fray Check to my buttonholes to keep them looking neat.
DIY cottagecore shirt
I love cottagecore shirts and this collared shirt pattern is a beautiful example.
The pattern creator has detailed videos of how to make the three versions included on the pattern. You can find the videos on her YouTube channel, isa in stitches.
The long-sleeved, high neck ruffle shirt she shows is stunning and might well be my next project. I really like to support other indie pattern makers too, when I can.
Is cottagecore a favorite of yours as well? Do let me know in the comments if you love this as much as I do.
For more sewing content, check out my post on How to Make a Super Cute Checkerboard Purse.
The author may collect a small share of sales from the links on this page.


Comments
Join the conversation