How to Sew and Decorate a Super Cute Beanie

After watching my tutorial on how to sew a beanie, my mother sent me a drawing of a beanie hat with a bird on it.
I thought it was really cute and decided to make it. I used t-shirt transfer paper for the bird cut-outs and embroidered plants and leaves from an embroidery book I already had (although you can use any alternative you can find!)
Tools and materials:
- Plain color stretch rib fabric
- Beanie hat as template
- Tablet or computer
- Graphics application
- Bird illustrations
- T-shirt transfer paper
- Color printer
- Canvas or other firm fabric
- Iron
- Wig stand (optional)
- Water-soluble stabilizer
- Sharpie
- Embroidery book
- Embroidery needle and threads
- Scissors
- Measuring tape
- Sewing machine
1. Cut out beanie
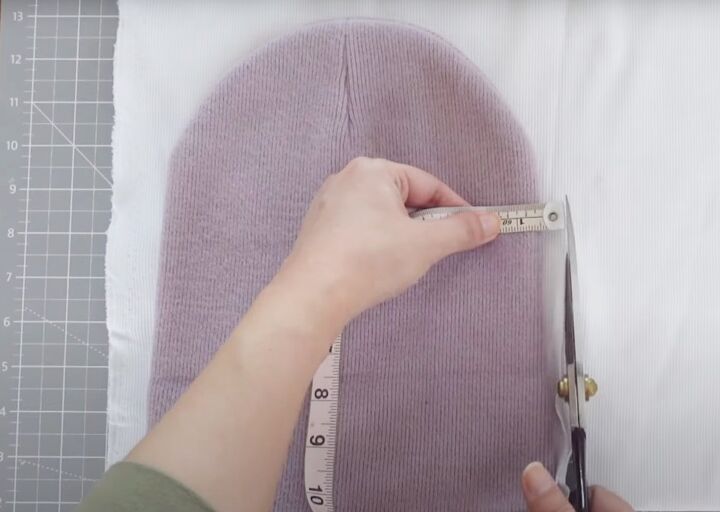
I created my own sewing pattern for a beanie hat.
Place a stretch beanie that fits you on the fold of your fabric. Mark the center point of the top of the hat.
Cut around the beanie template to the center point, adding a half inch seam allowance.
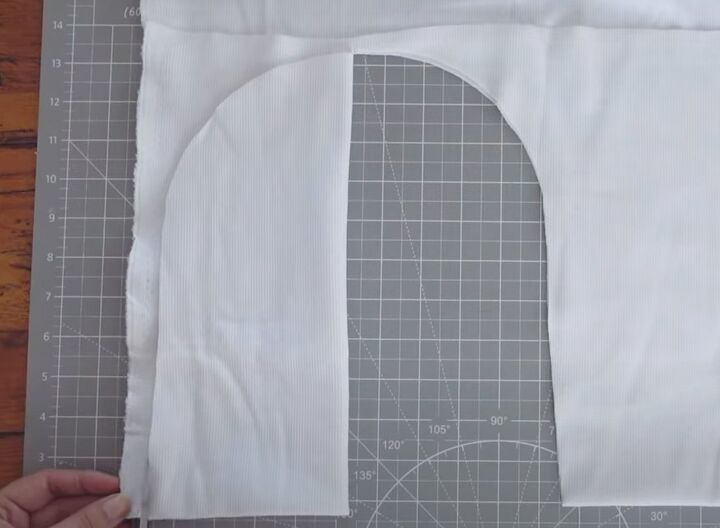
Fold the cut beanie in half lengthways and cut the other half to match.
Cut a second piece on the fold, using the first as a guide.
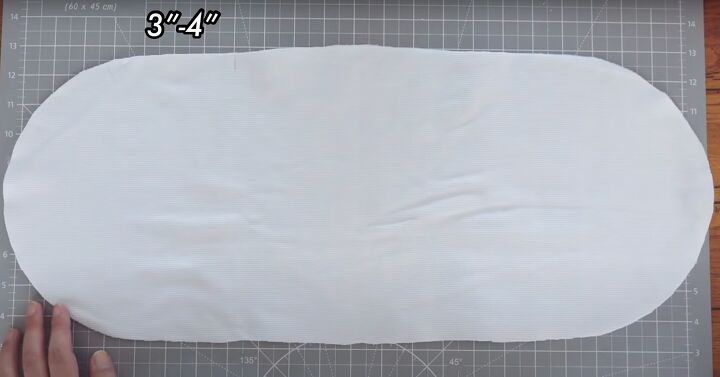
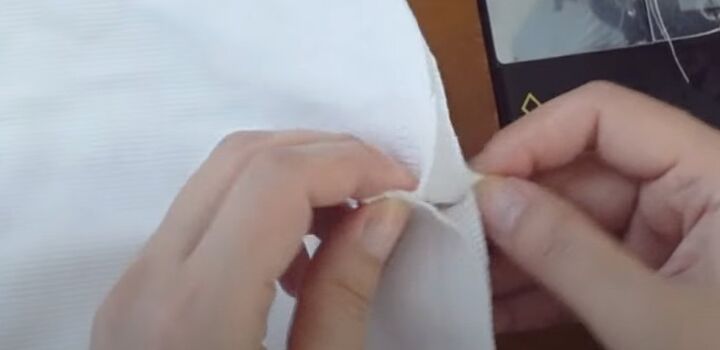
2. Sew beanie
Open out the two pieces and place them right sides together. Mark a section 3 to 4 inches long on one straight edge.
Stitch around the rest of the edge with a half inch seam allowance, leaving the marked section open.
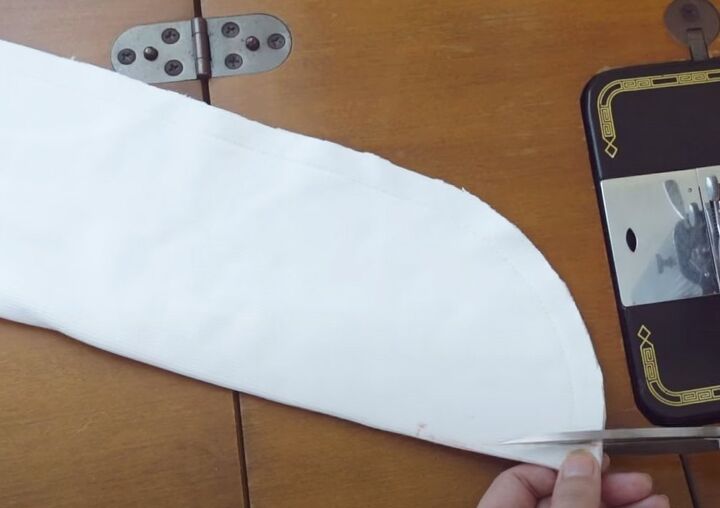
3. Shape top
Fold the joined pieces in half lengthways. Mark 7/8" from the fold within the seam allowance and 2 to 3 inches down from the raw edge.
Join these points with a diagonal line to make a dart shape and cut out the dart. Fold the hat in half widthways and cut out a matching dart at the other end.
Sew the darts closed on both sides of the main seam. Finger press the dart seams open and sew the seam at the top of the hat closed. Complete the other end to match.
Turn the hat right side out through the opening and stitch the opening closed. Tuck one end of the hat inside the other.
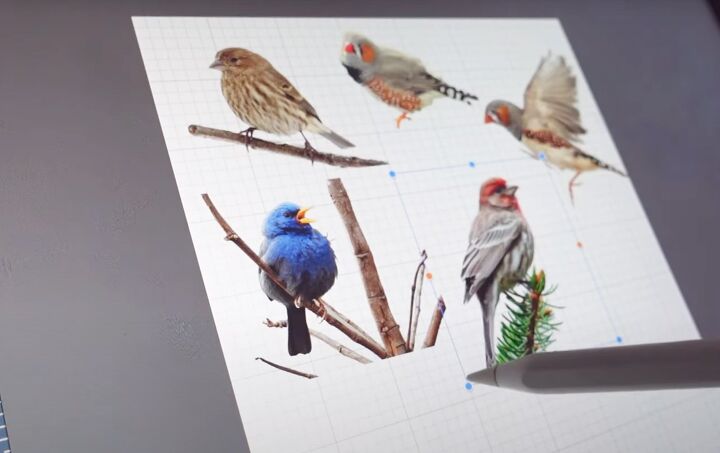
4. Make bird prints
Arrange bird images on to a single page, leaving enough room around each so they can be cut out individually. If you're using words, remember to flip the images.
Print on to t-shirt transfer paper.
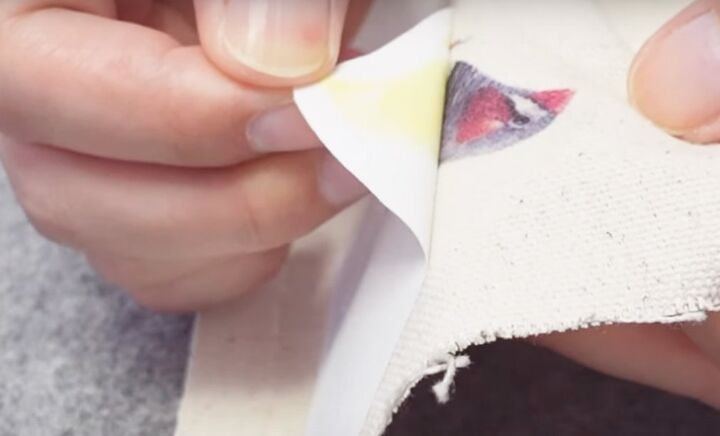
Cut around each image and transfer it with the hottest iron your fabric can take on to a firm fabric like canvas.
When it's cool to the touch, peel the paper off slowly.
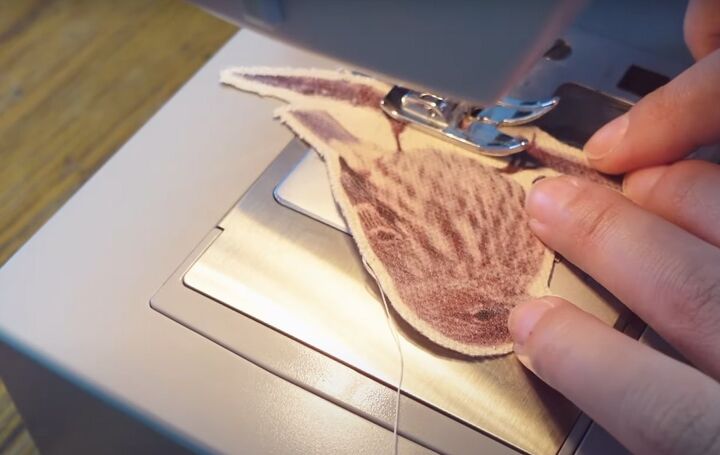
Cut away the excess fabric and outline each bird with a zigzag stitch.
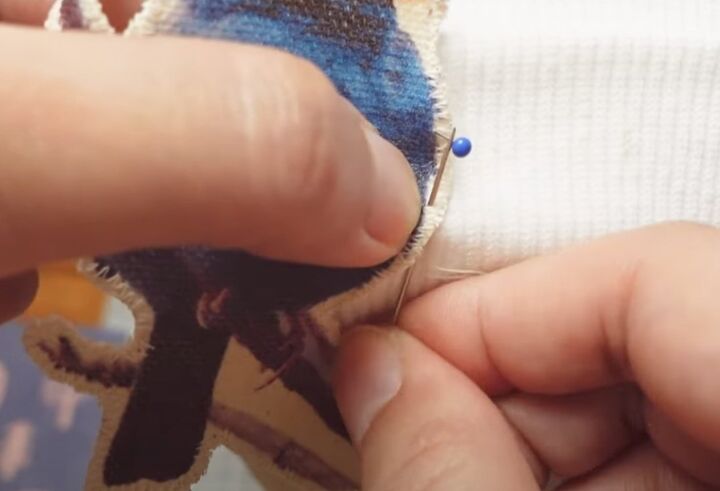
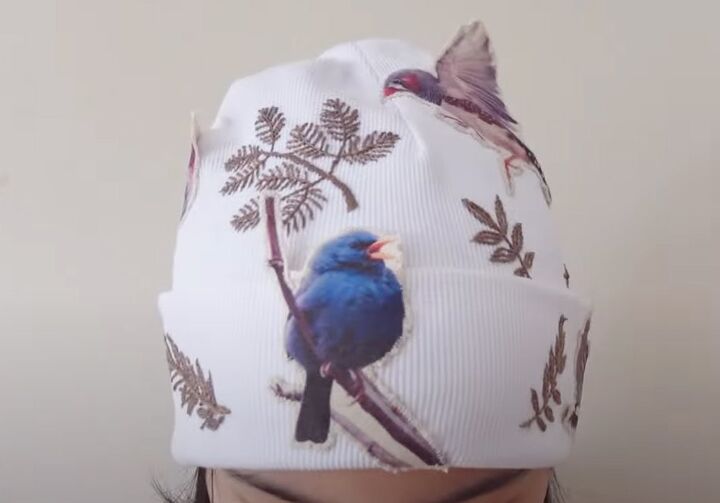
5. Attach birds to hat
Spread the birds out over the hat and hand sew them in place.
Don't be afraid to leave some edges free, so it looks as if the birds are about to fly away.
Use a head form or wig stand for this part, if you have one.
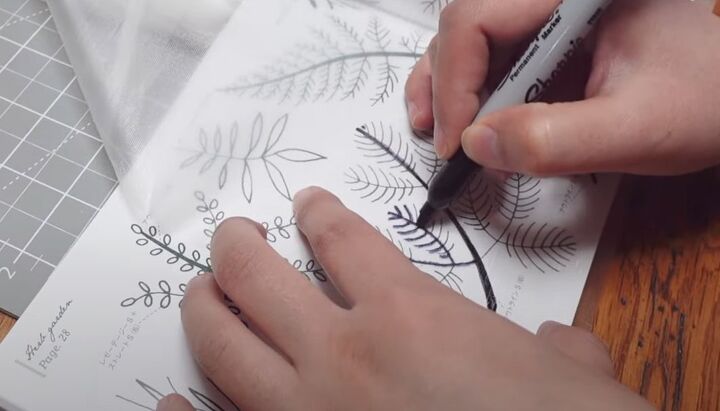
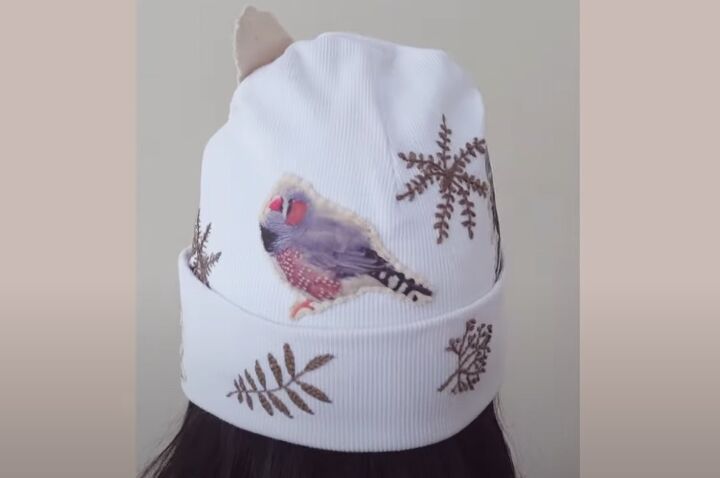
6. Embroidery
Trace the embroidery patterns on to water-soluble stabilizer with a Sharpie.
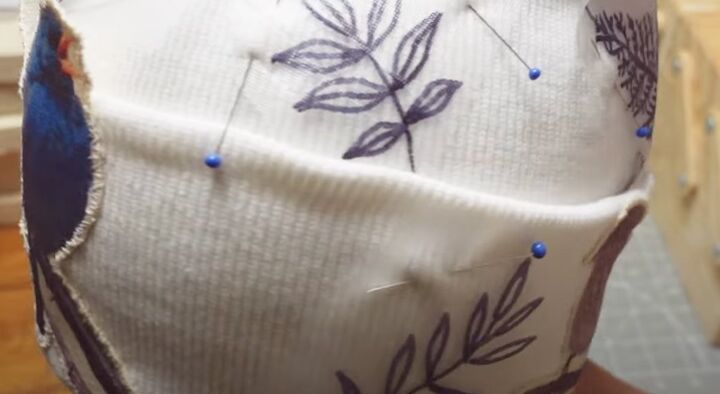
Cut around each design and pin them to the hat.
Embroider through the stabilizer on to the hat. See the video at 8:59 for exactly how I did the embroidery and the stitches I used.
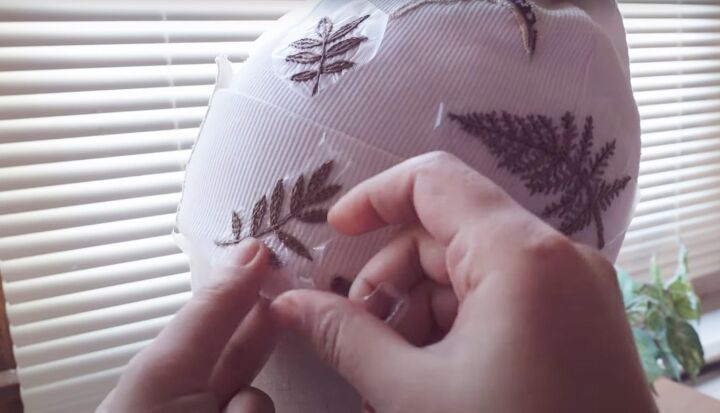
7. Finishing
Gently tear away as much of the stabilizer as you can.
I had to immerse my hat in cold water to dissolve the remaining pieces and then hang it up carefully to dry.
How to sew a beanie
My mother hadn't envisaged so many birds, but she did like the hat. So did my daughter, who decided it was hers!
It was a real labor of love but I thoroughly enjoyed making it. Of course you could add fewer birds and do less embroidery than I did.
Please let me know in the comments below if you tackle something like this and include a link to a photograph so I can see it.
The author may collect a small share of sales from the links on this page.


Comments
Join the conversation