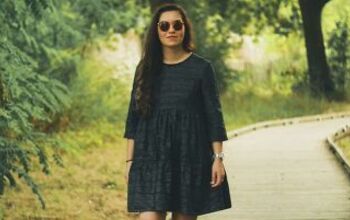
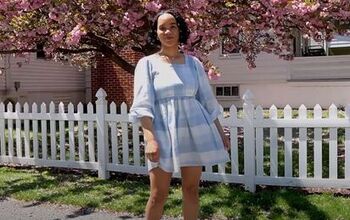
How to Sew a Super-Cute & Summery DIY Babydoll Dress

In this tutorial, I will show you another idea to play around with your leftover fabric! This lovely baby doll dress has a bow-tie strap design with gathered fabric on both sides. I’ll be using two fabric designs to make this beautiful dress outstanding. Let’s get started!
Tools and materials:
- 2m (2.18 yards) cotton fabric (1m [1.09 yards] for each pattern)
- Paper
- Pen
- Marker
- Measuring tape
- Pins
- Scissors
- Ruler
- Sewing machine
- Iron
- Thread
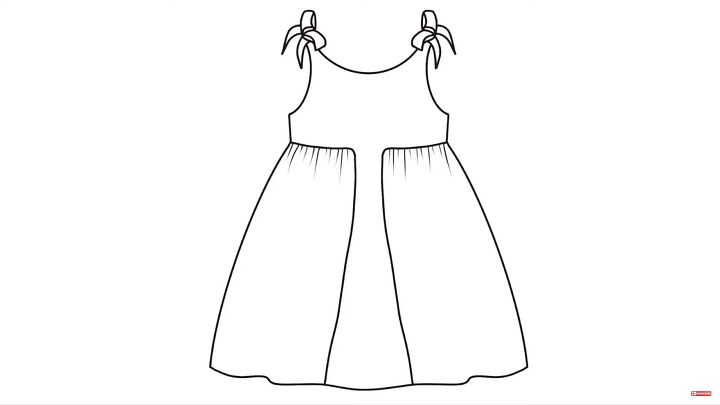
The summer dress pattern
Here’s the dress design that’ll be divided into two parts; the top and bottom. I’ll show you how to make both below!

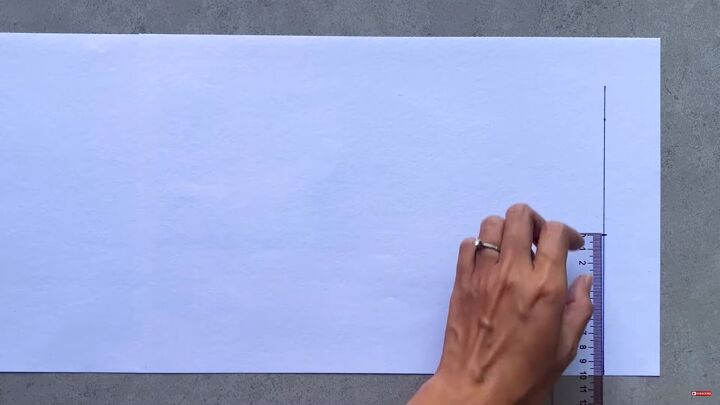
1. Make the top part
Right, let’s start making the top part of the dress. Draw a straight, vertical line then measure half of your neck size up from the bottom; mine is 10cm (3.93”).
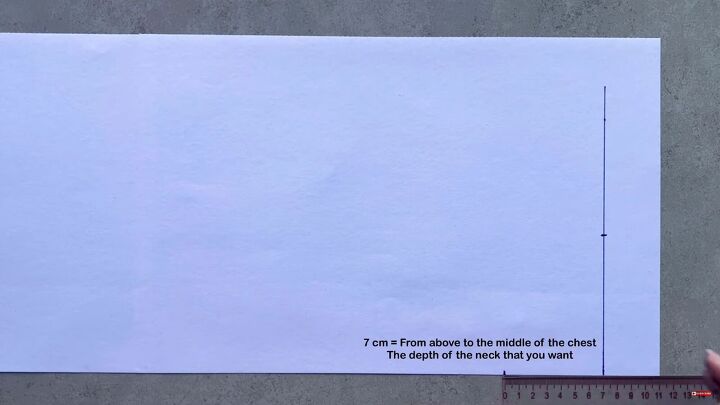
Measure the depth of the neck (above the middle of your bust) and mark this perpendicular to the vertical line. Mine was 7cm (2.75”).

Connect these marks and finish them off with a curve.
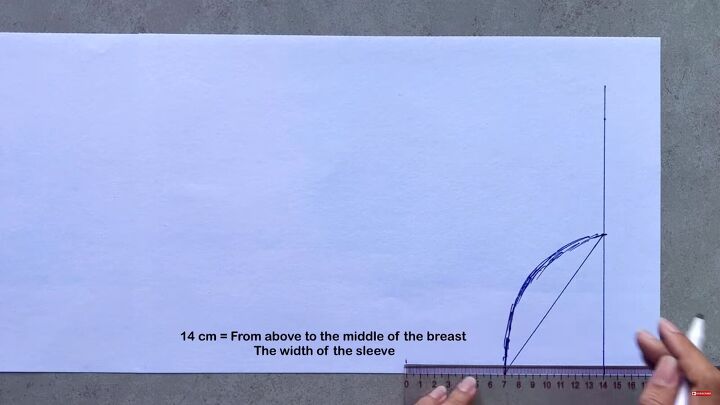
Measure the sleeve’s width from above the middle of your bust to under your armpit. Make a mark from the corner. Mine was 14cm (5.51”).
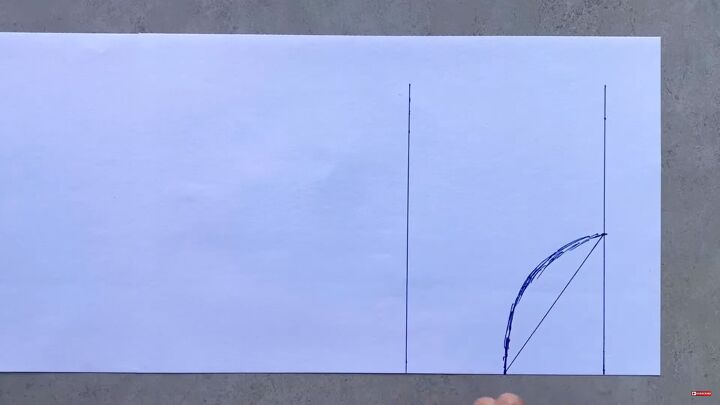
Draw another vertical line from this mark.
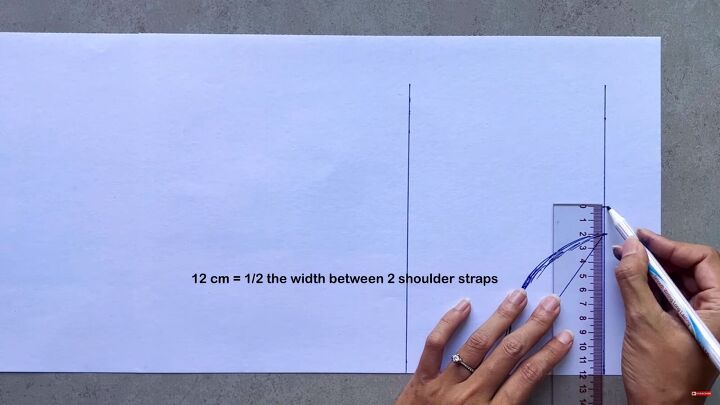
For the shoulder straps, mark half of your inside shoulder measurement, which will also be the position of the shoulder strap. Mine is 12cm (4.72”).
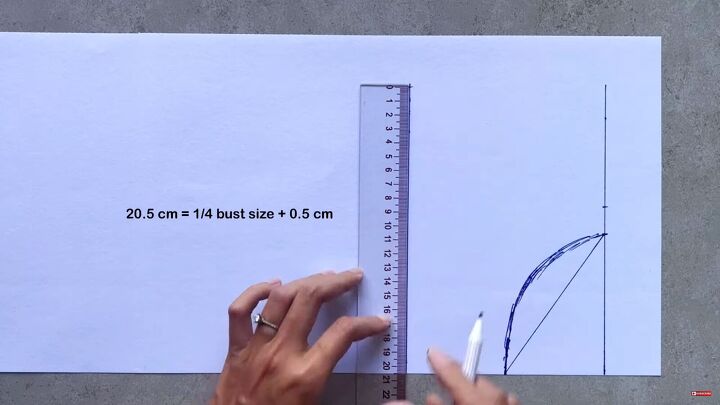
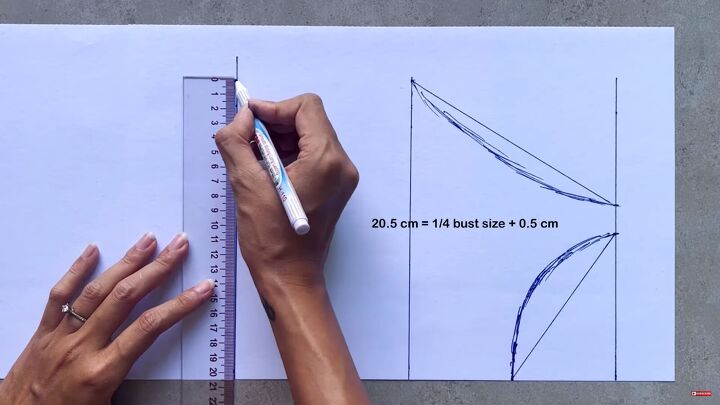
From the second vertical line, mark 25.5cm (10.03”), which is a ¼ of my bust size plus 0.5cm (0.19”).
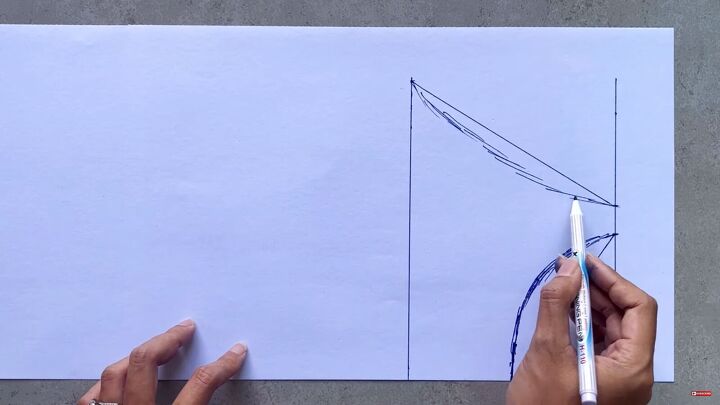
Connect the two new marks (straps and bust). Draw a slightly curved line to finish the sleeve line of this dress.
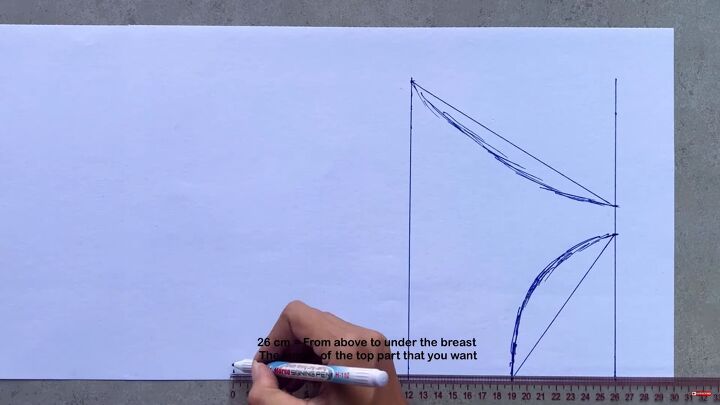
From the first line, mark the width from above to under your breast. Mine is 26cm(10.23”).
Mark your ¼ of your bust size again on this line (plus 0.5cm [0.19”]).
Connect this mark to the end of the sleeve line.
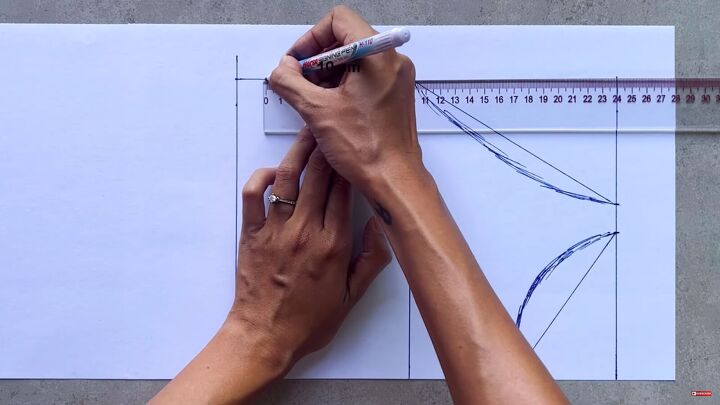
Mark 10cm (3.93”) from the top of the side line.

From the last line, mark 5cm (1.96”). This is half the width at the top of the center part.
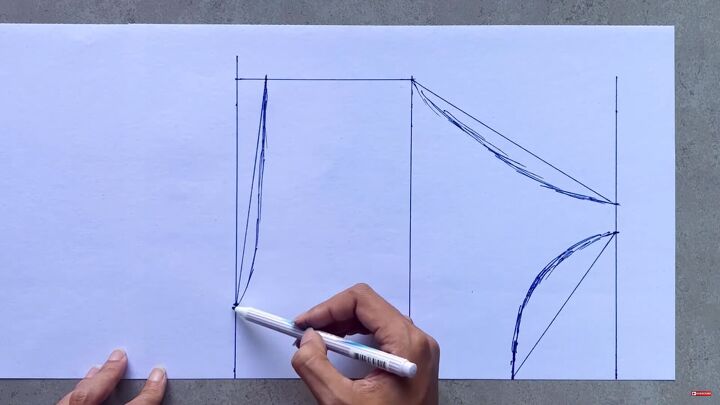
Connect the 10cm (3.93”) mark to the new mark and draw a curve; this will be the underbust line of the top.
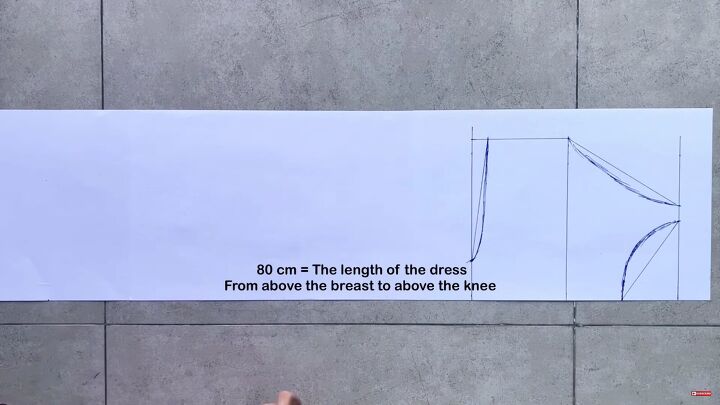
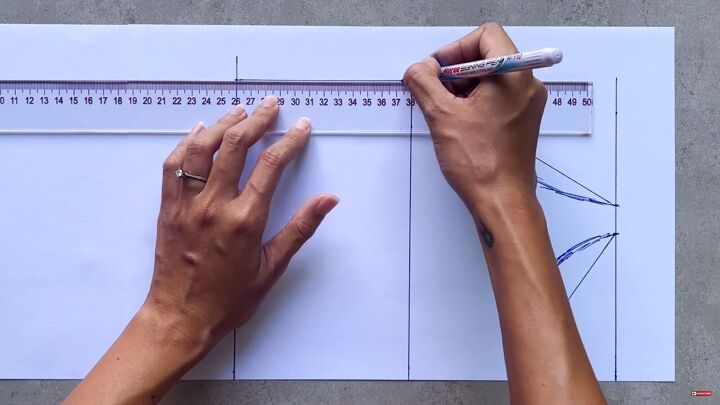
Measure from above the breast to above the knee and make a mark. Mine was 80cm (31.49”).
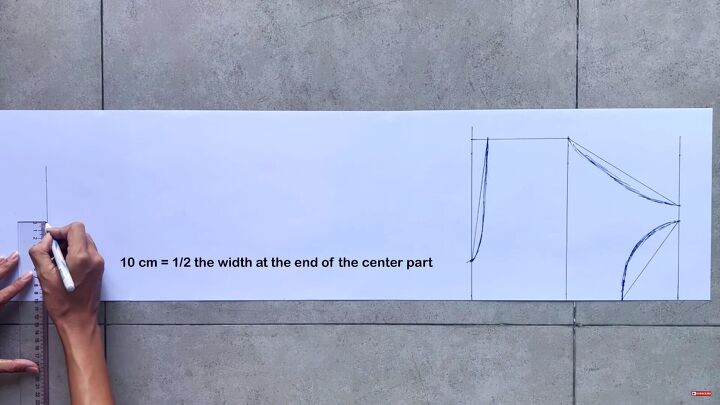
Mark 10cm (3.93”) on this line. This is ½ the width of the center part.
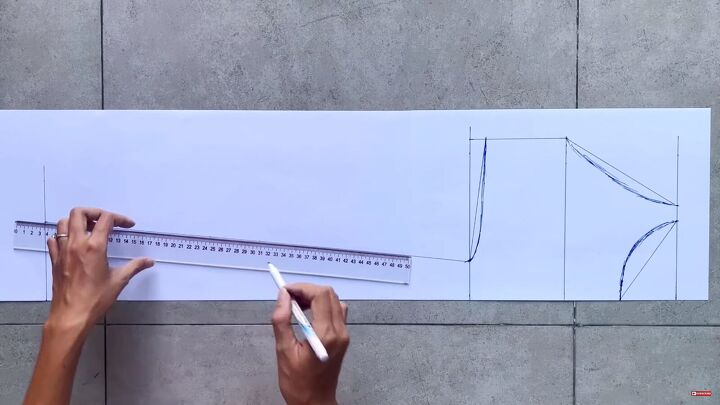
Connect this mark to the mark on the third straight line.
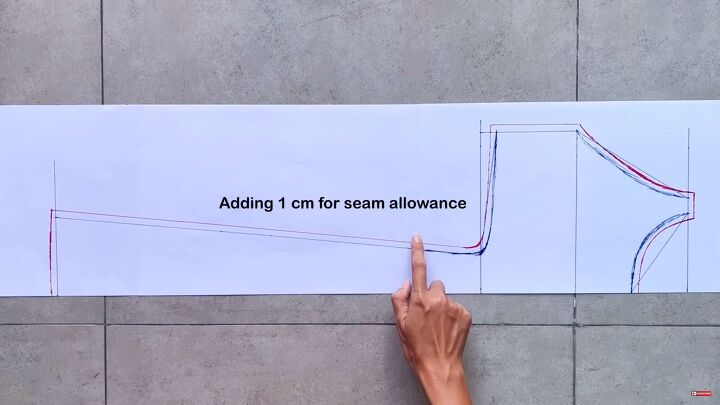
Add 1cm (0.39”) seam allowance and cut. Your top and center part is complete! Cut out two pieces of this pattern.
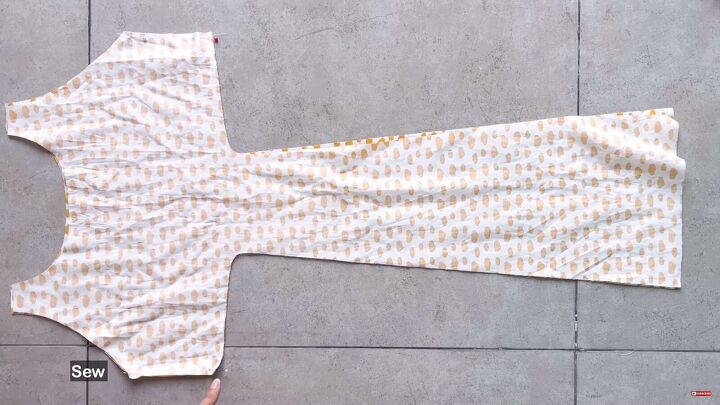
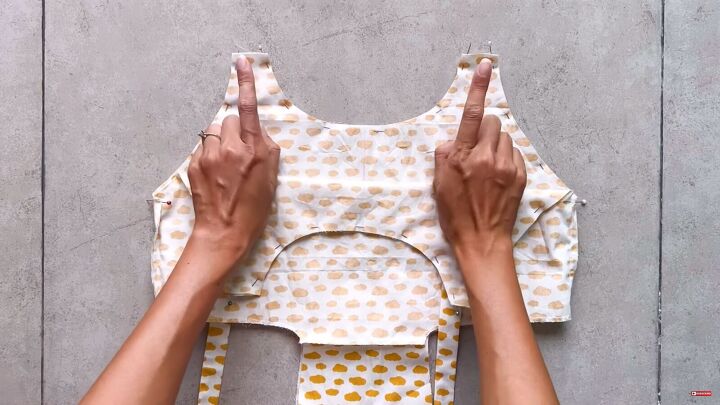
2. Attach the facing
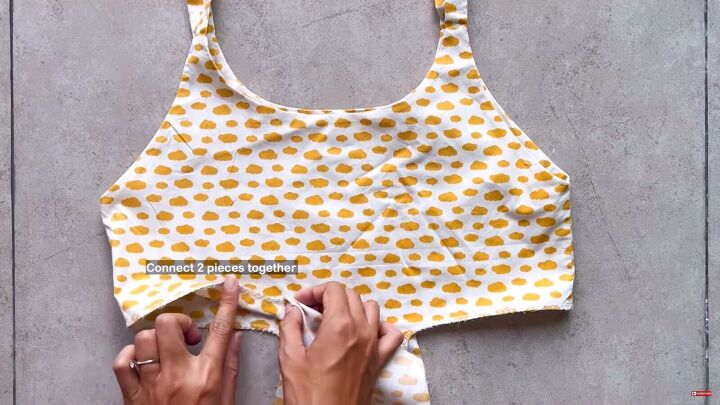
With the right sides facing, connect the two pieces at the sides and sew.
Cut two more pieces of the top part (without the center). This will be the lining. Pin and sew the sides, too.
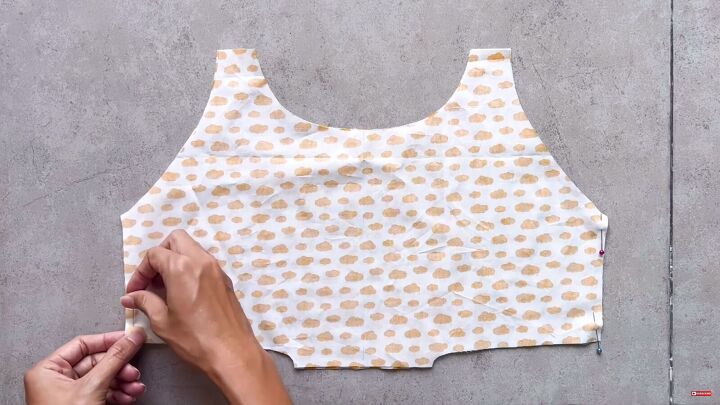
Insert the main piece into the facing and sew the shoulder seams, armholes, and neckline. (Sew through two layers).
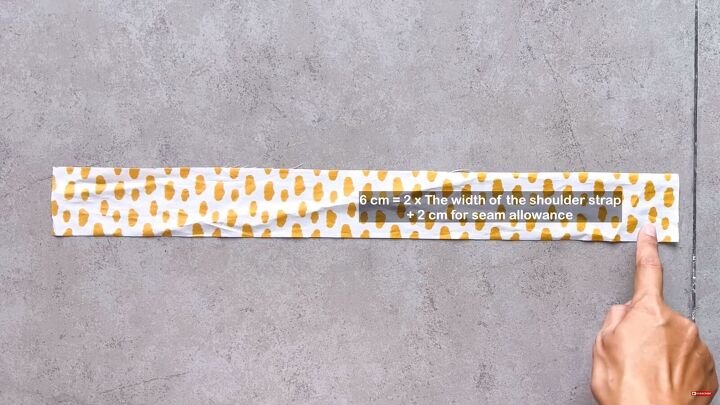
3. Make the straps
Measure and cut the shoulder strap. Mine is 6cm (2.36”) plus 2cm (0.78”) seam allowance. The length is 50cm (19.68”).
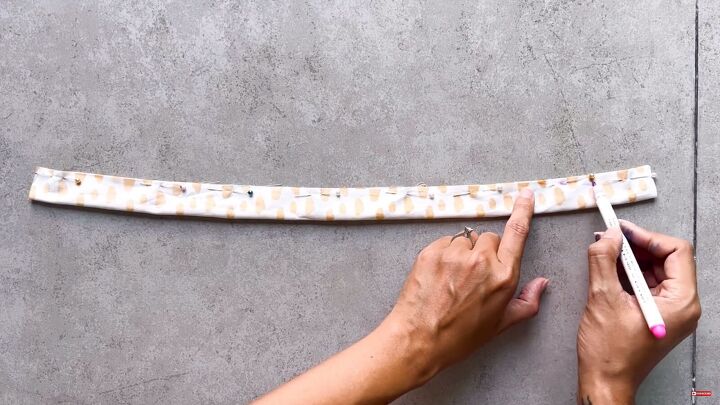
Fold in half and pin. At one end, draw a slightly curved line. Then, sew.
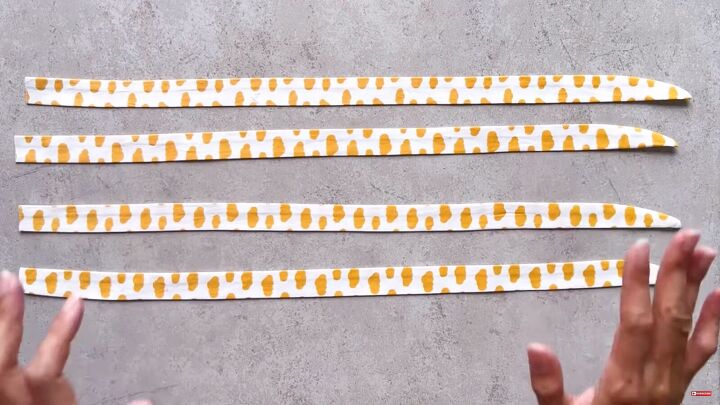
Turn the straps inside out and iron them flat. You’ll need four pieces.
4. Attach the straps
Place the strap ends between the lining and the main piece. Sew around all the pinned areas to secure.
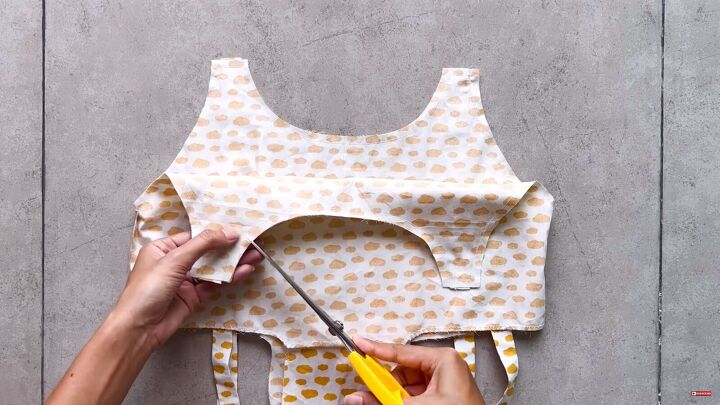
Snip the curved neckline before turning it inside out.
Connect the bottom edges with an overlock stitch.

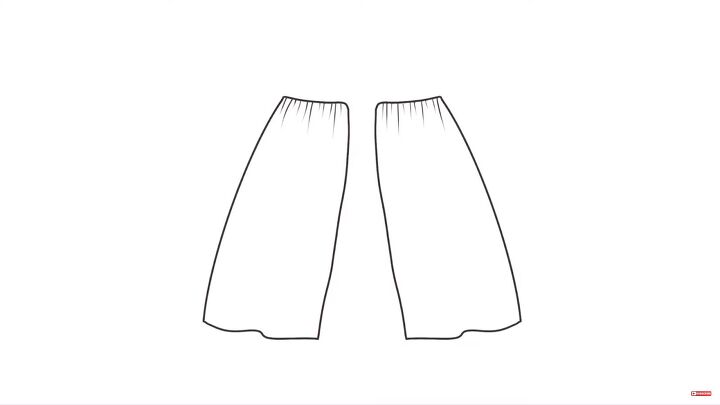
5. Make the bottom piece
Measure from the underbust to above your knee and add a 2cm (0.78”) seam allowance. Mine is 56cm (22.04”). This should also be the same length as the center part. Next, measure your hip size. Mine is 92cm (36.22”). So, this fabric should be 56cm (22.04”) x 92cm (36.22”)
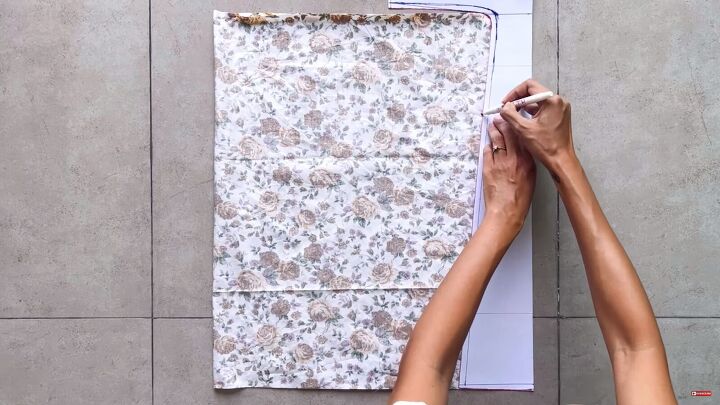
Fold the fabric at the width line, place the top center pattern along the raw edges, and trace the shape.
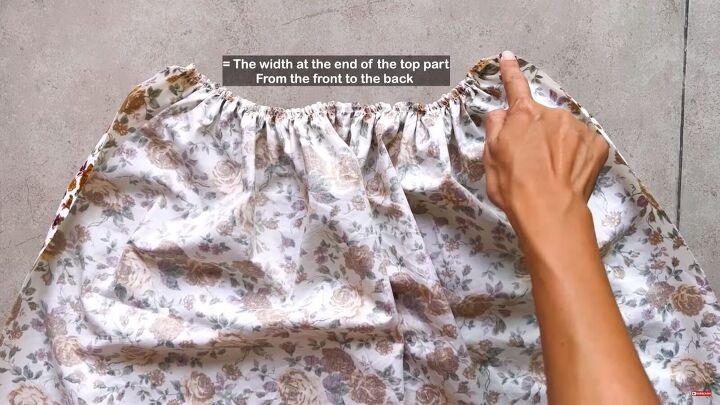
Make a loose seam on the top edge. Then, pull the thread to gather the fabric.
The final width of the gathered fabric should be the same width as the main piece's top part (front to back on each side). Make another piece like this for the other side of the baby doll dress.
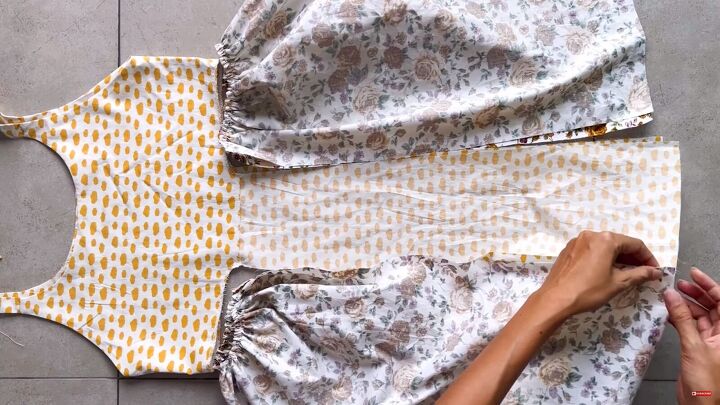
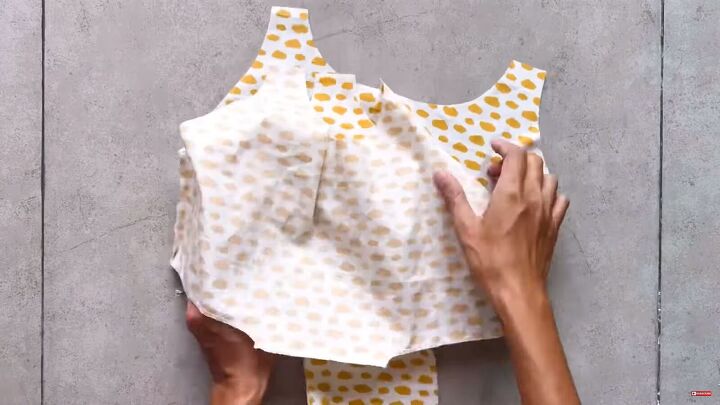
6. Assemble the DIY babydoll dress
Pin the two side pieces to the center part of the main piece and the underbust area. Then, sew to secure.
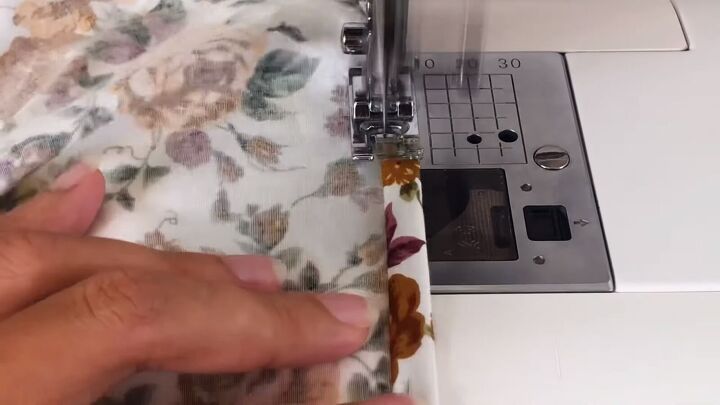
7. Hem the bottom
Fold the ends twice (1cm [0.39”] for each fold), pin, and sew.
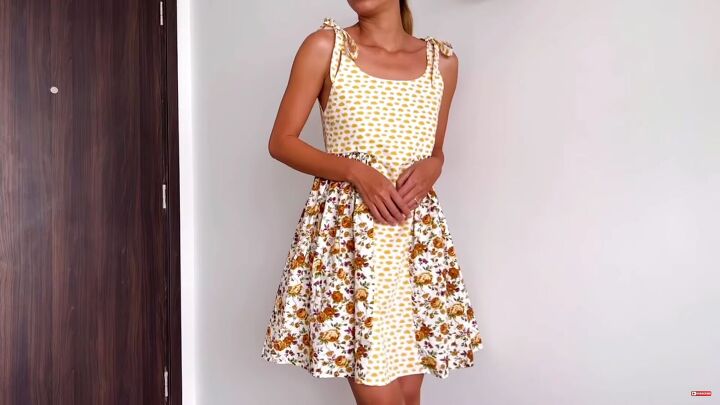
DIY babydoll dress
The DIY babydoll dress is complete! It’s super cute and unique and would also make an excellent outfit for little girls! Good luck.
The author may collect a small share of sales from the links on this page.


Comments
Join the conversation