How to Sew a Cute DIY Babydoll Dress Using a Pattern

In this sewing tutorial, I’m going to teach you how to make a super cute DIY babydoll dress using the Mira pattern from Fibre Mood. The dress has beautiful tiers on it, and I promise that you’re going to fall in love with the end result! Let's get started.
Tools and materials:
- Babydoll dress sewing pattern
- Fabric
- Lining fabric
- Pins
- Fabric scissors
- Sewing machine
- Needle and thread
- Iron
- Hook-and-eye closure
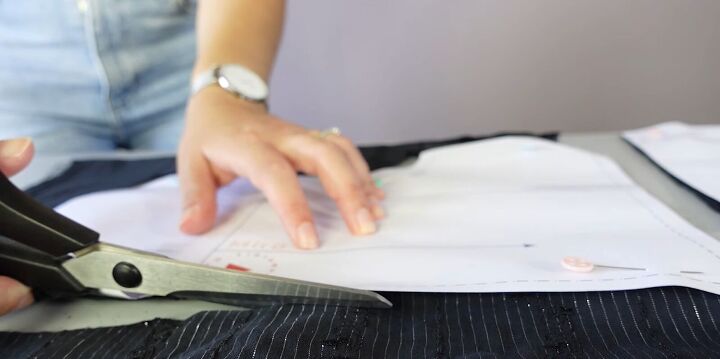
1. Prepare and cut the pattern
Print the pattern for your size (seam allowance is included). Cut out the pattern in your chosen fabric.
In this pattern, the numbers 3 and 5 are exactly the same, and also numbers 4 and 6. I repeated those pieces twice with the main fabric and the lining fabric because the fabric I’m using is a bit sheer.
Piece 8 is the bias tape for the neck.
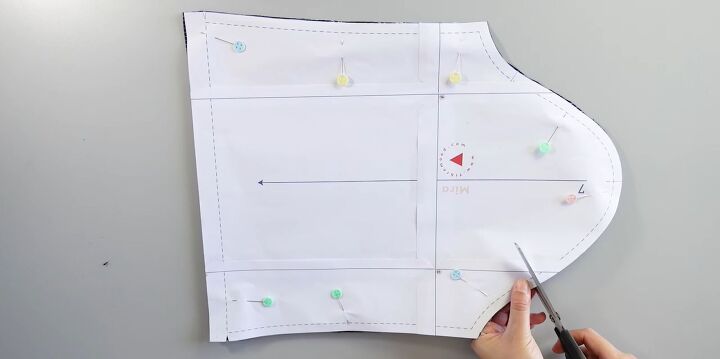
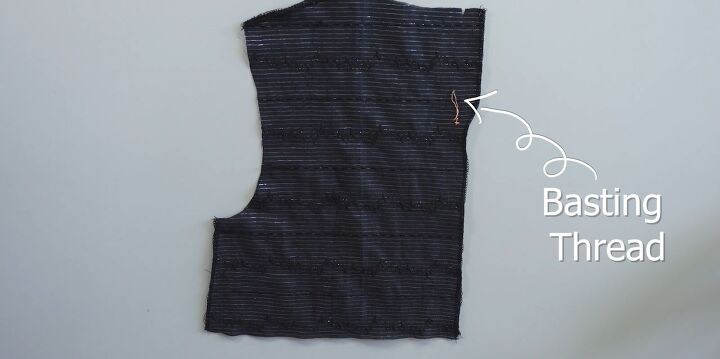
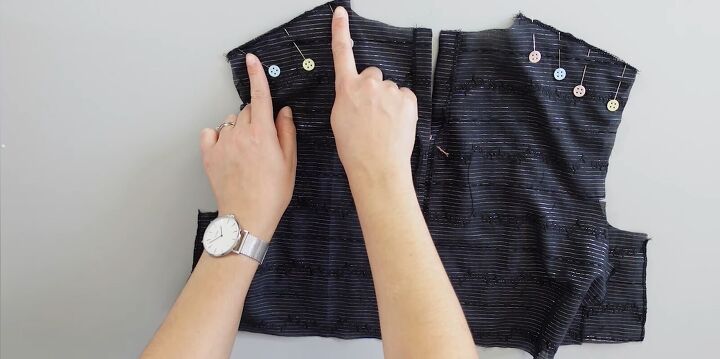
2. Mark the fabric
Mark the key points on the pattern pieces with basting thread, single, double, and v-notches, as shown on the pattern.
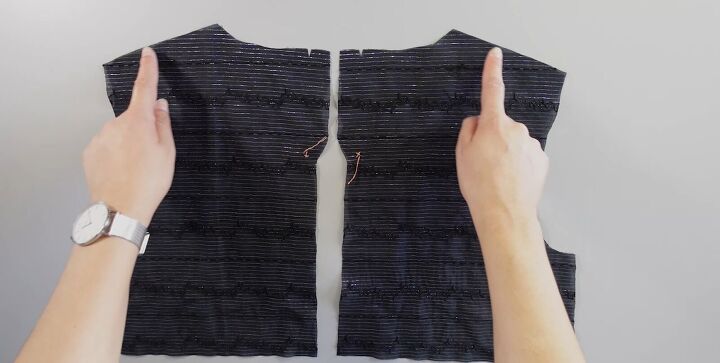
3. Sew the top
Use an overlock stitch on the shoulder and the side seams at the front, as well as on the shoulder, side, and center back seams on the back.
Sew the side of the sleeves and the side seam of all the skirt pieces (3, 5 and 4, 6).
4. Sew the back
Place the back pieces right sides together. Pin up to the basting thread and sew.
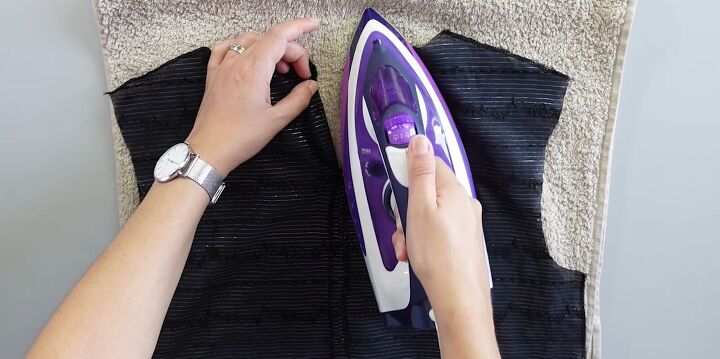
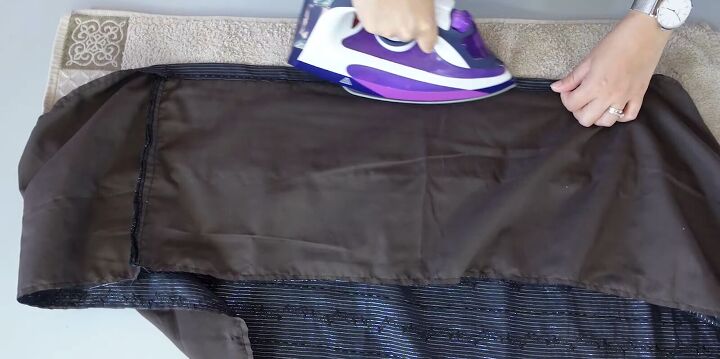
5. Iron the seams
Iron the seam allowance of the center-back open and fold the facings by the v-notch and iron.
6. Sew the shoulders
Place the front and back pieces right sides facing. Pin and sew the shoulders, then iron the seam open.
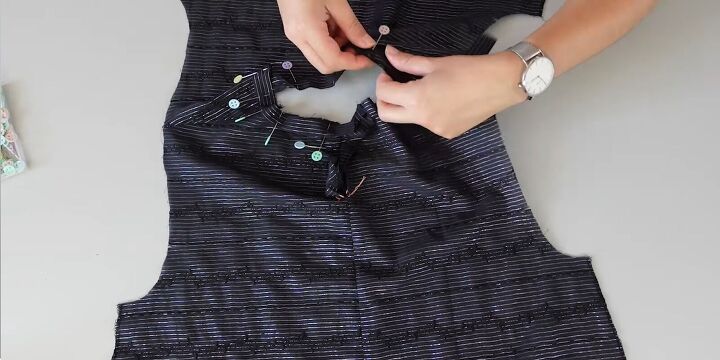
7. Sew the bias tape
Onto the bias tape for the neck. Take the number 8 piece with the right side of the fabric facing outward, fold it in half lengthways, and press.
Turn the facing over to the right side of the back at the v-notches. Place the bias tape on top of the folded facing, pin all around and sew 0.5cm (0.2 inches) from the edge.
8. Attach to the top
Turn the facing and fold the bias tape all the way over to the wrong side and sew it right next to the edge.
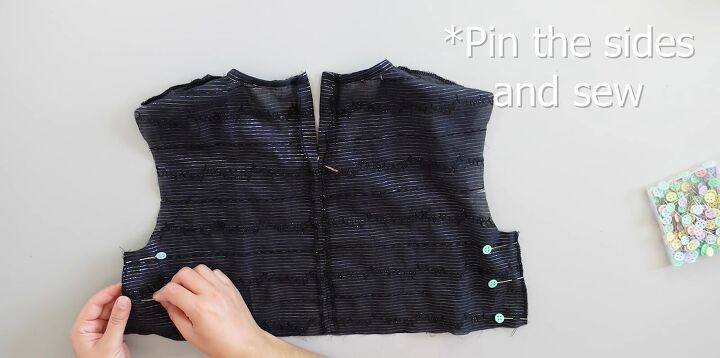
9. Sew the sides
Turn the top so that the right sides are facing each other, then pin the sides and sew. Once done, iron the seams open.
10. Sew the sleeves
Take one of your sleeves and fold it in half, right sides facing each other. Pin the long open side and sew. Then repeat with the other sleeve. Sew, then iron the seams open.

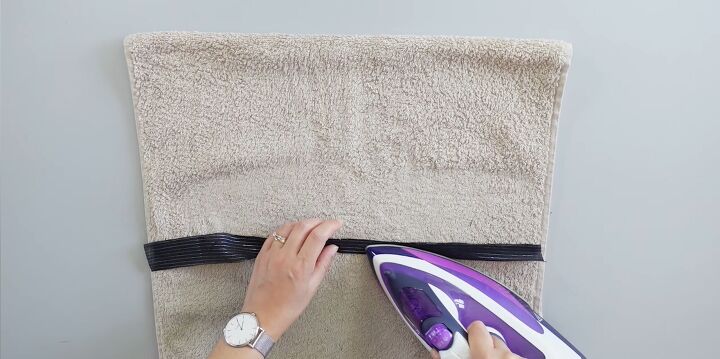
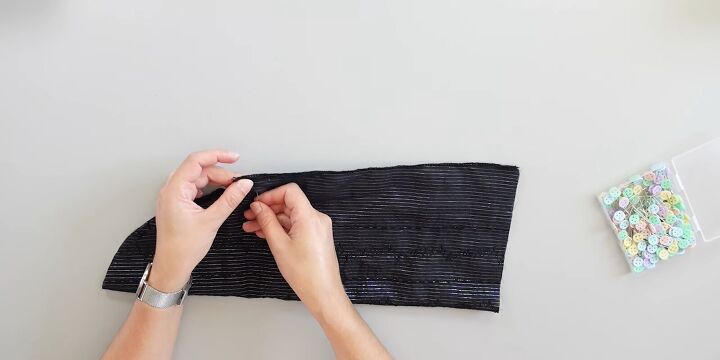
11. Hem the sleeves
To finish the sleeve hem, fold by the v-notch and iron. Then open the fold and place the raw edge along the pressed crease and iron. Fold again and sew in place next to the edge.
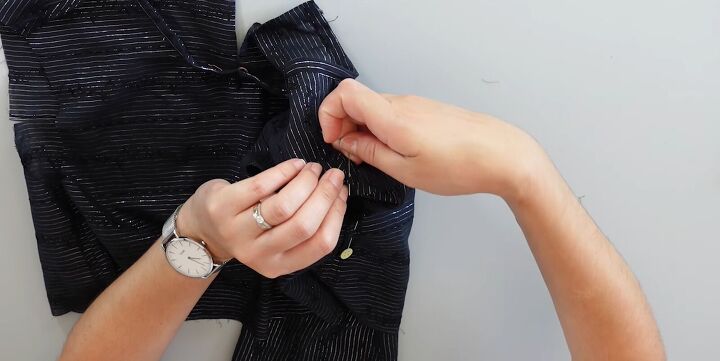
12. Align the sleeves to the top
Pin the sleeve to the armhole, matching the corresponding notches. The single notch matches the front, the double notches match the back, and the single notch at the top goes with the shoulder seams.
Spread the fabric between the markings and pin all around. Sew in place. Repeat with the second sleeve.
13. Sew the tiered skirt pieces
Sew the pieces 3, 5 and, 4, 6 together with their respective linings. Then take the 3 and 5 pieces, place them right sides facing each other, pin the sides, and sew.
Follow the same steps for pieces 4 and 6, then iron the seams open.
14. Hem the bottom
Now you need to hem the lower bands: pieces 4 and 6. Do the same process that we did for the sleeve hems earlier.
Fold by the v-notch and iron. Then open the fold and place the raw edge along the pressed crease and iron. Fold again and sew in place next to the edge.
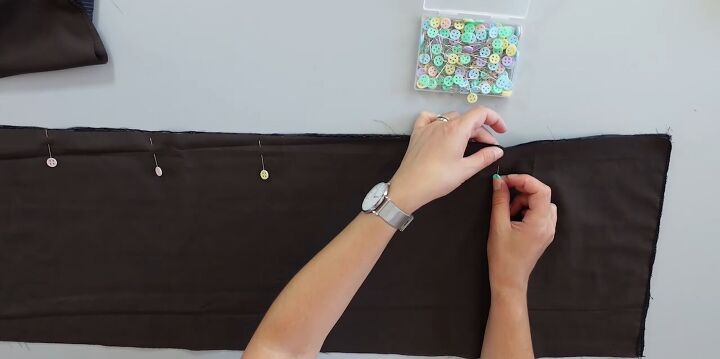
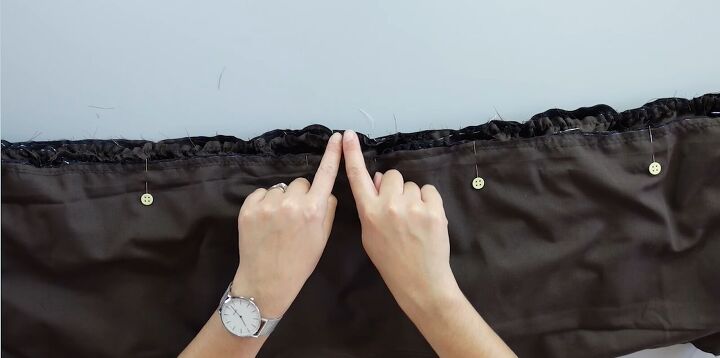
15. Gather the fabric
Change the settings of your sewing machine to a long stitch length. We are going to gather on the raw edge of the lower band piece. You can sew two parallel stitches if you are not confident in sewing only one.
Carefully pull the ends of the threads to gather the fabric into ruffles. Ensure the gathered fabric length matches the upper-band length and the v-notches line up.
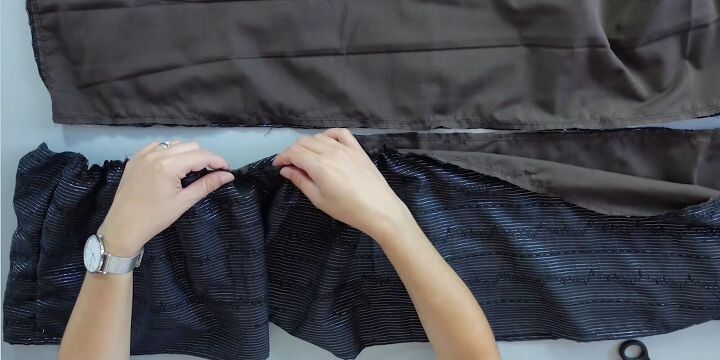
16. Sew the two bands together
Place the upper band on top of the lower band, right sides facing each other. Pin the bottom of the upper band to the top of the lower band with the raw edges meeting, then sew.
Don’t forget to remove the gathering fabric threads at the end.
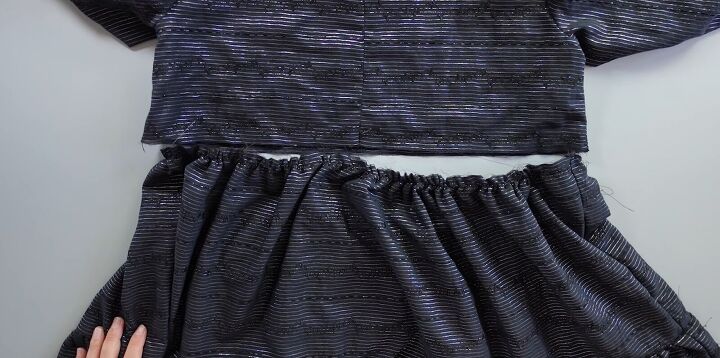
17. Attach the bands to the dress
Gather the top of the upper band until it lines up with the bottom of the top piece. Pin it to the bottom of the top, right sides facing each other, and sew.
Finish the seam using an overlock stitch on the shoulders and the gathered layers.
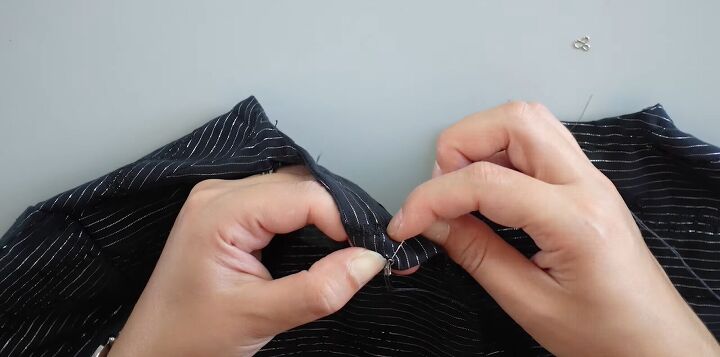
18. Attach the closure
Sew the hook-and-eye closure by hand at the place indicated.

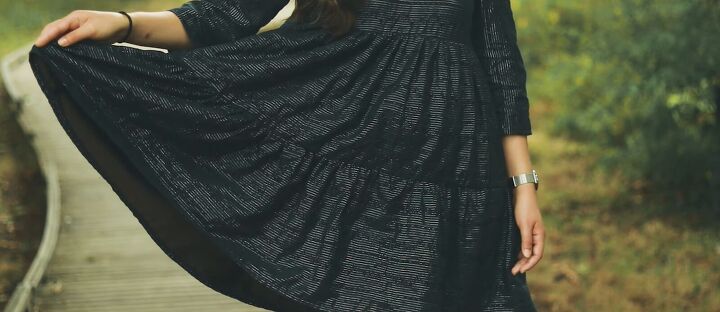
DIY babydoll dress tutorial
Here is the finished tiered babydoll dress. All the effort that I put in was 100% worth it for the end result. This is the type of dress I know that I’m going to wear again and again and again.
The author may collect a small share of sales from the links on this page.


Comments
Join the conversation