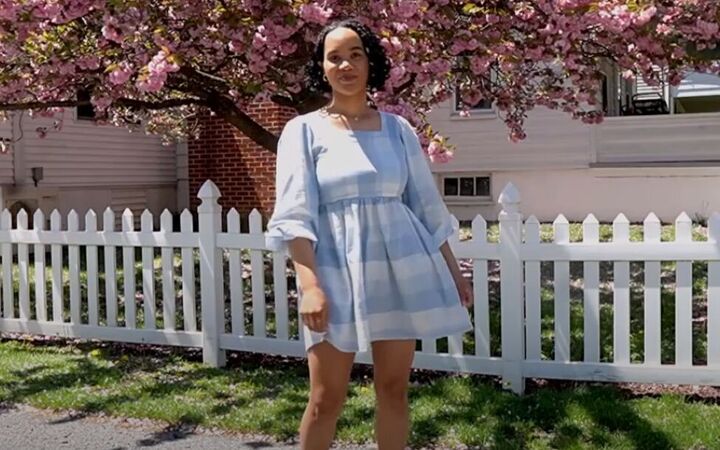
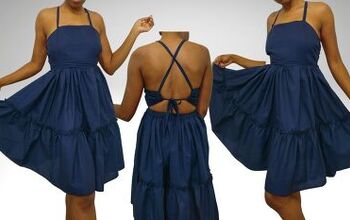
How to Make a Cute DIY Babydoll Dress With a Tie Back

In this tutorial, I’ll show you how I made a super-trendy Instagram and Pinterest-worthy DIY babydoll dress with a tie back. I’ll show you how to adjust a basic traced pattern and sew this inexpensive dress. I love it and I think you will too!
Tools and materials:
- 4 yards of fabric (for the dress and top lining)
- Ruler
- Scissors
- Pattern paper
- Marker
- Sewing pins
- Elastic
- Thread
- Sewing machine
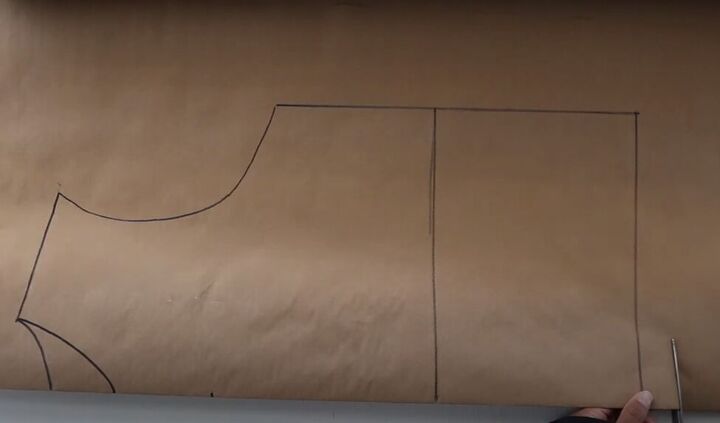
1. Make your dress top pattern
Start with a pattern you make by tracing your own clothes. If you’re new to pattern-making, check out my video on how to make your own patterns.
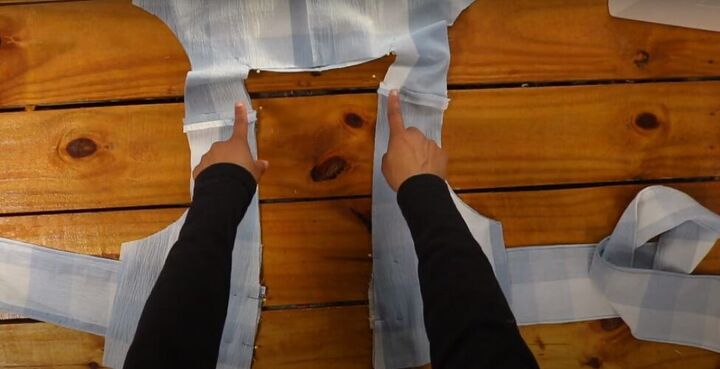
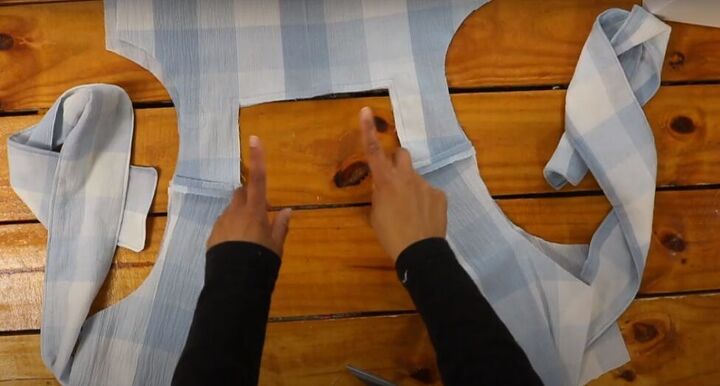
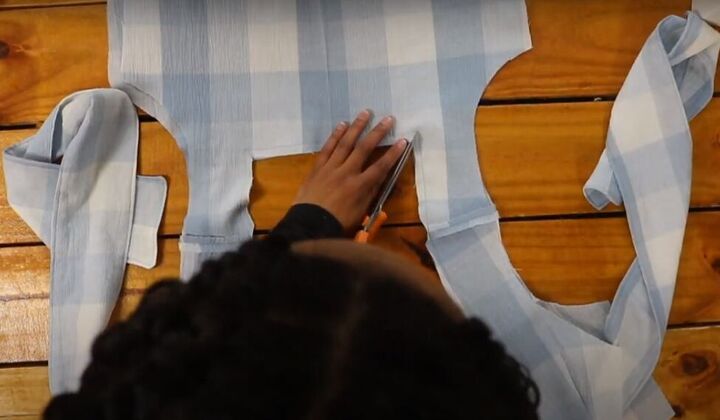
Trace out your basic pattern, from the neckline to the waistline, onto a new piece of pattern paper. Mark 3½ inches down from the outer edge of the neckline and draw in a square neckline for the front of the dress.
Cut out the front dress piece.
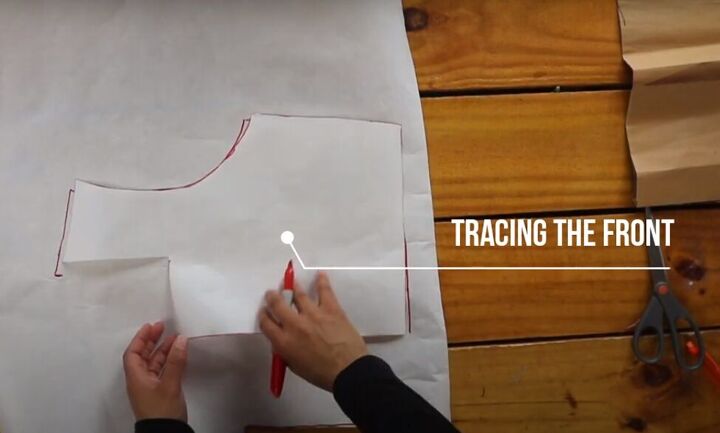
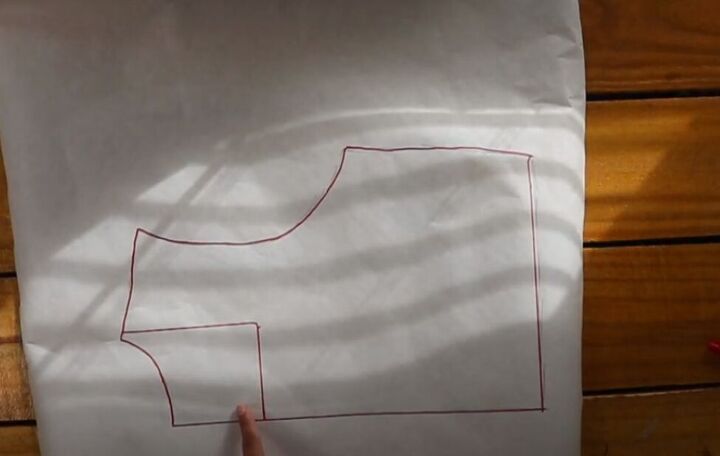
To make the dress back pattern piece, trace the shoulder, armhole, side, and bottom of your front piece onto the pattern paper.
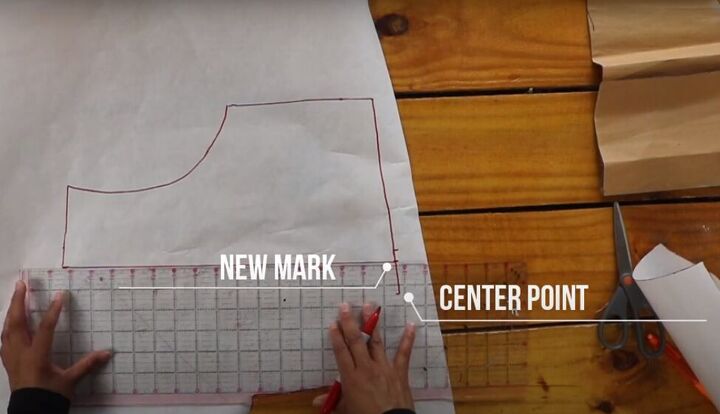
Mark 1½ inches in from the center bottom and draw a straight line from the inside edge of the shoulder to the new mark at the bottom.
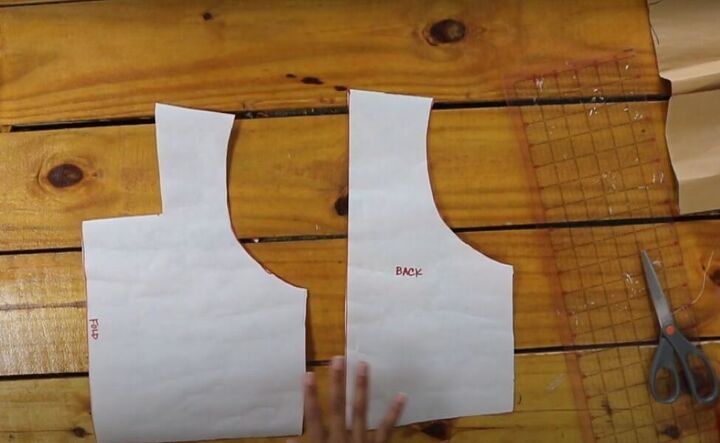
Cut out the back piece.
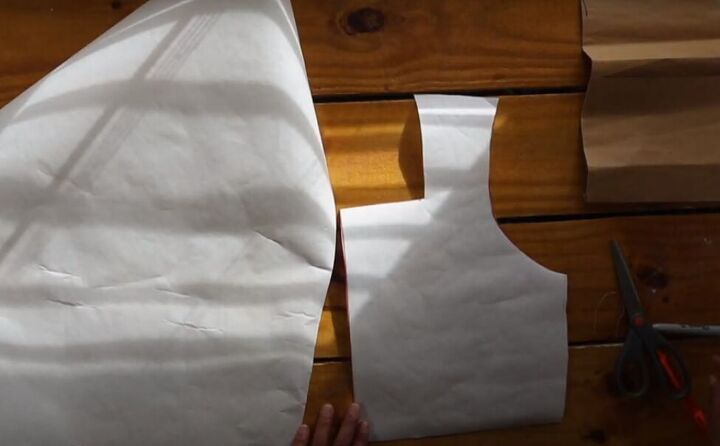
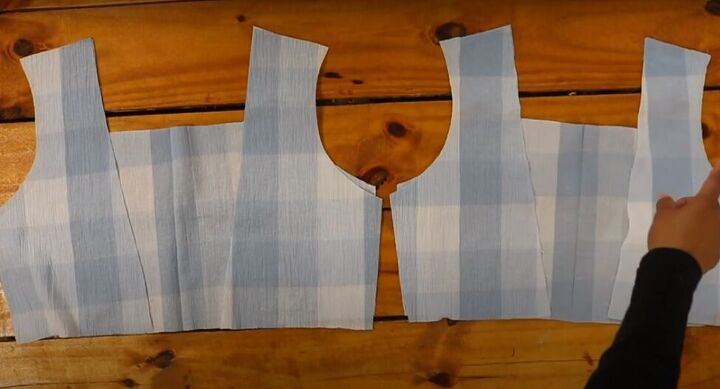
The top of this dress is going to be lined, so cut out a total of 2 front pieces and 4 back pieces.

2. Make your sleeve pattern piece
Babydoll dress sleeves are not full-length, so fold up your basic sleeve pattern piece to the babydoll sleeve length you would like and trace it onto your new pattern paper.

Cut your sleeve pattern piece into long strips, then take those sleeve strips and lay them out on your pattern paper with space between each strip. Trace the outline of the sleeve.
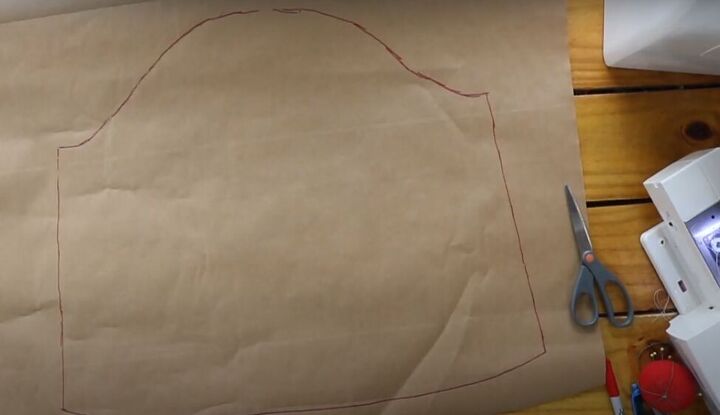
Cut out your new sleeve pattern piece.
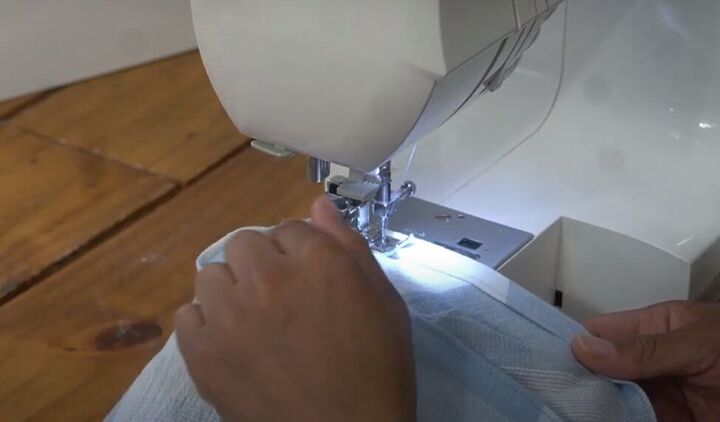
3. Sew the dress top
With right sides together, sew two front pieces to one back piece on the sides and shoulder. Do the same with the other two front pieces and the other back piece.
Press open all the seams.
4. Attach the front and back
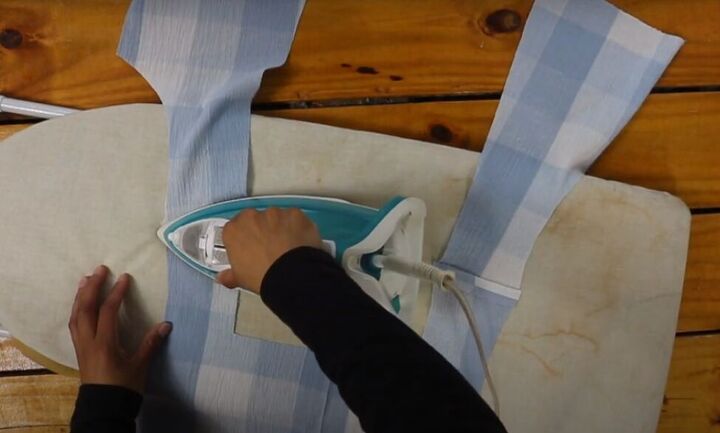
With the right side facing in, lay the front lining pieces on top of the front fabric and ties, and the back lining piece on top of the back fabric piece.
Pin the lining to the fabric at the shoulder seams, the inner corners of the square neckline, and along the front side where the fabric and lining are sandwiching the ties.
Sew from the inside of the shoulder seam down to the bottom of the front, and from the inside of the shoulder seam around the neckline.
Cut notches from the inside shoulder seam allowance and snip into the neckline corner seam allowance so that when the dress is turned right-side out it will sit flat.
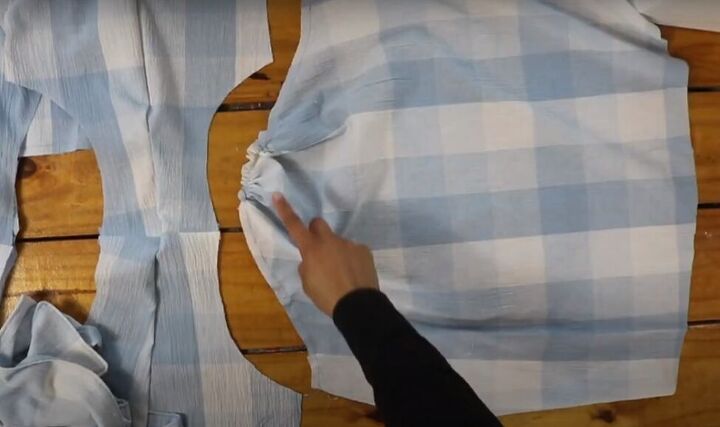
5. Gather the sleeves
Baste around the top edge of the sleeve so you can gather it at the armhole.
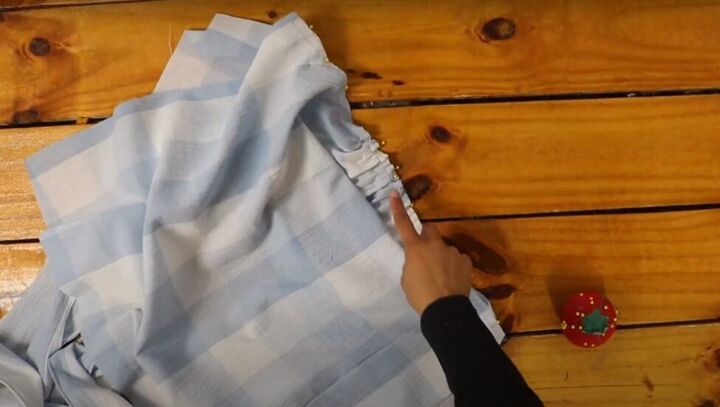
With right sides facing in, pin the sleeve to the dress fabric only, letting it extend about a ½ inch over each side of the armhole. Sew the sleeve in place and repeat with the other sleeve.
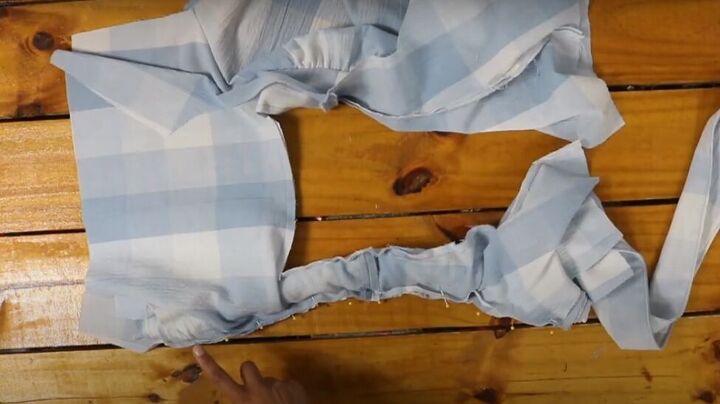
6. Sew the side seams
Roll up the sleeve and sandwich it between the fabric and lining so it’s out of the way. Then pin and sew up the side seam. Repeat on the other side.
Cut the bulk from the shoulder seam allowances and snip into the side seam allowances all the way down the dress top.
Now pull the entire dress top right-side out. Press and topstitch the inside neckline edge.
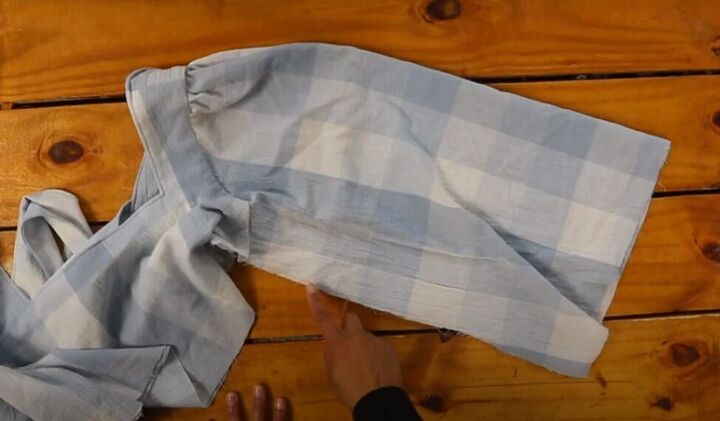
7. Finish the sleeve
With right sides facing out, sew the inner sleeve seam with a ¼-inch seam allowance. Then turn the sleeve inside out and stitch again at ½ an inch from the first seam.
Follow the video from 6:59 to see how to sew the inside of the armhole.
Double fold and sew a hem at the bottom of each sleeve, stitching close to the open edge and leaving a gap open to make a casing. Pull elastic through the casings, sew the ends of the elastic together, and close the gaps.
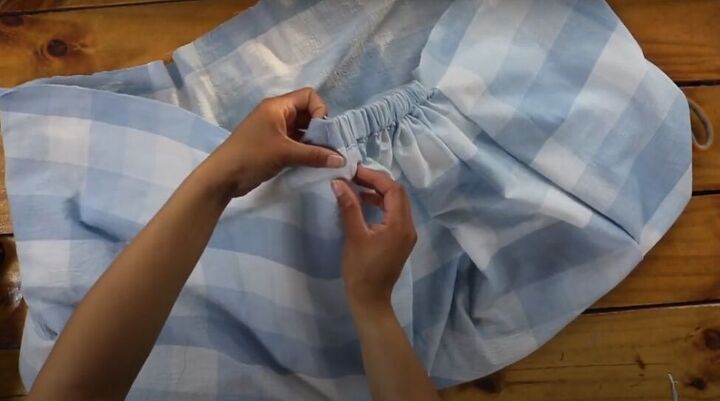
8. Make the bottom of the dress
The bottom of the dress is simpler to make than the top. Follow the video from 7:58 to see how to make the skirt and attach the bottom of the dress to the top.
DIY babydoll dress tutorial
Hem the bottom of your dress and you’re all done! With a few adjustments I got this to fit perfectly, and I just love it! I hope you try to make a babydoll dress, and then leave me a comment to let me know how it came out.
The author may collect a small share of sales from the links on this page.


Comments
Join the conversation