How to Make a Cute DIY Kimono Dress That You Can Wear 2 Ways

This DIY kimono dress pattern is my own way of making this beautiful dress. You can wear this DIY kimono dress as a dress itself or as a jacket for when the weather gets cooler.
Depending on the fabric, you can wear this for a special occasion or just lounging with friends because this DIY kimono dress is that versatile. Let me show you how to make a kimono dress in just a few hours.
Let’s get started with my kimono dress sewing pattern!
Tools and materials:
- 2 yards fabric
- 18 inch or longer zipper
- Scissors
- Sewing machine
- Pins
- Tailor’s chalk
- Ruler/measuring tape
- Safety pin
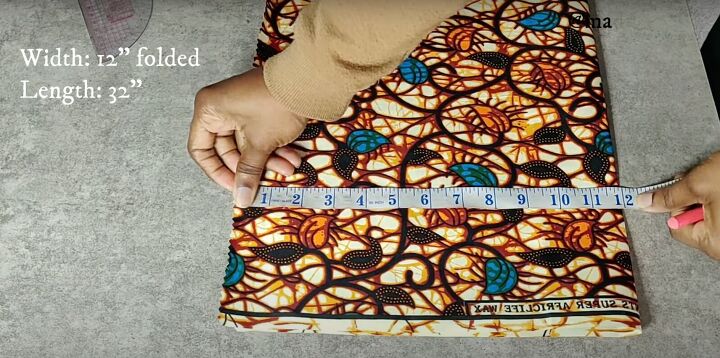
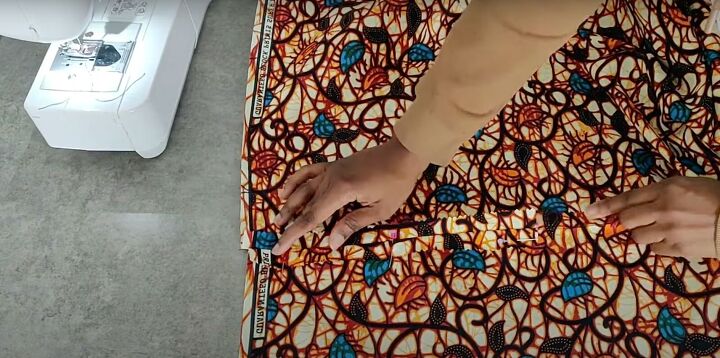
1. Make the front pattern
Fold the fabric in half so it measures 12 inches across the width. The length should measure 32 inches or longer depending on your preference.
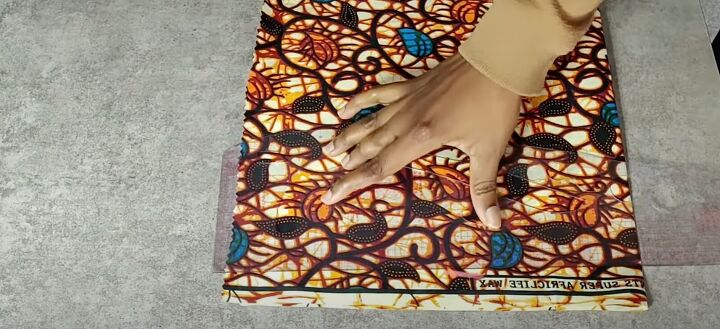
Mark 1½ inches from the top of the fabric down across the entire width.
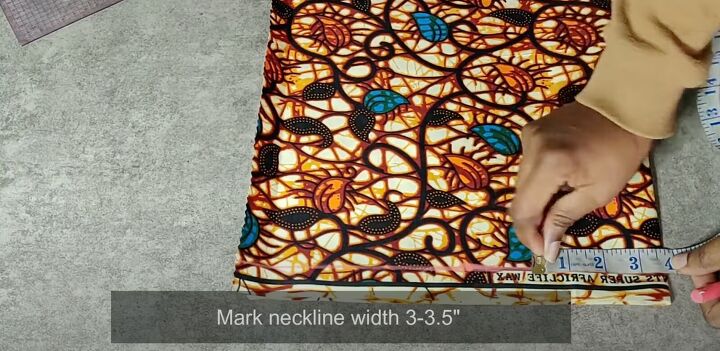
From that mark, measure and mark the neckline width at 3 inches. Marking it 3½ inches may make it too wide for some.
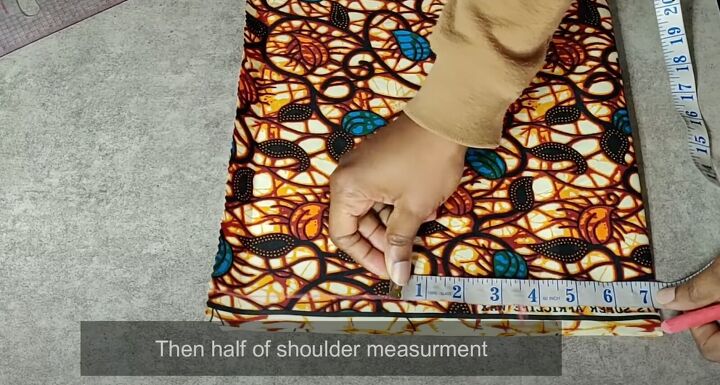
From the neckline mark, mark half of your shoulder measurement.
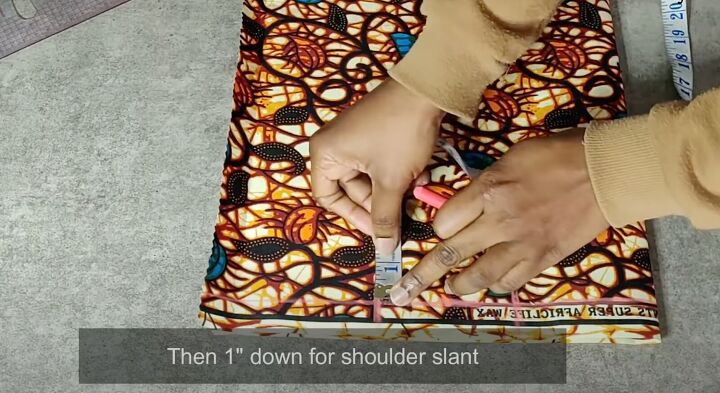
From that point, measure 1 inch down for the shoulder slant.
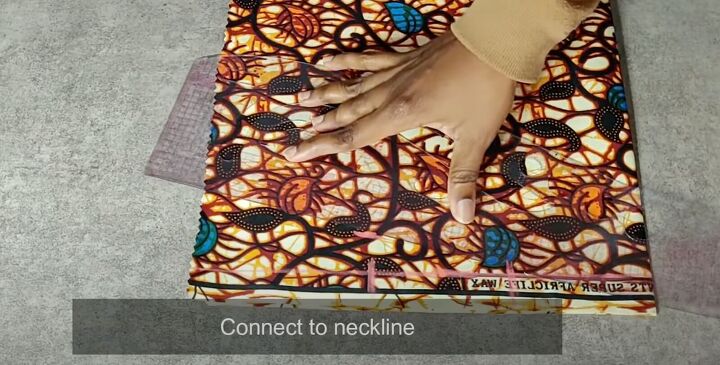
Connect the shoulder slant mark to the neckline.
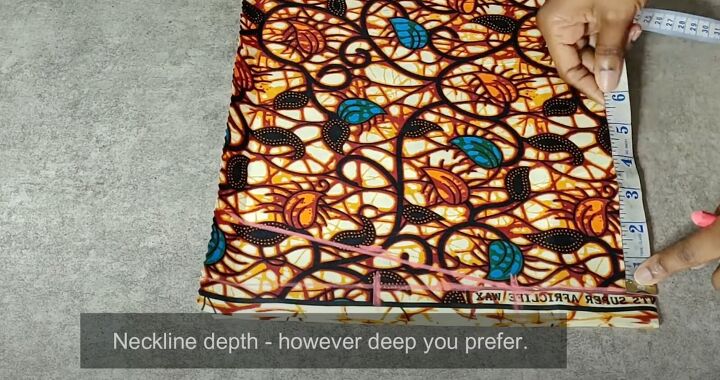
Mark along the fold for your preferred neckline depth. Connect the neckline depth and neckline length on a slant.
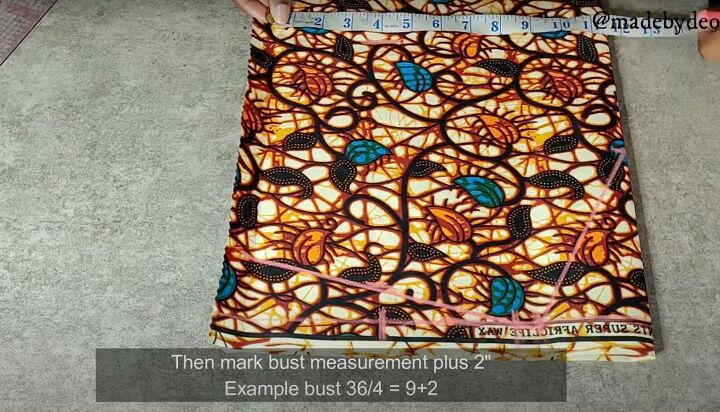
Mark your bust measurement on the fabric. Measure your bust and divide by 4. Add 2 inches to that measurement.
In this tutorial, I use my bust measurement of 36 inches, divided by 4 equals 9 inches, plus 2 inches, for 11 inches across at the bust line. Mark this measurement across the width of the fabric.
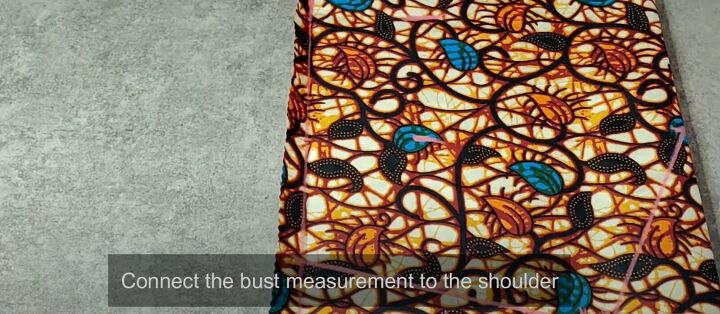
Connect the bust measurement to the shoulder with a straight line along the side that is unfolded.
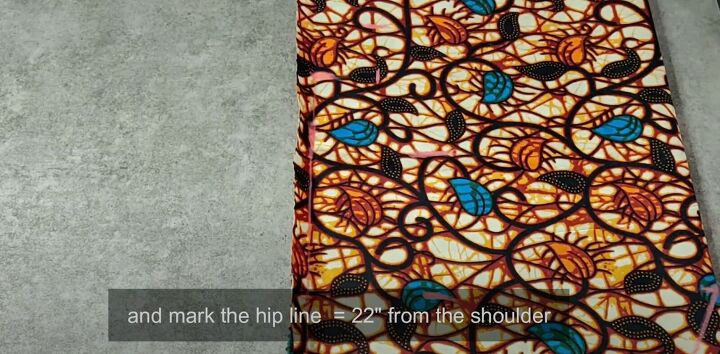
Mark the hip line along the length 22 inches down from the shoulder.
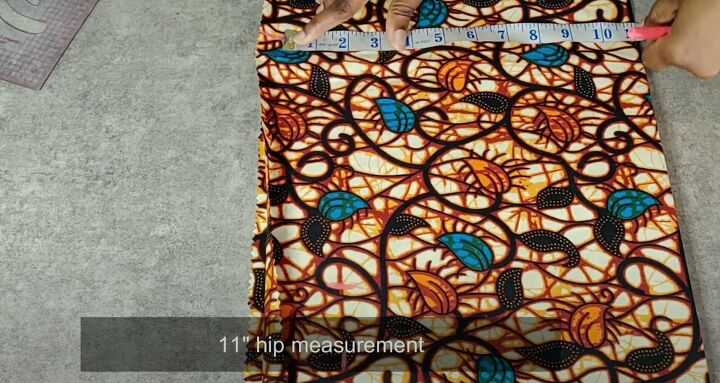
Mark 11 inches across the width for the hip measurement.

Curve out the underarm and connect that to the hip line.
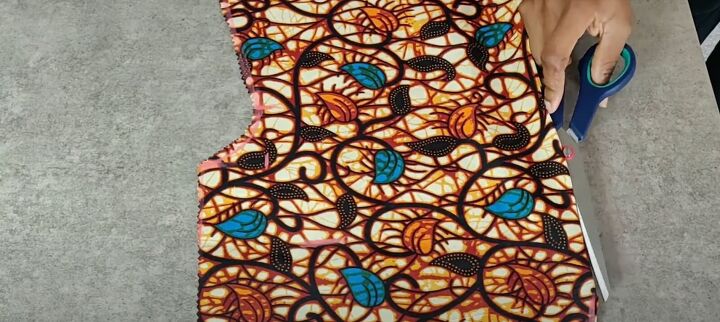
Mark the length of the dress to your preference and connect that measurement to the hip line. Cut out the front pattern. Cut down the center fold to insert the zipper.
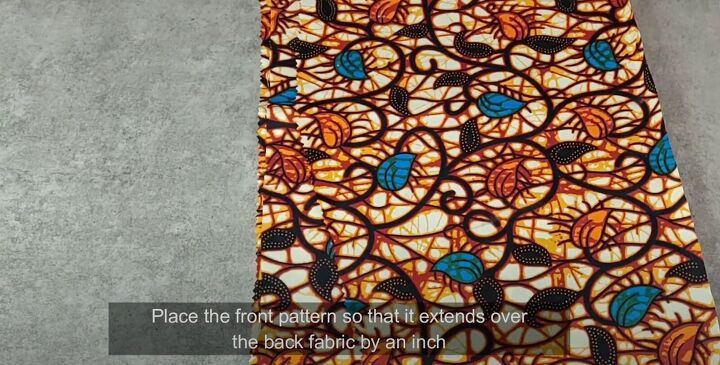
2. Make the back pattern
Fold the fabric in half. Lay one of the front pieces on top of the fabric, extending the pattern fabric by 1 inch. Mark the back neckline depth by 1 inch.
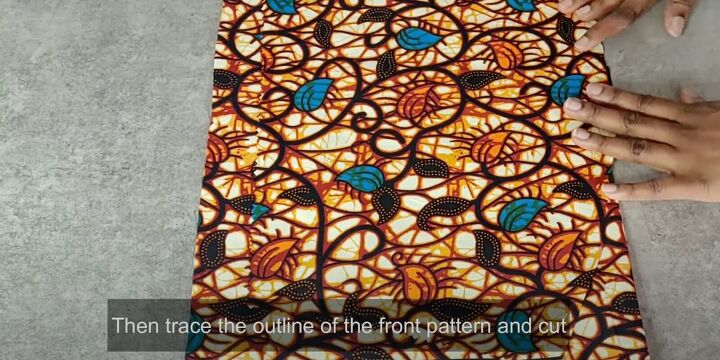
Trace the rest of the front pattern and cut out the back pattern.
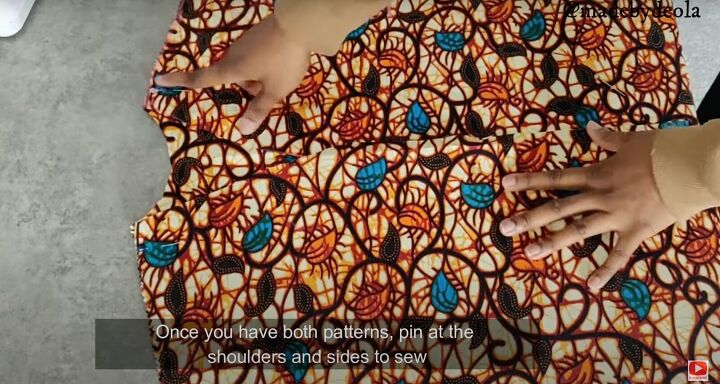
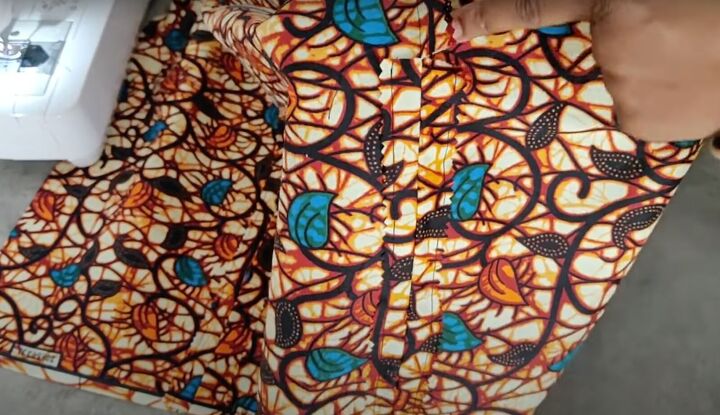
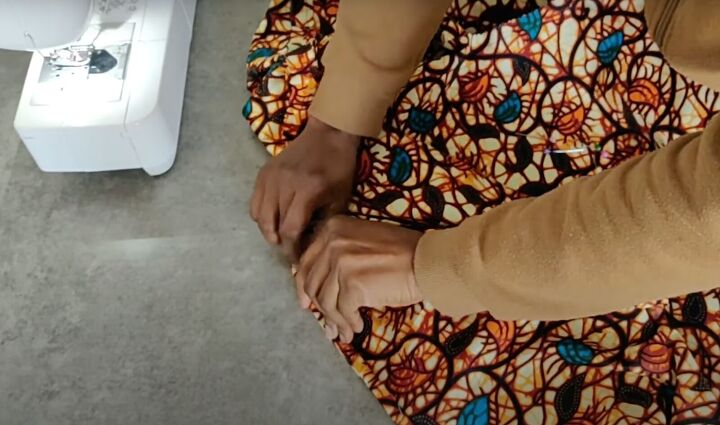
3. Sew up the dress
Lay the two front pieces on the back piece right sides together. Pin the shoulder and side seams. Sew into position with a ½-inch seam allowance.
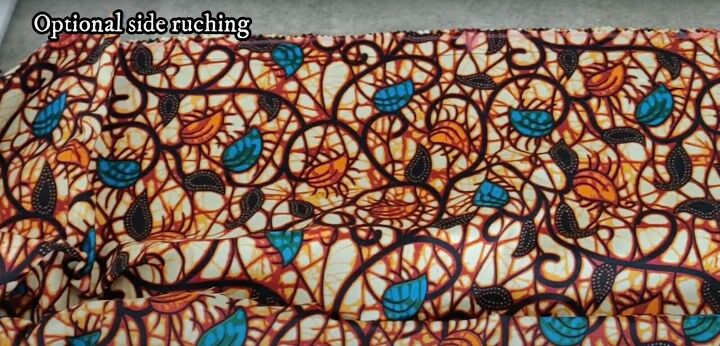
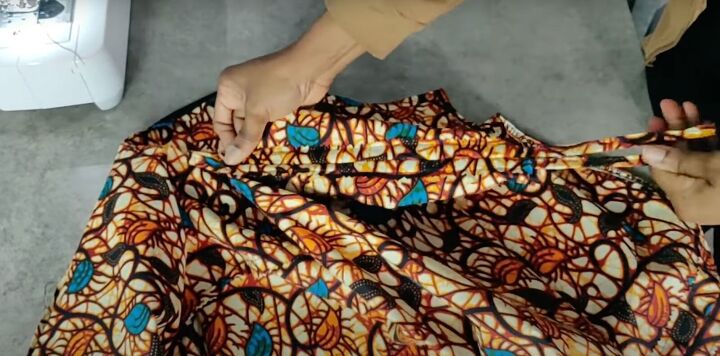
4. Ruche up the sides
This step is totally optional but makes the dress look extra special.
Mark up 8 inches from the bottom of the dress. On the side seam, open the seam allowance. Press the seam allowance as flat as possible.
Sew up the flattened seam allowance as close to the edge as possible up to the 8 inch mark to create 2 channels or casings.
Snip an opening in the sewn casings at the top.
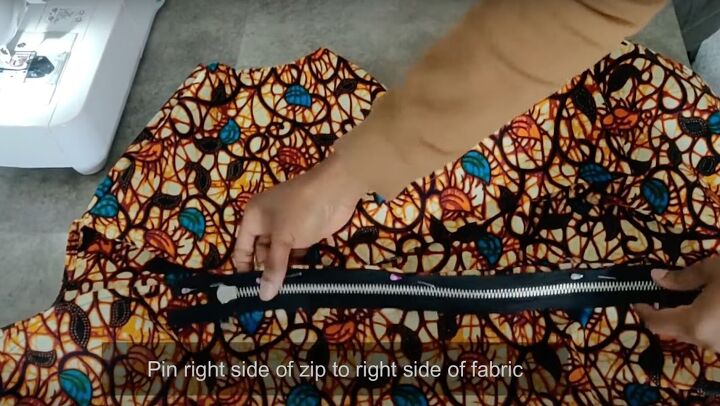
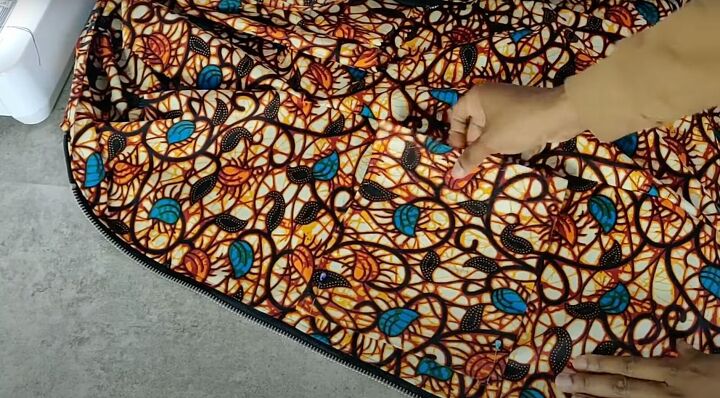
5. Insert the zipper
If you’re following the video, note that this step needs to come first before finishing the neckline.
Fold the fabric in to make a smooth professional edge. Pin the right side of the zipper to the right side of the dress at the edge of the neckline. Sew into position.
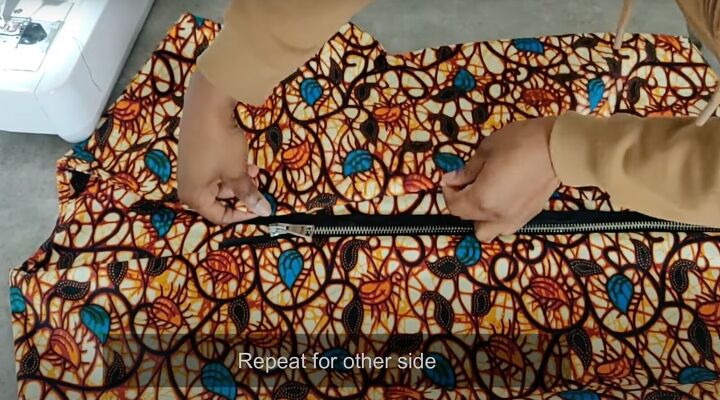
Repeat for the other side of the front panel.
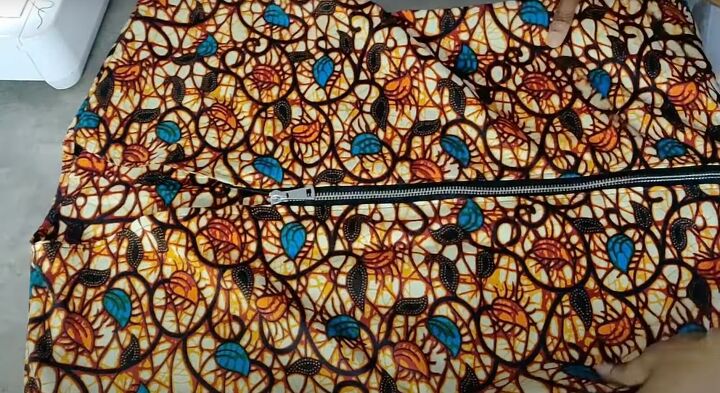
Once the zipper is installed, topstitch the zipper on both sides.
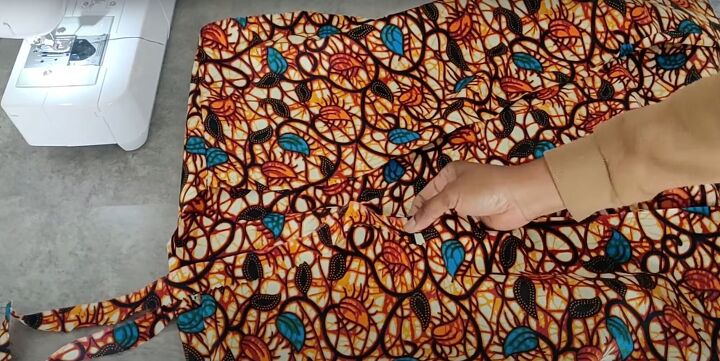
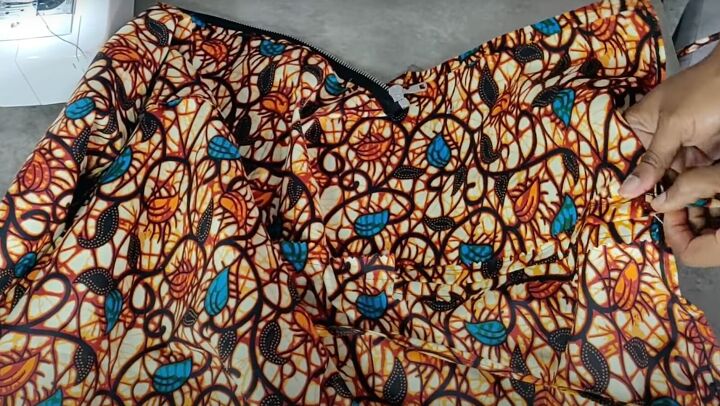
6. Finish the neckline
Cut out bias tape for the entire length of the neckline from the top of the zipper on one side to the top of the zipper on the other side.
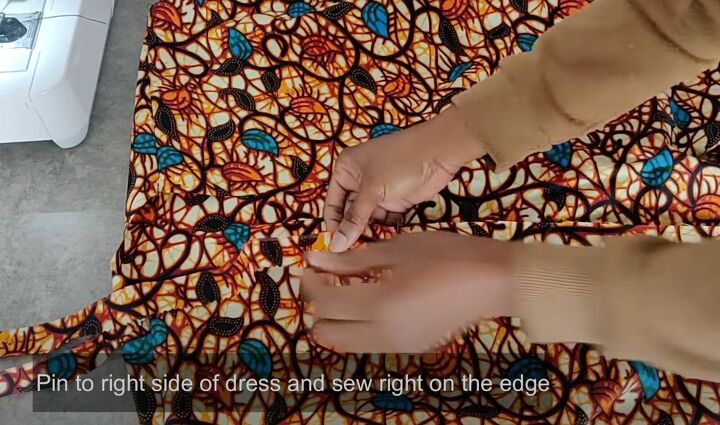
Pin in place on the right side of the fabric, along the neckline. Sew right at the edge.
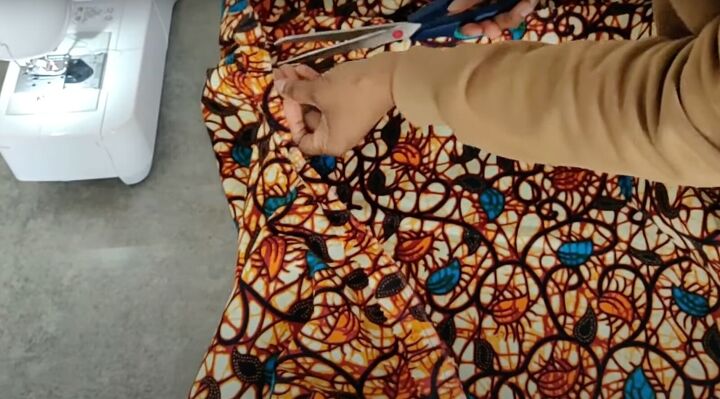
Once sewn, use your scissors to make tiny snips along the curved back of the neckline so it lays perfectly flat.
Double fold in the raw edge and sew into position.
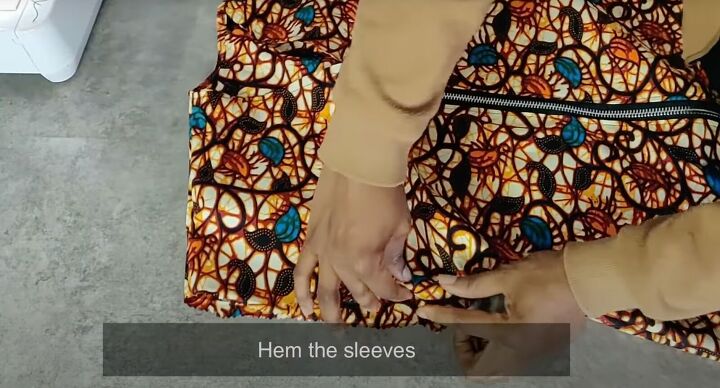
7. Hem the dress
Hem the sleeves by folding in twice and stitching them into position. Hem the center front opening by double folding in and sewing.
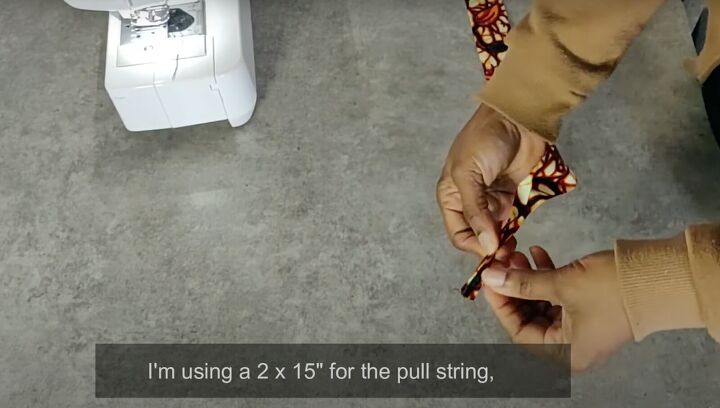
8. Make the ruching strips
Cut two pieces of fabric measuring 2 inches wide by 15 inches long. Fold the fabric in half right sides together and sew it into position. Turn right side facing out.
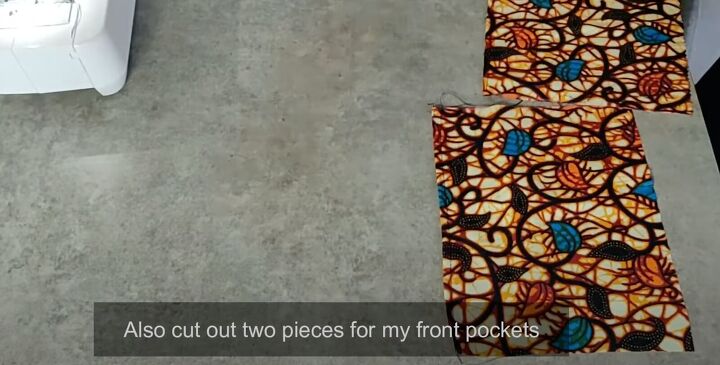
9. Make the pockets
Cut 2 rectangles of fabric to fit your hand about 4 inches wide by 7 inches long. Fold each corner by ¼ inch and hem.
Lay on the dress in your preferred placement both with right sides facing up. Topstitch along the sides and bottom.
10. Insert the ruching ties
Before hemming the bottom of the dress, place a safety pin at the edge of the ruching tie. Insert into the seam allowance casings on one side, firmly holding the other end of the tie out through the insertion point.
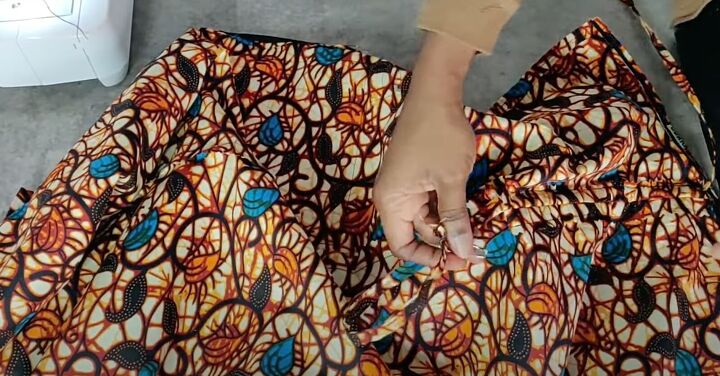
Once you come through the opening at the top of the casing, make a loop with the tie and insert going downward in the other casing.
Once it’s through, pull on the ties. Double knot each end so the ruching tie stays in place. Hem the bottom of the dress.

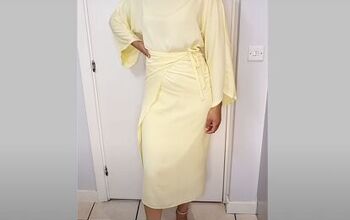
DIY kimono dress tutorial
You’re done making this beautiful DIY kimono dress! You can wear it as a dress with the zipper up, or open like a long cardigan or kimono with the zipper undone.
Let me know in the comments what you think of this tutorial on how to make a kimono dress and the result result.
The author may collect a small share of sales from the links on this page.


Comments
Join the conversation
That's beautiful. Thank you for sharing this. ❤️
Beautiful fabric and great Idea. I am wondering if invisible zippers are made that long . Have to find out. Thank you for sharing.