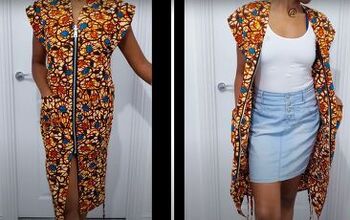
How to Make a Cute DIY Skirt-Top You Can Wear in 2 Different Ways

For the ultimate in versatility, make this DIY skirt-top. The strange name comes from the fact that you can wear this single piece as a skirt or a top!
Follow along and we’ll show you how to make it, and how to wear it as a wrap skirt or as an off-the-shoulder top. This DIY skirt-top uses basic sewing stitches and is made in just a few simple steps, so let’s get started.
Tools and materials:
- Fabric marker
- Measuring tape
- Scissors
- Garter tape
- Fabric
- Sewing pins
- Thread
- Sewing machine
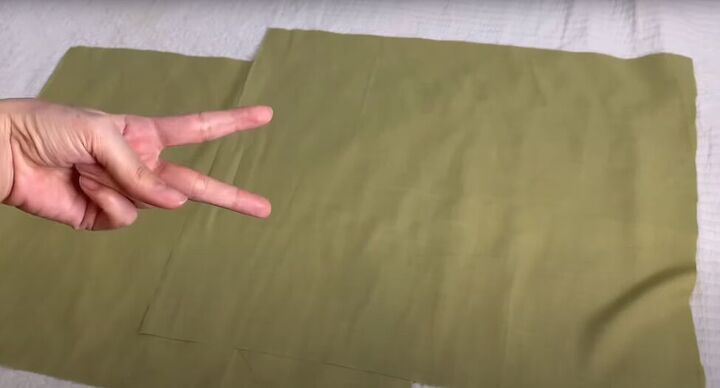
1. Cut all fabric pieces
The fabric for the back of the top needs to be wider than for the front of the top, so cut those two pieces separately.
Cut the back piece to measure 23 inches wide and 20½ inches high. Cut the front piece to measure 15 inches wide and 20½ inches high.
Cut two rectangles from the fabric, each measuring 6½ x 55-inches. You now have all four pieces that you will need.

2. Sew the bodice of the skirt-top
With right sides facing in, pin the front and back pieces together along the side edges.
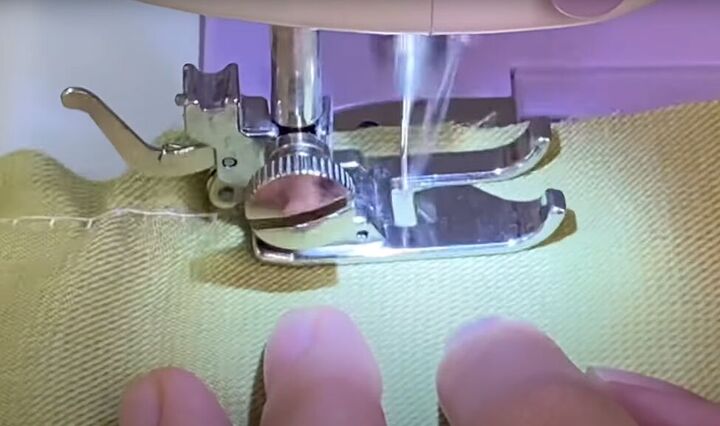
Sew the two side edges using an overlock stitch.
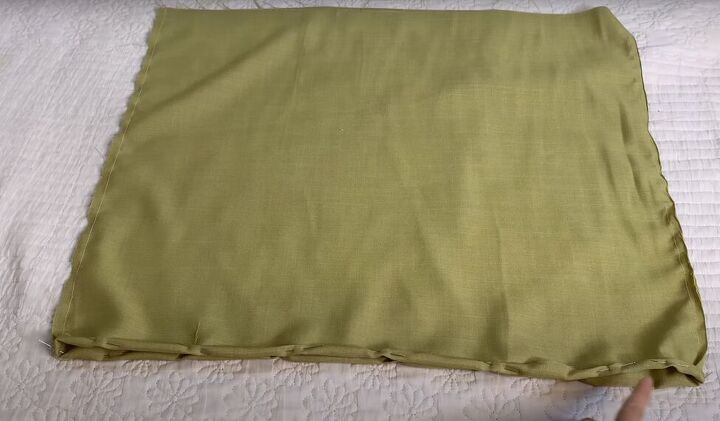
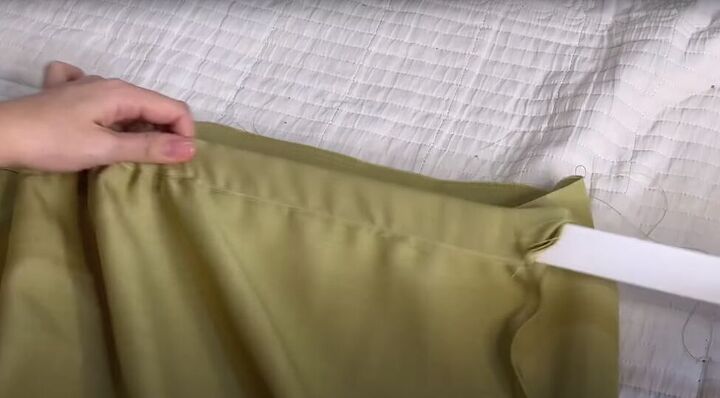
Fold up the bottom edge twice, and pin to hold it in place.
Sew along the hem edge.
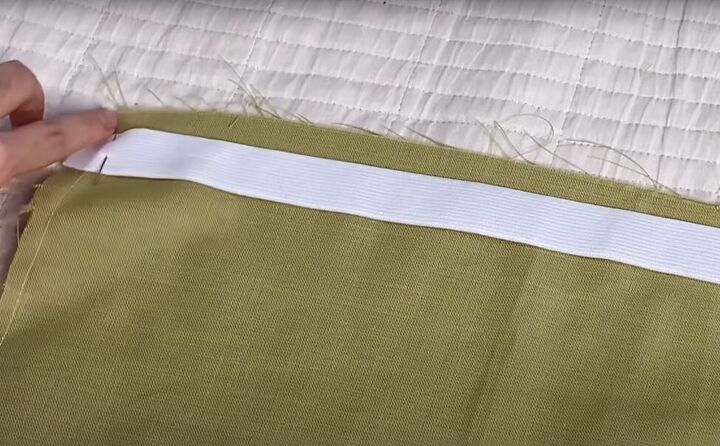
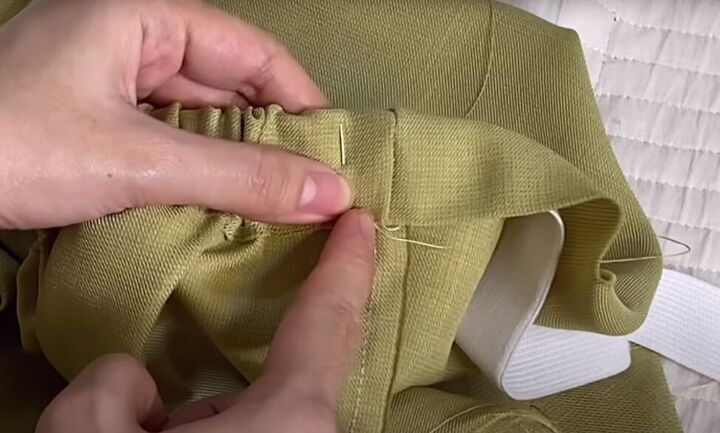
Pin one end of the garter tape 1 centimeter (0.4 inches) below the inside top edge of the back piece and sew it along the side seam to keep it in place.
Then pin down the rest of the garter 1 centimeter (0.4 inches) below the top edge, with the ends of the pins facing the other side of the fabric.
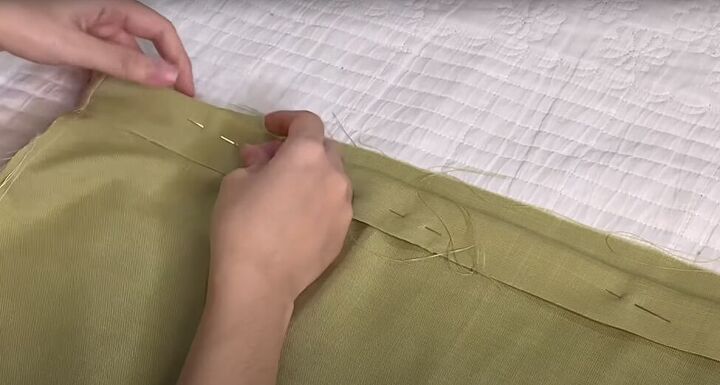
Now, fold the top edge down, enclosing the garter tape inside the fold and pin it down again.
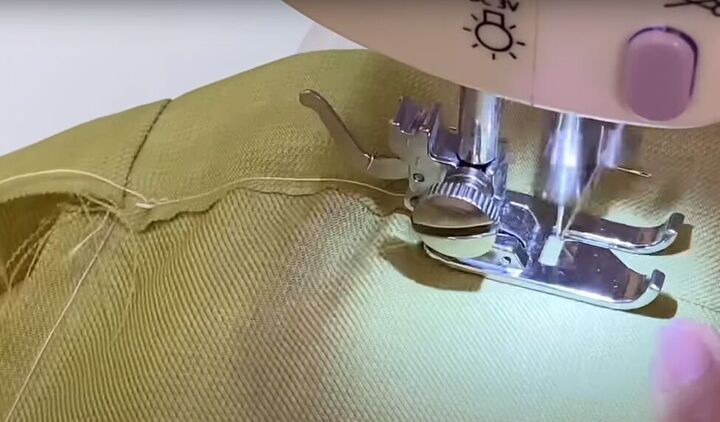
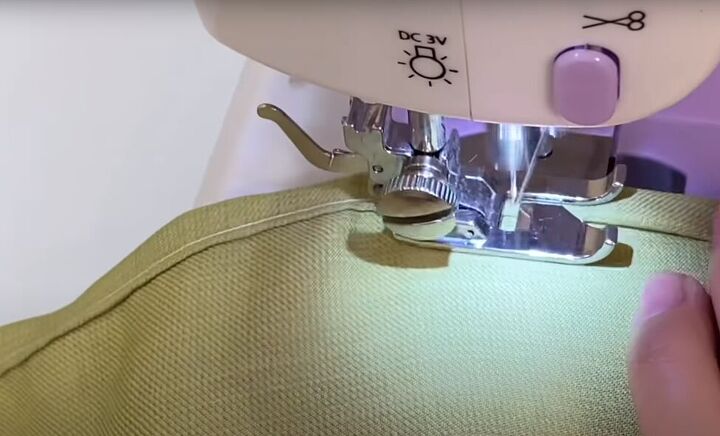
Sew the garter casing at the edge of the fabric, being careful that you do not sew on the garter tape itself.
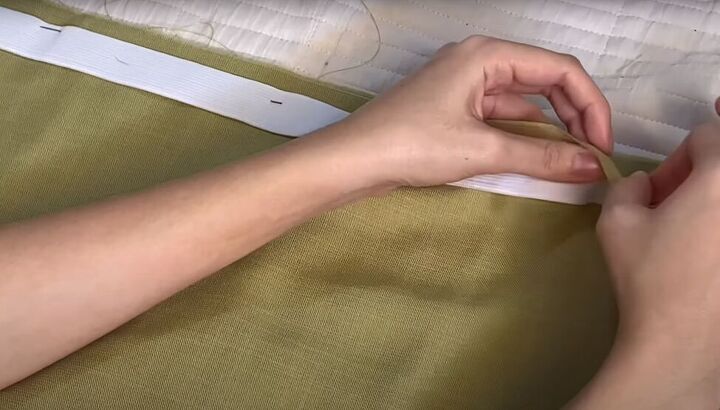
When you are done sewing the casing, start pulling the garter tape out of the casing while gathering the top edge of the bodice.
Once you are satisfied with the gathers and size of the top pin the garter tape in place at the side seam and sew it down.
Then fold down the front of the top and sew to match the back, but without any gathering.
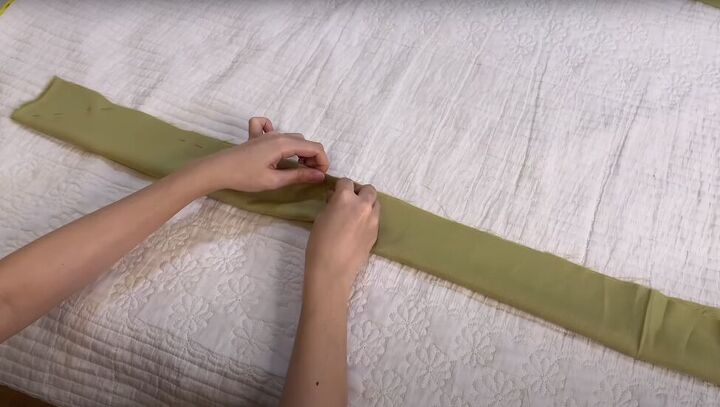
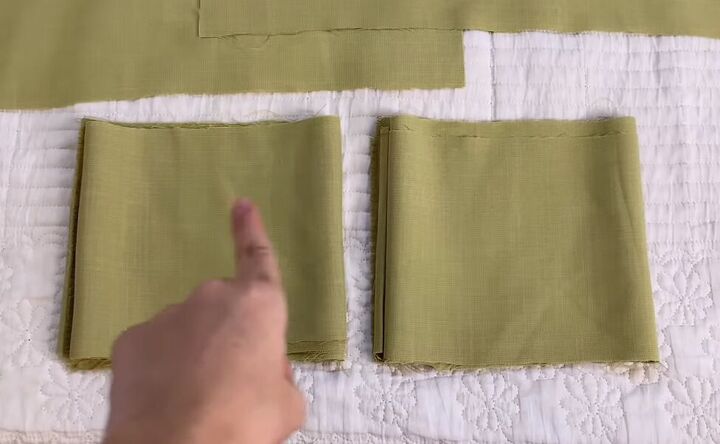
3. Sew the straps
Fold each strap in half lengthwise, with the right side facing in and pin closed.
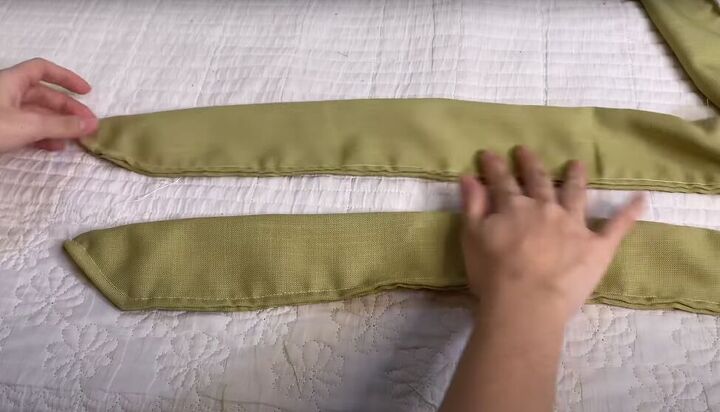
Sew three sides of each strap together, leaving a gap along the long edge to turn the strap right-side out. On the short edges, instead of sewing straight lines, sew on an angle from the bottom (folded) edge to the top.
Turn the straps right-side out, sew the gap closed and top stitch to seams to make them neat. Then, iron the straps flat.
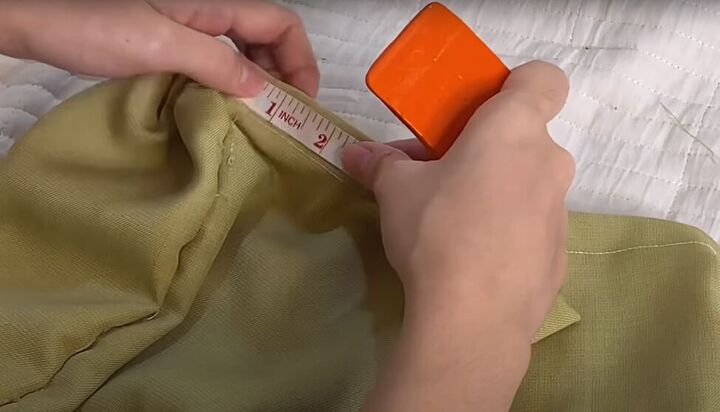
4. Attach the straps to the bodice
With the bodice right-side out, mark 2 inches in from the side seams on the front of the bodice.
Pin and sew the midpoint of the straps at the markings.

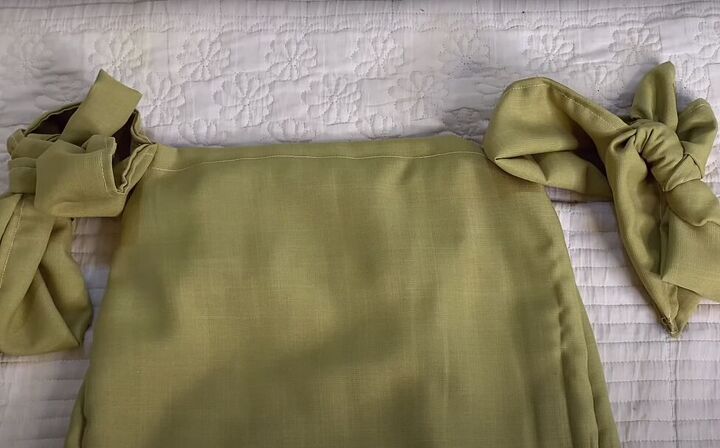
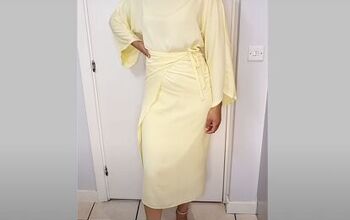
Here it is, worn as a wrap skirt, with the straps tied at one side.

How to make a skirt-top
Here it is as a top with the straps tied on the upper arms. Pretty cool, right? If you make two of these, you can wear the skirt and top together!
Give this DIY skirt-top tutorial a try and let us know in the comments how you liked it.
The author may collect a small share of sales from the links on this page.


Comments
Join the conversation