This Cute DIY Lace-Up Top is So Easy to Make & Can Be Worn 2 Ways

In this tutorial, you're going to learn how to make a lace-up crop top that you can wear in two different ways, with the lace-up detail at the front or the back. The DIY lace-up top is so easy to make, so this is a great starting point if you haven't had so much experience with sewing and making clothes.
Tools and materials:
- Tailor’s wax (or other fabric marker)
- Tape measure
- Scissors
- Halter top
- Thin string
- Spandex fabric
- Safety pin
- Sewing machine or needle and thread
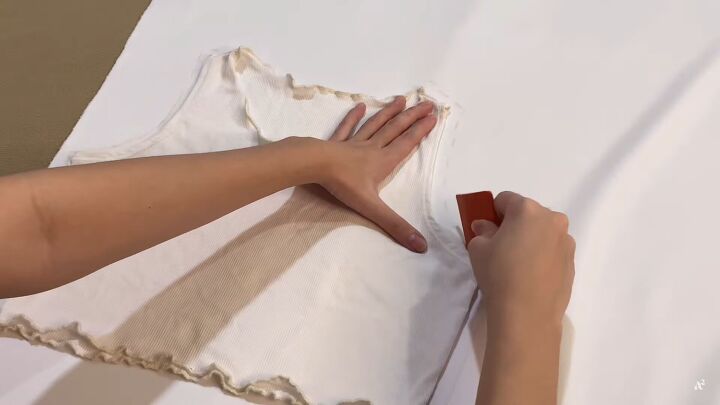
1. Trace the top
Fold your fabric in half. Find a halter top that fits you well and trace the shape of it onto the fabric.
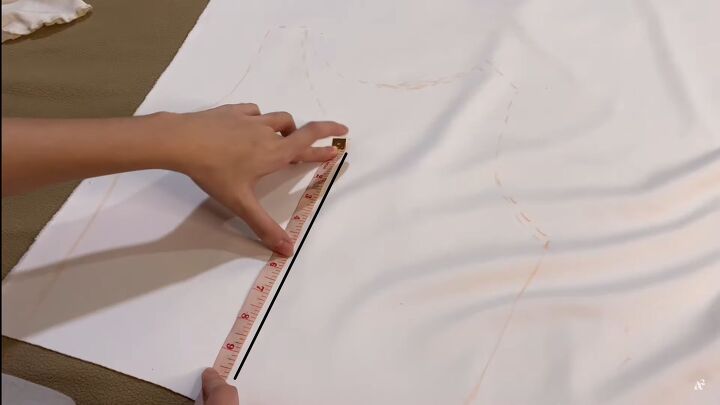
2. Draw a line in the middle
From the neckline, draw a straight line in the middle of your fabric like so. Then mark two points that are 3.2 inches (8cm) apart from each other and draw and draw 2 inches (5cm) straight lines to one side of the two points you marked.
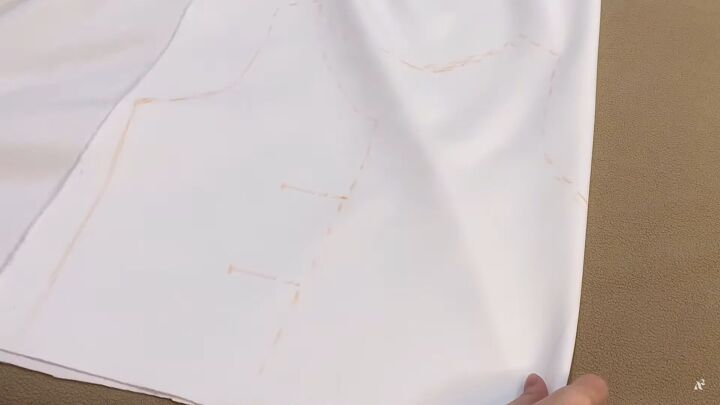
This is how it will look. We will use these as the tunnels for the strings later on.
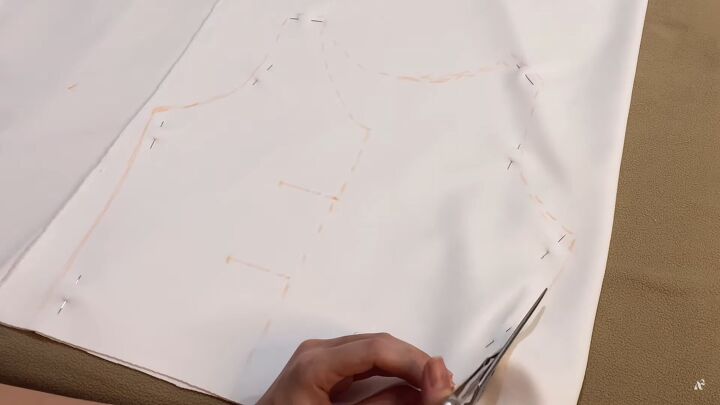
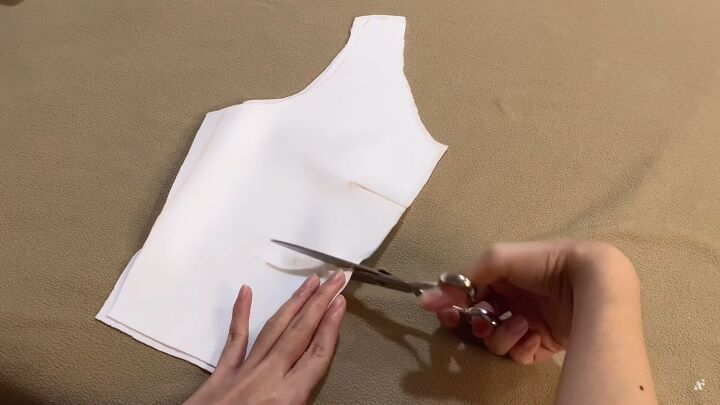
3. Pin and cut
Pin the fabric in place so it won't move around when you cut it. Once done, cut around your pattern. You will now have two pieces of fabric.
4. Cut out the marks
Take the piece of fabric with the marks that you drew earlier and fold it in half. Then cut along the middle according to the line and cut out the two short lines as well. This will leave you with two pieces of fabric.
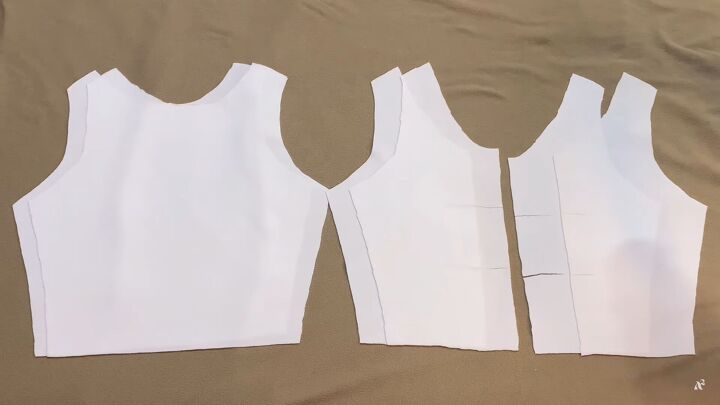
5. Double up
Then cut the same cut and sizes again, so in total, you should have two pieces for the front fabric and four pieces for the back fabric.
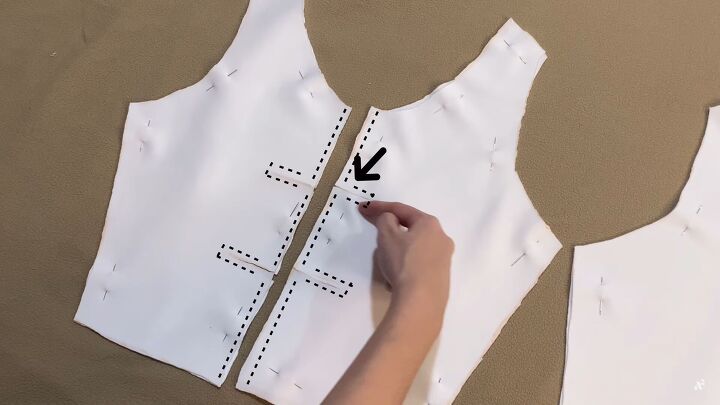
6. Pin and sew both sides
Place the two front fabric pieces and the four back pieces on top of one another and pin them together. Next, sew the back parts together, as shown in the picture. Make sure to leave small gaps where you'll be able to thread your string through later.
You also want to sew your front pieces together; make sure to sew all the everything other than the sides and straps. You will attach them to the other pieces later.
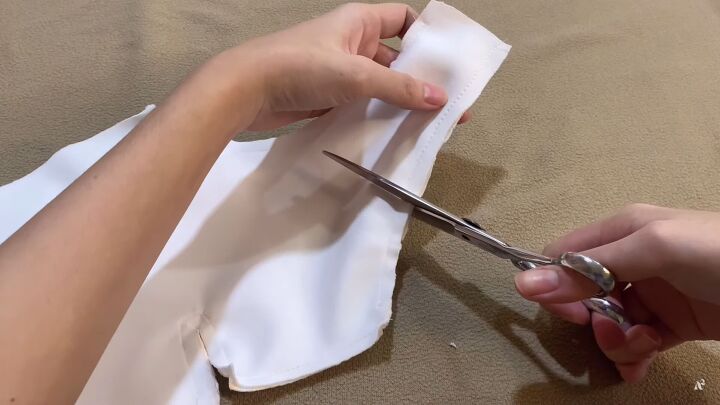
7. Make some indentations
Use your scissors to make some small cuts on any curved areas so the top can be turned inside out more easily without bumps. Make sure not to cut through your stitching. Once done, turn the pieces inside out.
8. Sew both sides together
Layer the two back pieces on top of the front piece and sew the side seams and straps together.
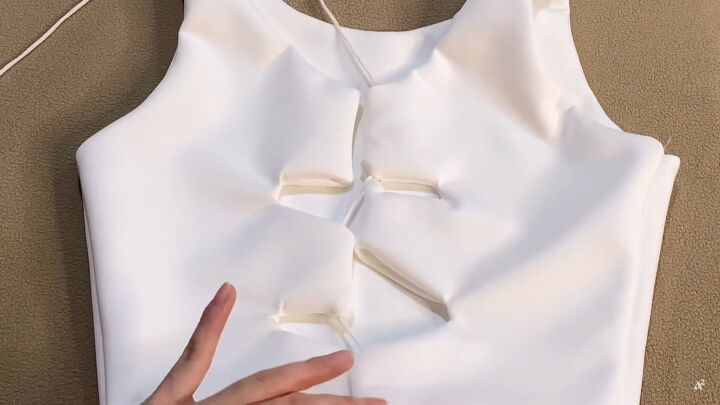
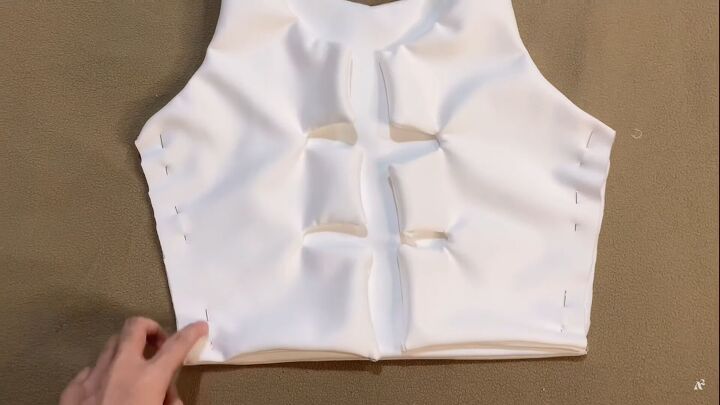
9. Add the string
For the final step, lace up the top. To do this, attach a safety pin to one end of the string, feed it in through one of the tunnels on each side that you made, and criss-cross it to the other side until you reach the end.
Then, just remove the safety pin and tie the string together at the bottom.
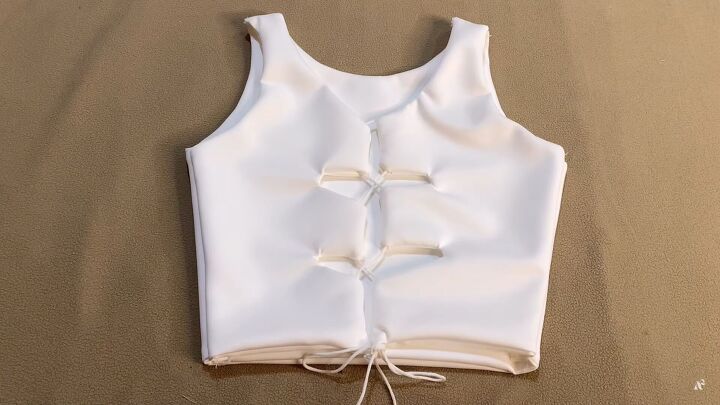
DIY lace-up top tutorial
And you're finished!


Style one is to wear the top with the lace-up detail at the back.

For style two, switch it around so that it's at the front! We love the fact that there are two options! It looks equally as cute both ways, so you can really just choose what you feel like wearing on the day. This DIY lace-up top was so easy and so worth it.
The author may collect a small share of sales from the links on this page.


Comments
Join the conversation