How to Make an Easy DIY O-Ring Top You Can Wear 6 Different Ways

In this tutorial, we’re going to show you how to make a DIY O-Ring top and how you can style it six different ways.
Our previous tutorial on how to make a multi-way wrap top received a lot of great feedback. So, we’re excited to bring you a similar top with a different style that we know you’ll love. Let’s get started!
Tools and materials:
- Fabric
- Measuring tape
- Marker
- 2 O-Rings
- Scissors
- Pins
- Sewing machine
How to make a DIY O-ring top
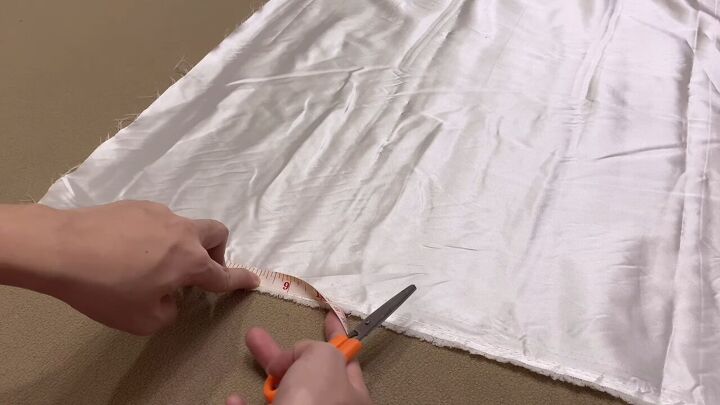
1. Measure and cut your fabric
The fabric we chose is this really thin, elastic-y fabric that will work perfectly for the kind of DIY multi-way top we’re working on.
You’ll want your top to be about 8-inches long, but since we need two folded strips of fabric, you should measure about 32-inches for the top. For the length, measure and cut 50 inches.
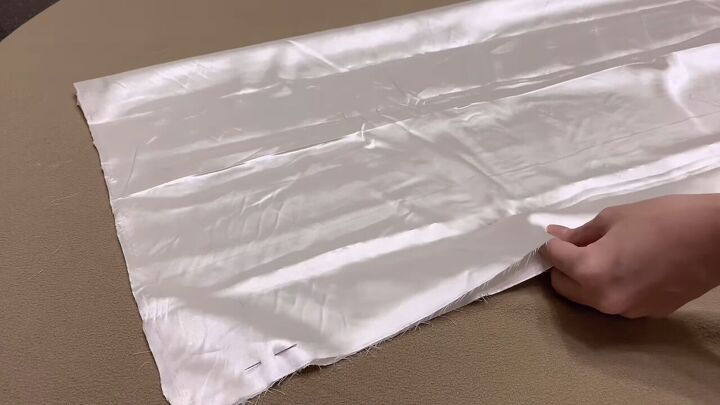
2. Cut fabric into two identical pieces
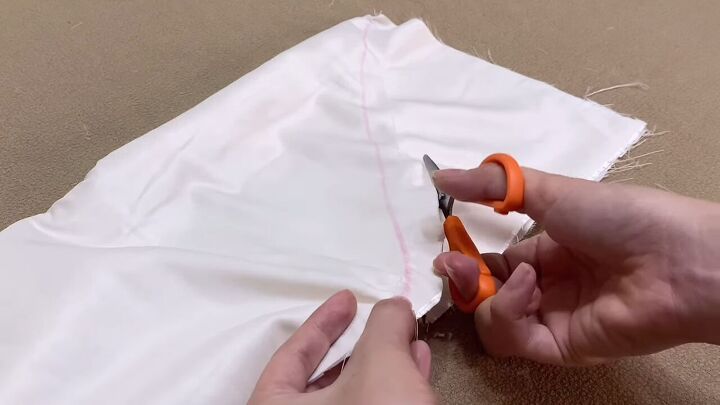
After you’ve measured the fabric, fold it in half and pin the open edge so it doesn’t move, and then cut the folded edge.
You now have two identical pieces.
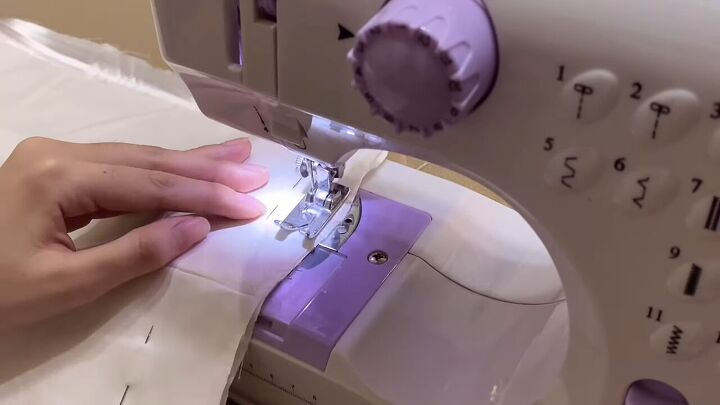
3. Sew together
Pin along the bottom of the fabric and sew the pieces together with a straight stitch to make a long piece of fabric.

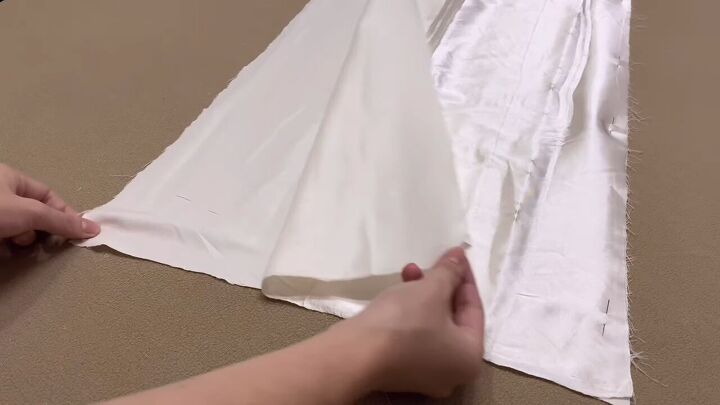
4. Draw and sew a diagonal line
Fold the fabric in half lengthwise and pin along the open edge again. Then, draw a diagonal line starting from the folded corner to the pinned edge.

Pin and sew along the line you just drew.
5. Trim
Cut off excess fabric
6. Attach the rings to the fabric
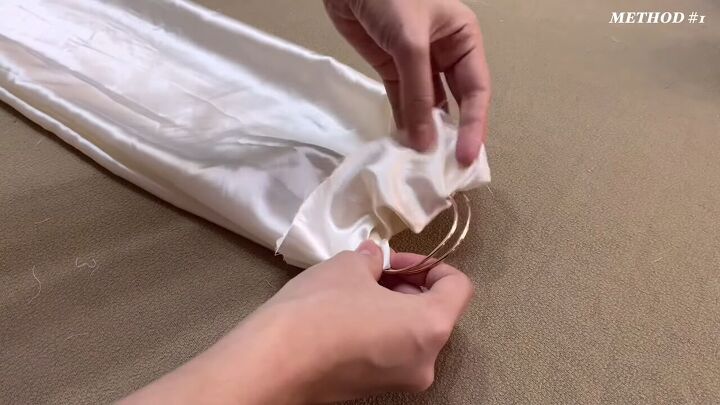
Let’s move on to the rings. Start by turning the fabric right side out. There are two different methods we can use to attach the rings to the fabric.
Method one: If you’re using rings that don’t have an opening, loop your fabric around the rings.

Then, topstitch it in place.
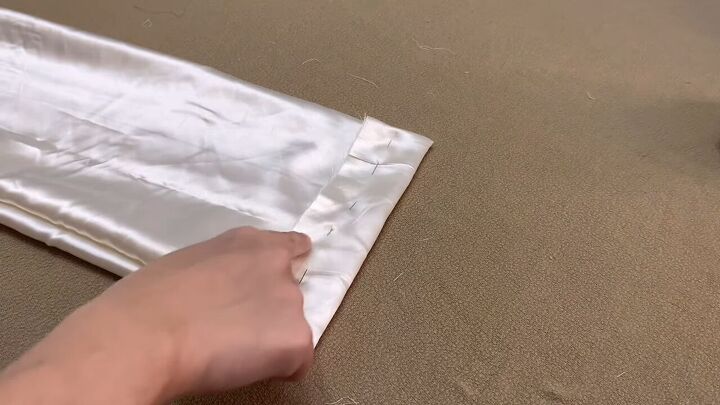
Method two: If your rings have an opening, make a tunnel by folding the fabric an inch away from the edge and sewing it in place.

Cut off the excess fabric.
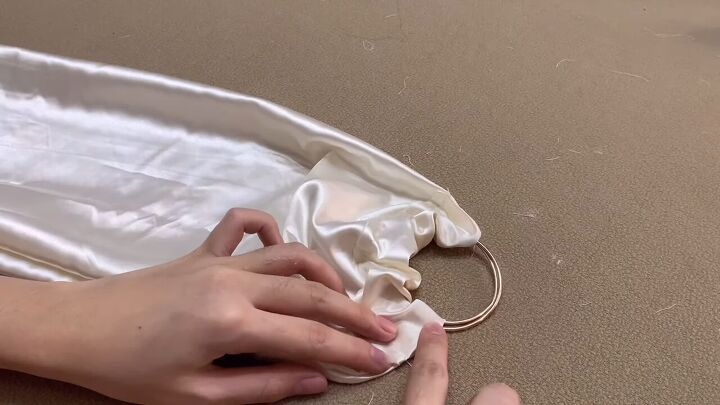
Finally, insert your rings and hand sew both sides of the tunnel to prevent the rings from being pulled out easily.
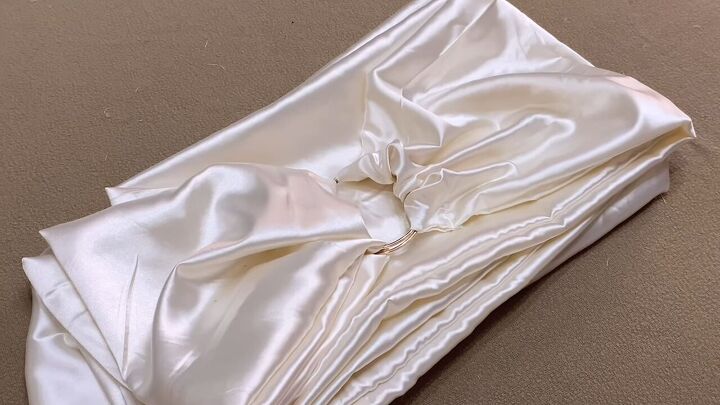
That’s it. You’ve got yourself a multi-way ring wrap top - easy as that! Now, let’s style it.
How to style the multi-way DIY O-ring top
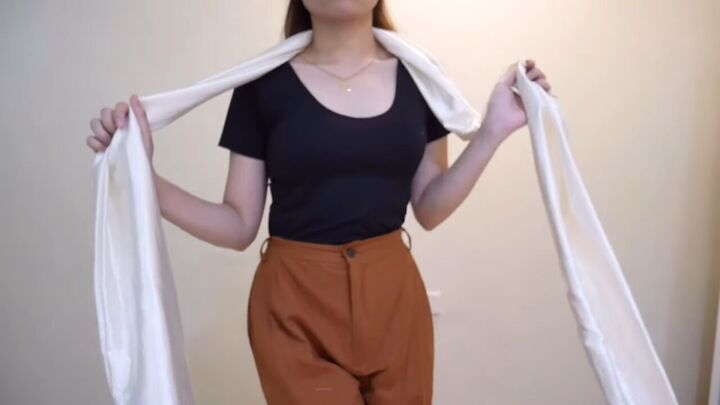
Style 1
Wrap your top around your neck like a scarf.
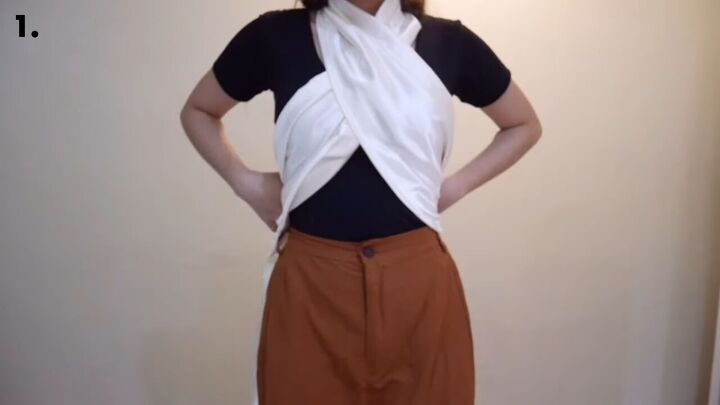
Cross the fabric on either side and wrap it around the back to create a DIY halter top look.
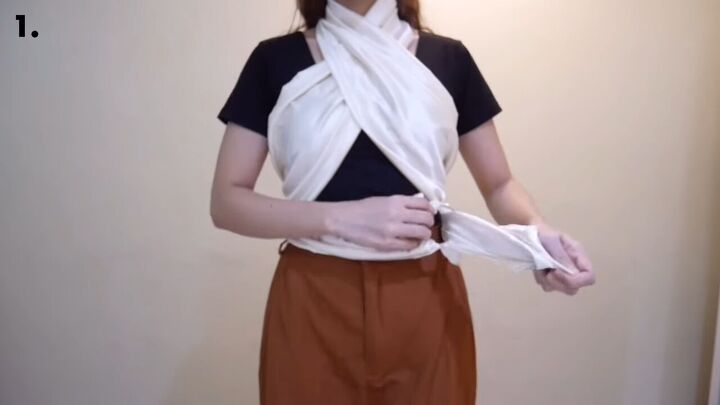
Finish by bringing each side back around the front and looping one side through the ring.
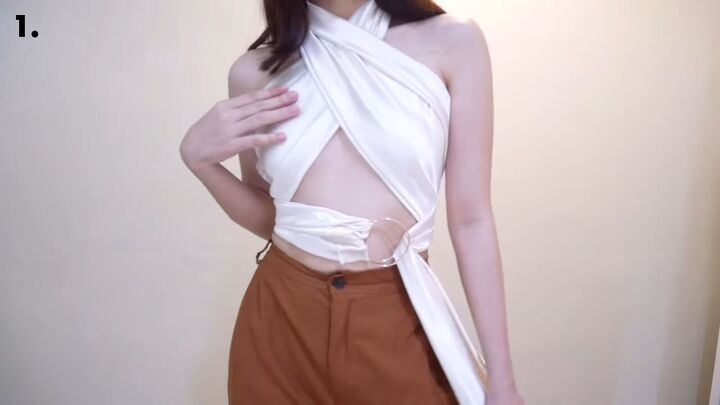
Here’s the finished look!
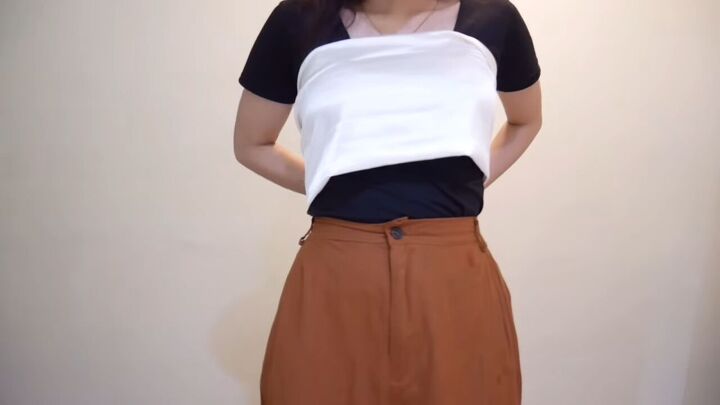
Style 2
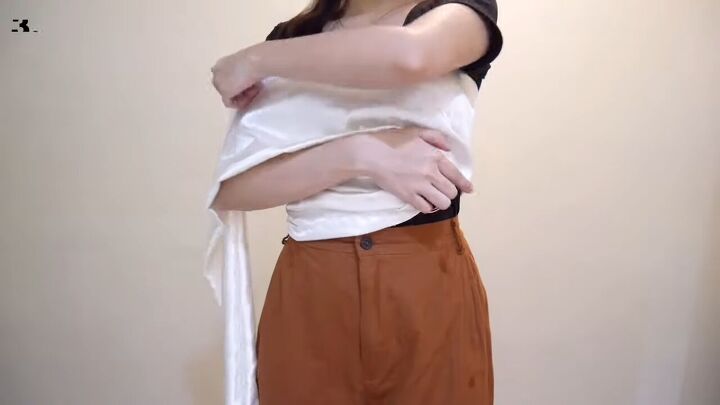
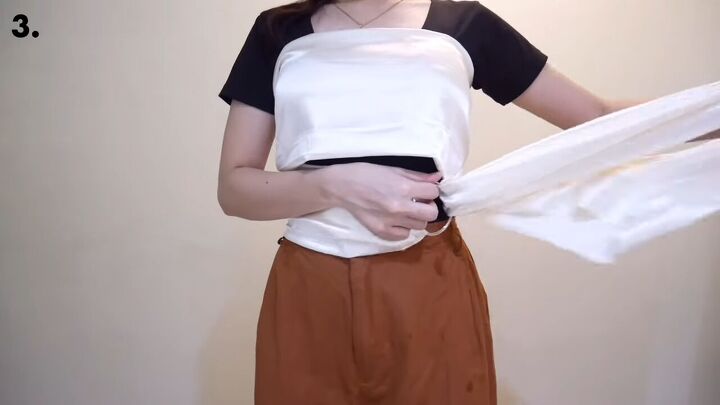
Start by wrapping the fabric horizontally across your front.
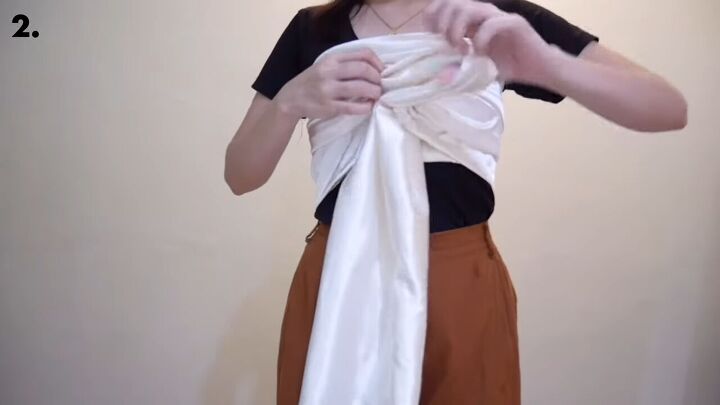
Then, cross the ends back around the front and loop through the ring. Wrap it around the ring once to keep it secure.
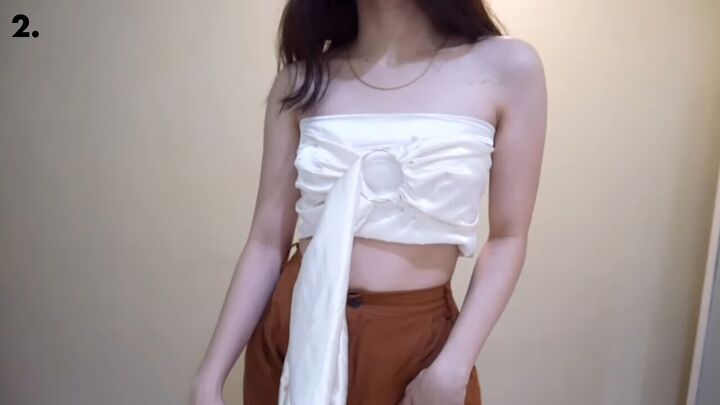
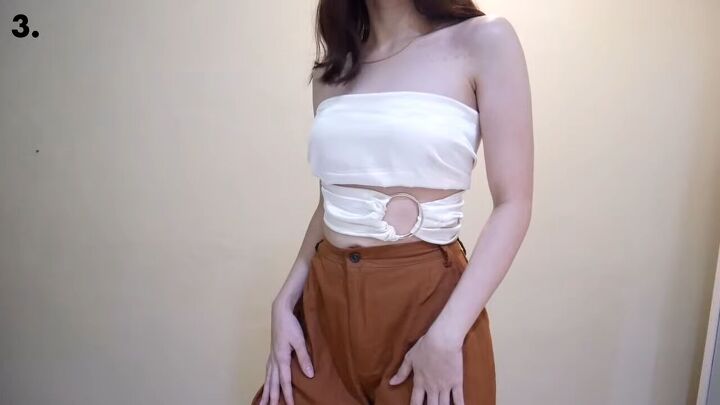
Here’s the finished look!
Style 3
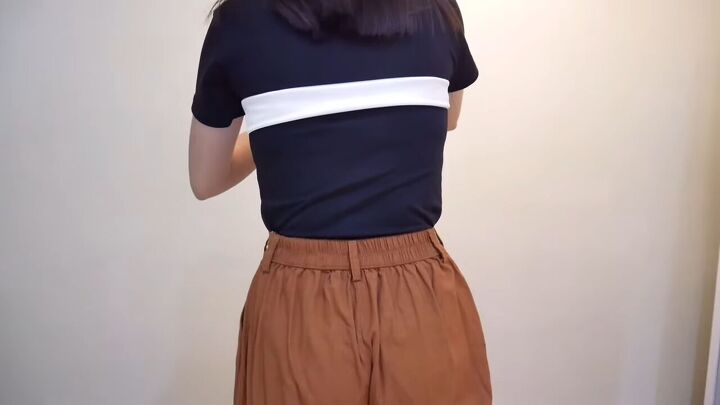
Wrap both ends of the fabric around your body, making sure the ring end remains at your side while the other end wraps around your back.
Pull the fabric through the ring twice to keep it secure.
Here’s the finished look!
Style 4
Start by folding your fabric into a really thin strip and wrapping it around your back to the front.
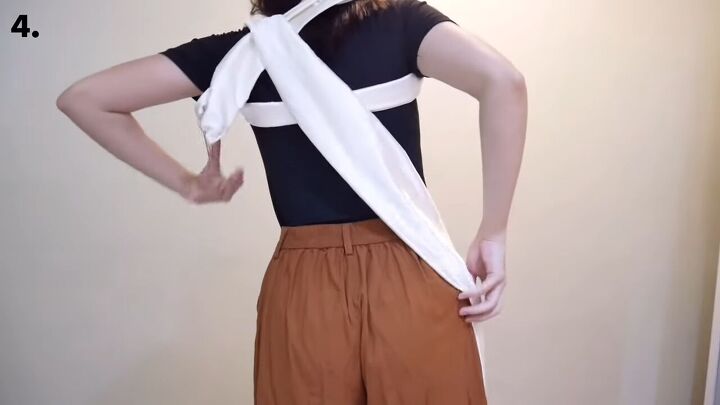
Cross the fabric behind your neck.

Pull the ends back to the front and drape the thicker part of the fabric across your chest.
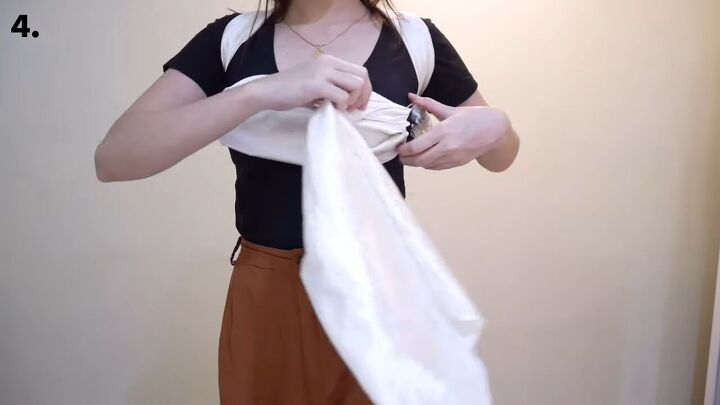
Loop around the ring next to your armpit a few times and let the remaining fabric hang in the back.
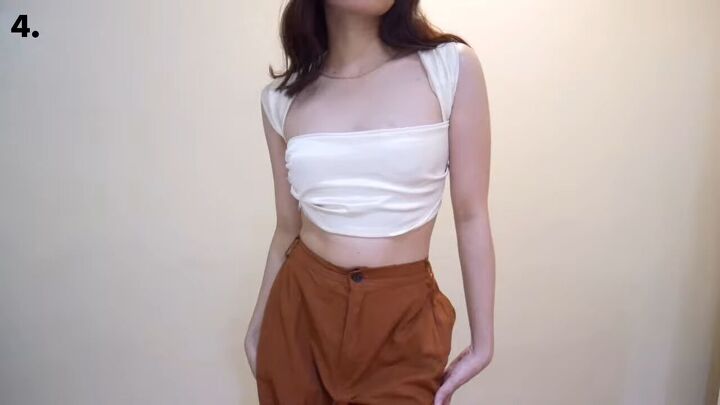
Here's the finished look!
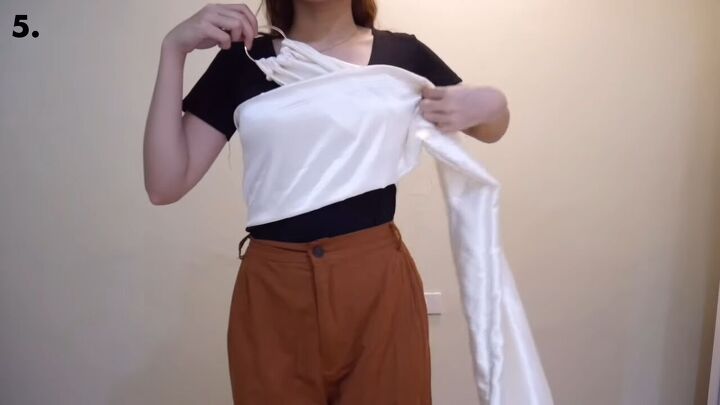
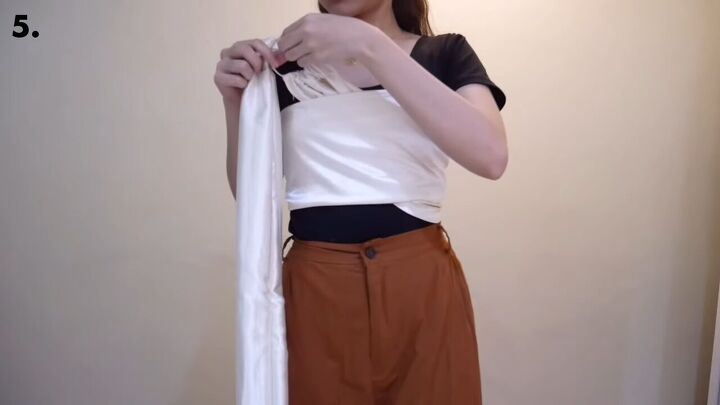
Style 5
Hold the ring against your right shoulder and wrap the top around your back to the front.
Wrap the fabric one more time but this time wrap it around your right shoulder and loop through the ring. Let the remaining fabric hang down your shoulder.
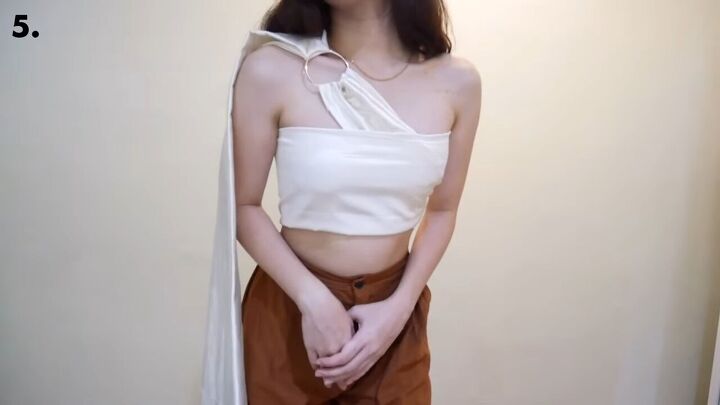
Here’s the finished look!
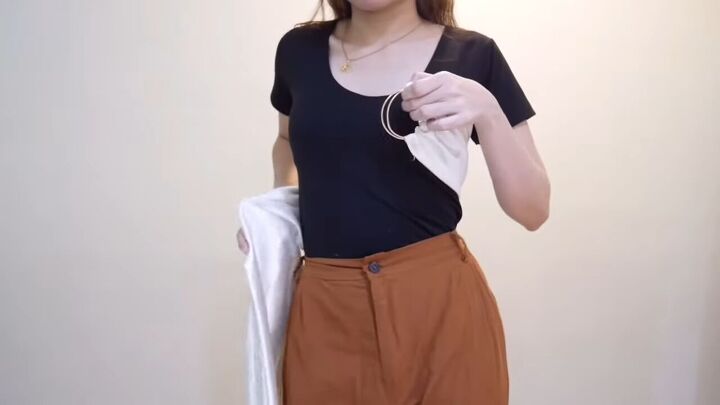
Style 6
Start with the fabric behind your back and pull to the front.
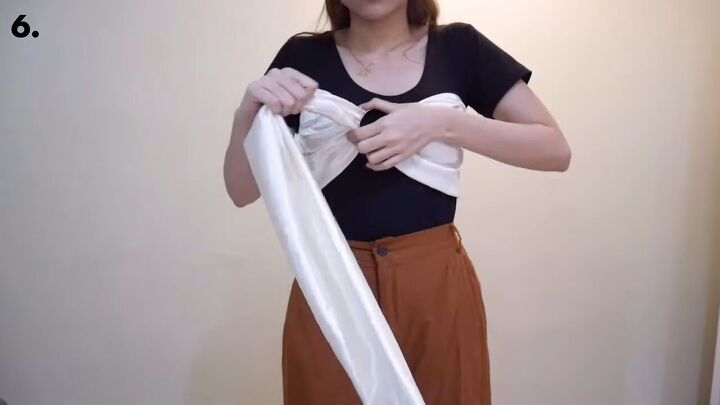
Pull the fabric through the rings.
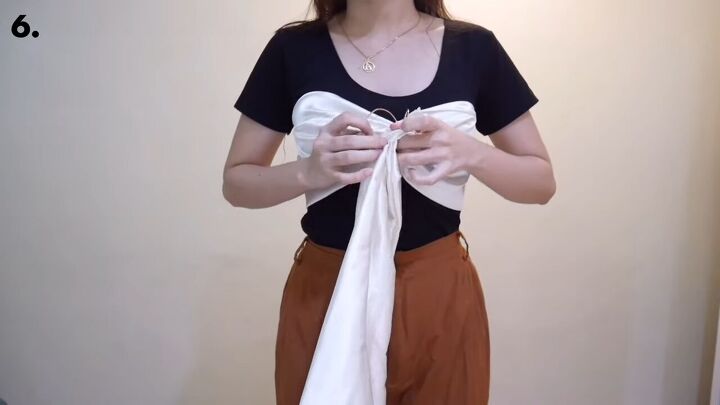
Instead of looping the fabric through the rings like in the previous tutorial, this time separate the two rings and pull the fabric through the right ring.
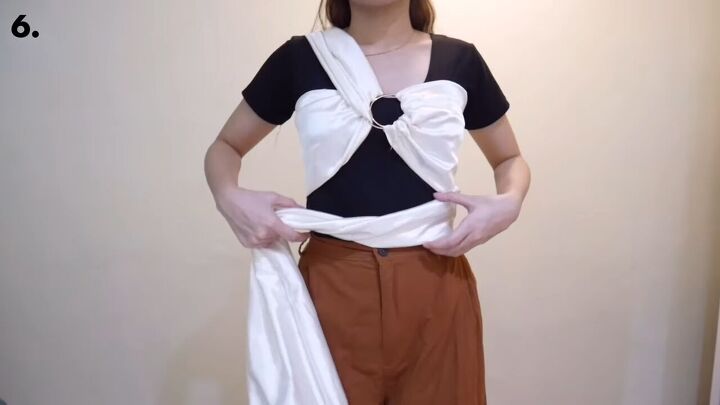
Drape the fabric across your shoulder and then wrap it around your waist and tuck in the back.
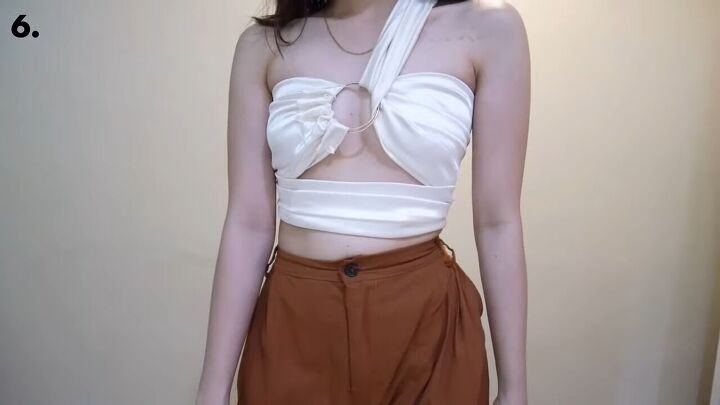
Here’s the finished look!
DIY O-ring top tutorial
This DIY O-ring top is really easy to make and lives up to its multiway title! The cool thing about this top is that its styles aren’t limited to the ones you see in this tutorial, so really have fun and experiment with it.
If you liked this tutorial, tell us which style is your favorite in the comments below!
The author may collect a small share of sales from the links on this page.


Comments
Join the conversation