How to Make an Easy DIY Bandana Headband You Can Wear 2 Ways

These adorable DIY headbands are really simple to make. I wear mine all the time – while working outdoors, at the beach – pretty much everywhere I go that I want to keep my hair out of my face.
You can use any fabric you want but be aware that slippery fabric may not stay in your hair well. These DIY headbands are versatile - you can wear them as bandanas or as scrunched hair bands, and you can throw them in the washer and dryer.
Tools and materials:
- Bandana headband pattern
- Sewing pins
- Scissors
- Ruler or tape measure
- Safety pins
- 1-inch-wide sewing elastic
- Fabric (cotton recommended)
- Thread
- Sewing machine
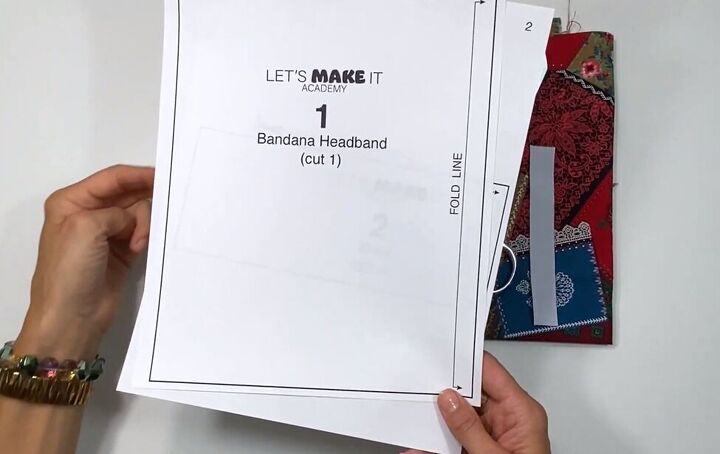
1. Make the bandana headband pattern pieces
Download the bandana headband pattern from the Let’s Make It Academy website. Print and cut out the pattern.
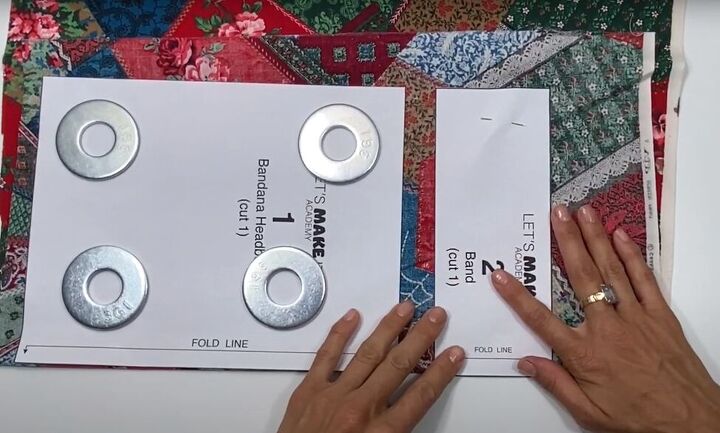
Fold your fabric with right sides together and pin the bandana headband pattern pieces on the fold of your fabric.
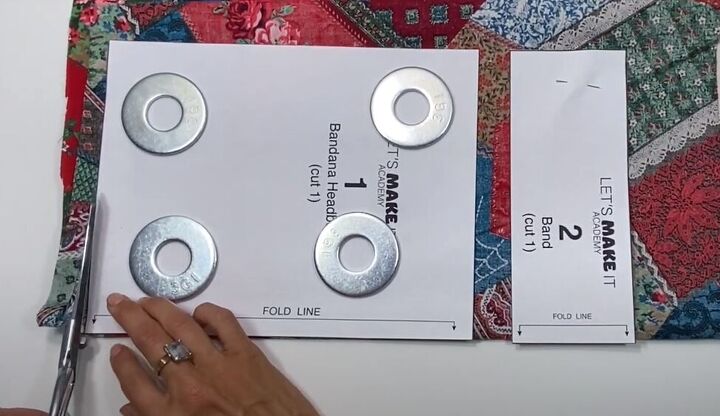
Cut out both pieces.
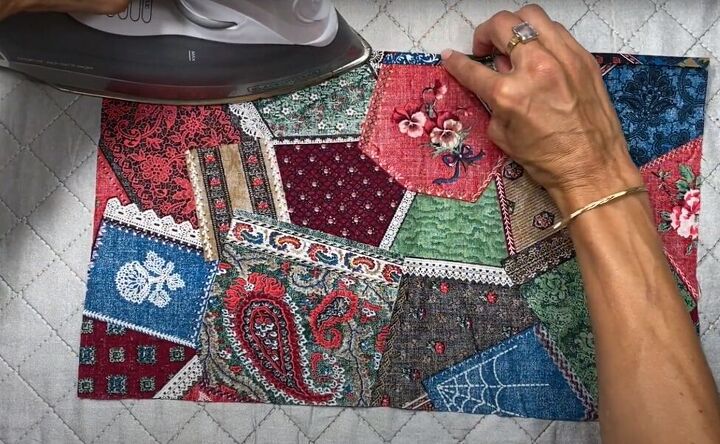
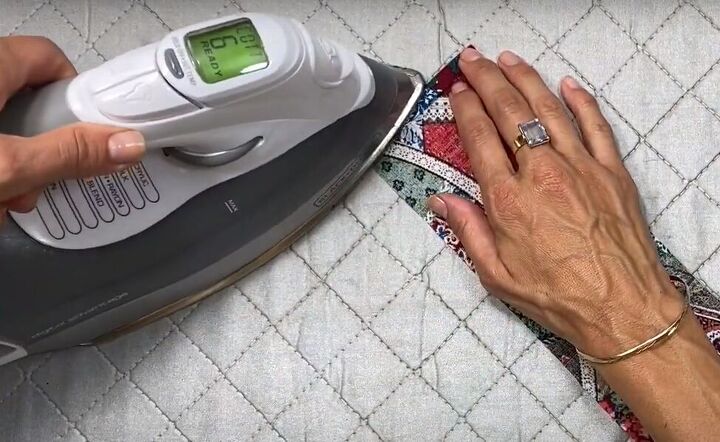
2. Hem your bandana headband
Fold in and press both long edges of your main bandana piece ¼ inch to the wrong side of your fabric. Then fold and press again, so you have a double-fold.
Sew a straight line down the center of the top and bottom hems.
3. Hem your bandana band
Fold and press the short ends of the bandana band ¼ inch, once only.

Fold the band in half lengthwise with right sides together. Pin and sew the open long edge with a ¼-inch seam allowance.
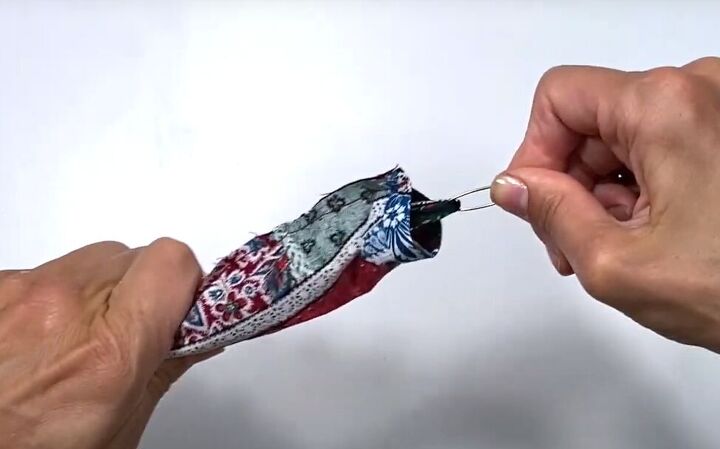
Use a safety pin to help you turn the band right-side out.
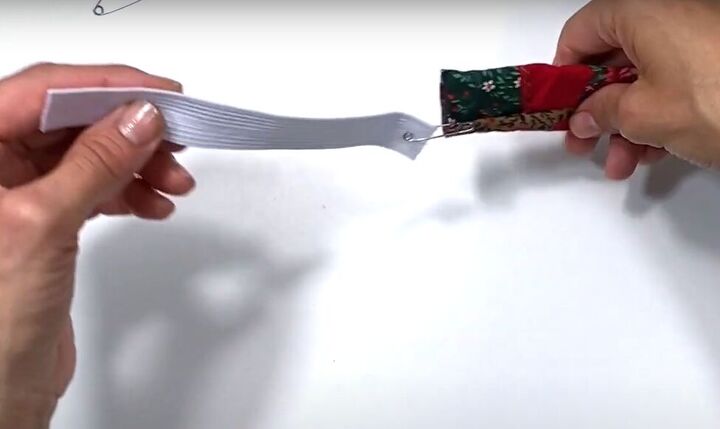
Cut 5½ inches of elastic. Place a safety pin on one end of the elastic and attach to one end of the band.
Now attach a safety pin to the other end of the elastic, and feed that end through the inside of the band. Make sure the pressed hem on the short ends of the band stay tucked in.
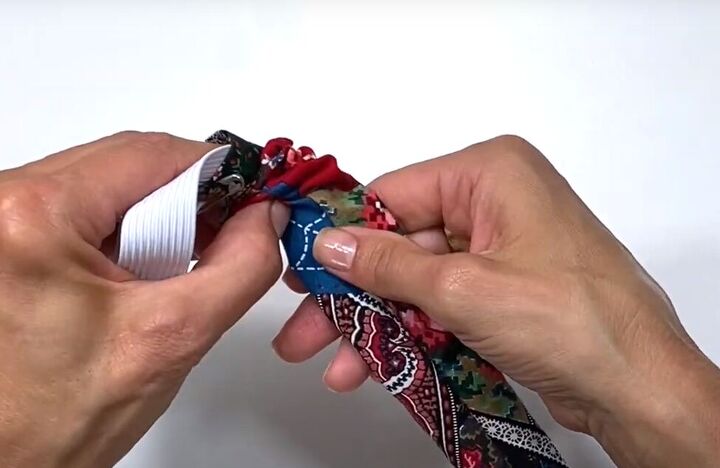
4. Attach the band to the bandana
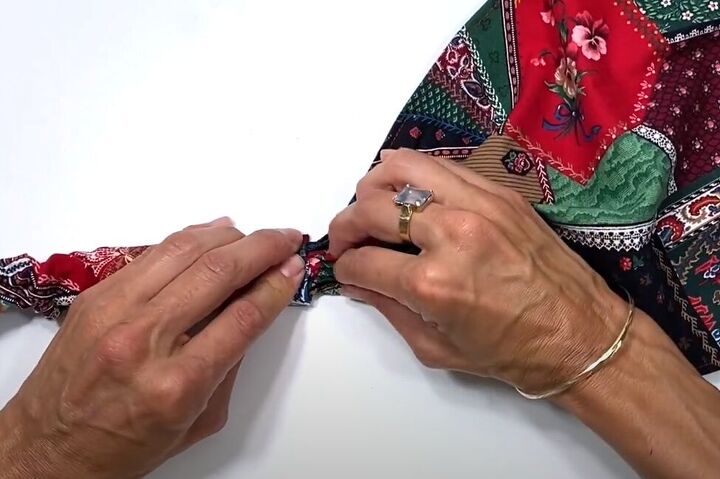
Scrunch one short end of the bandana together and tuck it into the end of the band.
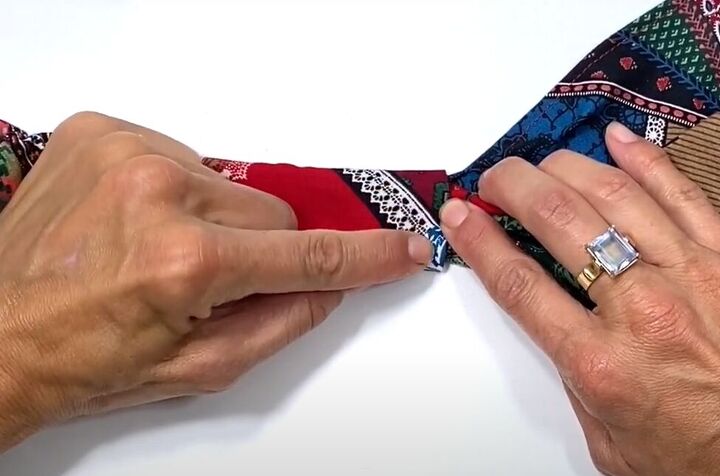
Remove the safety pin from the end of the elastic you pulled through and sew the band to the bandana by sewing straight across the tucked edge one way and then back again for extra security.
Make sure your stitches are going through the bans, the elastic, and the scrunched end of the bandana.
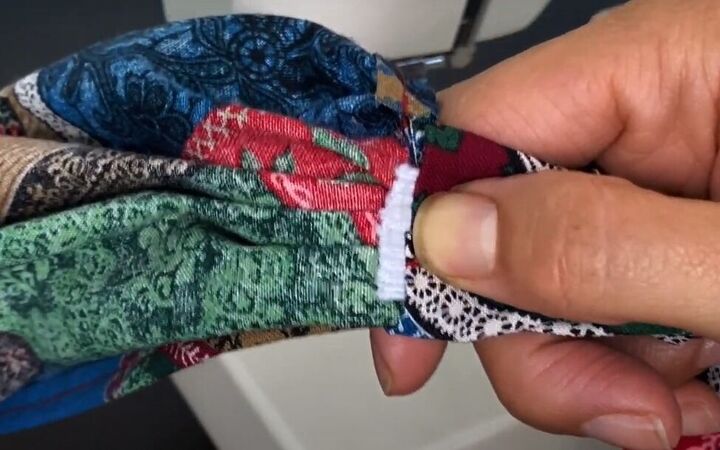
Tip: if you let the elastic stick out just a little bit, then you’ll be sure it doesn’t retreat into the band and get lost.
Repeat that whole step to attach the other end of the band to the bandana.
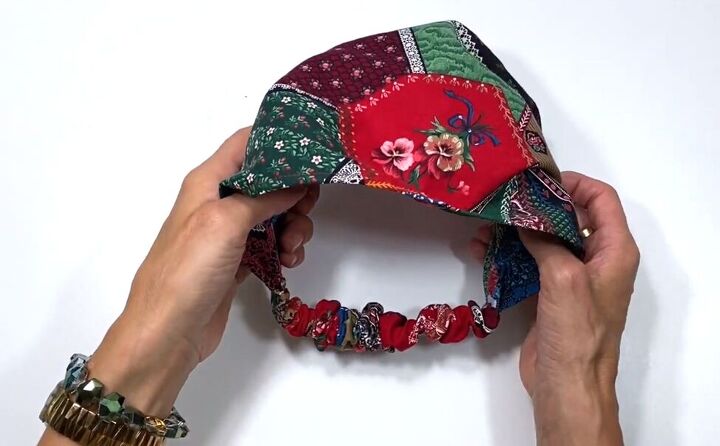
And that’s all there is to the DIY bandana headband.
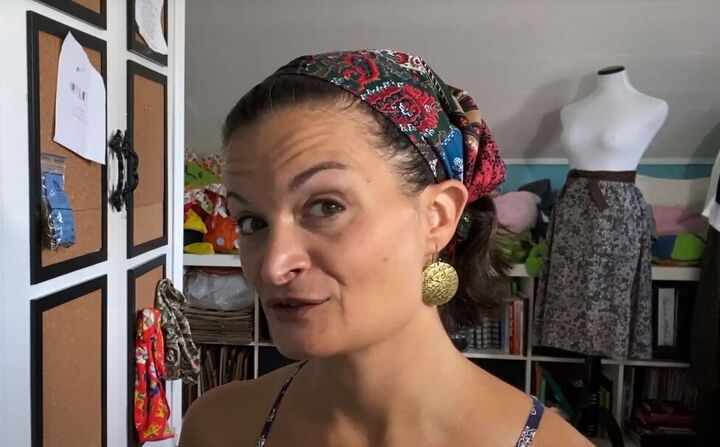
Here’s how it looks as a bandana.
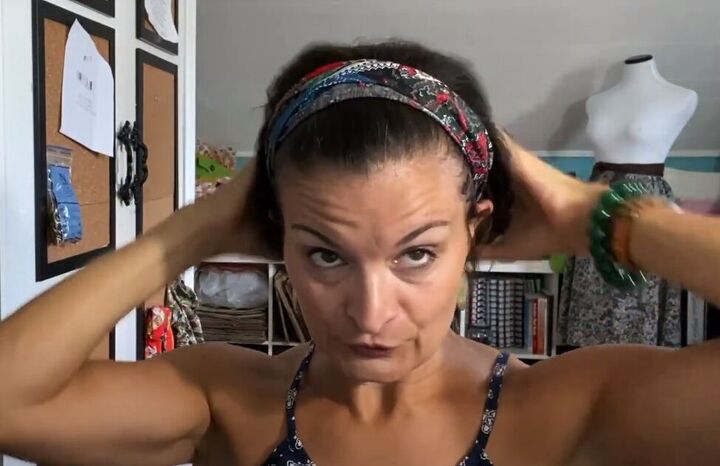
And here it is as a scrunched headband. Both styles are really cute!
DIY bandana headband tutorial
Try this DIY bandana headband for yourself and then leave a comment to tell me how you like the tutorial and which is your favorite way to wear your new DIY bandana headband.
The author may collect a small share of sales from the links on this page.


Comments
Join the conversation