Learn to DIY a Stunning, Simple Summer Dress

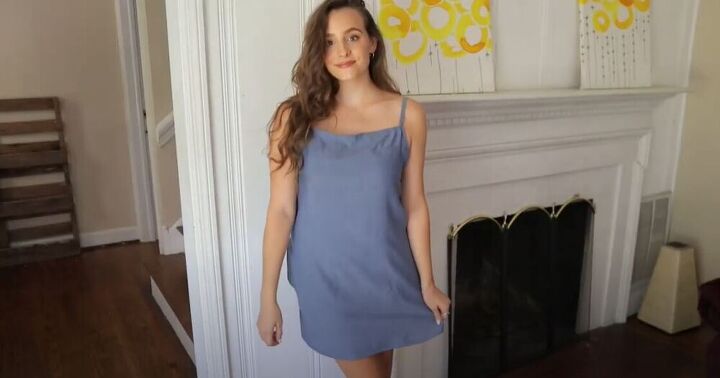
I love a great summer dress but I was struggling to find the perfect one in the store. I decided to get sewing and created the most amazing summer dress. This simple dress is so easy to make and can be dressed up or down for any summer occasion! If you are looking for your next summer wardrobe essential, the search is finally over! Follow this step-by-step tutorial and learn how to create a stunning summer dress to get you through the hot season! I am totally obsessed with how this dress turned out. What could be better than a spaghetti strap dress with pockets? Get started on making your own stunning summer dress!
Tools and Materials:
- Pattern
- Sewing machine
- Tencel fabric
- Scissors
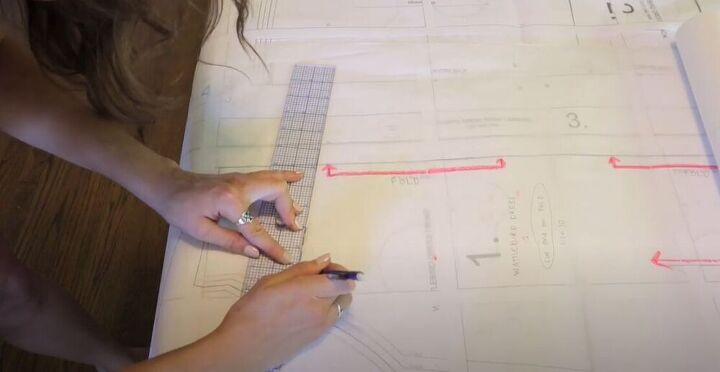
I started by tracing my measurements for the pattern onto some pattern paper. I made sure to transfer all of the markings including the fold line and the darts.

I then cut out my pattern pieces and couldn’t wait to get started on this super cute and easy dress!
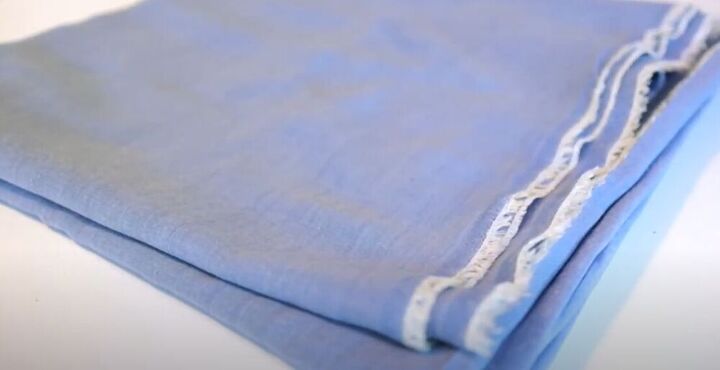
For my fabric, I used 1.2 yards of 60-inch wide Tencel fabric. I chose this stunning shade of blue but feel free to choose any color or pattern you like!
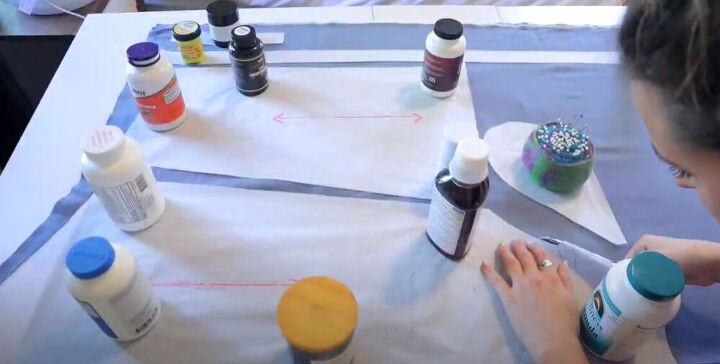
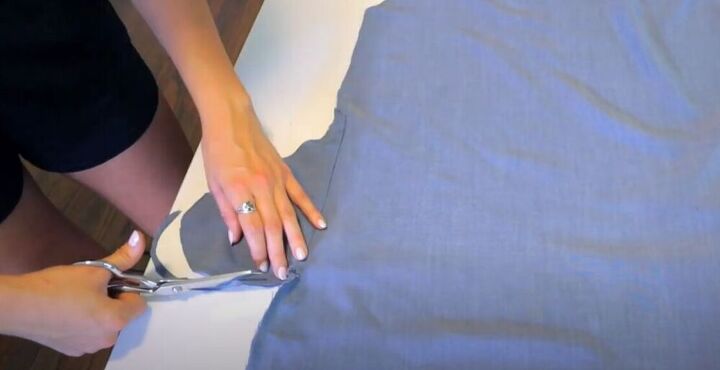
I lined up my patterns on the fabric making sure that the fold of the front of the dress was in line with the fold of the fabric. I then started cutting my fabric around the patterns.
Next, I used tailor’s chalk to mark the darts on the front of my dress. I love darts! They create a gorgeous fitted look on any piece.
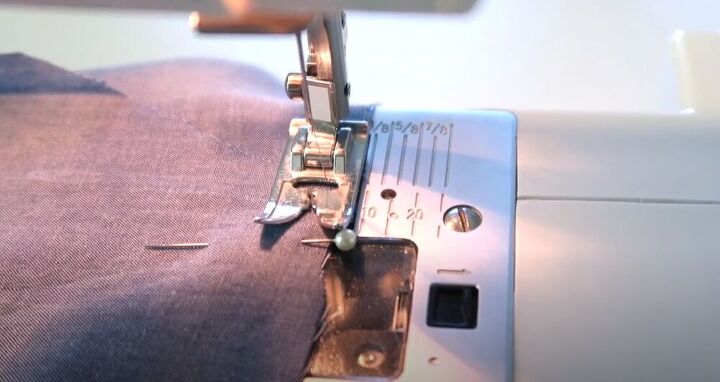
I pinned my dart lines making sure the pins were running along my markings. Using a straight stitch I sewed my little darts right along the pinned lines.
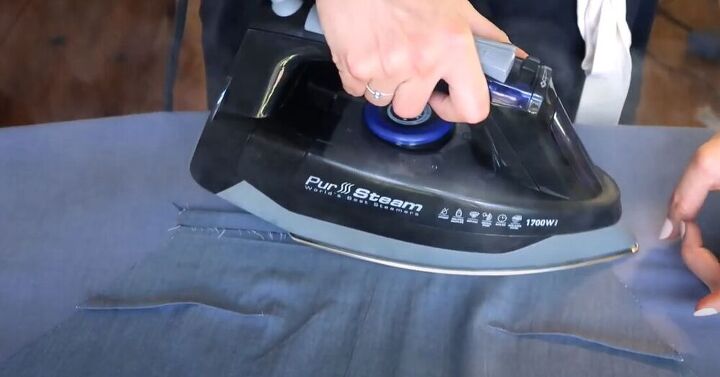
It’s amazing that the front of the dress was already almost done! I needed to hem the neckline so I folded it down by half an inch and pressed it. I then folded it down by one inch and pressed the fabric again.
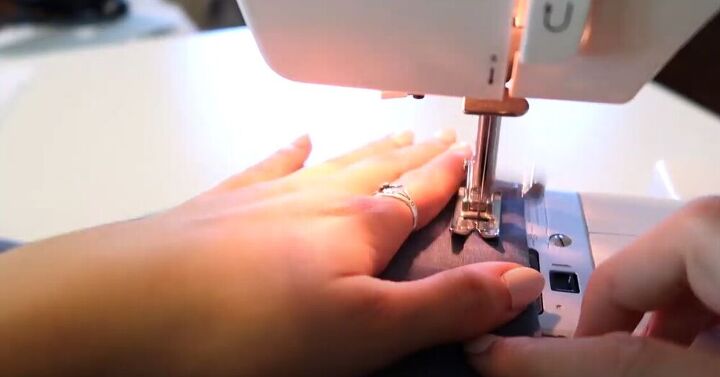
I hopped back on over to my sewing machine and topstitched the fold down.

I was so excited for the next detail of this dress. I mean, who doesn’t love pockets? I made markings 7 inches down and did the same on the back piece of the dress.
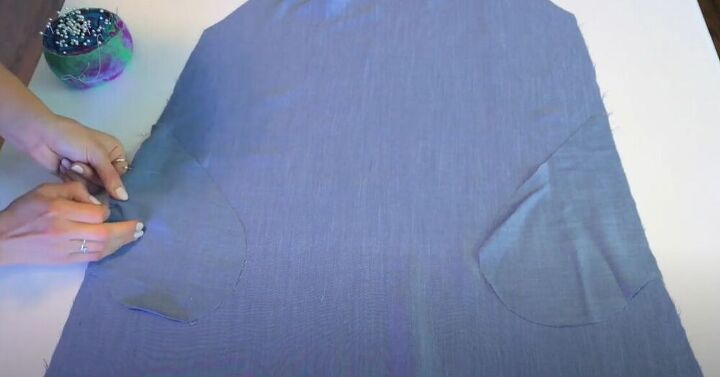
I then laid my pockets down, wrong sides together, and pinned them in place. I did this because I would be using a french seam to keep the inside of the dress looking neat and professional.
I sewed the first seam at ¼ of an inch seam allowance.
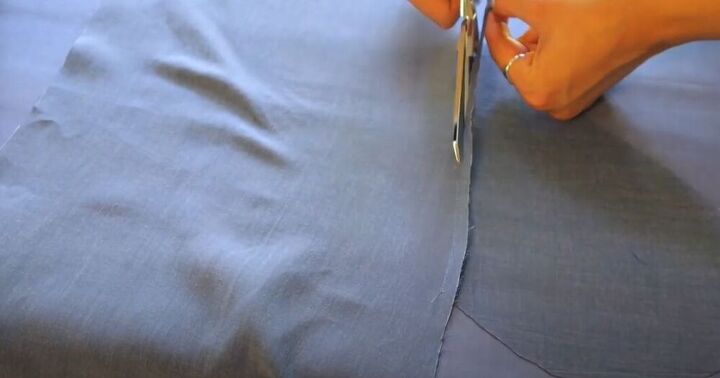
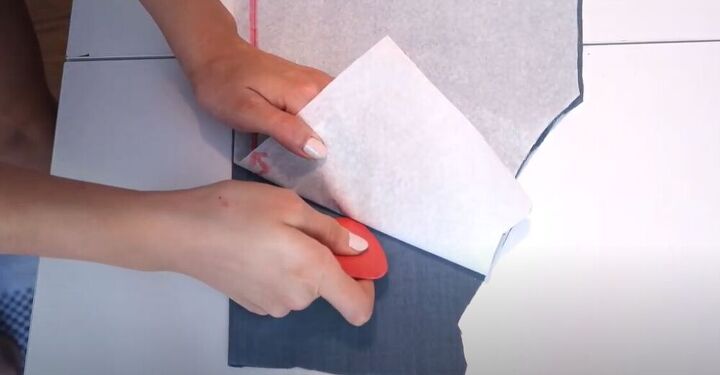
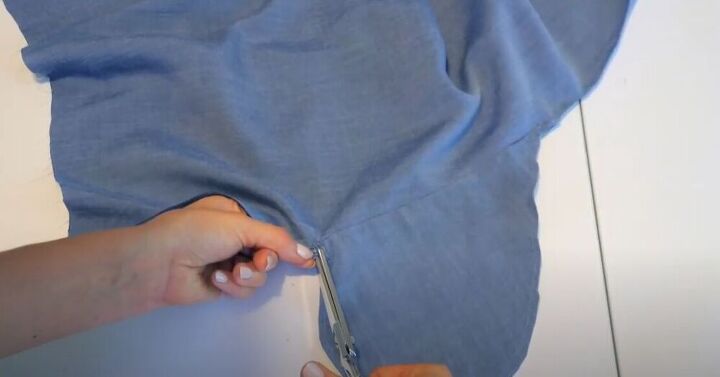
I pressed it and then moved on to the next crucial part of the French seam. Using my scissors I trimmed the seam allowance in half.
Next, I folded the pocket over, right sides together, and added one more seam. This time the seam was ⅜ of an inch.
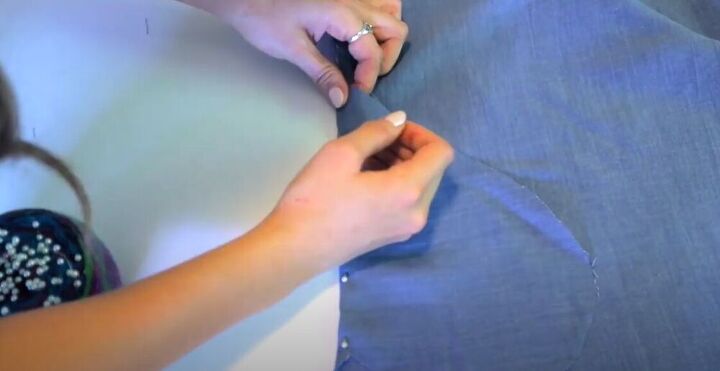
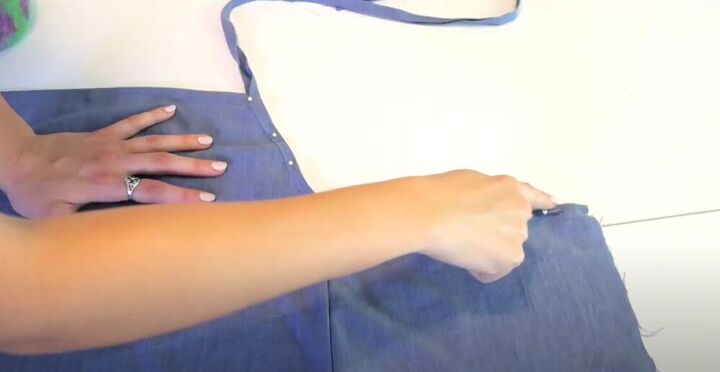
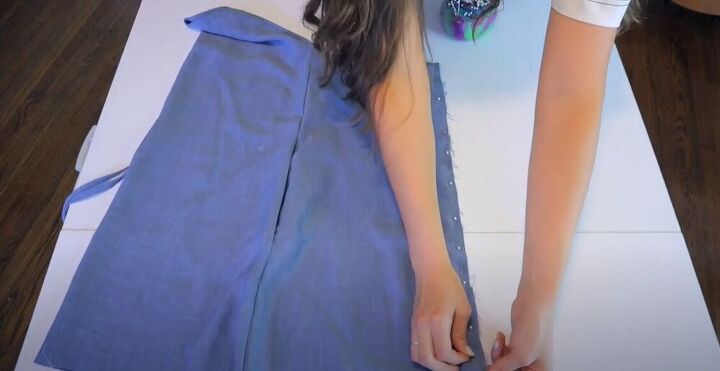
Finally, it was time to sew the front and back pieces together! I laid the pieces down, right sides together, and started pinning them in place. I sewed down the sides and around the pockets.
You know the drill! I took my scissors and once again, trimmed my seam allowance in half.
I also clipped my pocket corners just at the seam allowance. This helped take away some of the bulk of the fabric which is exactly what I wanted for my cute little dress. I pressed the fabric and then folded the dress, right sides together, and sewed one last seam around the sides and pockets again at ⅜ of an inch.
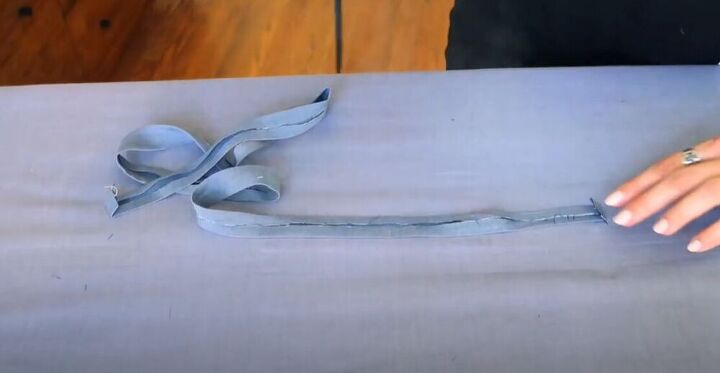
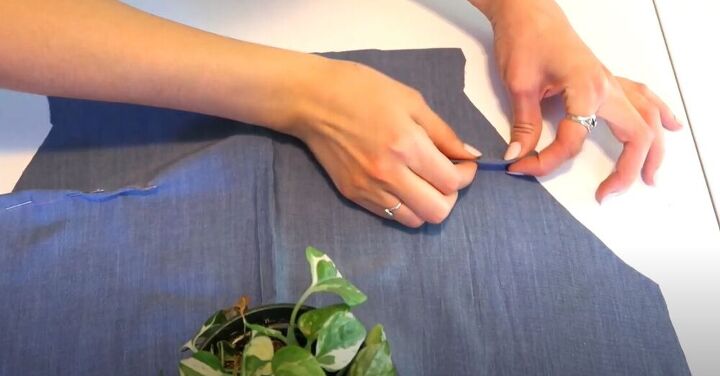
I had finally reached strap time! I folded one edge toward the middle and pressed it down. I then folded the other edge in and pressed it down as well. I then folded the ends of the strap over and pressed after the fold.
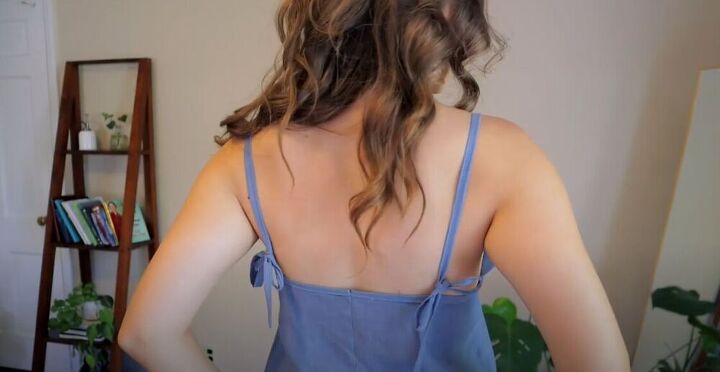
I folded the strap in half to create a spaghetti strap and of course, pressed the fold. To keep the strap flat and in place. I repeated the same folding and pressing process for the shorter straps that would be attached to the back of the dress.
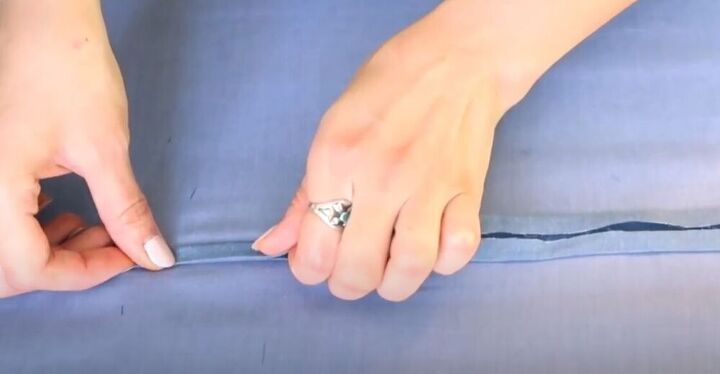
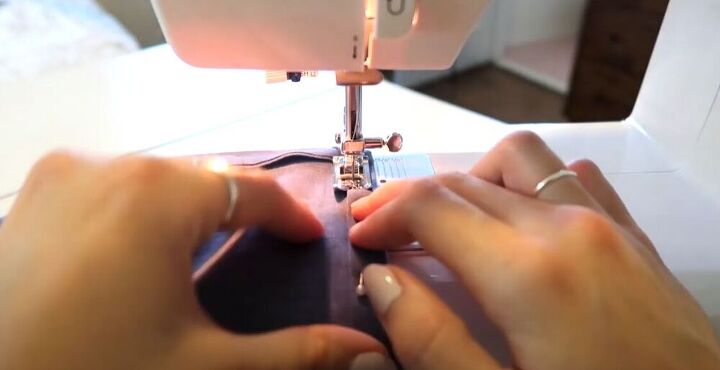
I took my long strap and pinned it onto the top of my dress as a sort of binding that leads into the strap. I did an edge stitch along the binding and the rest of the strap, making sure to close it at the end. Binding is such a small detail but it can add so much to a dress!
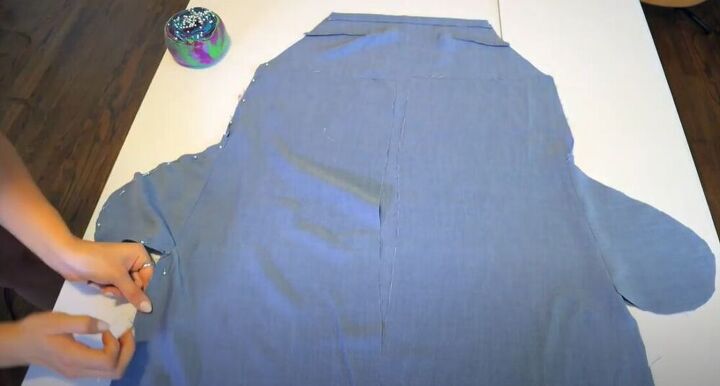
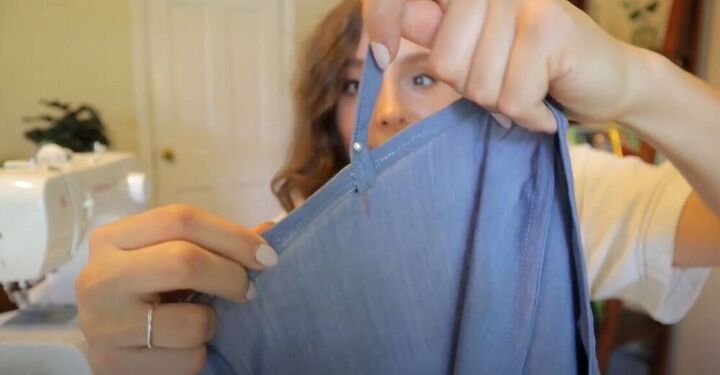
It’s almost finished! I couldn’t wait to see the end result! I folded my dress, wrong sides together, and pinned the two back pieces together at the center back. Then it was back to doing a french seam with, you guessed it, ¼ of an inch for seam allowance. I trimmed the seam allowance in half, pressed it, folded it right sides together, and made the last seam at ⅜ of an inch.
I folded the bottom of the dress twice, creating a rolled hem, and sewed it down.
For the final step, I stitched my short straps and closed them off at the bottom. I then attached them to the back of the dress on the wrong side of the fabric by sewing little Xs. I did an X because it keeps the straps secure and strong.
This summer dress is so light and fun! What color fabric would you use to make it? Let me know in the comments below!
The author may collect a small share of sales from the links on this page.


Comments
Join the conversation