How to Make a High-Low Dress From Scratch Without a Pattern

In this sewing tutorial, I’m going to show you how to make a high-low dress. This is a beautiful design that looks very feminine and elegant, and it's perfect for summer. Follow along as I show you how to make this dress.
Tools and materials:
- 2.5 yards of fabric
- Measuring tape
- Scissors
- Fabric pen
- Elastic
- Sewing machine
- Safety pin
- Pins
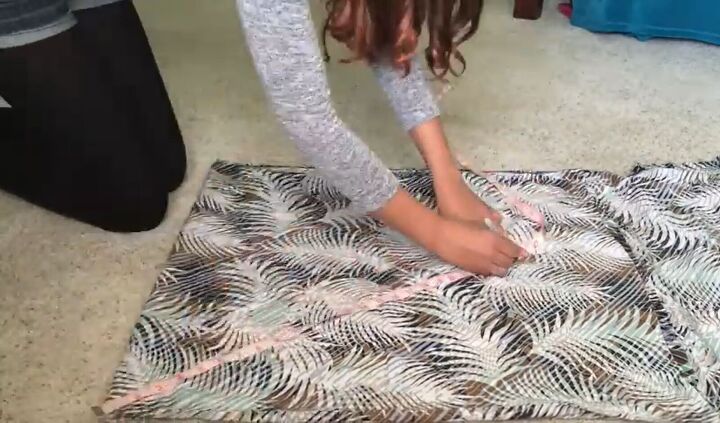
1. Fold and draw a circle
Fold your fabric into a square that measures 26x26 inches (66x66cm) and measure from the corner to the edge as shown above to make the circle skirt.
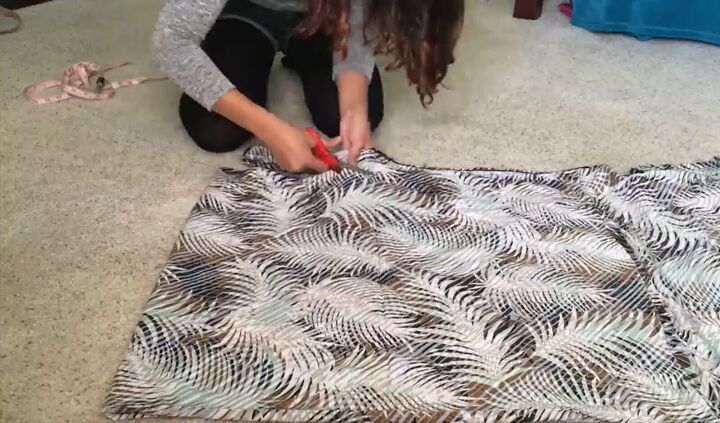
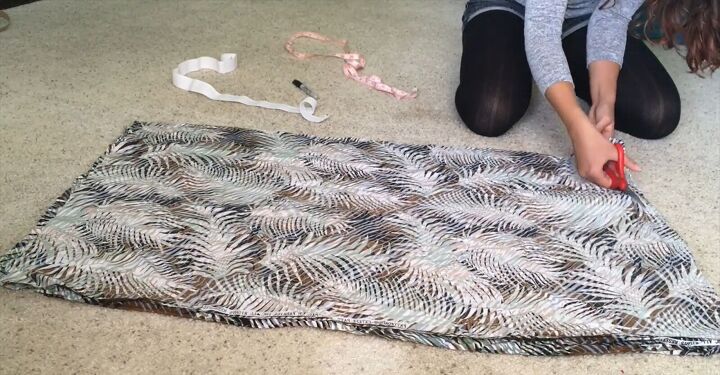
2. Cut
Proceed to cut along the line you just marked.
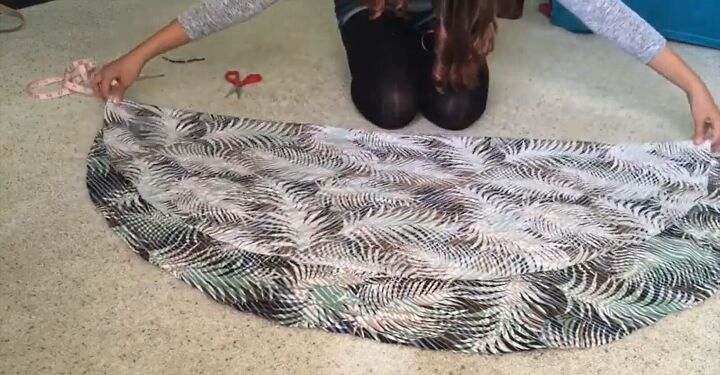
3. Fold
For a normal circle skirt, you would keep it folded and cut the corner to make the waistline, but for a high-low circle skirt, you want to fold it up a little bit to make the front side higher. Make sure it’s all even and then fold it back in half.
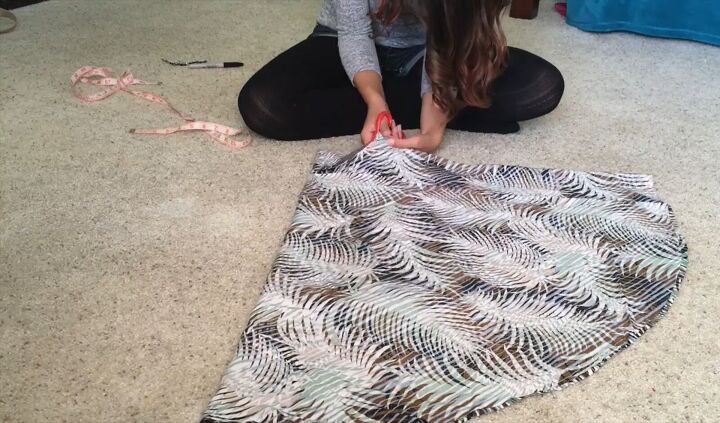
4. Cut the waist
Since this fabric isn’t stretchy, make a circle of about 5 inches (13cm) in diameter at the top and cut it out. If the fabric is stretchy you can make the circle a little smaller.
5. Cut a piece for the waistband
The skirt is going to have an elasticated waist. The elastic I’m using is 1.5 inches (4cm) in width so I’m going to double that and add a little bit so that it’s 3.2 inches (8cm) and then cut a strip from the fabric. This strip has to be longer than the elastic.
6. Fold
Fold the remaining fabric into quarters and cut it in half. Then cut each piece in half again.
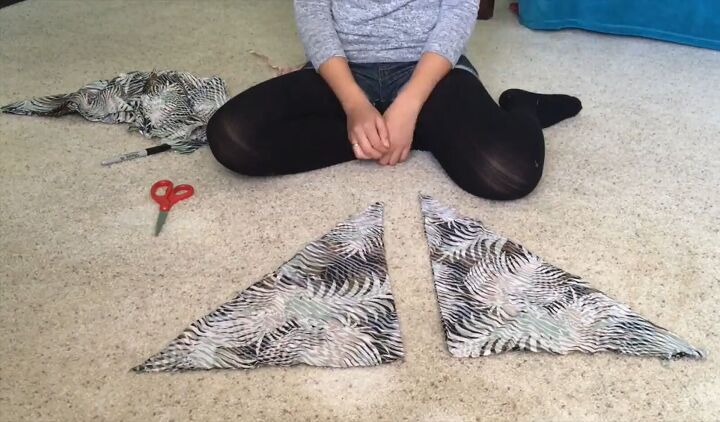
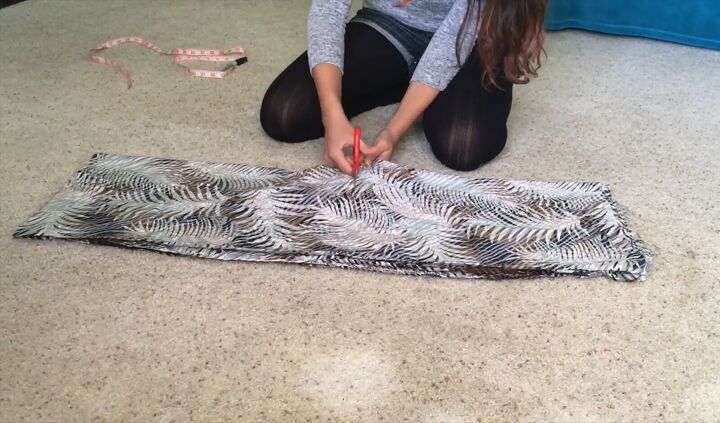
7. Cut the top part of the dress
This is going to be the top of the dress. Draw a straight diagonal line and cut two triangles. The size of the triangles depends on the size of your chest.
8. Cut the top straps
Now cut a strip about 4 inches (10cm) wide for the top straps.

9. Sew the triangles
For the sewing, make a straight stitch on the two long parts of the triangle. The fabric should still be folded with the good sides touching. After that is done, turn them the right way out, fold the bottom and sew that with a straight stitch.
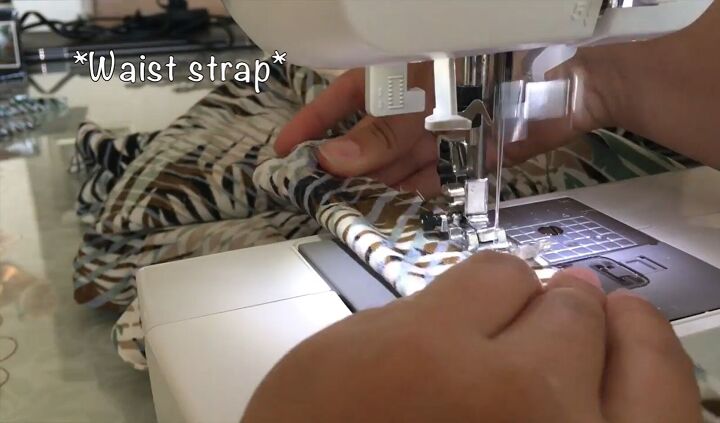
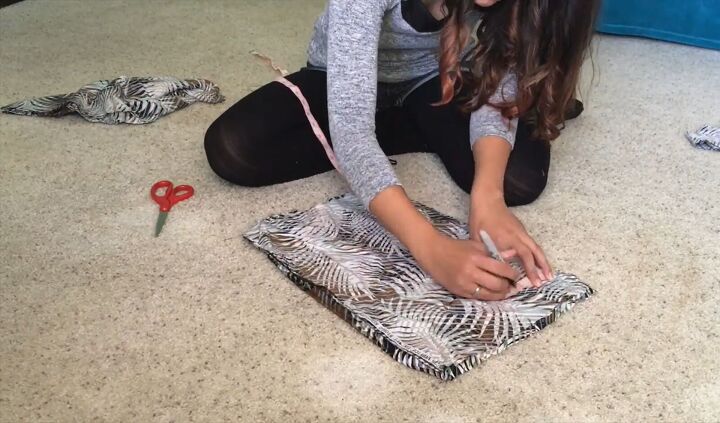
10. Sew the waistband
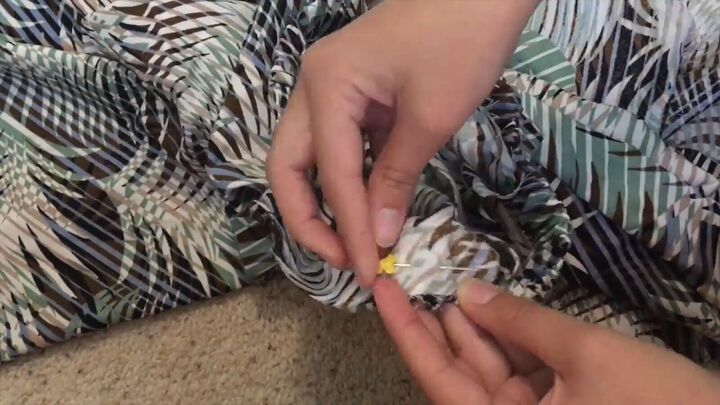
Take a piece of the folded fabric, the same size as the piece for the waist, and cut that one in half. But the one for the belt is one long strap.
Fold it right sides touching and sew all the way down with a straight stitch. Now take a safety pin and attach it to one side and use it to pull the strap right side out.
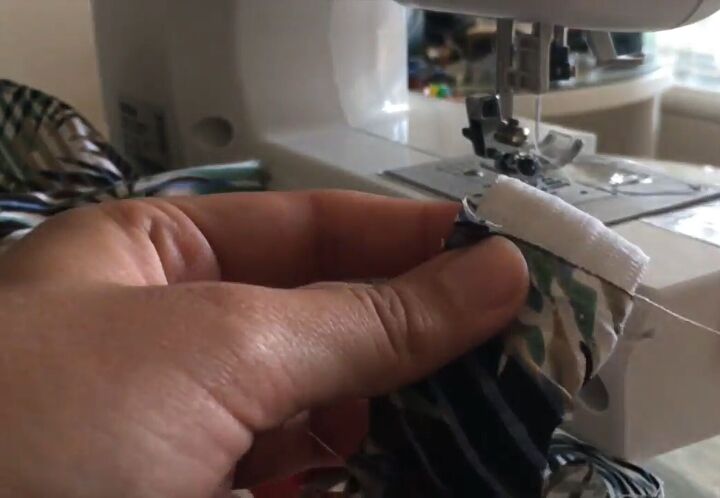
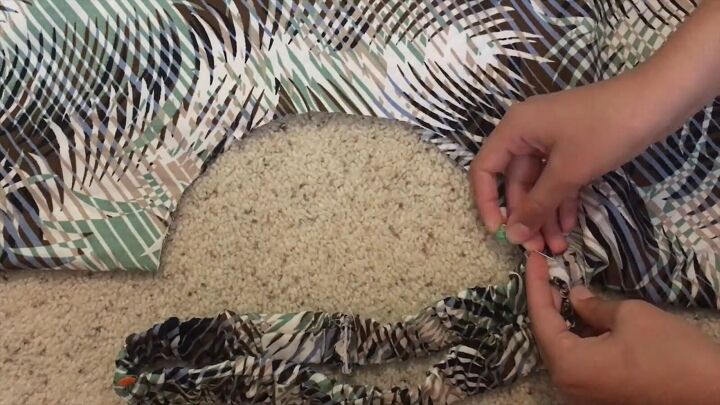
11. Insert the elastic
To put the elastic in just do the same thing; attach the safety pin to the elastic and bring it all the way through to the other side. Make sure the elastic is sticking out of either end and remember the fabric is going to be longer than the elastic is. Stretch it all out and the fabric will scrunch up.
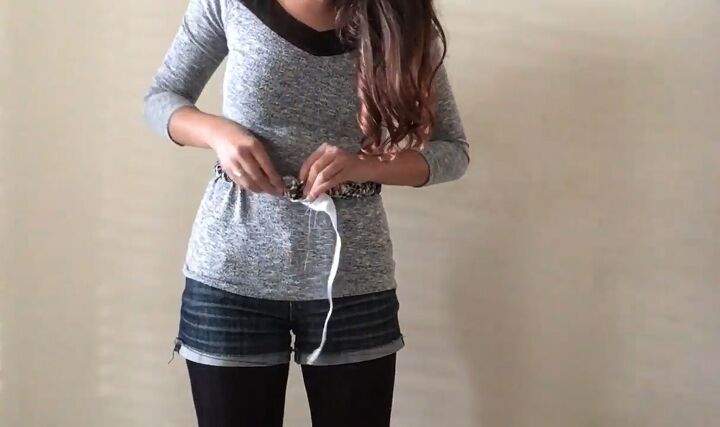
12. Cut the waistband to size
Now measure your waist to see how long you need to make it. Scrunch up the rest of the fabric and sew it at either end of my waist measurement with a zig-zag stitch. Once sewn, cut the extra elastic off. Now sew both pieces together with a zig-zag stitch. Over that, sew a straight stitch.
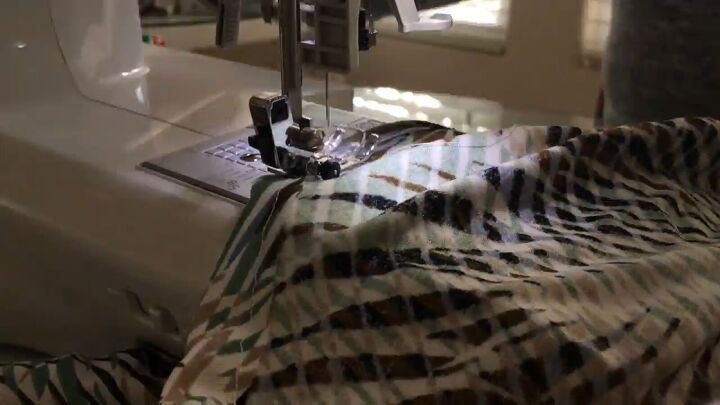
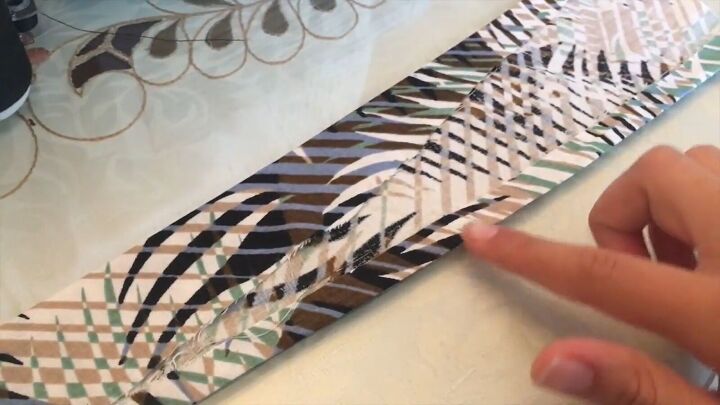
13. Hem the skirt
Next, fold the edge of the skirt to make a hem.
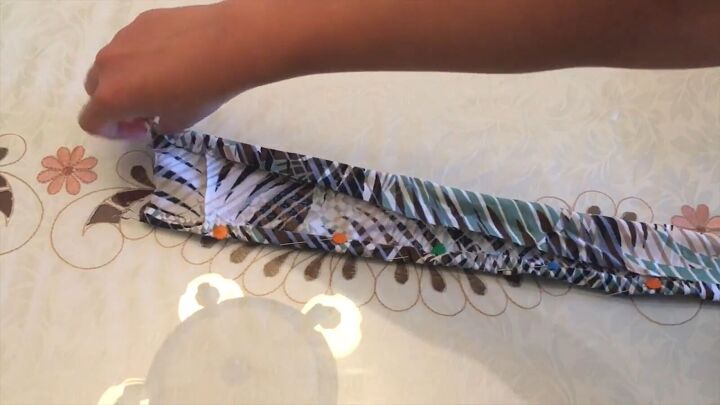
14. Pin the edges of the waistband to the skirt
Take the elastic, fold it in half and pin one of the ends. Then pin this side to the skirt with the right sides touching. Once done, pin the other end of the elastic to the other side of the skirt.
15. Pin the center of the waistband to the skirt
Continue to grab the elastic and fold it the other way to know where the center is. Then do the same thing to the skirt, see where the center is, pin those two together, and the same thing for the back side.
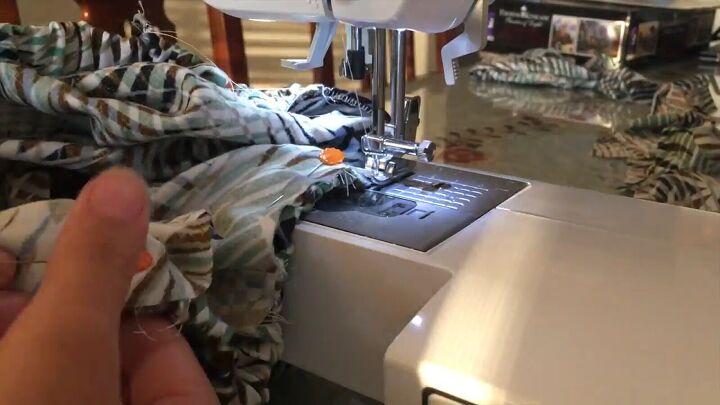
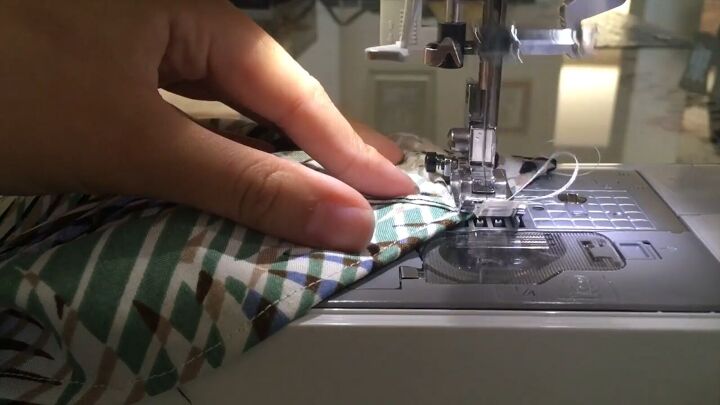
16. Sew the waistband to the skirt
To sew it down, reach to the point where another pin is and stretch it out. This way the fabric will scrunch up a little bit which will still make it stretchy and this is going to have a zig-zag stitch.
17. Attach the straps
Now for the straps. Pin one of the sides down. On one side, pin it all the way down to the bottom, but on the opposite side, it’s going to be at an angle. For the other strap, do the same thing but backward.
Instead of trying to sew it with the pins getting in the way, I ironed it so that it stays flat and while I sew it, I’m going to fold it in one more time to make a better hem. Do that for both the sides and top straps.
18. Sew the body of the dress
Pin all the pieces down so you know where to sew. The longest side of the top part is the one that’s going right in the middle. Proceed to sew all the pieces together using a zigzag stitch and going over it with a straight stitch.
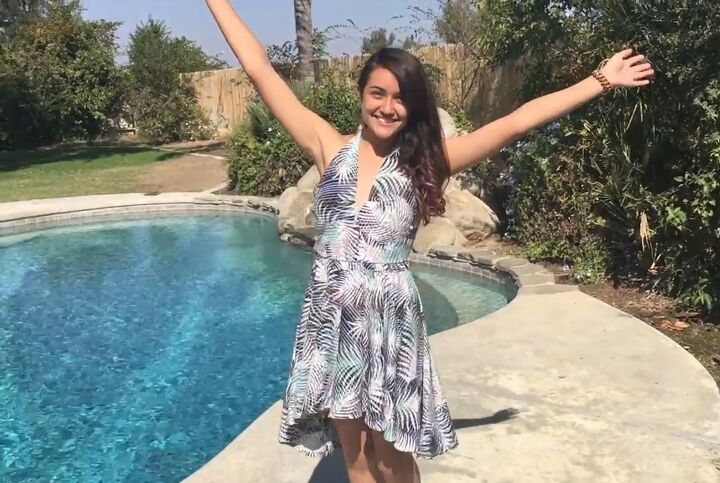
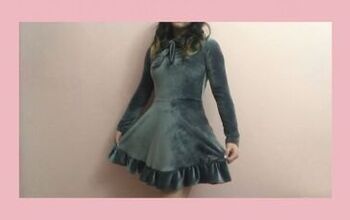
How to make a high-low dress
Here is the finished high-low circle dress! I love the asymmetrical finish of the skirt, and the v-shaped neckline is also very stylish.
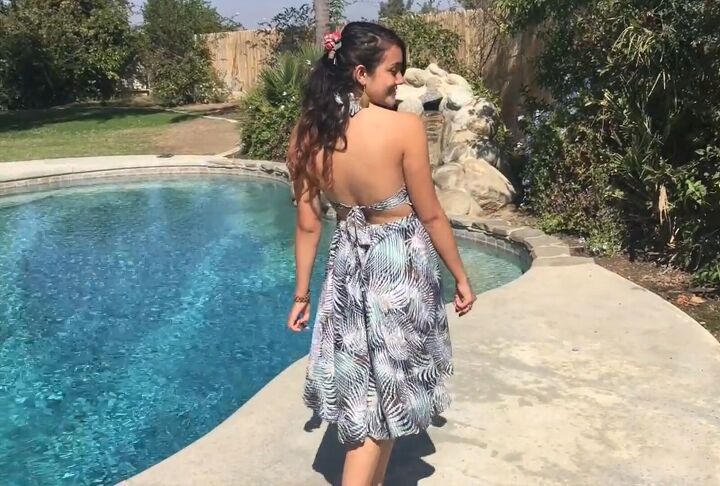
The back of the dress is open with just a tie across it.
I hope you enjoyed this sewing tutorial and I hope you’ll give this dress a go for yourself!
The author may collect a small share of sales from the links on this page.


Comments
Join the conversation