How to Make a Velvet Dress From Scratch Without a Pattern

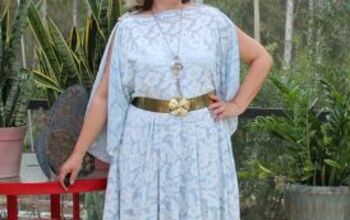
In this tutorial, I’m going to show you how to make a velvet dress. I’ll be recreating the Valfre Alicia dress since it has my name! I also saw an Instagrammer wearing this dress and loved the style.
We’ll start off by making the circle skirt and then move on to the bodice. I'm using a really soft gray velvet to make this DIY velvet dress, and I'll walk you through the process step by step. Let's get started!
Tools and materials:
- Rotary cutter
- Velvet fabric
- Scissors
- Pins
- Sewing machine
- Matching thread
- Marker or chalk
- Paper
- Measuring tape
- Long-sleeved top that fits
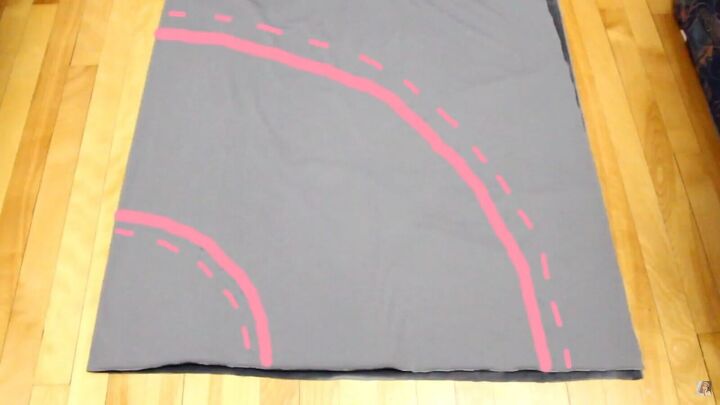
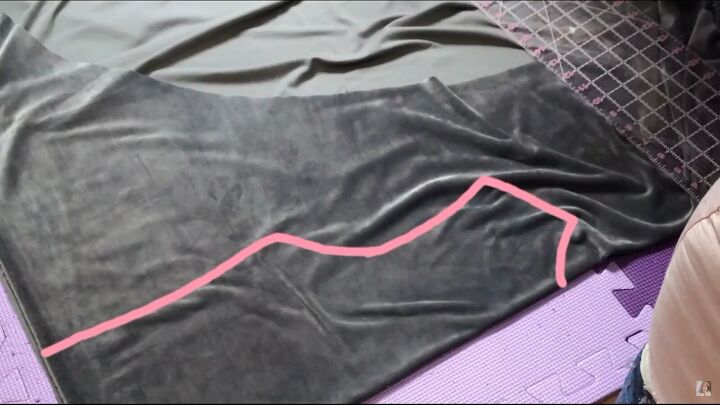
1. Draw the circle skirt pattern
Fold your fabric. Then, mark your first measurement, which is your waist measurement divided by Pi π (3.14).
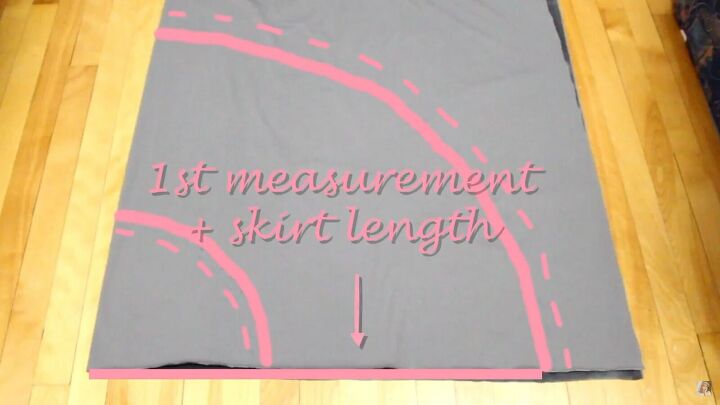
The second measurement is the first measurement plus your desired skirt length.
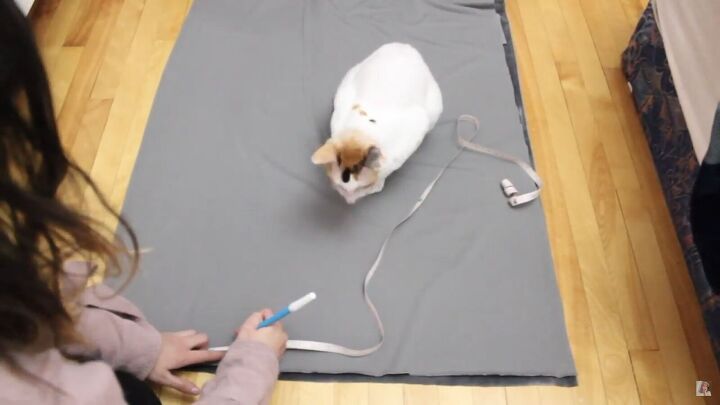
Put the measuring tape at the corner, where the fabric is folded, and start marking the measurements in a curve shape.
Using your cat as a fabric weight is optional (her name is Minette!).

Repeat the same for the second measurement.
Tip: We will add ruffles at the bottom, so don’t make the length too long. Also, remember to add seam allowance.
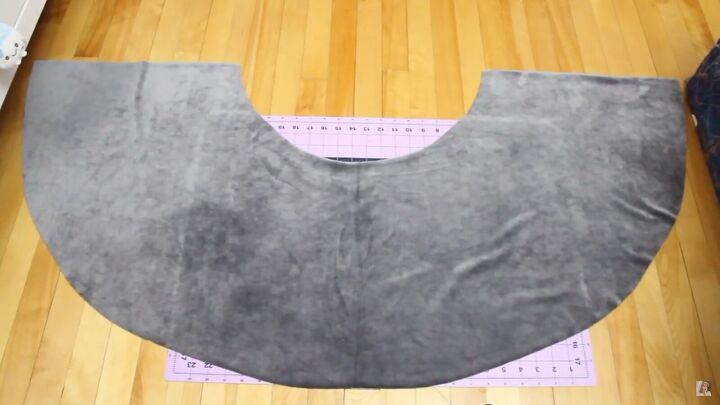
Use a rotary cutter to cut the fabric. You should now have a half-circle.
Tip: If you want to add pockets, cut the skirt in the middle.
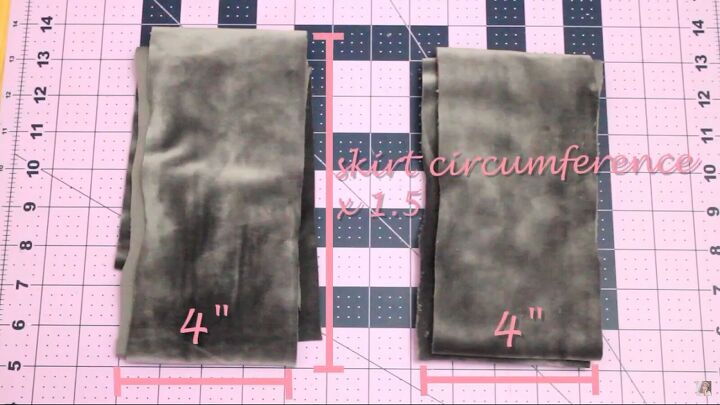
Measure the bottom part of the skirt, as this will be the measurement you’ll need for the ruffles. Then take that measurement and multiply it by 1.5. Cut two rectangles with that length and a 4-inch width.
2. Make the ruffles
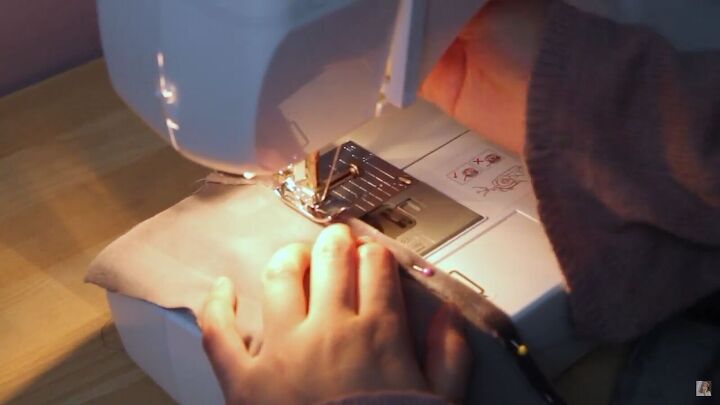
Hem the edges of the rectangles by folding them over once.
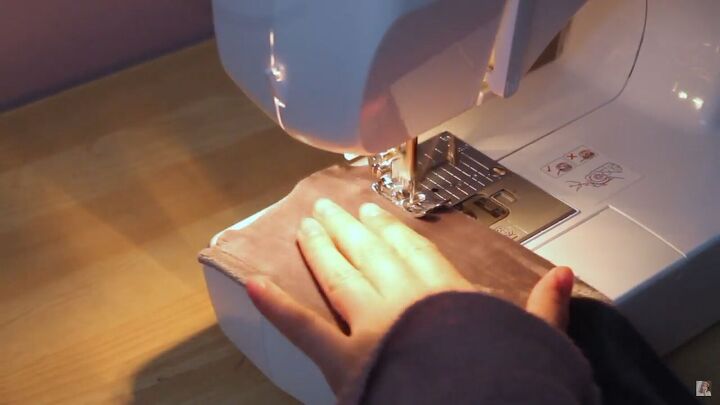
Now, sew a basting stitch along the other side. Don’t backstitch.
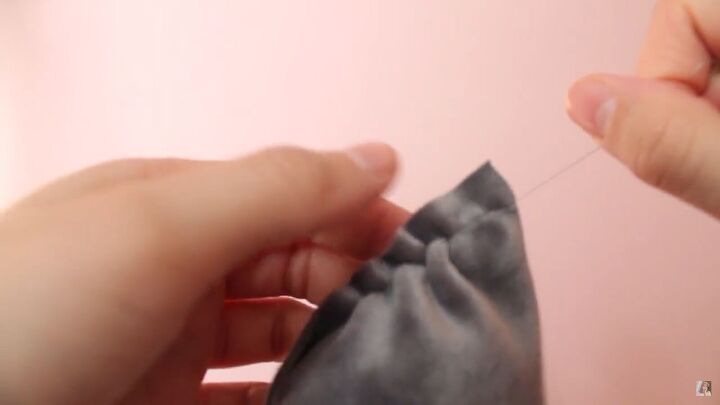
Pull on the thread to gather the fabric until it fits the skirt. Tie a knot on both ends to ensure the ruffles don’t come undone.
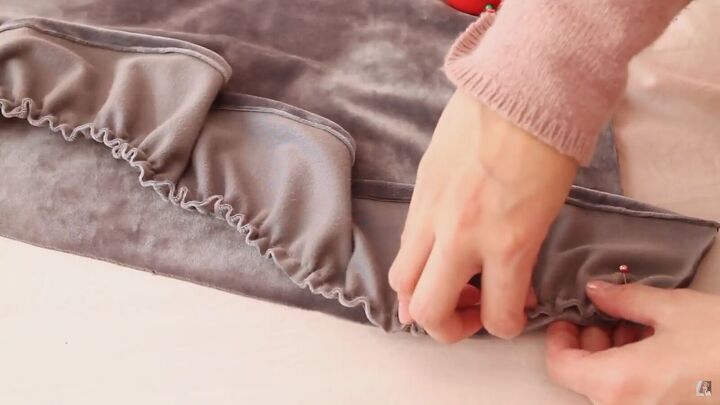
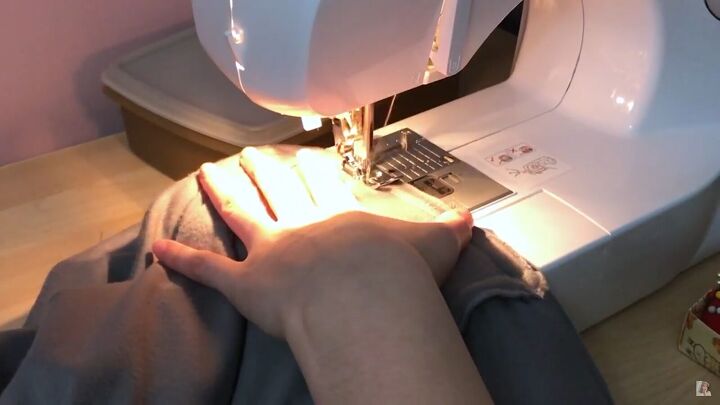
Pin the ruffled piece to the skirt, right sides together. Make sure to add plenty of pins and pin the fabric vertically.
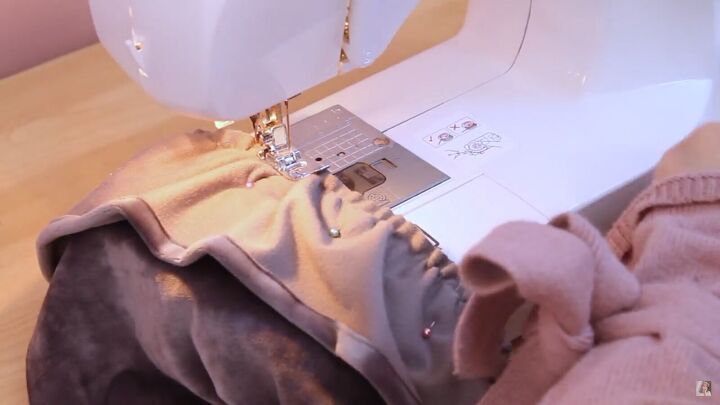
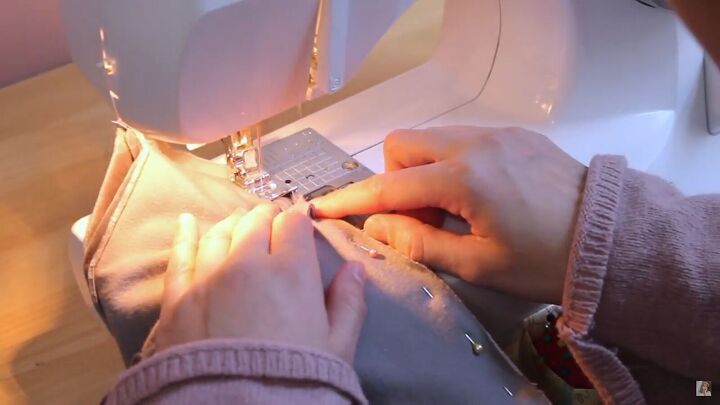
Now, sew to secure. Since the pins are vertical, you can sew over them.
3. Sew the circle skirt
Sew the two skirt pieces together by the side seams (by about ½ inch).
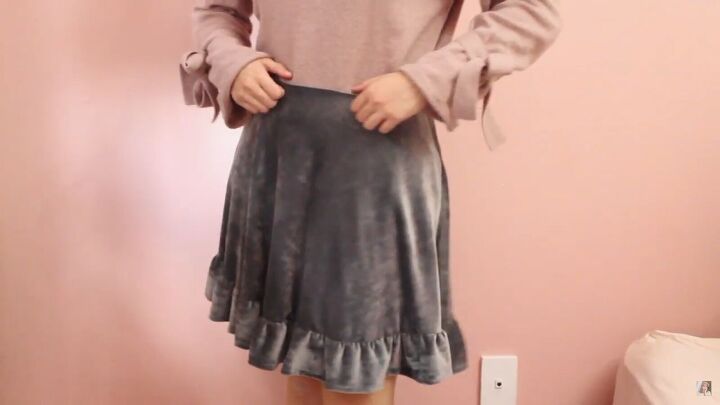
The skirt is done!
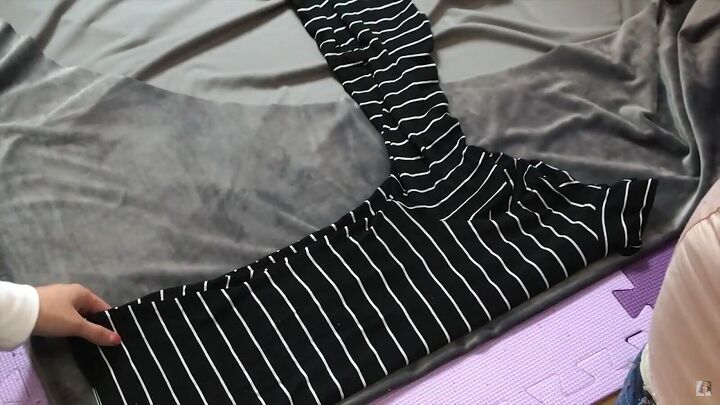
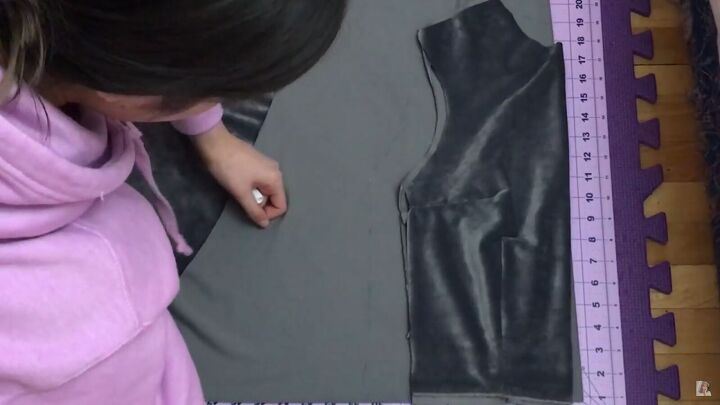
4. Make the front bodice pattern
Fold your fabric in half and place a long-sleeved shirt that fits you well, on the fold—lower the shirt at the waistline.

Trace around the shirt and add a ½-inch seam allowance.
For curved parts like the neck and armholes, put your finger on the seam, lift the fabric, and put a mark where your finger is.
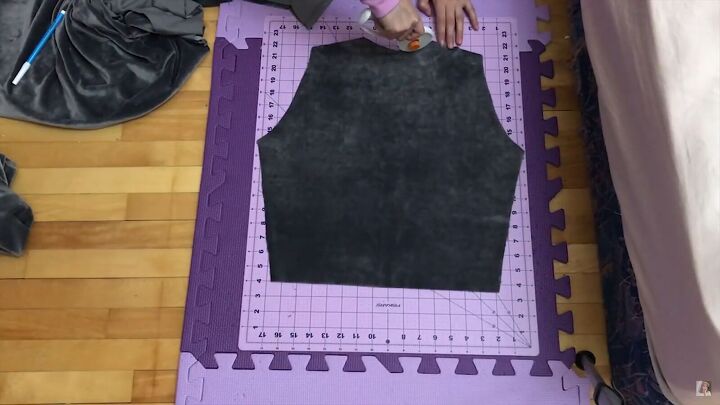
This is what you should have. Cut out the pattern.
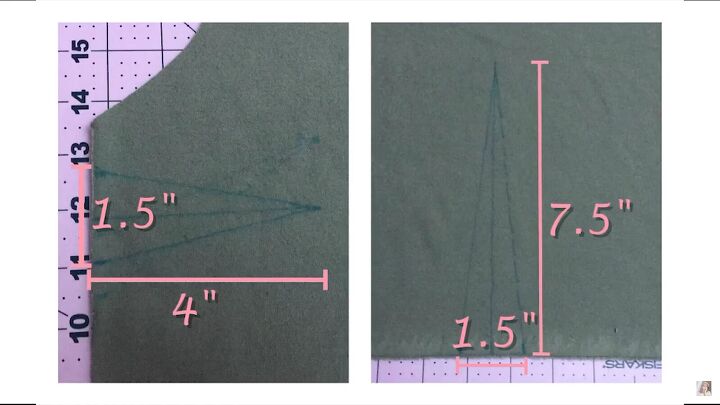
5. Sew the darts
Let’s make some darts. The side darts start 1 inch below the armhole, then make a line 1½ inch below that line.
Draw a 4-inch line between the first two markings, then connect that point to the other markings to form a triangle.
The bottom darts start 4 inches from the side. Add a marking 1½ inch to the right. These bottom darts will measure 7.5 inches.
Fold the darts in half, pin on the line, and sew. Make sure to tie a knot with the end of the thread instead of backstitching.
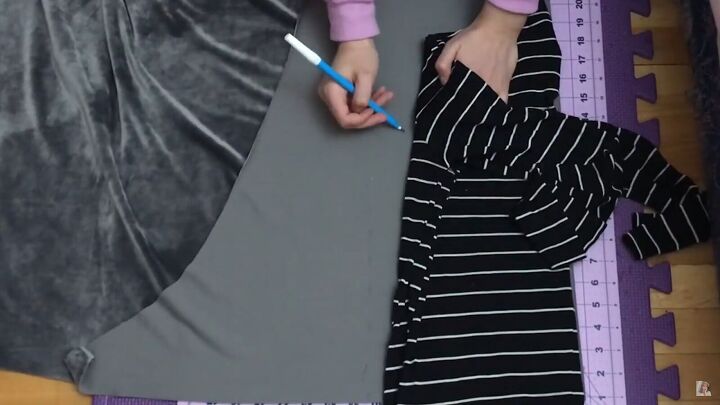
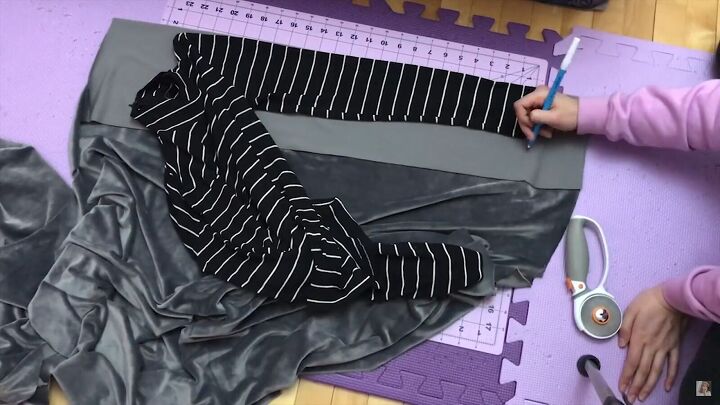
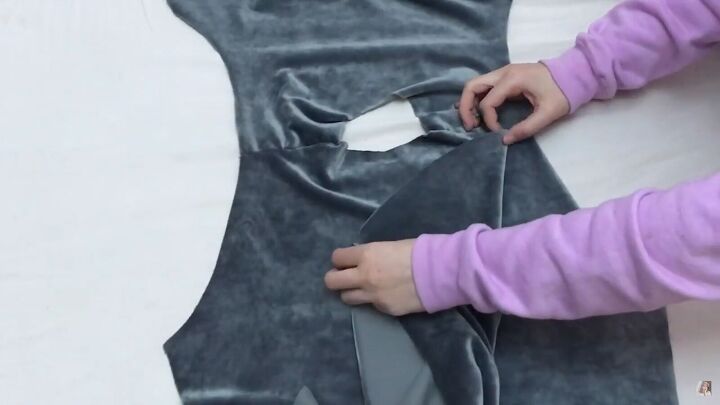
6. Make the back bodice pattern
To make the back piece, use the front piece to make sure they have the same length. Then, trace the back of the same shirt you used for the front piece,
Overlay the front piece, mark any dart changes, and cut.
Make the neck hole rounder.
7. Make the sleeve pattern
Trace the sleeves with the fabric on fold and cut two pieces.
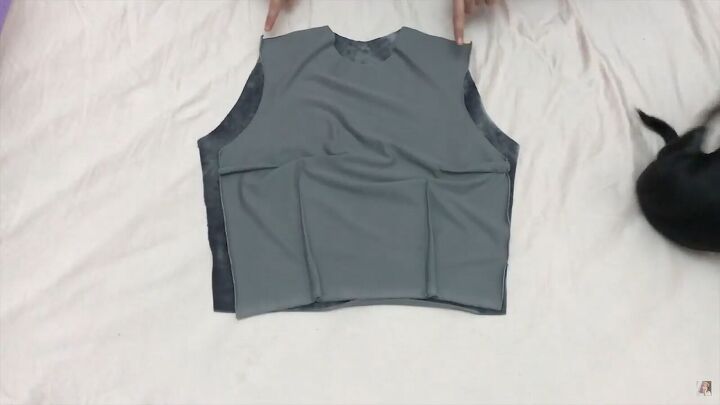
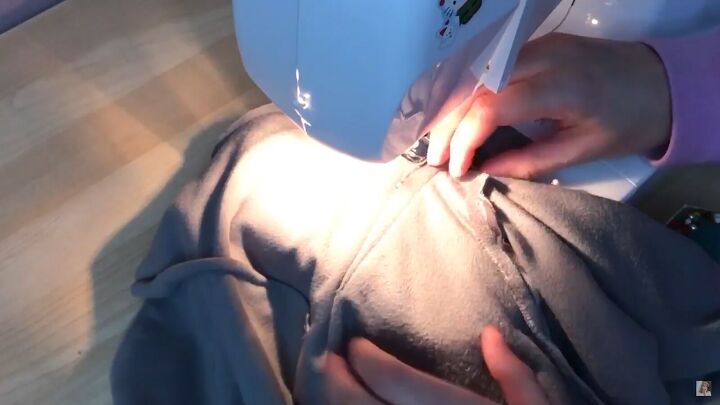
8. Sew the bodice
Sew the front and back pieces right sides together at the shoulder seams.
Fold the sleeves in half to find the middle point. Then, pin it to the center of the armhole. Add pins around the rest of the armhole and sew to secure.
Tip: pin vertically, so the fabric stays in place while sewing.
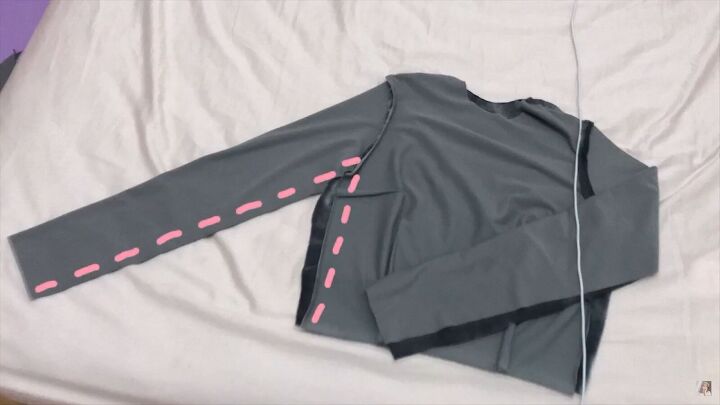
Sew the sleeve inseam and side seam together.
While sewing, fold over the darts, so they face down. Be sure to pivot by the armpit seam.
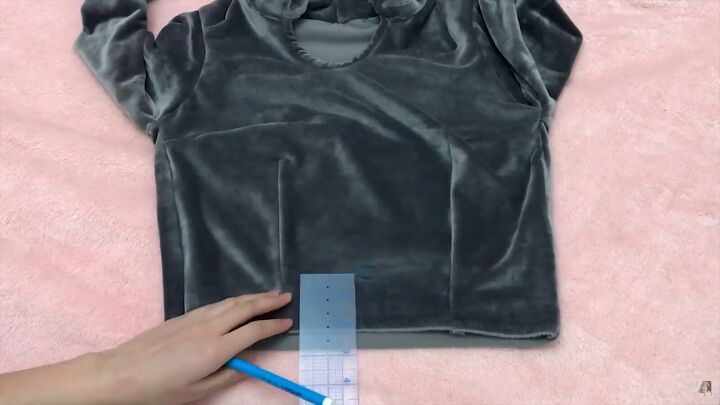
9. Attach the bodice to the skirt
Try on the skirt and top and mark where you want the skirt to be. Mark this all around the top and cut.
Turn the skirt inside out and place the top inside. Align the side seams, pin, then sew along the edge.
10. Hem the sleeves
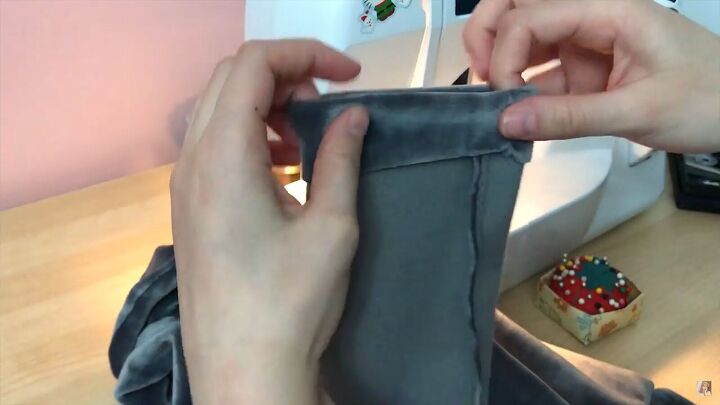
Flip the sleeve inside out and hem the cuff by 1 inch.
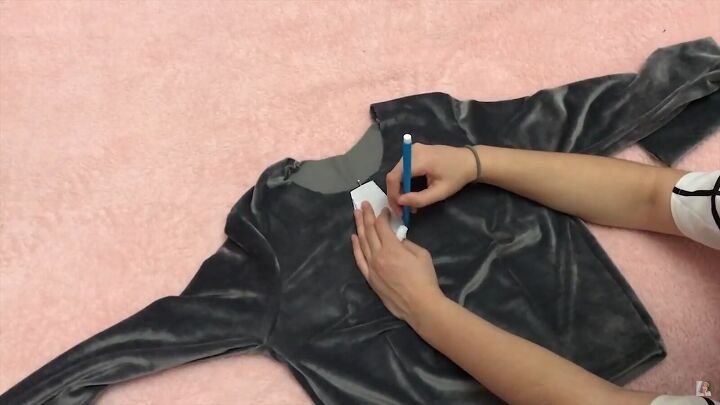
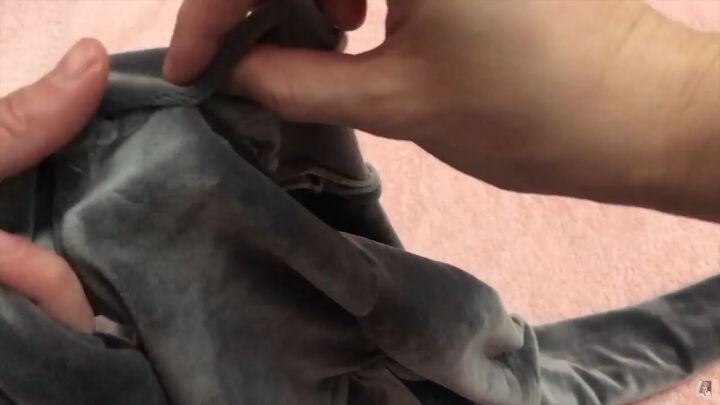
11. Finish the neckline
Cut out an oval-shaped piece to trace the keyhole, and then cut it.
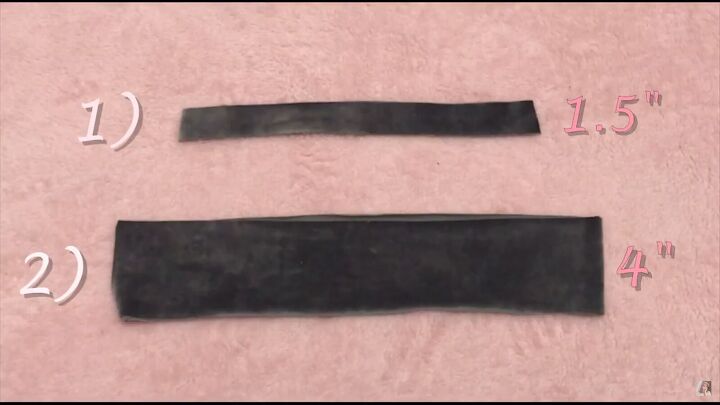
Make two rectangle pieces.
- The first one should be 1.5 inches wide and longer than the keyhole circumference.
- The second has a 4-inch width and a long enough length to go around the neckline and tie a bow with. Mine was 60 inches.
Use the first rectangle as bias tape for the keyhole. Pin it right sides facing, and sew in by ½ inch. Cut any excess fabric off.
Fold over twice, and sew close to the edge.
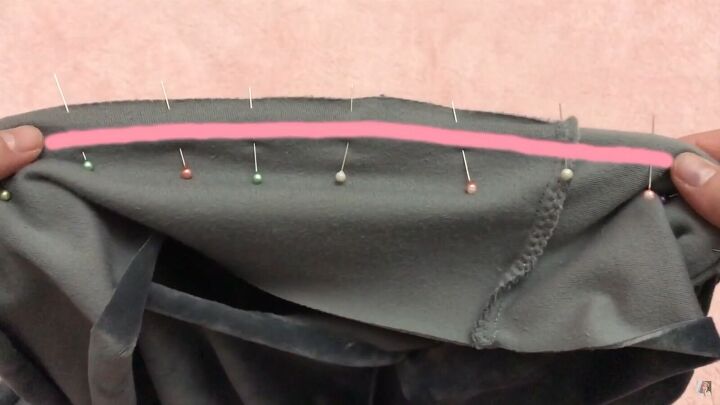
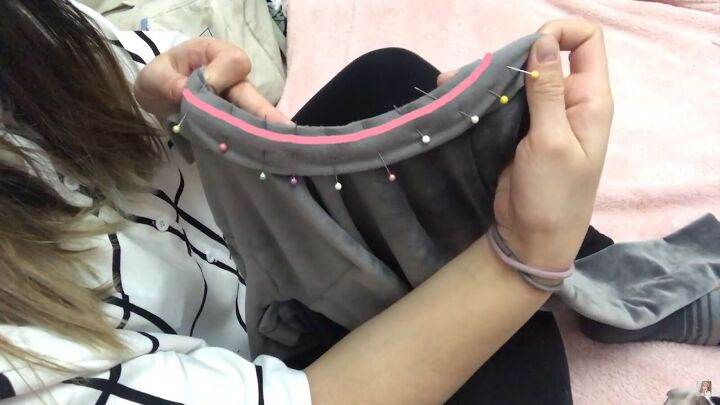
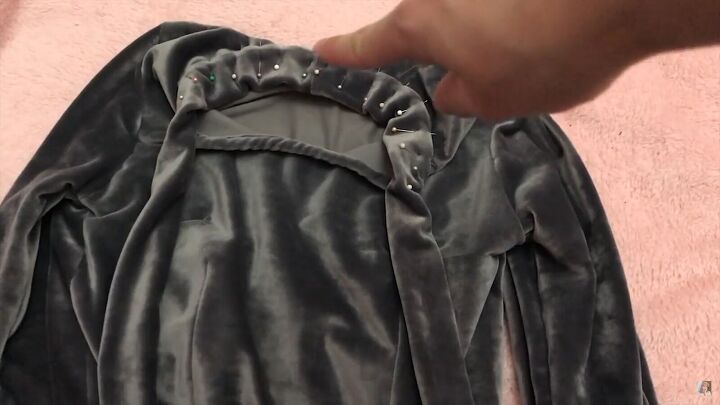
Next, pin the long rectangle to the neckline’s edge, right sides together. Sew in about ½ inch.
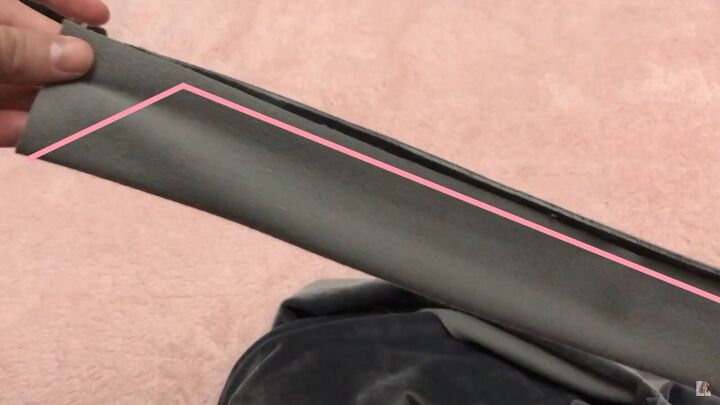
Fold the unsewn parts right sides together and sew, making a triangle at the edge. This will be used to make a bow.

Stop sewing when you get to the neckline. Cut the excess fabric and edges diagonally. Then turn the fabric inside out.
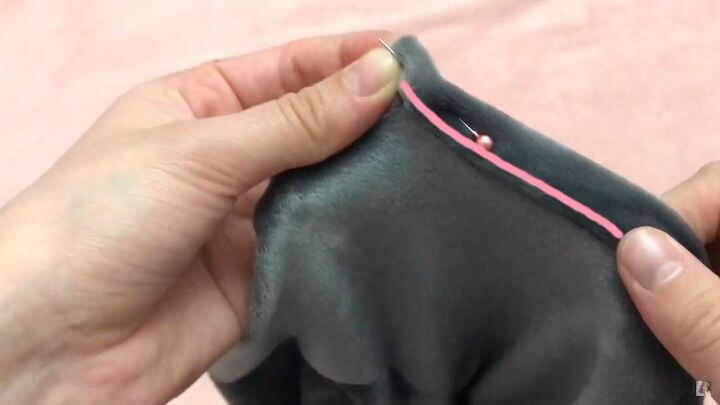
Sew the neckline to the dress by folding the edge once.
Then, pin and sew as close to the edge as possible.
Tip: To make sure the fabric is sewn evenly, start at the middle of the neckline and sew all the way to the end of the rectangle strip.
Zigzag stitch all the remaining raw edges.
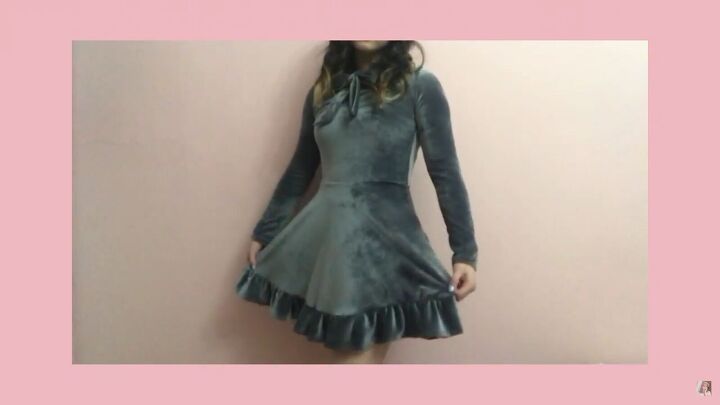
How to make a velvet dress
The Valfre Alicia dress is complete! Simply gorgeous, don’t you think? Let me know what you think of this DIY velvet dress tutorial and the final result in the comments below.
The author may collect a small share of sales from the links on this page.


Comments
Join the conversation