How to Make a Keyhole Back Dress Without a Pattern in 5 Simple Steps

Looking to make a sexy outfit and not quite sure where to start? I have the perfect DIY for you! In this tutorial, I’ll show you how to make a keyhole back dress from scratch.
I can’t wait to get started and show you just how banging this DIY keyhole dress turns out. Let’s get started.
Tools and materials:
- Stretchy fabric
- Ruler
- Marker or chalk
- Sewing machine
- Pins
- Matching thread
- A dress that fits
- Scissors
- Rotary cutter
- Curved ruler
1. Make the pattern
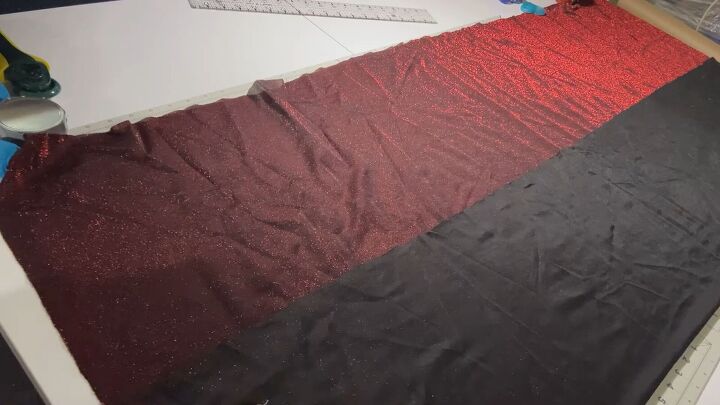
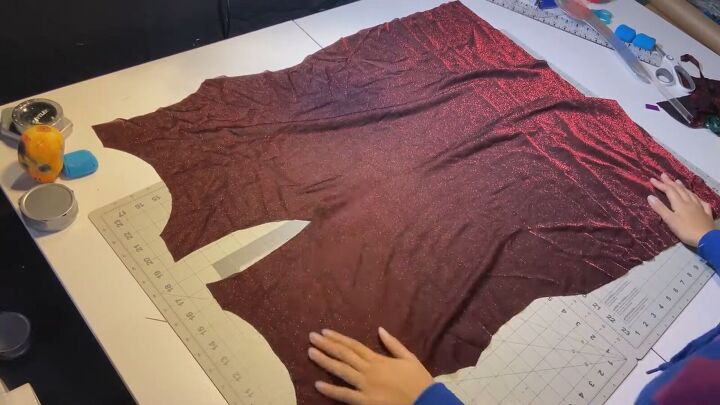
Right, let’s make the dress sewing pattern with a keyhole back. Start by folding your fabric in half, as shown. The right sides should be facing.
Tip: Use a very stretchy fabric for this project as it is a bodycon-type dress.
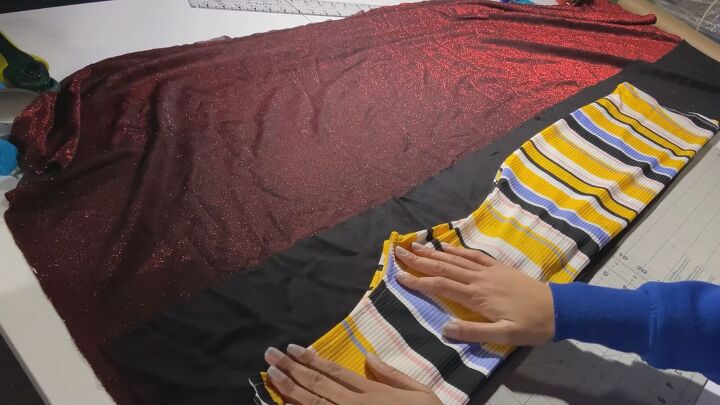
Take your favorite fitting dress and fold it in half. Align the centerfold of the dress on the folded fabric. This pattern will be for the back piece.
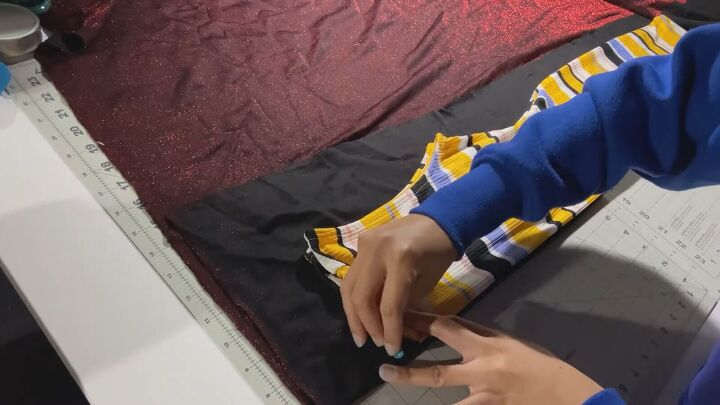
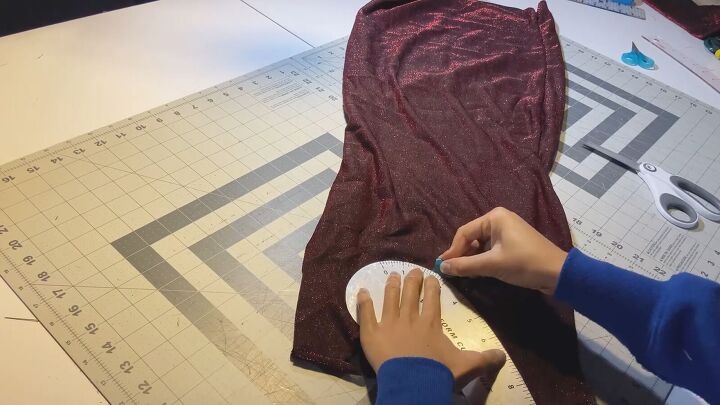
Now, trace out the collar.
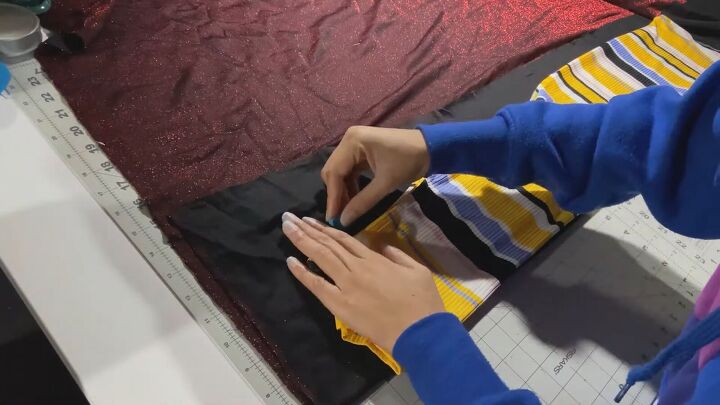
Then, trace the rest of the areas with an inch or two seam allowance.
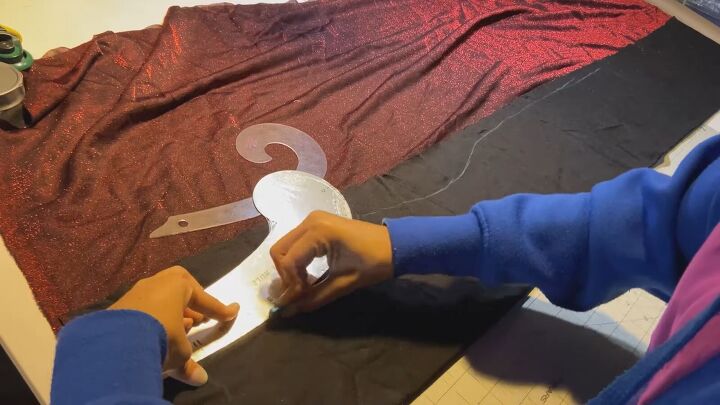
To make clean curves, use curved rulers around the armhole area. This is optional, but it defines your lines better. Also, use this at the neckline seam and all the way around the body of the dress, as needed.
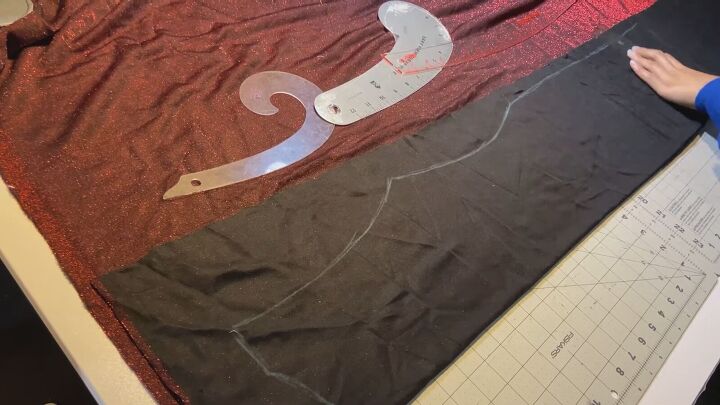
At the bottom, draw a straight line. Consider making it a little longer for hem allowance.
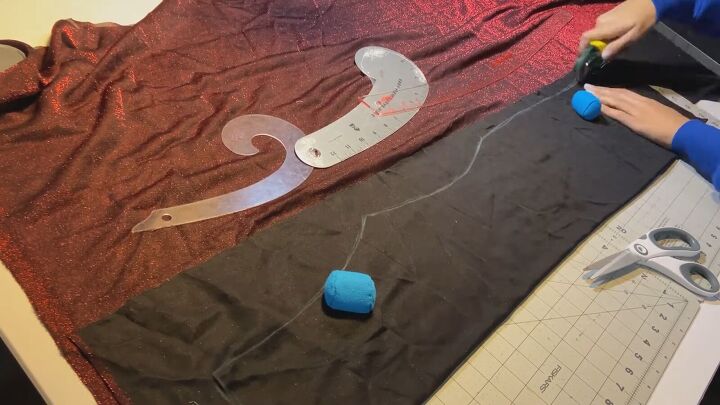
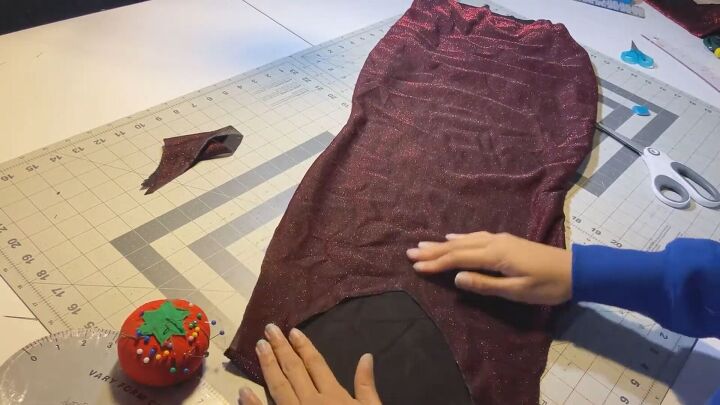
Now cut your pattern with either scissors or a rotary cutter.
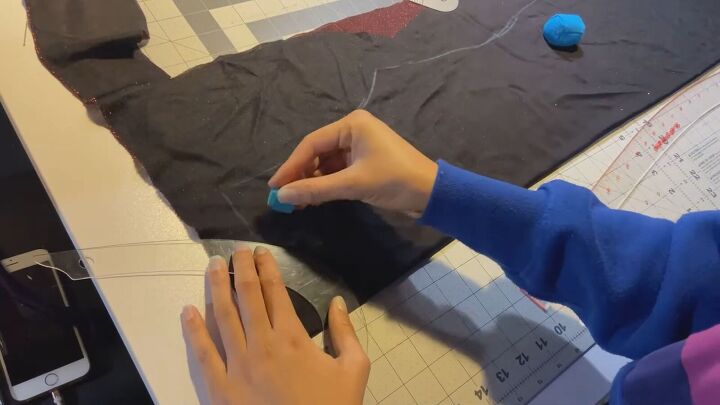
Repeat the same for the front of the dress; folding the center and aligning it to the fold of the fabric. Trace out your shape with the same seam allowance used and curve where needed. Then, cut.
Here are your two pieces!
2. Assemble the DIY keyhole dress
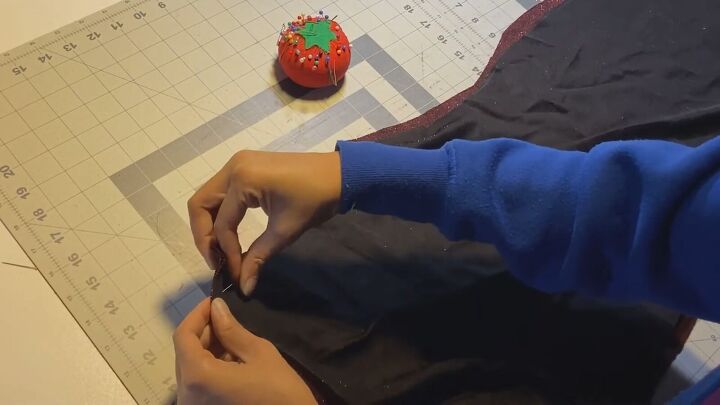
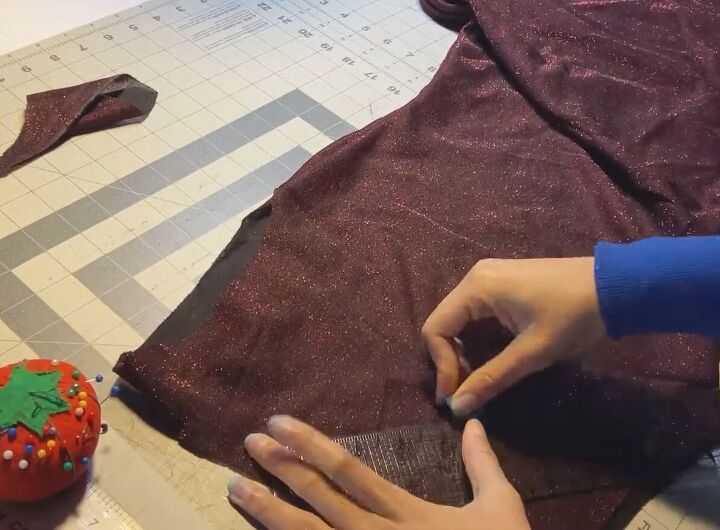
Place both pieces right sides together and pin the shoulder and side seams. Ensure that you do not pin the armholes.
Now, sew the pinned areas with a zigzag stitch. Also, sew about ¼ inch away from the edge. After, you can either serge the ends or do another zigzag stitch at the raw edges.
3. Amend the neckline (optional)
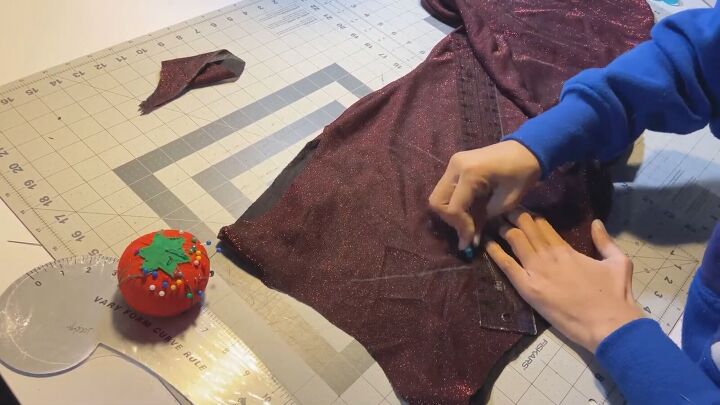
I wanted a deeper neckline, so I decided to amend the neckline area. To do this, simply try on the DIY keyhole dress and draw the new neckline accordingly.

For the back, mark where the top of the keyhole would be, too.
Redraw the front neckline with a curved ruler.
Fold the front part in half, and pin the top and center, then cut. Like this, the neckline will be symmetrical.
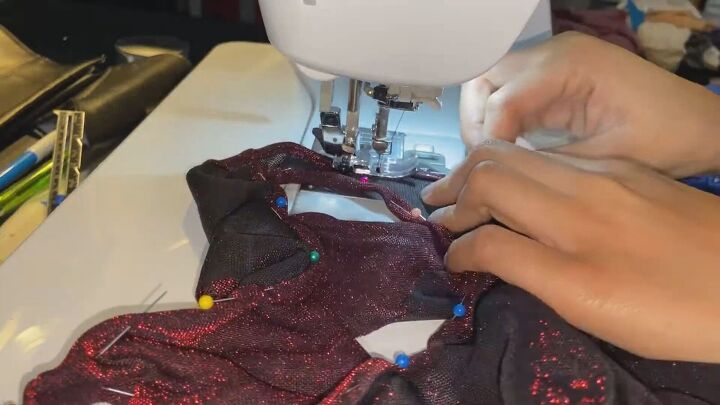
4. Make the back keyhole
For the back keyhole, start at the mark you drew. Then, draw half a diamond shape. Start with an angled 4-5 inch line.
Draw another angled line from the last point.
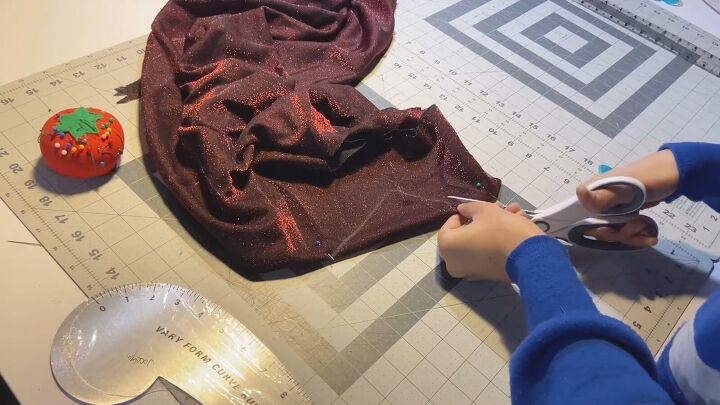
Fold the back part in half and pin the fabric, so it doesn’t move. Then, cut the half diamond shape.
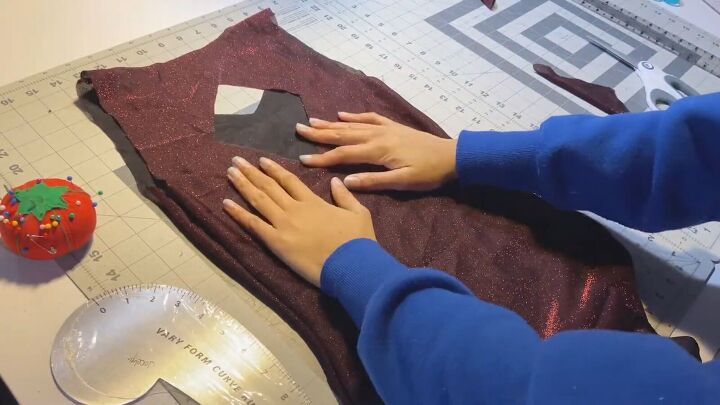
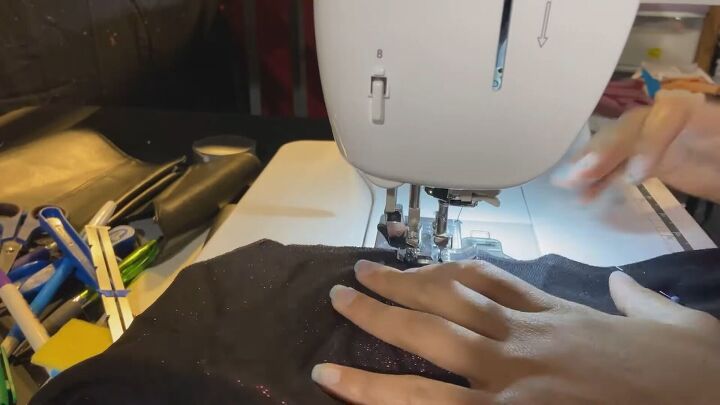
5. Hem
Now, we need to hem all the raw edges, including the keyhole.
Let’s start at the armholes. Simply turn the dress right sides in, and do a double hem around both armhole areas. Pin the fold as you go along.
Tip: This part may take a while but try not to rush it; you want crisp and clean edges! You’ll thank yourself later, trust me.
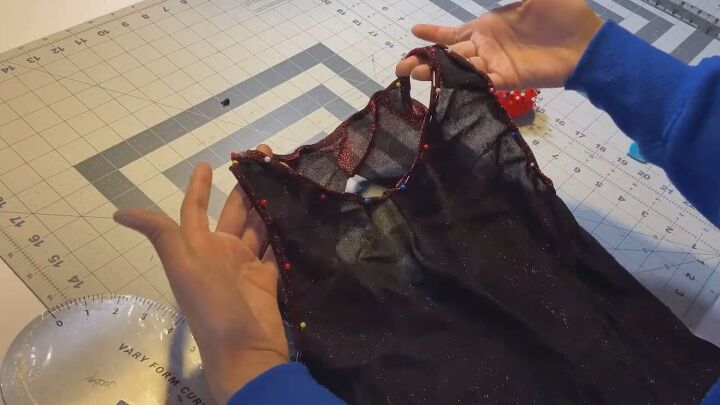
Ensure that you’ve pinned the armholes, neckline, keyhole, and bottom of the dress.
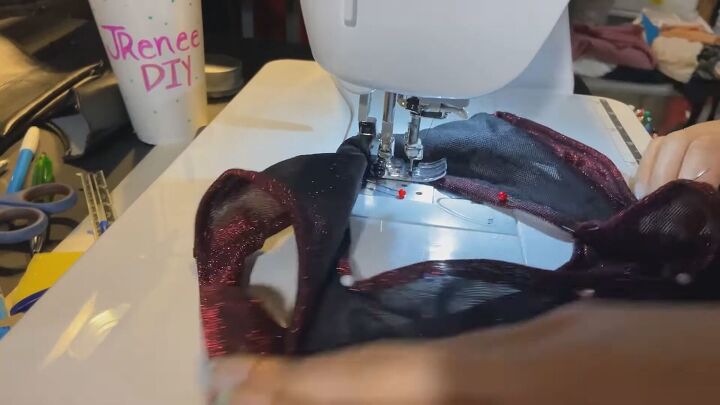
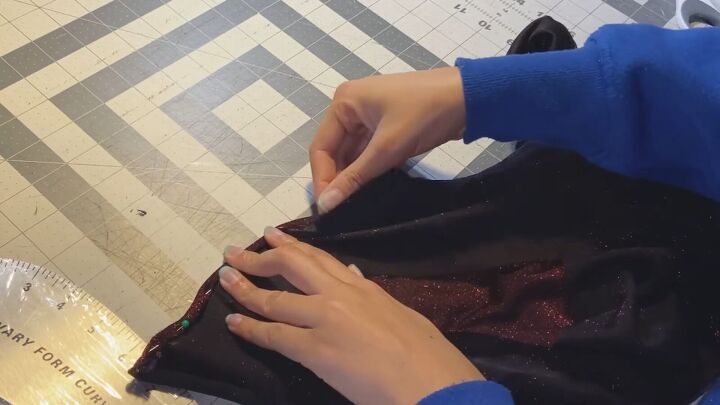
For the back keyhole, you can roll the raw edge over once. Like this, the keyhole won’t appear too big.
Tip: Try pivoting at the corners of the keyhole. When you wear the DIY keyhole dress and it stretches, it will round off the edges.
Sew the pinned hems with a straight stitch.
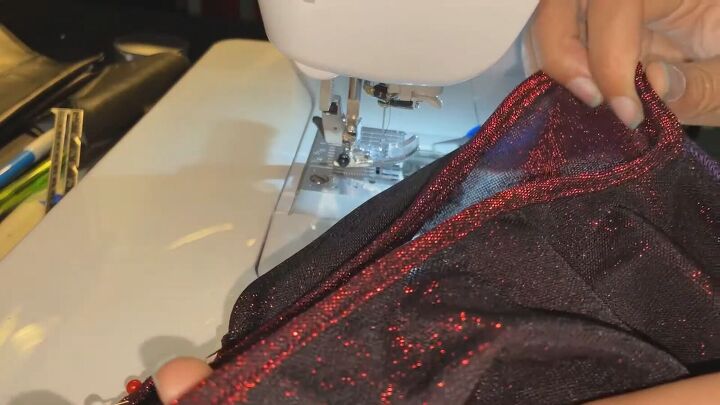
See how professional the edges are now?
Tip: The bottom hem was a little thicker for me, and that’s okay, as long as you’re happy with the length.

How to make a keyhole back dress
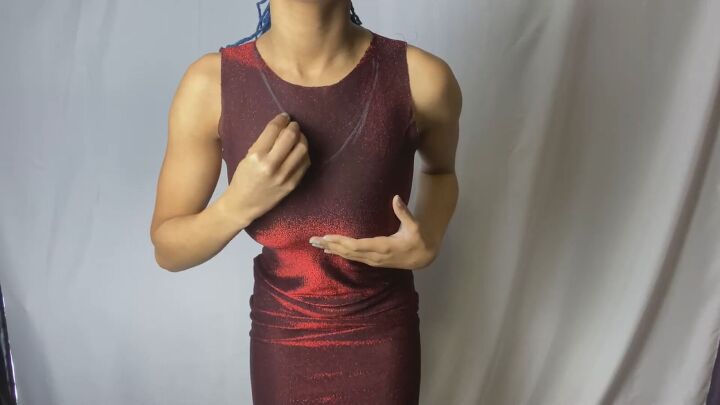
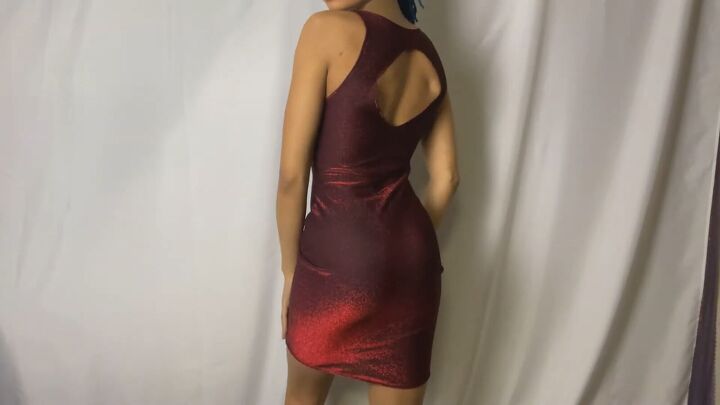
That’s it! Let’s try this baby on! I love how it looks. This DIY keyhole dress is such a pretty color and a comfy fit.
I hope you enjoyed this tutorial on how to make a keyhole back dress. The back keyhole definitely gives the dress some back action, don’t you think?
What color will you make your DIY keyhole dress in? Let me know in the comments below.
The author may collect a small share of sales from the links on this page.


Comments
Join the conversation