How to Make Your Own Bandage Sexy Dress in 8 Simple Steps

In this sewing DIY, I’m going to show you how to make your own bandage dress that has a sash and a choker. This is a really unique and interesting design that I have fallen in love with and I hope you do too! Let's get started.
Tools and materials:
- Separatable zipper
- 1½ yards stretchy fabric
- Skirt
- Tube top
- Measuring tape
- Scissors
- Pins
- Sewing machine
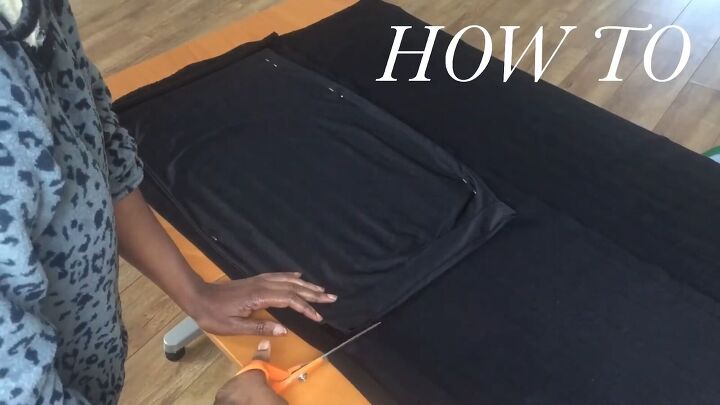
1. Cut the fabric for the skirt
Place fabric on the fold, cut it out using an existing skirt as a pattern. Leave a ½-inch seam allowance. Once done, remove the skirt and pin the open sides of your fabric together.
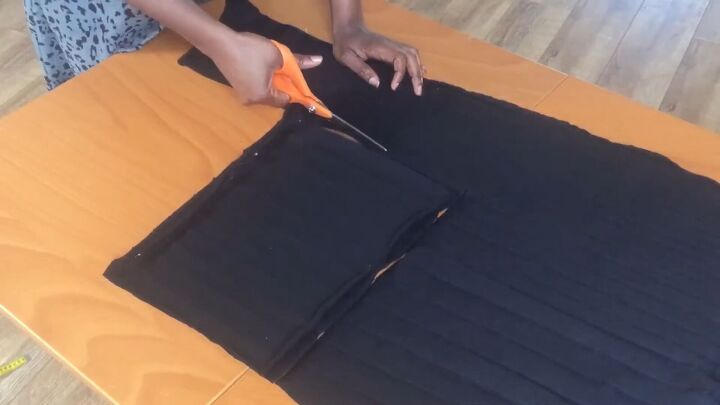
2. Measure and cut the top
Next measure the length and the width that you want your tube top to be. Then cut out your tube top with the fabric not on the fold.
Once you have cut out the first piece, place it right side down on top of the rest of the fabric and cut out the second piece. Then, pin both pieces together.

3. Measure and cut the sash
The next length is to measure the length of the sash. Cut out a piece of fabric that size with a width of 20cm (8 inches). Fold it in half and pin both long edges.
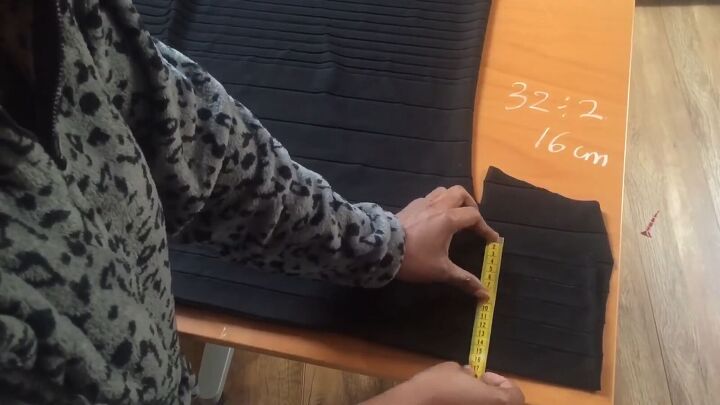
4. Measure and cut the armband
Measure the arm. Place fabric on fold and cut out the arm cuff.
My measurements were 32cm (12.6 inches) for the width, so with the fabric folded I marked 16cm (6.3 inches), and 14cm (5.5 inches) for the length.
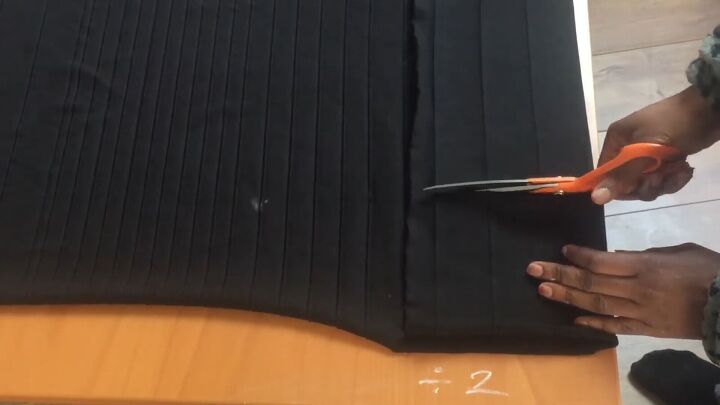
5. Measure and cut the choker
Measure the choker (you don’t want it too tight). Then, with fabric on the fold, cut it out. Remember your measurements are always divided by 2 when the fabric is placed on the fold.
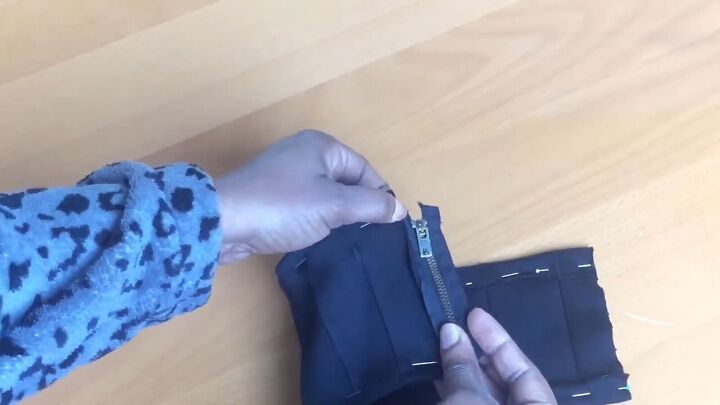
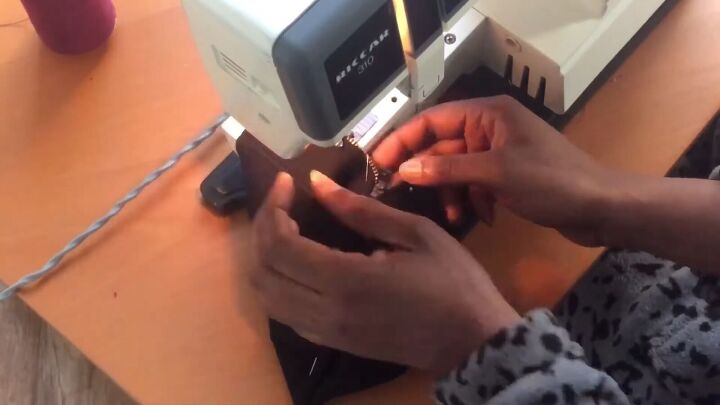
6. Attach the zipper
Fold the two long sides of the choker in and pin them down all the way along. Then, pin the zipper to the side of the choker. Proceed to sew where you have pinned.
You want to sew the sides of the choker with a zigzag stitch and topstitch the zipper using a straight stitch.
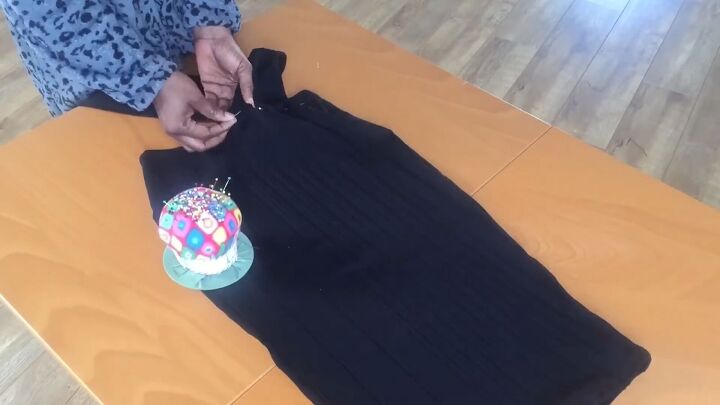
7. Sew the other pieces
At this stage, sew and hem all of the other pieces in the design as well.
8. Attach the sash to the skirt
Place the skirt down so that the front side is facing you, pin the sash onto one side of it and proceed to top stitch it down. Sew the sash onto the back of the skirt as well.
Lastly, iron flat your seams and you are done.

Here we have the finished DIY bandage dress. I love all of the details of this design - the sash at the front, the band on the arm, and the choker around the neck.

How to make your own bandage dress
This dress is so unique which is great for me because I like to stand out from the crowd! It is definitely a head turner! I feel stylish and powerful and I love the finished look.
The author may collect a small share of sales from the links on this page.


Comments
Join the conversation
Beautiful ❤️