How to Sew a T-shirt or Dress With Raglan Sleeves (various Techniques

In this article, you will find instructions on how to sew a T-shirt or dress with raglan sleeves and a facing. The sewing procedure is the same for T-shirts and dresses, so I will show it to you in a single article. I will also show you how to proceed in case you do want to finish the neck opening with a knit strip instead of facing. The use of a knit strip may be easier for some sewers, so I recommend you sew a test piece and try which sewing technique you prefer. At the very end of the article, you will also find many photos of garments (dresses, sweatshirts, T-shirts), which I sewed according to the patterns featured in this manual using sewing techniques described here. I recommend reading the whole article and flipping through the gallery.
You can use the techniques described in this article to sew:
Women's T-shirt JACKIEexplore the pattern
What is a raglan sleeve
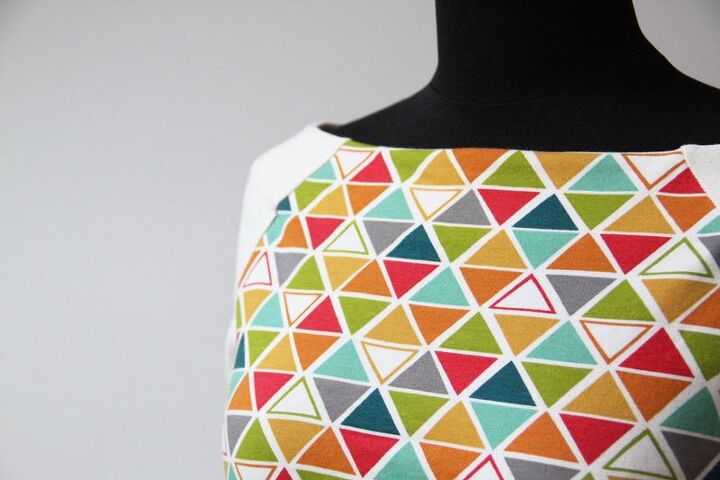
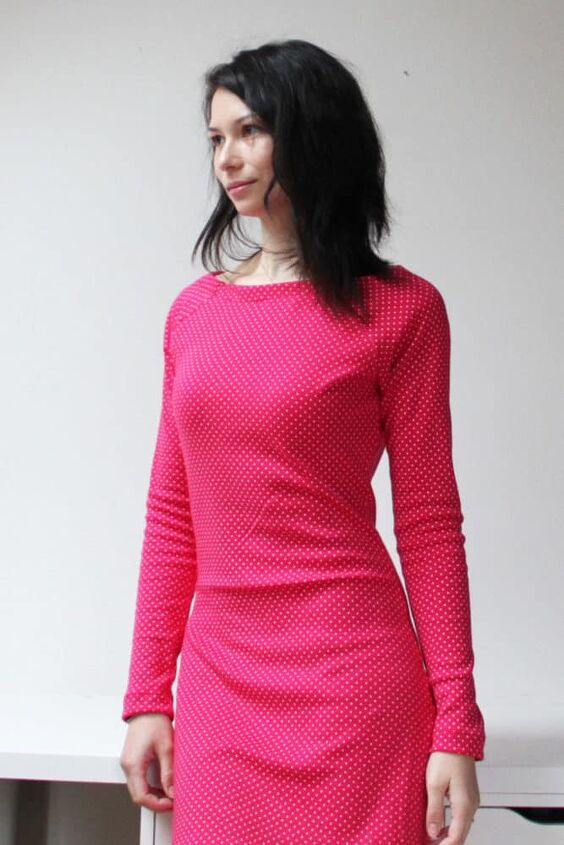
A raglan sleeve is a sleeve that extends in one piece fully to the collar. The raglan sleeves do not connect to the shoulder seam (as is the case with classic sleeves) but extend to the neck opening. You can, of course, come across many different types of raglan sleeves - designers work with various shapes and styles of raglan sleeves. There are, for example, raglan sleeves, which start at the neck opening in the front and form a yoke at the back. In any case, the basic raglan sleeve begins at the neck opening and its seams point towards the armpit area. The specific shape of the seams is only a matter of the designer's vision. Properly designed raglan seams do not affect the shape of the rest of the garment.
Raglan sleeves extend to the collar...
What is a facing
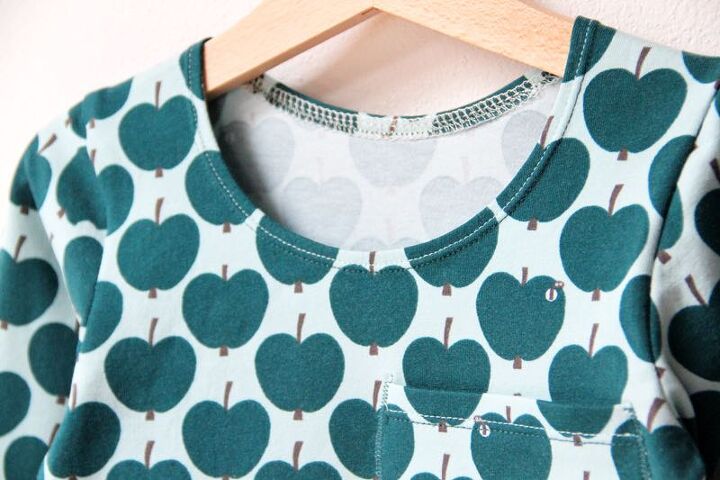
Facing is a small piece of fabric used to finish the fabric edges. For example, coats often have facings - usually along the edges of the front pieces. Facing can also be used to clean the armscye. In this case, the armscye is not lined with bias tape or knit strip, nor is it folded and topstitched, but on the reverse side, you find a piece of fabric, which follows the shape of the armscye. This technique is often used when sewing formal wear. And as you'll see in today's article, facing can also be used to clean the edge of the neck opening.
Why and how to work with facing
If you are cleaning the edges of a garment that is supposed to look clean and elegant, then in most cases, you should choose to use facing. With this technique, no hems or stitches will be visible from the face side. I recommend learning to work with facings and not be afraid of them because this technique can give an unexpected elegant twist even to an ordinary T-shirt. As I said, facings are very often used when sewing formal wear, because this way of finishing is very elegant.
I recommend reading this comprehensive article on how to sew a T-shirt - you will learn what to look out for and what not to underestimate: How to sew a T-shirt
This article is also worth reading:
Sewing elastic fabrics with a regular sewing machine - 4 steps to success
How to sew a T-shirt or dress with raglan sleeves
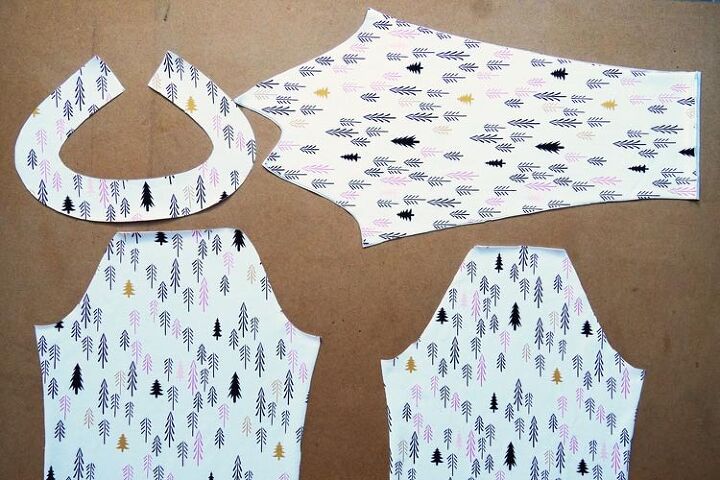
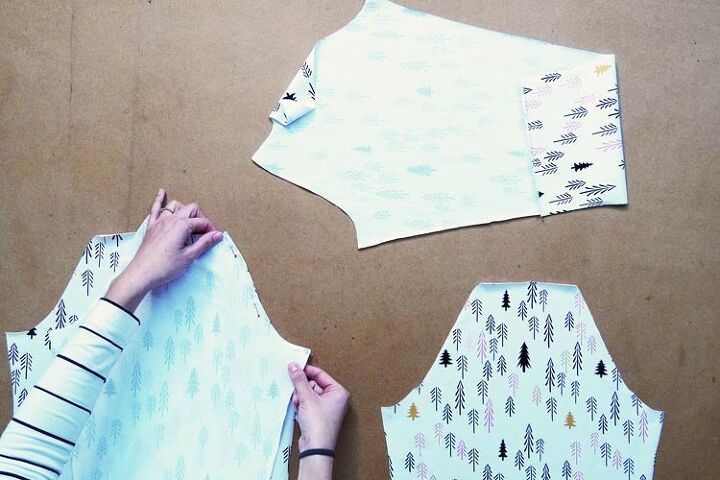
Pattern pieces
According to the paper pattern prepare:
- 1x front piece (cut on fold)
- 1x back piece (cut on fold)
- 2x sleeve piece
- 1x facing (cut on fold)
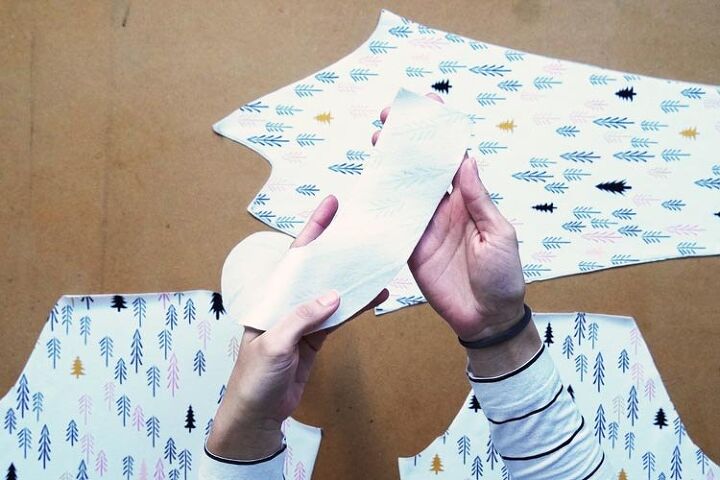
Don't forget to transfer all important marks from the paper pattern, you can use small cuts, thread, or chalk. These marks will help you align individual pieces correctly and precisely.
It is necessary to reinforce the reverse side of the facing with a thin one-sided fusible interfacing.
Sewing instructions
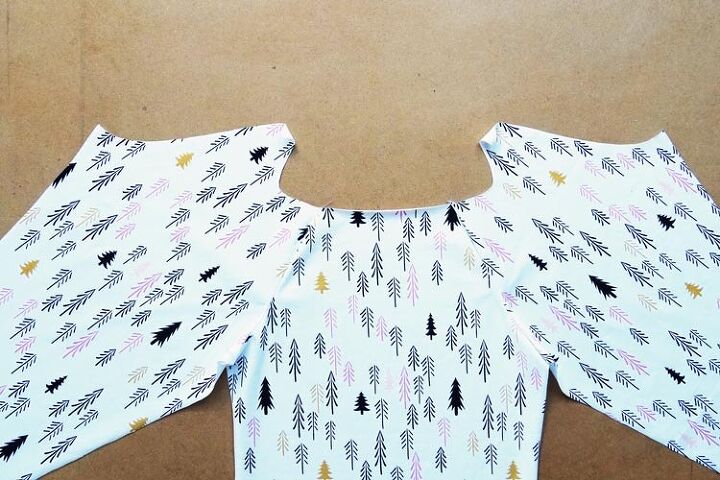
1. Raglan sleeves
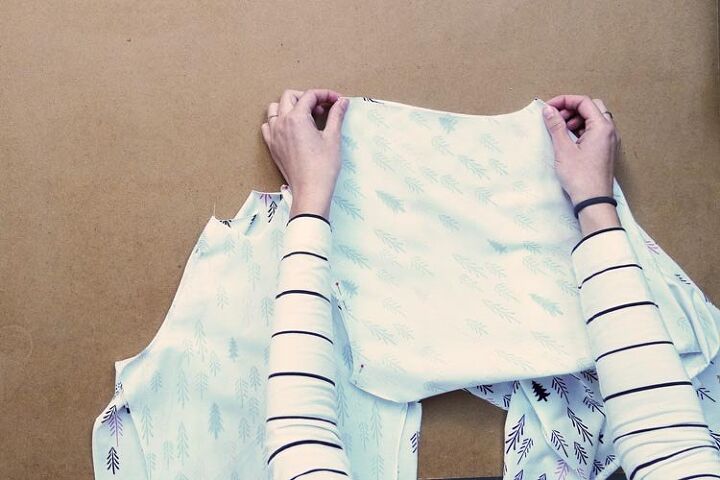
Put the sleeve piece on the front piece (face side to face side) so you can pin the raglan seam. Marks on both pieces will help you to help you put the pieces together correctly.
(If you are using the original pattern for a T-shirt JACKIE / dress JACKELINE, where there are chest and shoulder darts on the raglan seam, it is necessary to stretch the sleeve piece slightly when sewing, because it is a bit shorter than the front/back piece.)
Pin the second sleeve piece in the same way.
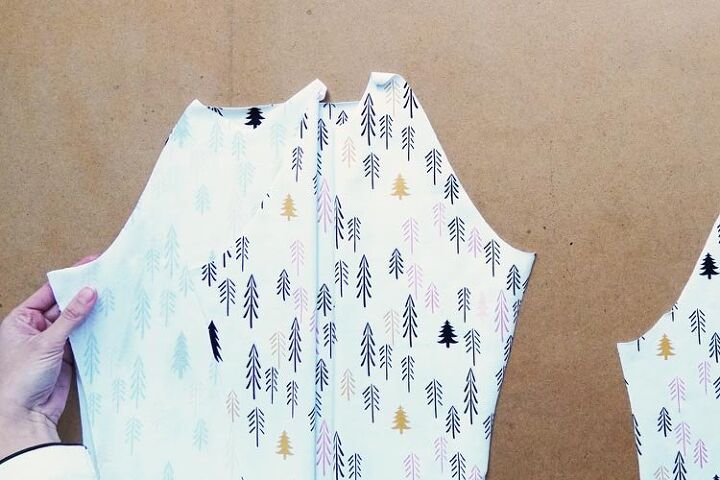
After sewing the sleeves to the front piece, fold the seam allowances towards the sleeves and iron the seams thoroughly.
Now put one of the sleeves on the back piece (face side to face side) and pin its second (back) raglan seam.
Pin the other sleeve to the back piece. Sew the second set of the raglan seams. Press the seam allowances towards the sleeve pieces.
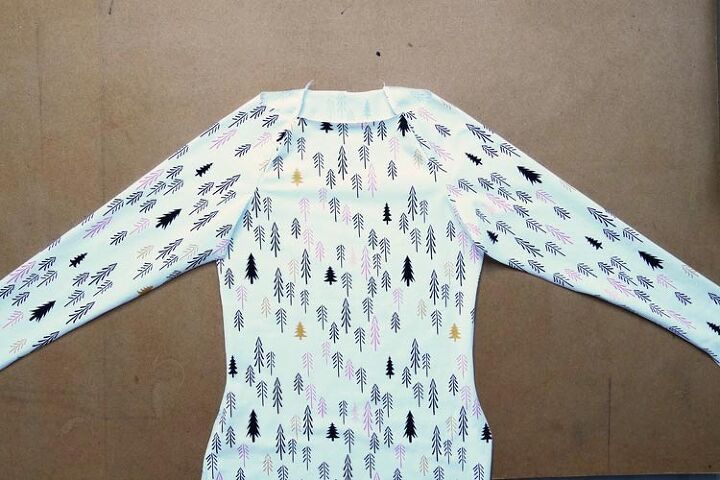
2. Neck opening
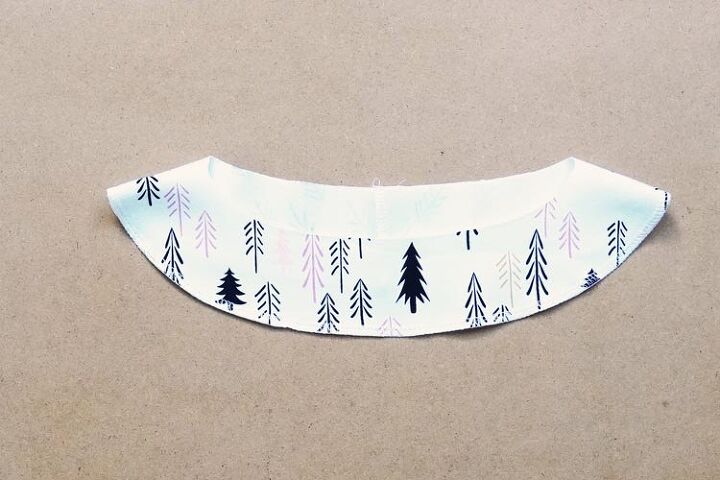
2. 1. Facing
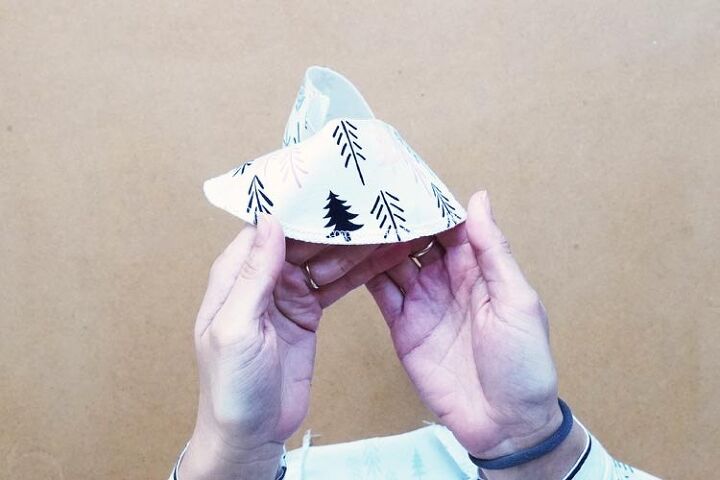
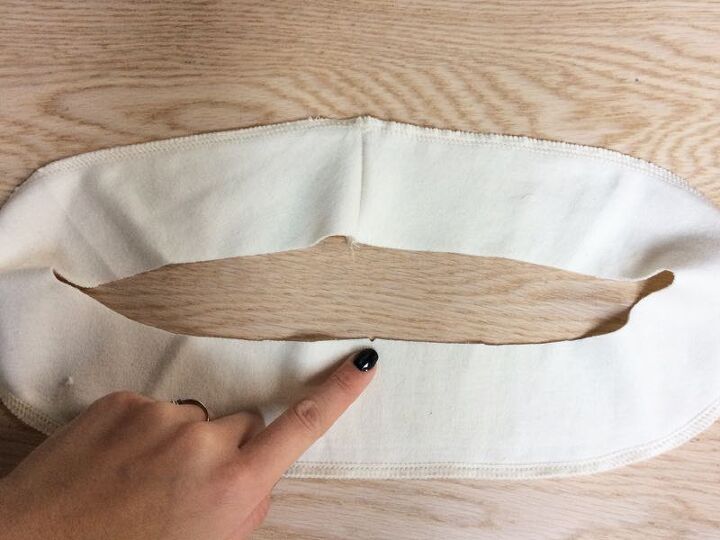
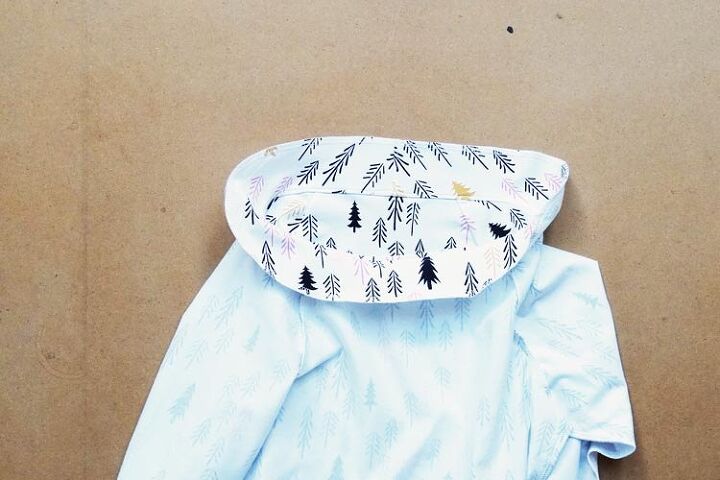
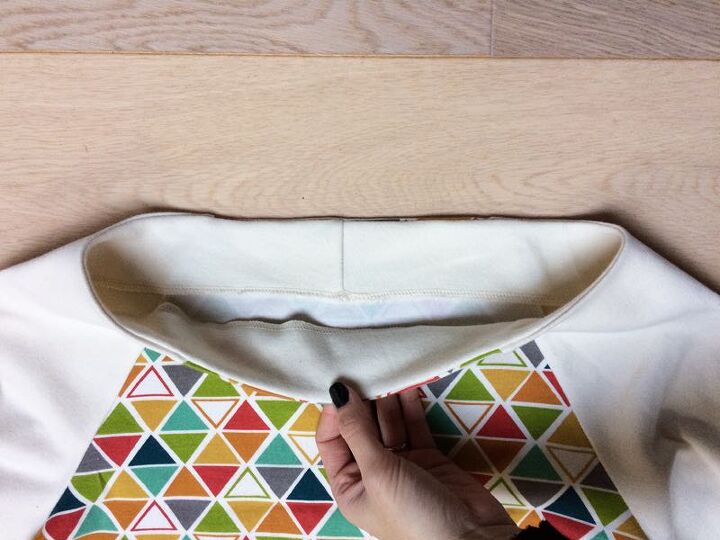
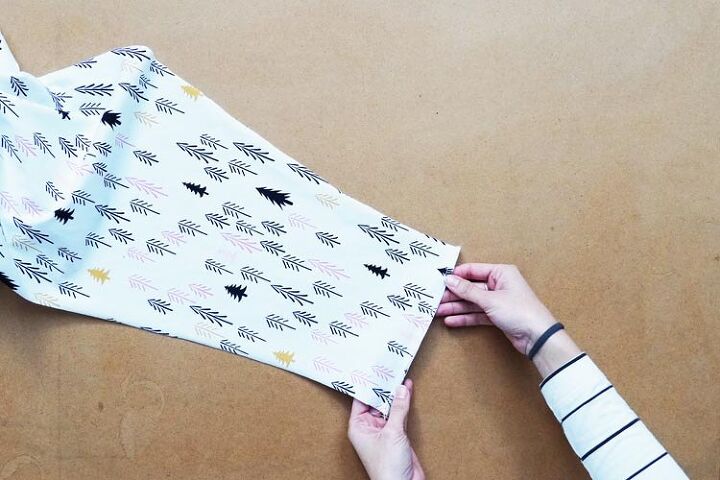
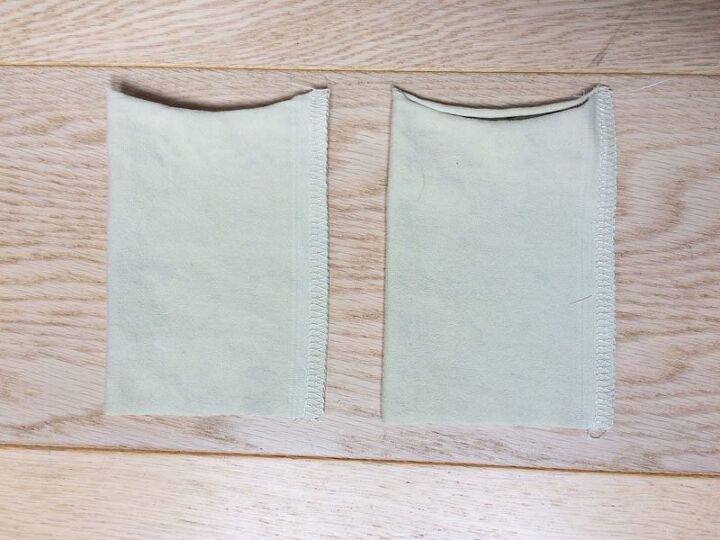
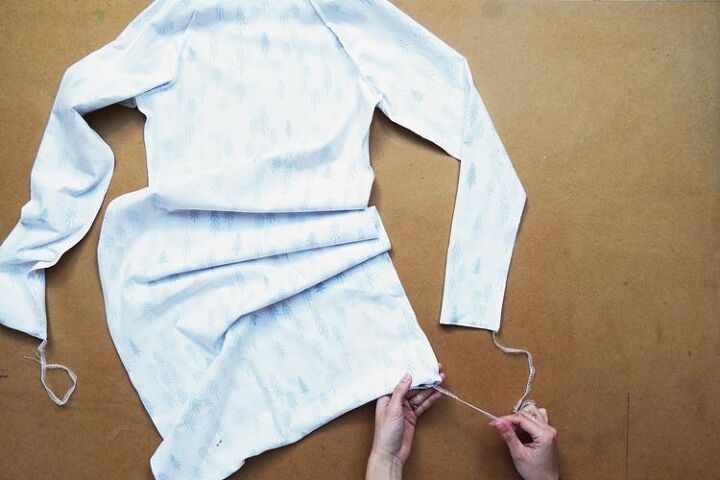
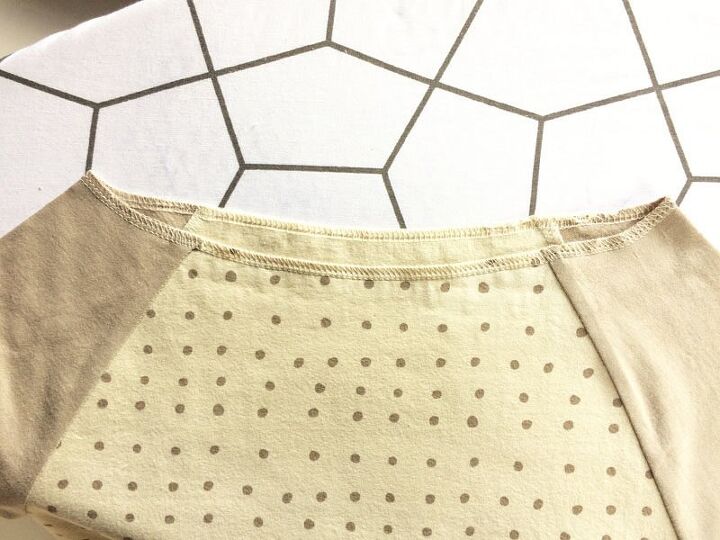
Prepare your facing. Sew shorter sides of the facing. This seam will later lie on the centerline of the back piece. Clean the outer edge of the resulting "ellipse" and pull the free end of the thread chain under the loops.
(I used some photos from the original article because I forgot to take pictures when creating new sewing instructions :) Thank you for your understanding.)
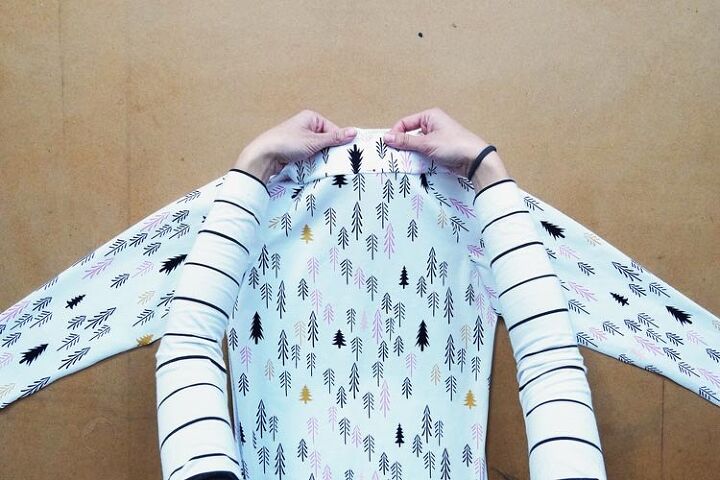
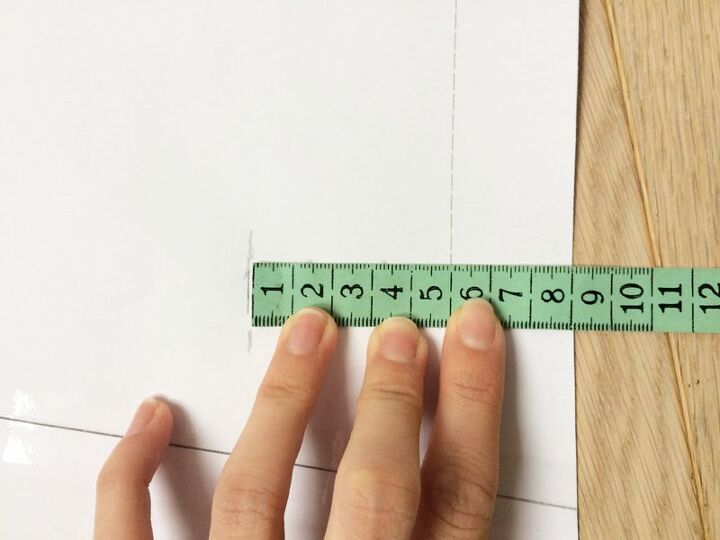
Fold the facing in half and find a point that is exactly opposite the seam. Mark this point with a small cut, chalk, or a pin. Similarly, find the centerline of the front piece of the T-shirt/dress and mark the point where it intersects the neck opening.
Fold the front piece in half (the raglan seams on both sides lie on top of each other) and mark the position of the fold. I often mark with sewing notches (small cuts), which is very practical. All you need is small sharp scissors. The notch should not be longer than half the width of the seam allowance. If you have a 1 cm wide seam allowance, then the notch should not be longer than 0.5 cm, but it is better to make it even smaller, for example only 0.3 cm long.
The advantage of sewing notches is that they do not disappear - pins can fall out, the chalks smudge, but the notch always stays in place.
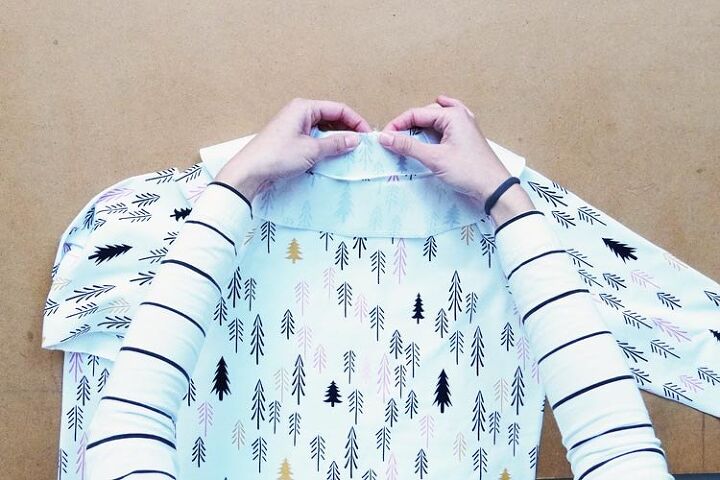
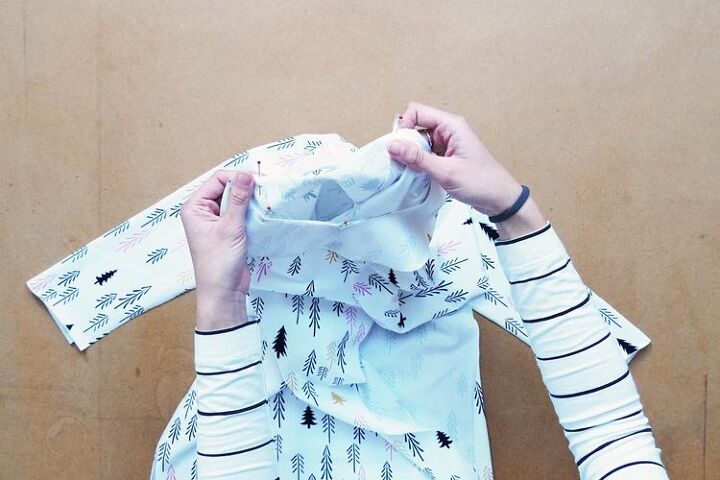
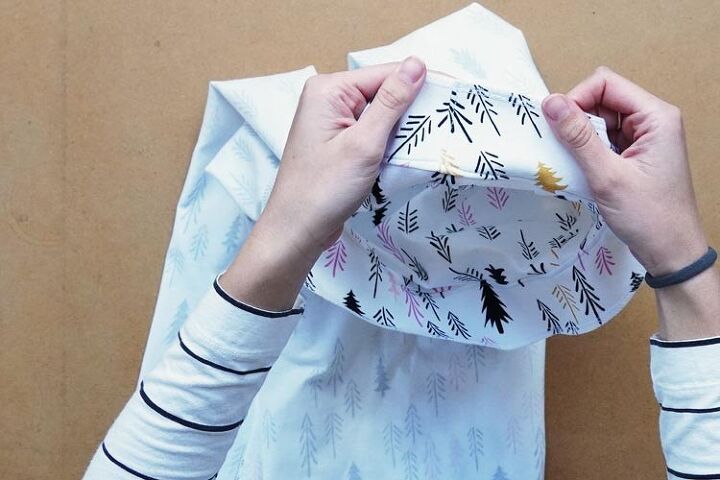
After marking the center of the front piece, align this point with the mark you made on the facing. Put the pieces together face side to face side.
Mark the center of the back piece in the same way and align it with the seam on the facing. Position of the raglan seams should also be marked on your facing piece (if you transferred the marks from the paper pattern). Thanks to all those marks, you can align and sew the facing very precisely.
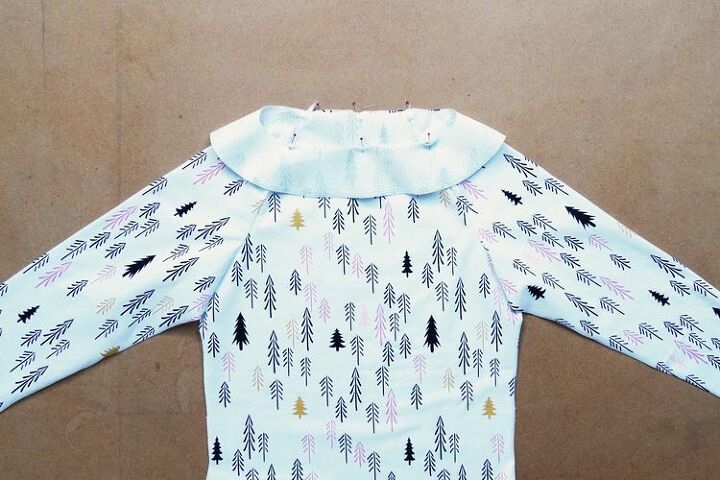
It can be quite difficult to pin the facing to the parts closest to the sleeves because the curve of the boat neck bends sharply here. At first glance, it may look like the sleeve is longer than the facing, but this is not the case. This illusion is caused by the shape of the sleeves and the fact that the reinforced facing looks smaller than it is. It may take some patience.
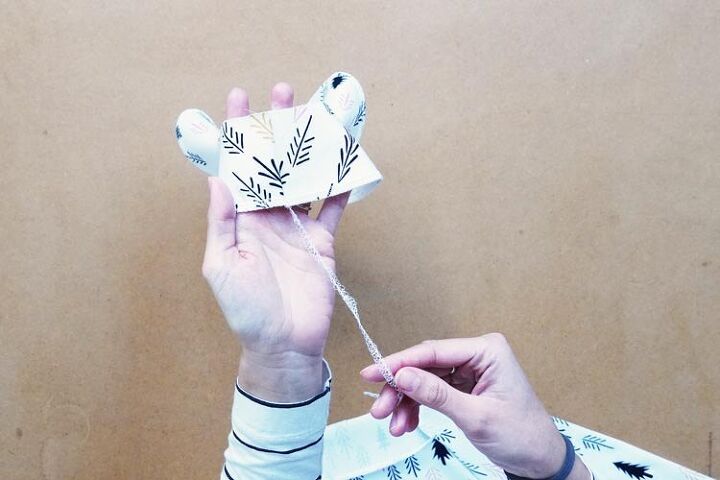
Sew the facing to the neck opening and pull the free end of the chain under the loops.
Facing - Finishing touches
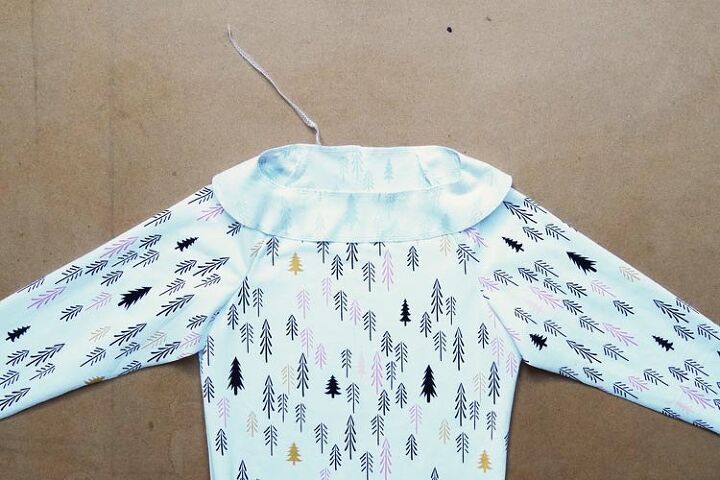
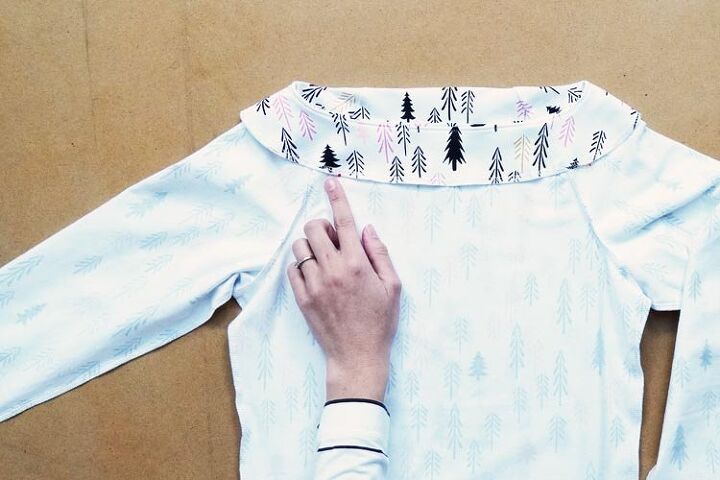
It may be a good idea to topstitch the facing to prevent it from peeking out.
Start by pressing the seam allowances towards the facing.
In the picture, the direction of the ironed seam allowances is indicated by the pin.

Now sew around the neck opening - through the facing and its seam allowances.
Thanks to this, the facing will stay where it should. I also highly recommend attaching the facing to all four raglan seams (by hand). This will also help keep it in place.
Ironing
Be sure to iron the facing and the entire neckline area thoroughly. Ironing will shape the neckline and further fix the facing in the correct position.
2. 2. Knit strip
The neckline can also be finished with a narrow knit strip. Your knit strip should be about 2 - 3.5 cm wide. Simply fold the strip in half (lengthwise) and sew it to the neck opening. Use an overlock machine or elastic stitch.
2. 3. Folded hem
You can also finish the neckline hem by simply folding the edge to the reverse side and topstitching it. You can read more about that here: How to sew a neckline hem - the simple way
3. Finishing the sleeves
3. 1. Classic way (folded hem)
Clean the cutting edges. Continue in the same way as when sewing the bottom edge of the T-shirt/dress (described below).
Because the sleeves are narrow, it is possible to just fold the edge of the sleeve 3 cm to the reverse side and sew through both layers with an elastic stitch. This will finish the sleeve and you will avoid the problems associated with the very small diameter of the sleeve.
3. 2. Cuffs
If you want to finish the sleeves with cuffs, you must first modify the pattern a little. The sleeves (as designed in the patterns) have seam tabs at the bottom end. If you want to make the cuffs 5 cm long, you need to shorten the sleeves by 5 cm (measured from the edge of the sleeve - seam allowance is not included). Mark the new length of the sleeve with a line. Fold the bottom part of the paper pattern piece along the line. Position the modified pattern piece on the fabric. If you are using a pattern with seam allowances included (from individual sizes view folder), cut along the paper pattern and add a 1 cm seam allowance to the bottom edge of the sleeve (cuff connection). If you are using a pattern without seam allowances (classic view - all sizes view folder), add the seam allowances around the entire piece as usual. Now is the time to prepare two cuff pieces. Cut out two rectangles from your fabric (do not forget that it needs to be some kind of elastic fabric). Make cuffs narrower than the bottom of the sleeve. The difference should be about 2.5 cm when measured like this. My cuff rectangles are 12 cm long. It’s 2 x 5 cm (desired length of my cuff) + 1 x 1 cm (seam allowance)
Fold the cuff pieces in half and sew their edges (to form the tunnels like this). Use a small cut to mark the half of the cuff pieces (opposite to the seam - on the fold). I recommend marking the cuff pieces like this on both ends of the fold. Mark the sleeves in the same way. Fold (roll) the cuffs pieces (face side out) to form the “final” shape of the cuff. Marks are aligned. And so are the ends of the cuff seam. Turn the T-shirt sleeve inside out and insert the cuff inside the sleeve. The face side of the cuff is facing the face side of the sleeve. Align the seam of the cuff with the seam of the sleeve and pin them together. Fold the seam allowances of the cuff and sleeve in the opposite directions. Now align and pin the marks.
Sew the cuff to the sleeve. I recommend sewing like this - inside the sleeve. It’s easier to hold the fabric layers in place this way. Stretch the cuff slightly when sewing, so you can sew it in evenly. Overlap the seams a bit - extend the seam about 1 - 2 cm beyond its starting point. Lift the foot and turn the fabric so you can “sew out” of the sleeve. Then put the foot back and sew a bit to create the thread chain. You can make the seams inside the sleeve look better this way. Pull the thread chain under the loops with a blunt needle or hook.

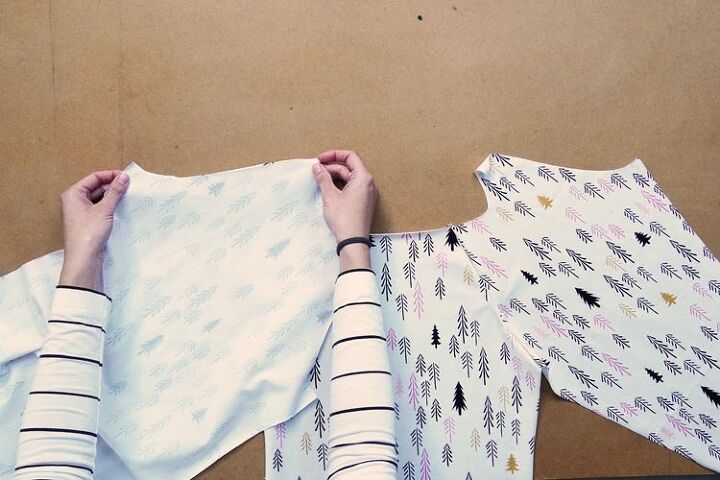
4. Side seams & sleeve seams
Turn the T-shirt/dress inside out and sew the side seam & sleeve seam in one go. Sew the second set of the seams (the other side) in the same way.

5. Bottom hem
Clean the bottom cutting edge of the T-shirt/dress. Pull the free end of the thread chain under the loops.
Fold the edges (bottom & of the sleeves) 3 cm to the reverse side and pin them there.


Sew through both layers (about 2,5 cm from the fold, from the face side) with an elastic stitch (three-step straight stitch, twin needle, three-step zigzag stitch...)
You did it!
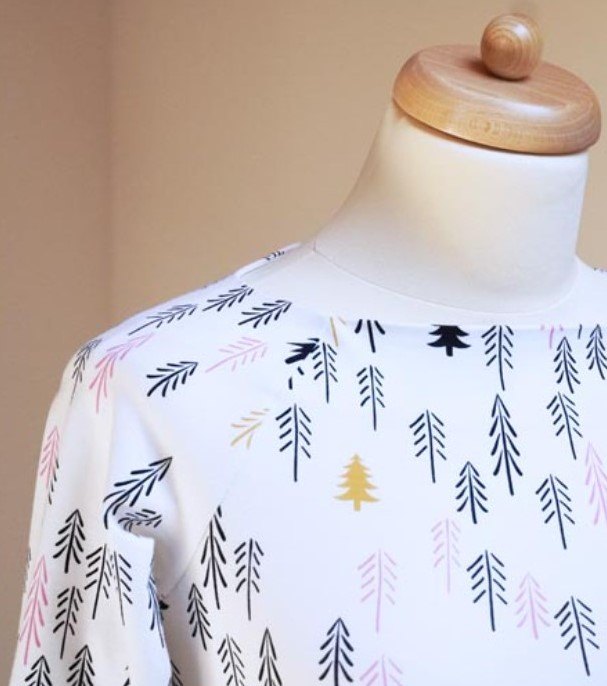
Your T-shirt/dress is finished! That was pretty fast, wasn't it?
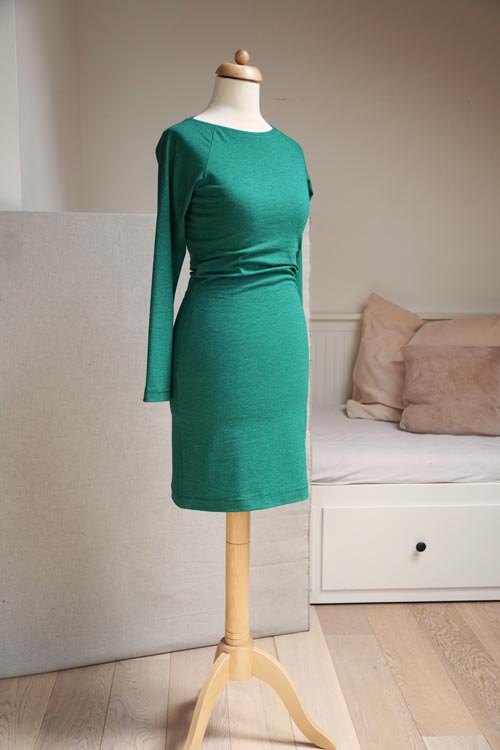
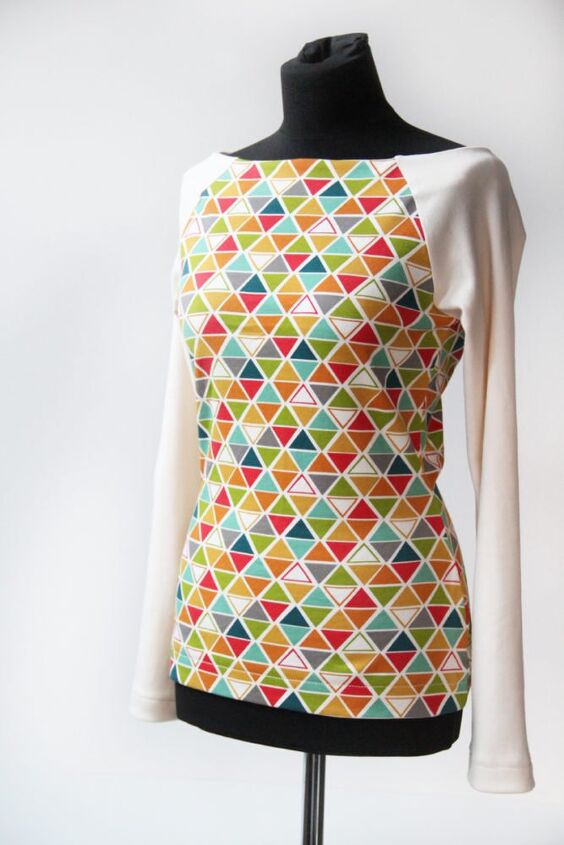
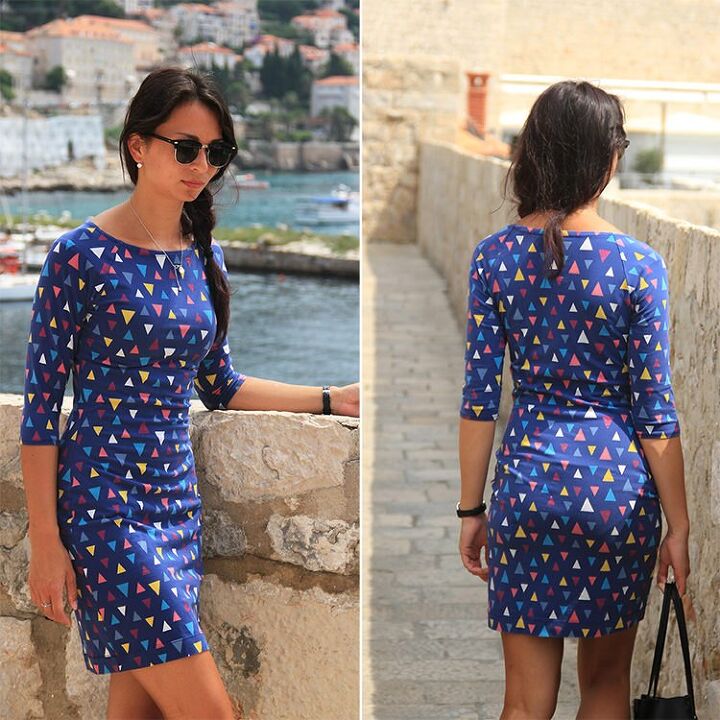
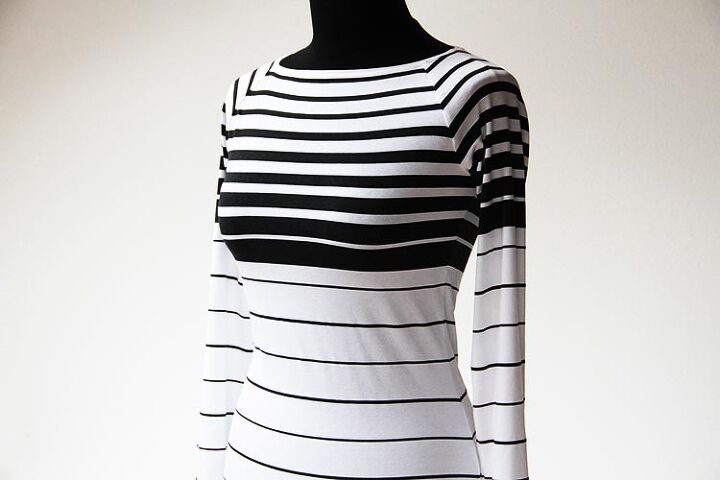
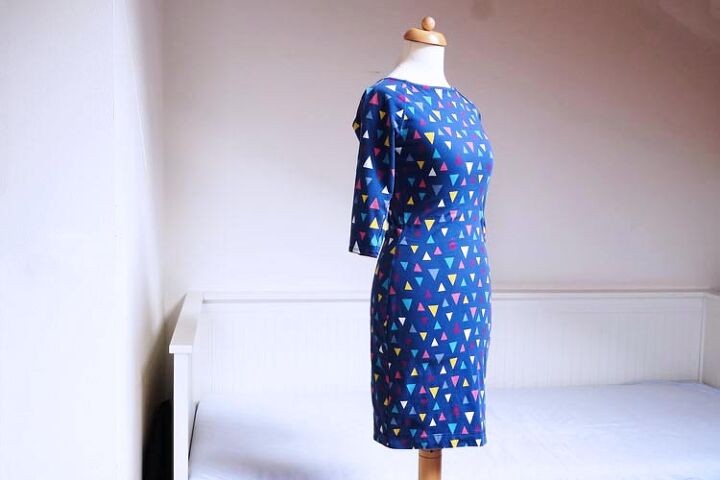
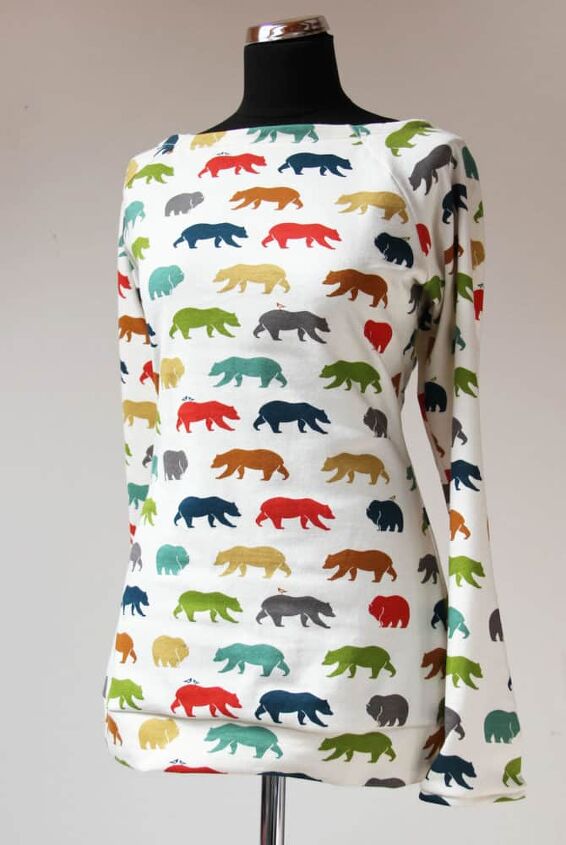
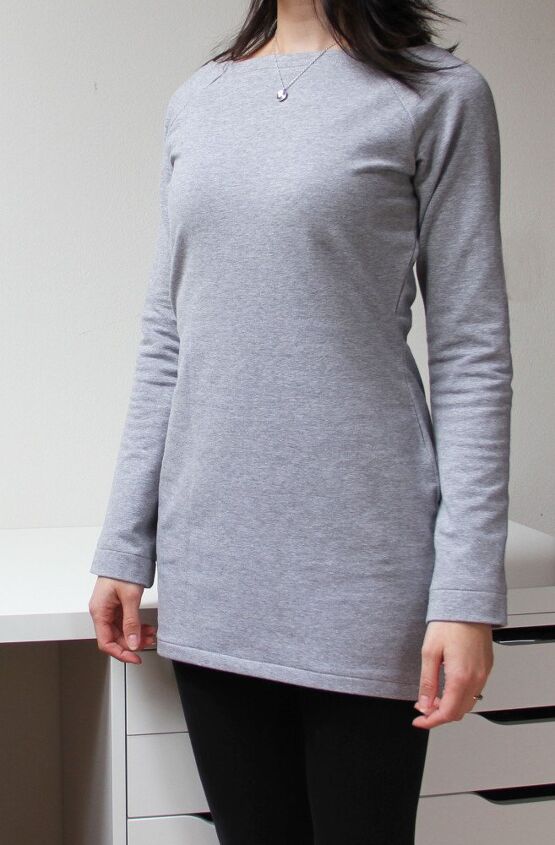
Below is a gallery of T-shirts and dresses, which I sewed according to the patterns featured in this article using sewing all techniques described here.
I hope that today's article was interesting. If you like it, let me know it in the comments. I'd love to hear your opinion. Have a nice day, Petra

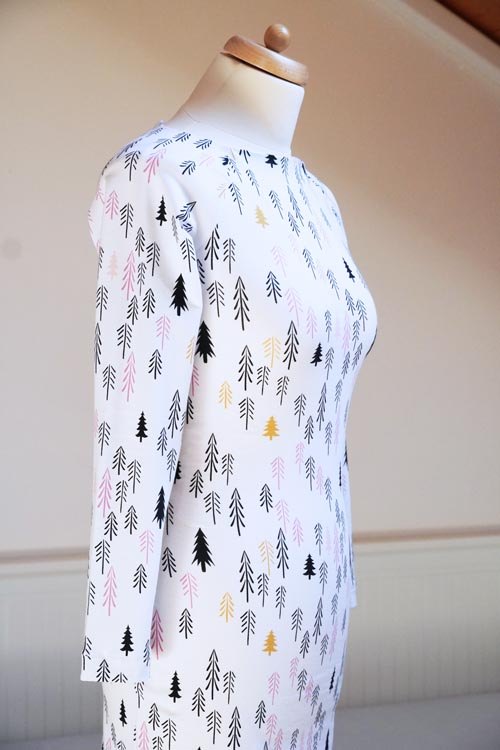
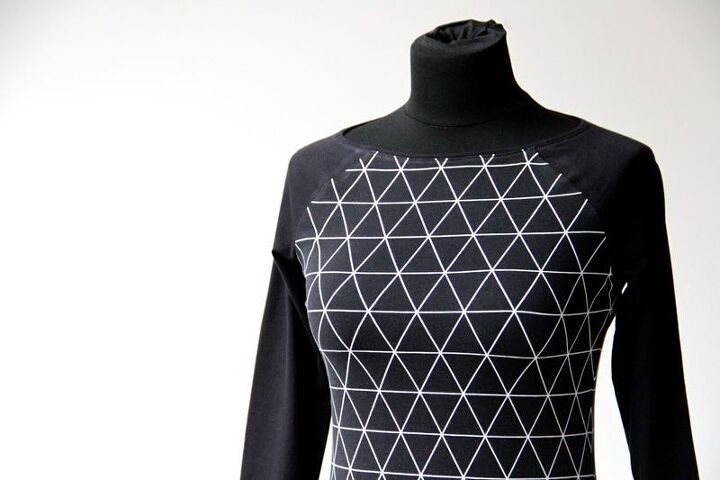
Positioning the pattern pieces on the fabric so that the stripes on the front / back / sleeve pieces are aligned took some time, but I managed to make it work and I think the T-shirt looks much better than it would look if I didn’t align the stripes. I finished the boat neck of this T-shirt with a narrow knit strip (cut from the same fabric). I deliberately cut the strip only 2 cm wide, folded it in half, and sewed it to the neckline with an overlock. The resulting width of the hem (visible part) is only 0.5 cm. I wanted to sew an inconspicuous hem and at the same time I didn't want to use facing to finish it because this knit is very soft - when sewing facing, the edge of the neck opening could warp a little, and an extra layer of fabric (facing) could become visible from the face side.
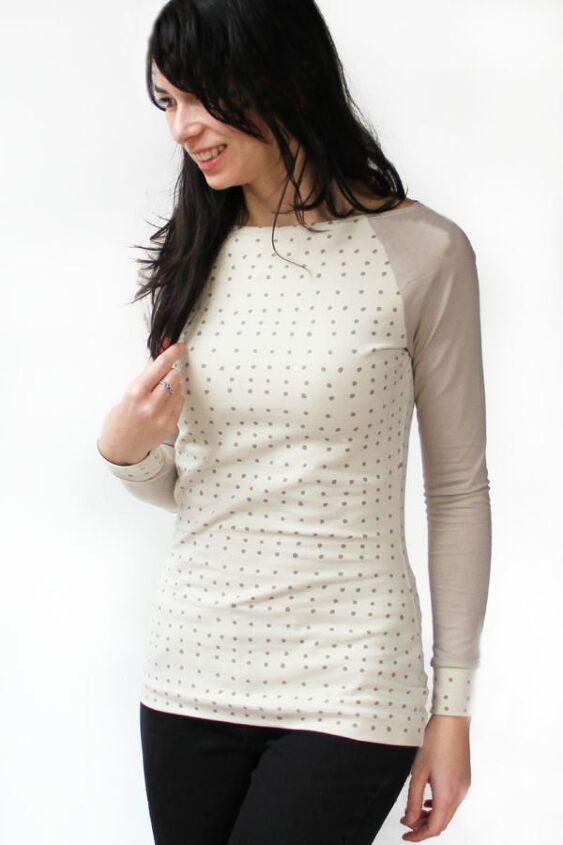
This t-shirt is made of cotton knit with elastane. I used a classic black knit for the sleeves - also cotton and elastane. If you plan to combine two different fabrics, you should choose fabrics that have the same composition - you do not want each of them to react differently to washing.
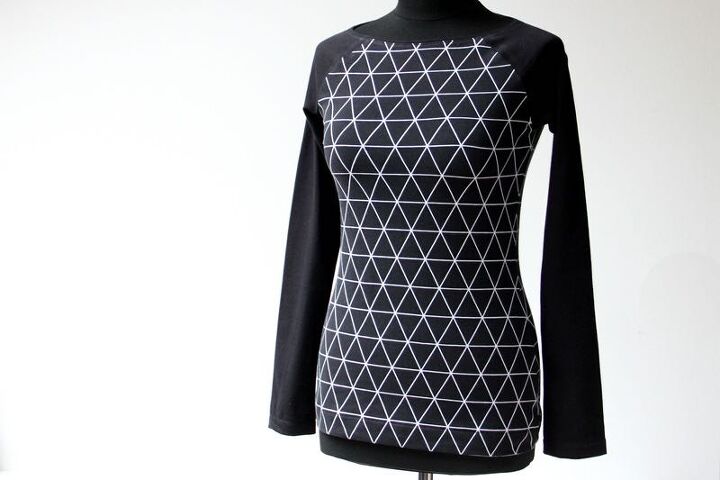
This T-shirt is made with a small variation compared to the original version (which has facing) - I finished hems it with a simple fold. Sleeves are finished with wider knit strips.
These pieces are sewn according to patterns that are one size larger (compared to my normal size). Thanks to this simple change, I was able to sew semi-tight sweatshirts and homewear sweatshirt dresses. Think outside the box and sew with love! ♡
The author may collect a small share of sales from the links on this page.


Comments
Join the conversation