How to Sew a Tank Top Dress - Comfy Sleeveless Maxi Dress Tutorial

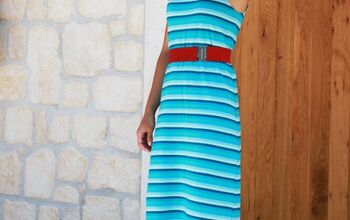
This elegant sleeveless maxi dress is perfect for all occasions. It’s not only beautiful, but it is also so comfortable as well. Here’s how to sew a tank top dress that you will feel amazing in!
Tools and materials:
- Ira pattern
- 2 yards knit fabric
- Glasshead pins
- Matching thread
- Scissors
- Sewing machine
- 4-way serger
- Iron
- Clapper
The type of fabric you use for this DIY tank dress is important. It’s best to get a knit fabric with two-way stretch with elastane. Fabrics like ribbed knits, brushed poly, or French terry are perfect for this dress.
There’s much more information in the instructional e-book that comes with the Ira pattern, including fabric cutting instructions and layout guide.
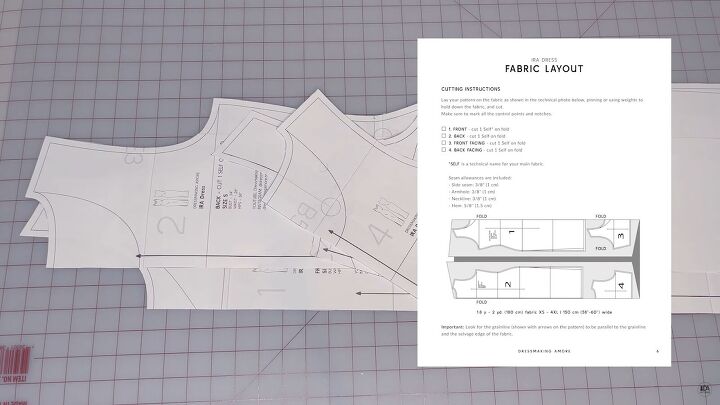
1. Assemble the pattern pieces
You should have the front and back pieces as well as the front and back lining patterns. In the ebook you’ll see exactly how to cut out your patterns. Lay on the fabric and cut out the fabric.

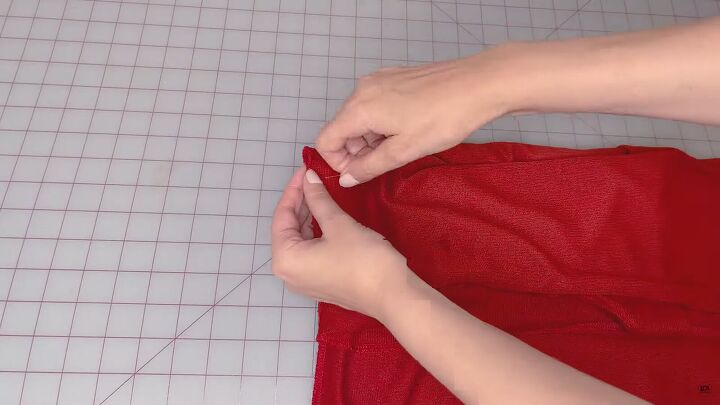
2. Start with the top
Start with the shoulder seams. Place the front and back pieces right sides together. Pin and sew the seams in the dress.
Pin and sew the seams in the lining.
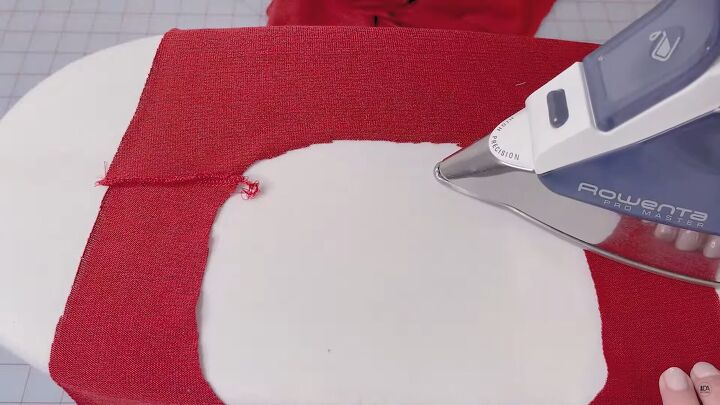
Press the shoulder seams of the dress and the lining’s seam allowance facing in opposite directions. This way the shoulder seams won’t be bulky.
3. Sew the neckline
Pin the lining to the dress at the neckline, matching the shoulder seams and the centers of the back and front neckline. Sew the neckline.
Fold the seam allowance towards the lining and understitch the lining about an ⅛ of an inch from the edge.
Understitching will prevent the lining from rolling towards the outside.
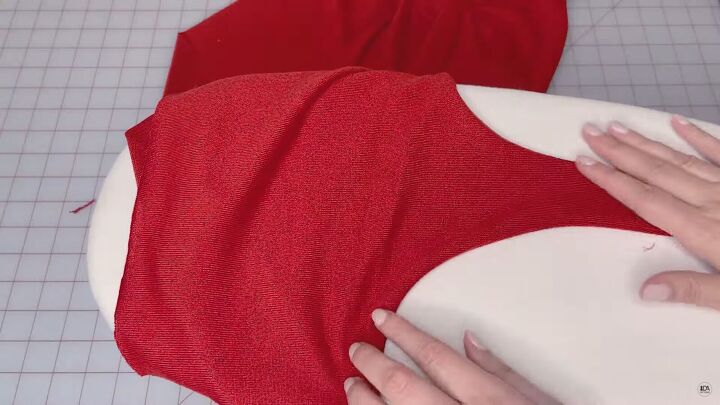
Press the neckline. Cool it down with the clapper before you move the dress so all the waviness will be gone.
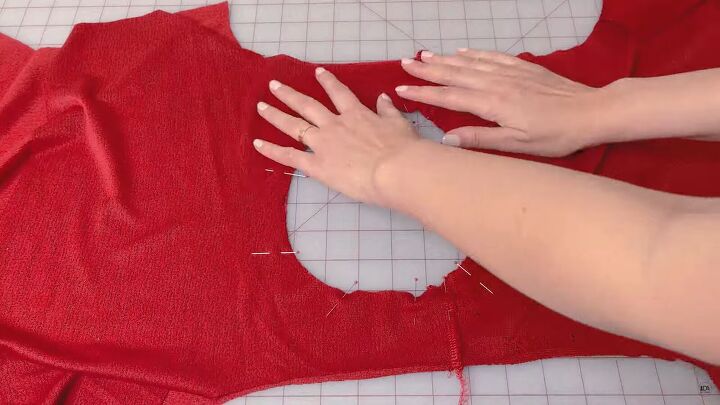
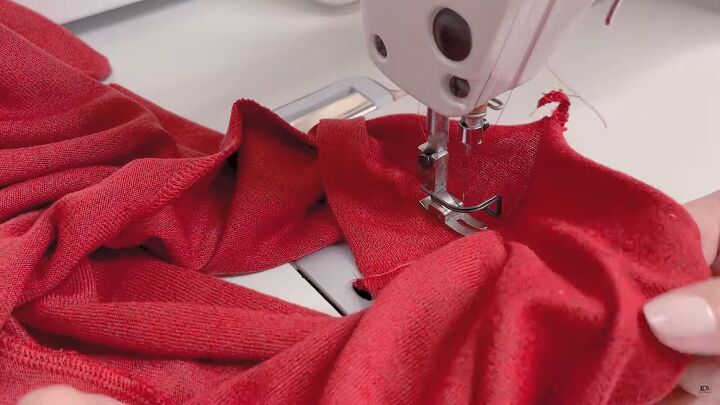
4. Sew the armhole
Use the burrito method for the armhole. If you need a video reference, here is a more detailed tutorial on how to finish an armhole with the burrito method.
Roll the armhole of one side of the dress to the opposite shoulder. Open up that opposite shoulder and pin over the rolled shoulder. The rolled shoulder will be inside the opposite one.
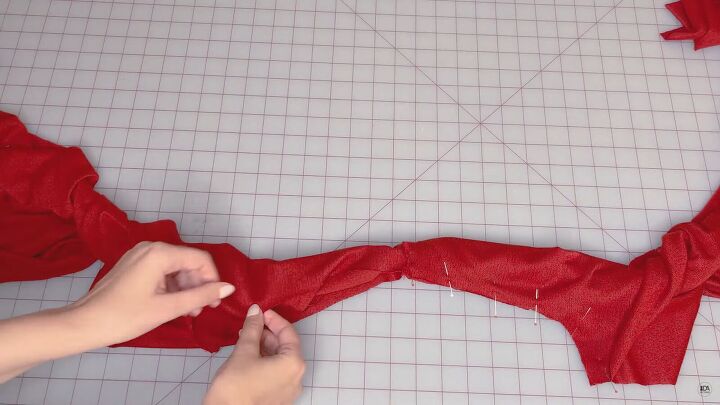
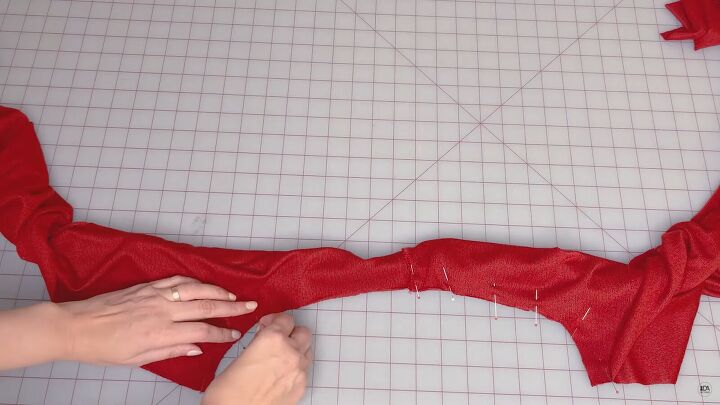
Pin the whole armhole over the rolled burrito.
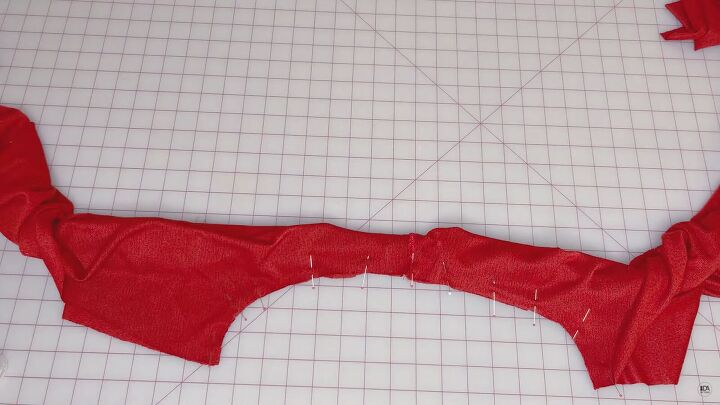
Sew using a 4-thread serger or use a narrow zigzag stitch.
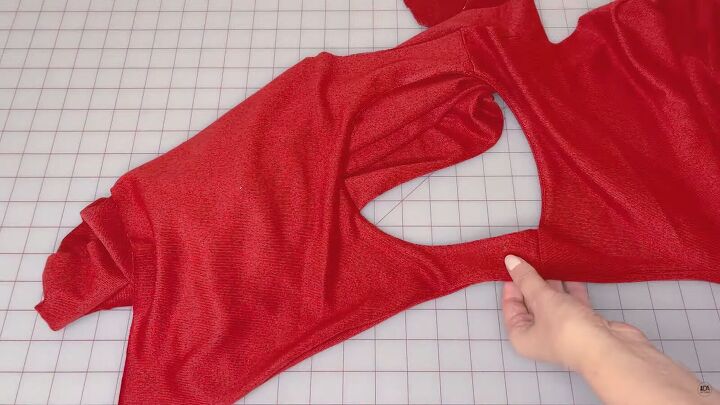
Turn it out.
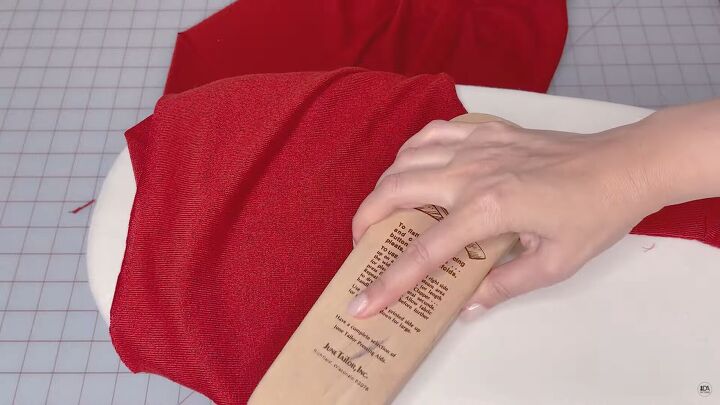
Press and cool the armhole to get rid of any waviness that may appear after sewing.
Repeat these steps for the second armhole.
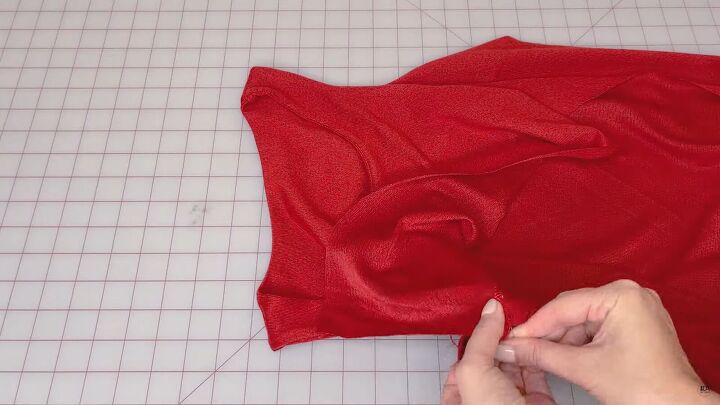
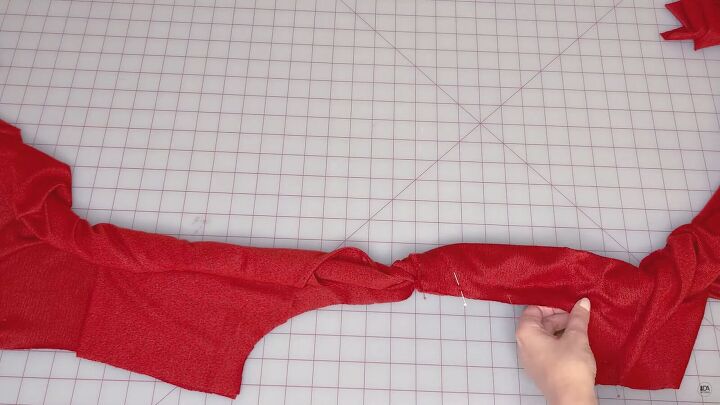
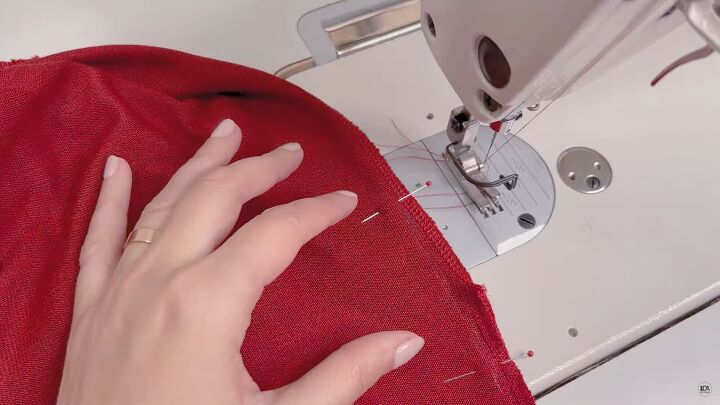
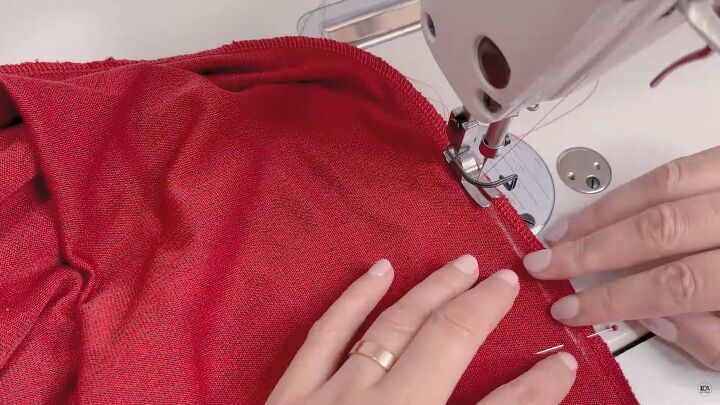
5. Sew up the sides
Place the front and back of the dress right sides together. Pin the side seams of the lining and the dress, ending at the slit marks.
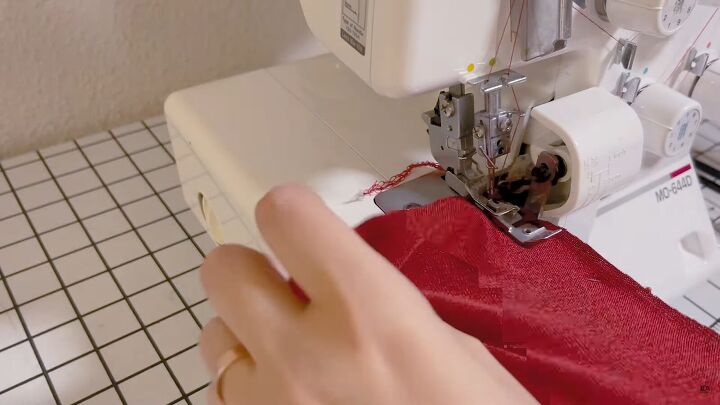
Sew the side seams up to the slit opening. Serge the lining hem.
6. Attach the lining to the dress
Fold the lining at the armhole seam, matching the side seams of the dress. Pin in place.
Sew the side seams together, stopping 1 inch away from the lining hem.
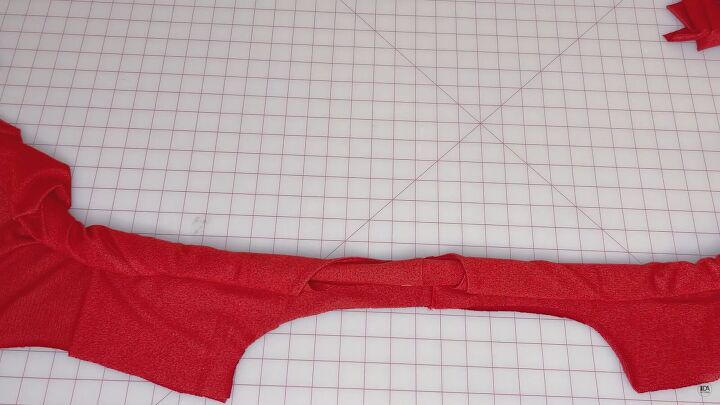
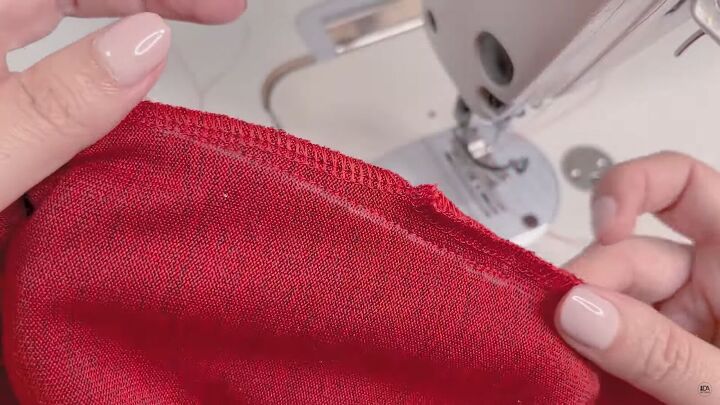
7. Finish the slits
Serge the slit edges. Serge the hem edges.
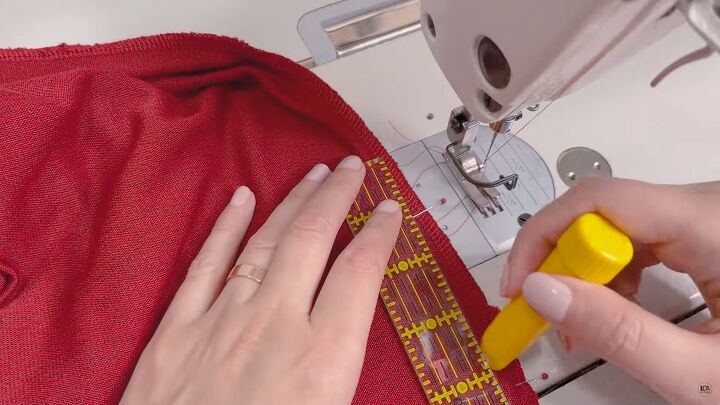
Mark the corner of the slit 3 inches above the opening and 1 inch right below it.
Sew this area.

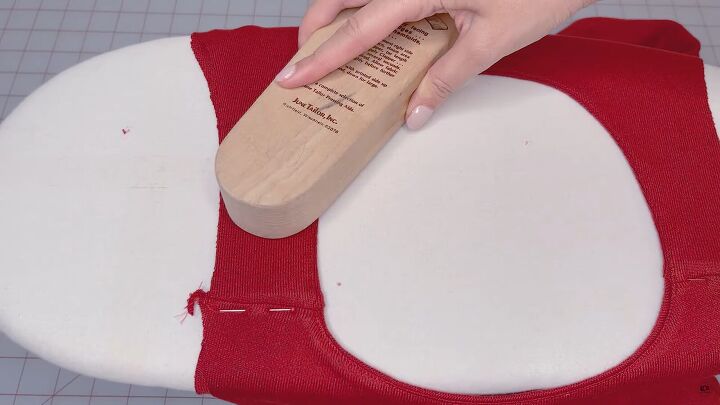
Press the side seams. Use the clapper to cool it down. Fold the serged edge of the slit in towards the wrong side about ⅓ of an inch.
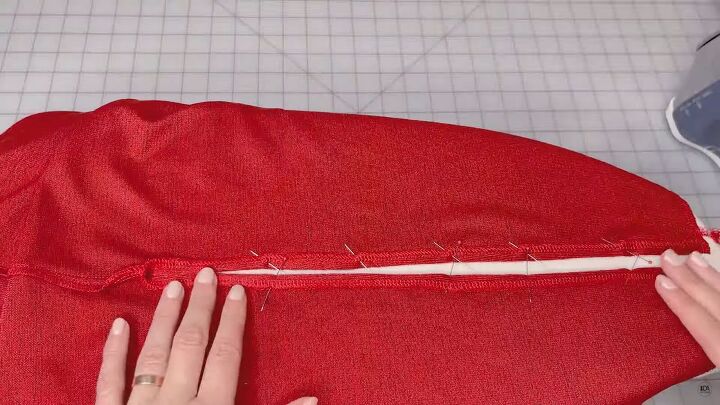
Pin in place. Then press it. Use the clapper to cool it down so the slit will be straight.
Topstitch the slit opening ⅕ of an inch from the edge. Make sharp corners at the top of the slit.
Press the sewn slit and then use the clapper.
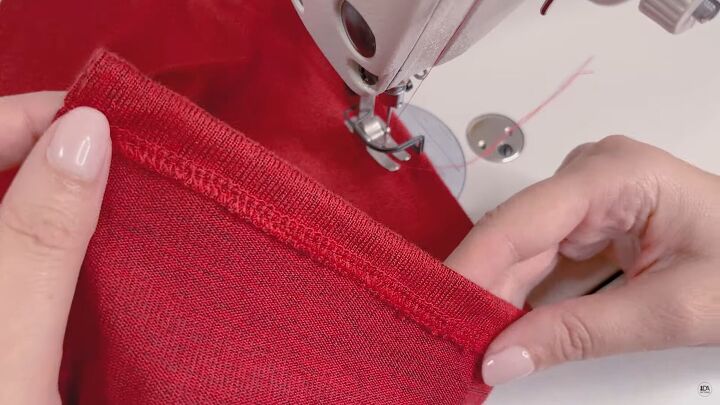
8. Make the hem
Fold ½ inch or more of the serged hem. Pin in place and then press. Topstitch the hem.
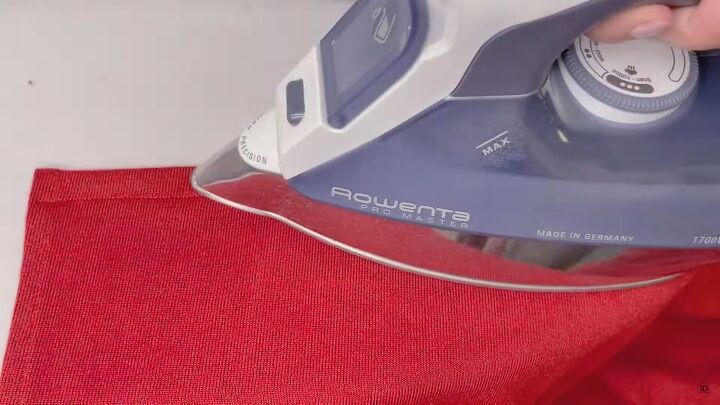
9. Finishing touches
Give the entire piece a finishing press. Cool it down to give a professional finish.

How to sew a tank top dress tutorial
I hope you use the Ira tank top dress sewing pattern to make your DIY tank dress. This dress is so flattering and comfortable you’ll want to wear it all the time. Let me know in the comments if you’ve made it.
The author may collect a small share of sales from the links on this page.


Comments
Join the conversation