Sew a Square Neck Dress From Scratch

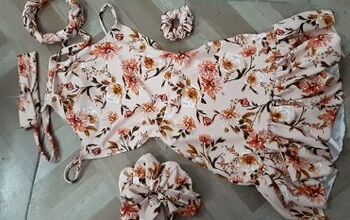
I had an idea for a dress that I wanted to sew but it wasn't until I got stuck into the project that my vision came to life. This square neck dress has so many gorgeous details that make it the perfect piece for a summer outfit! I am so pleased with how this stunning dress turned out!
Tools and materials:
- Fabric
- Measuring tape
- Scissors
- Pins
- Elastic
- Hairpin
- Needle and thread
- Zipper
- Sewing machine
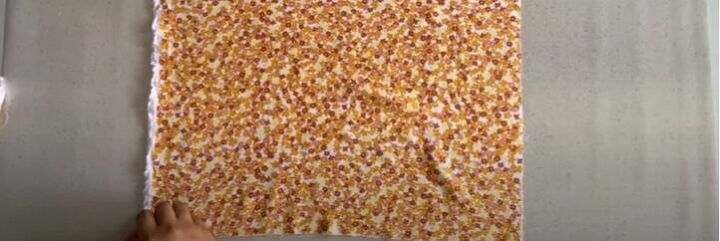
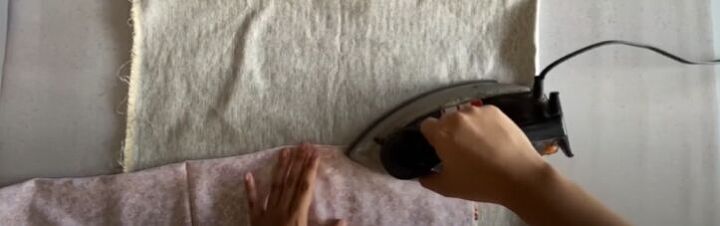
Cut the fabric for the bodice
To get started on this square neck dress I cut a rectangle for the front panel. I made sure that I had a double layer of fabric in order to give the body more structure. The rectangle piece was 18 inches by 14 inches. The 18 inches was based on half my body’s circumference plus 2 inches of seam allowance.
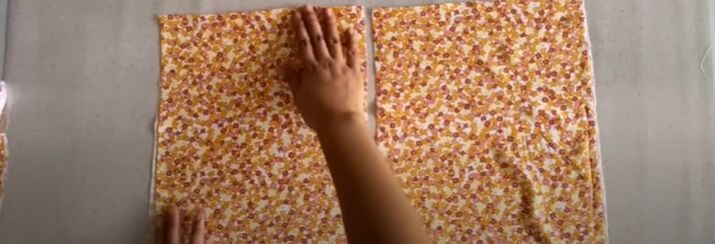
I then cut another, double-layer, rectangular piece with the same measurements. I split the piece in half to create two equal pieces that would become the back panel for the bodice of the dress.
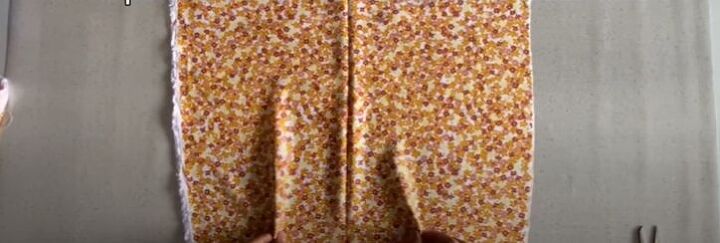
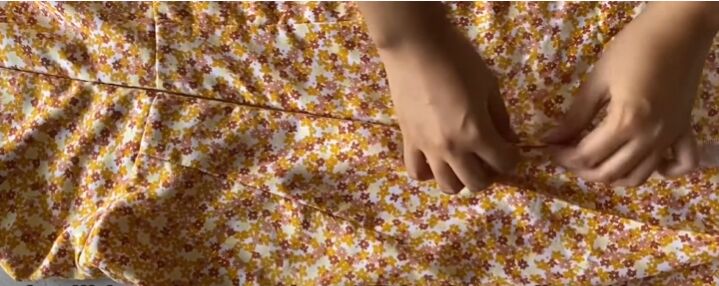
Fold darts
Next, I folded the front panel in half and ironed it to mark the centerline. I then pinched 1 inch of fabric on both sides of the front panel which I would later sew into darts.
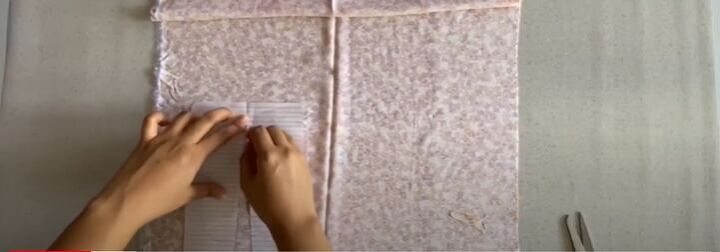
To make sure that my darts were equal, I created a small pattern on a piece of paper and then traced that onto the front panel.
I then used an iron to mark the center of the darts which would help make sewing them easier when I got there.
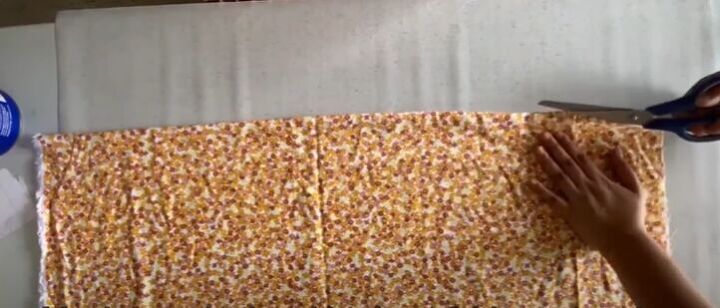
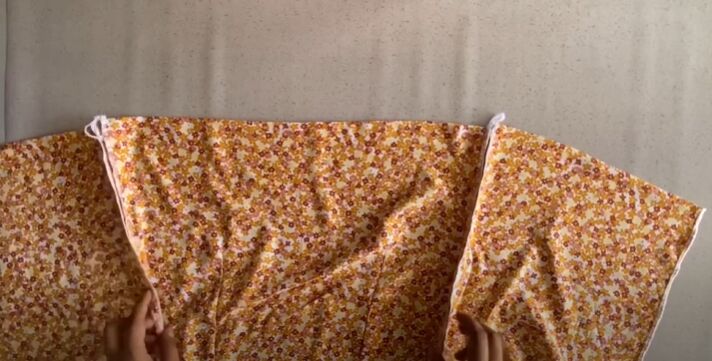
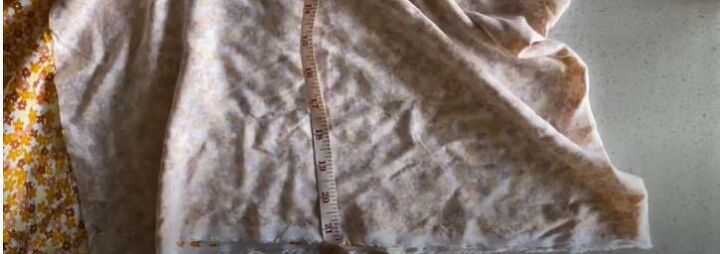
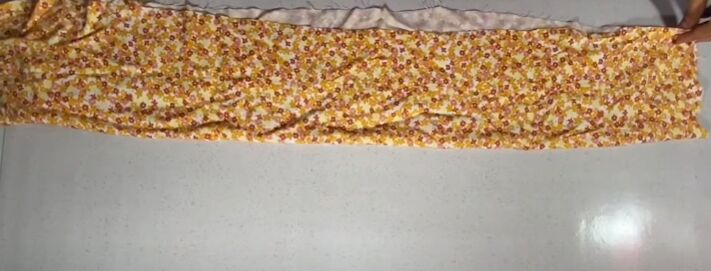
Cut the fabric for the skirt
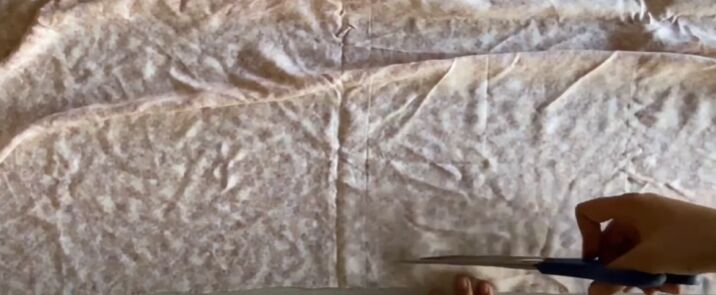
Next, I moved on to the skirt. I cut two big rectangles, 20 inches by 28 inches. The width of the skirt was based on half my hip circumference with an added 2 inches for seam allowance.
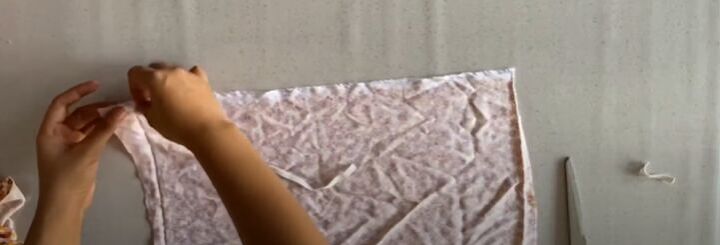
I folded one rectangle in half and cut it into two to make the back pieces for the skirt.
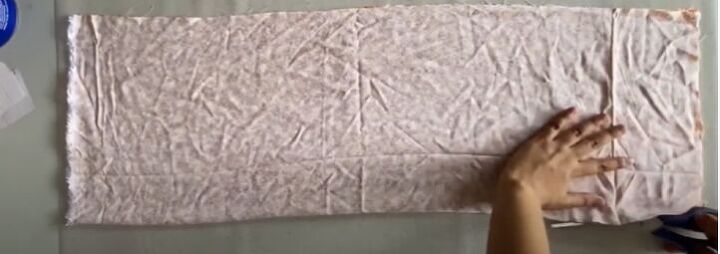
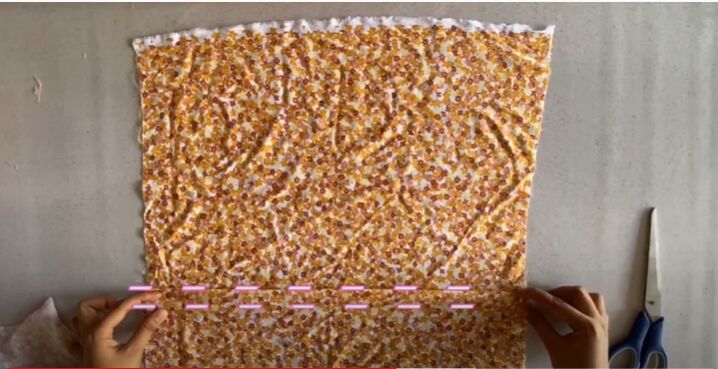
Add darts to the skirt
Next, I added 2 inch wide darts onto the skirt panels. One on each of the back panels and two on the large front panel.
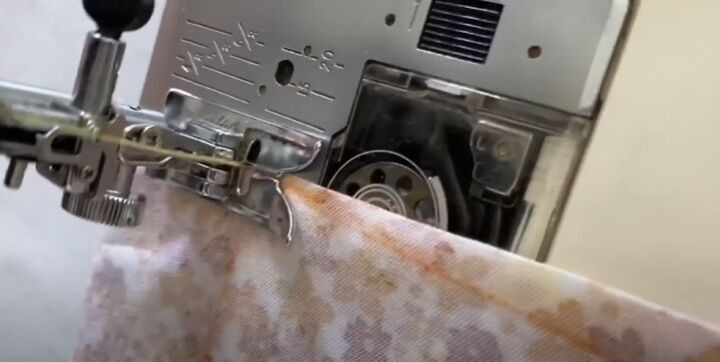
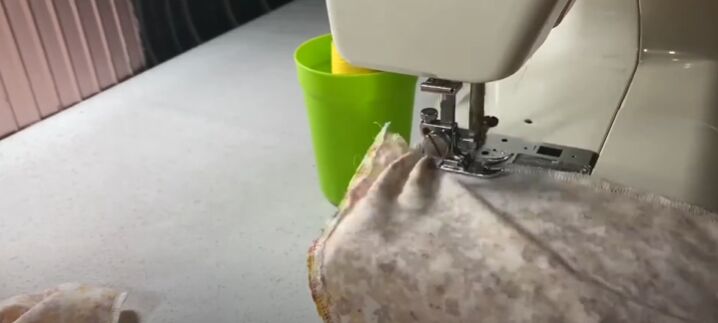
Sew the darts
To get a nice, clean dart, I made sure that my needle was positioned at the very tip of the dart before I started sewing. I then continued sewing with a straight stitch.
To lock the stitch, I left about 2 inches of excess thread that I then tied into a double knot.
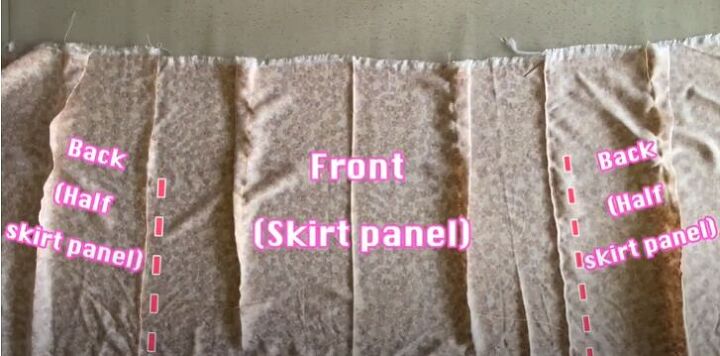
Sew the dress together
Finally, I could start to sew the parts together. I placed the three skirt panels down, with the wrong side facing up, and sewed each back panel onto the side seam of the front panel. I decided to already hem the sides of each piece to make the dress look neater and cleaner.
I then sewed the bodice of the dress together in the same way.
I realized that I had made a mistake because I didn’t check that the darts on the bodice and skirt lined up. I decided that redoing the darts was too big of a job and I just went ahead and sewed the bodice and skirt together.
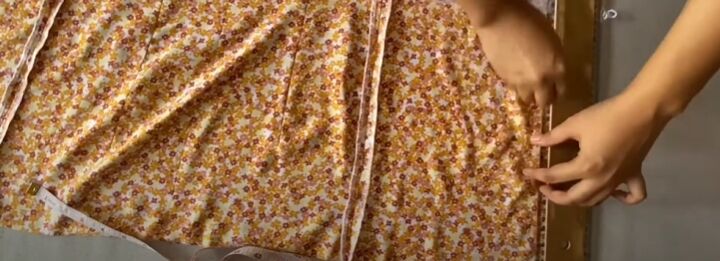
Mark the alterations
I tried on the dress and realized that I needed to take some fabric off from the sides so I marked the excess so that I would know how much fabric to get rid of,
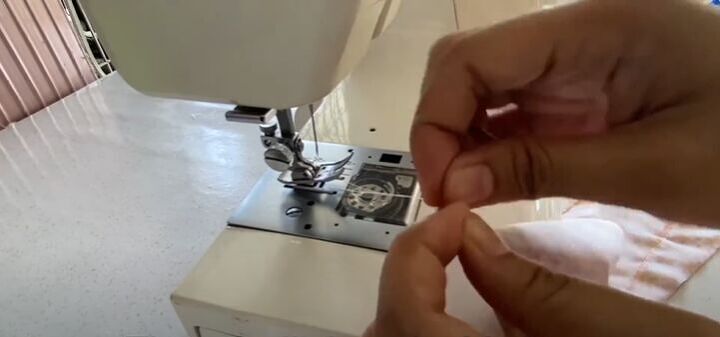
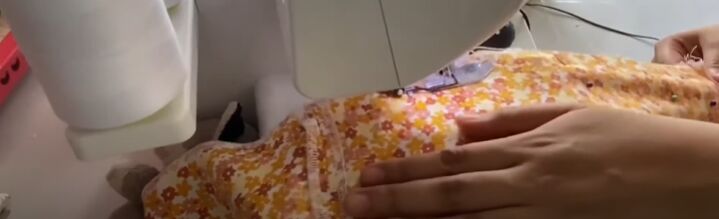
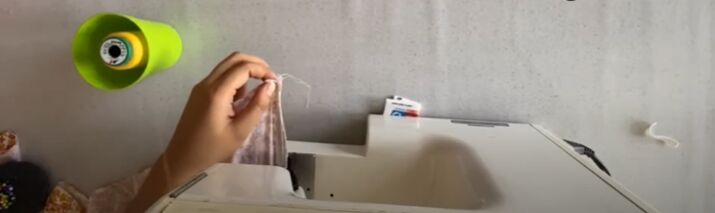
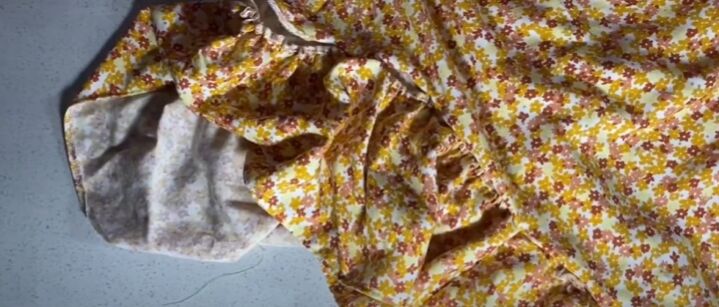
Attach the zipper
Next, I hand sewed the invisible zipper. I tried to do it with the machine but couldn’t sew close enough to the teeth of the zipper.
I still had the excess fabric next to the zipper and some on the top of the dress as well that I would get rid of later.
I sewed together the bottom of the skirt, leaving a 5-inch slit so that I would be able to walk comfortably.
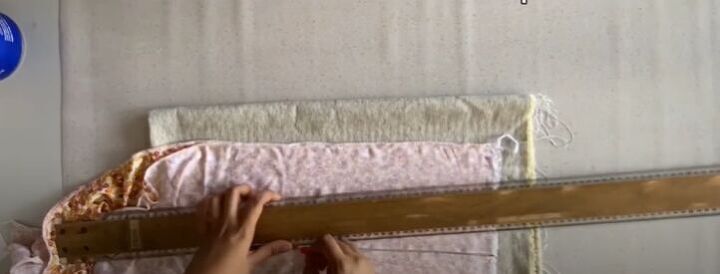
Make the sleeves
Next, I moved on to the sleeves of the dress, I cut two rectangles, 19 inches by 21 inches.
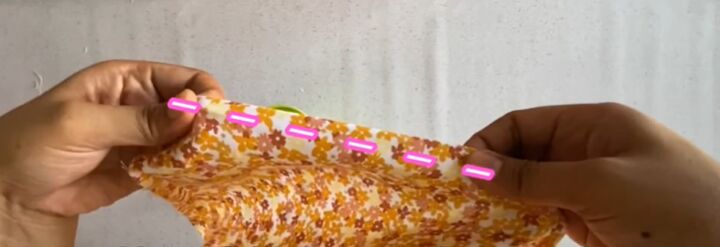
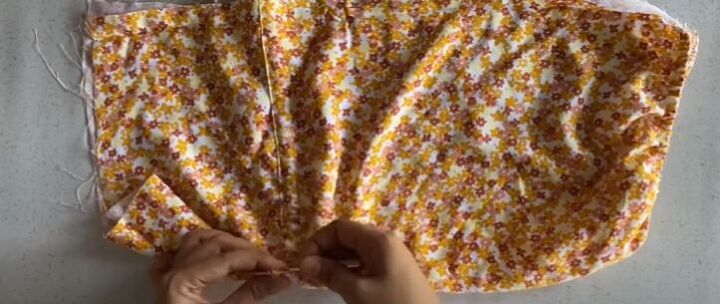
I would be attaching an elastic to the shoulder and also adding string 4 inches below the center of the sleeve. To do this, I sewed a tunnel for the string across the sleeve.
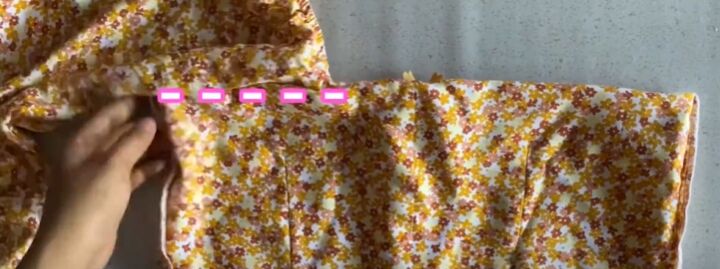
I then cut the elastic pieces, 9 inches long. I pinned each end of the elastic to each end of the shoulder seam.
I then sewed the elastic with a zig-zag stitch, pulling the elastic as I sewed.
Next, I folded the elastic inward and sewed with a straight stitch, again, pulling the elastic while sewing,
To make the string for the sleeves, I cut two strips of fabric an inch wide and about 20 inches long.
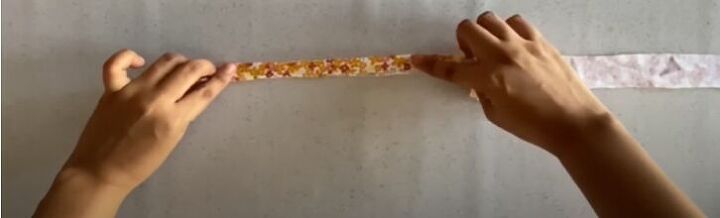
I then folded the fabric twice and sewed with a straight stitch.
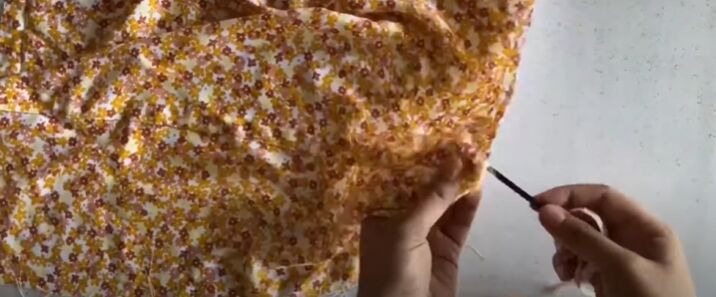
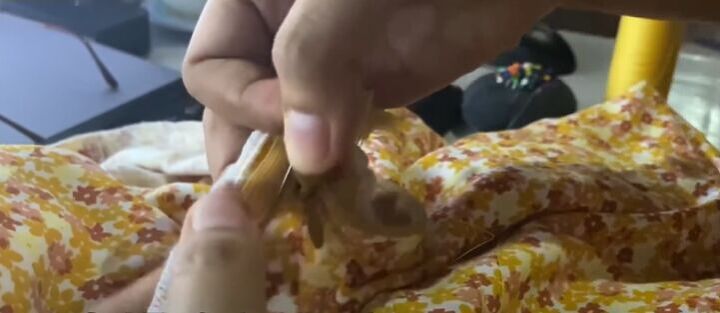
I used a hairpin to help me thread the string through the tunnel.
Using a seam ripper, I made a hole in the center of the tunnel and pulled out the string, leaving an inch sticking out on each side of the tunnel.
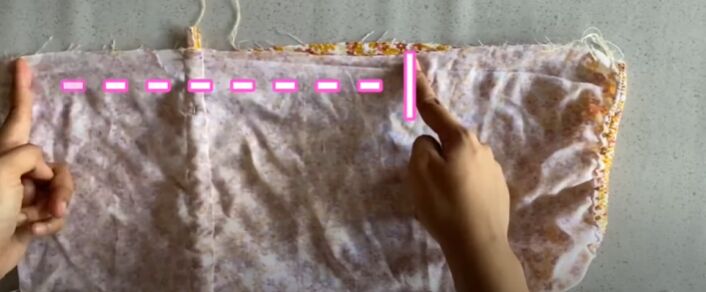
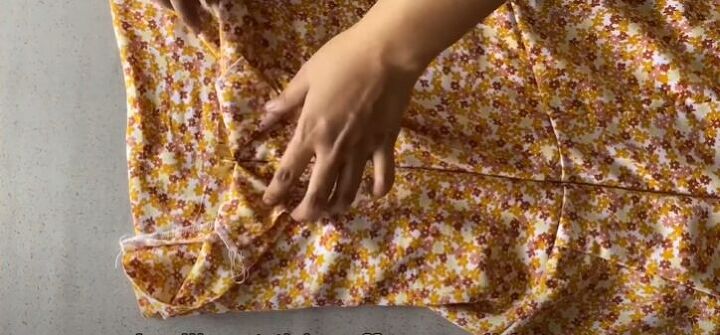
I sewed closed the side of the sleeve leaving a 7-inch slit open.
Sew on the sleeves
Next, I sewed the underarm of the sleeve to the top of the dress.
Add a tier to the skirt
I decided to create a tiered style for the skirt of my dress so I cut the skirt into a dome shape and then cut two pieces of fabric 5 inches by 30 inches. I then connected the two strips to make one long piece of fabric.
To gather my fabric, I sewed a straight stitch with my stitch setting at its longest. Since I didn’t change the thread tension, the fabric started gathering as I sewed. This is a great technique but it only works with very soft or thin fabric.
I pinned the gathered fabric to the skirt of the dress and sewed it on with a straight stitch.

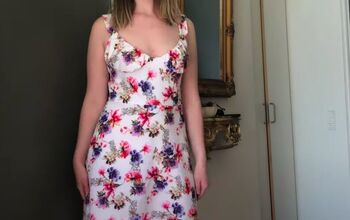
I am so in love with this square neck dress! I would love to hear your thoughts on this DIY sewing project! Let me know in the comments below!
The author may collect a small share of sales from the links on this page.


Comments
Join the conversation