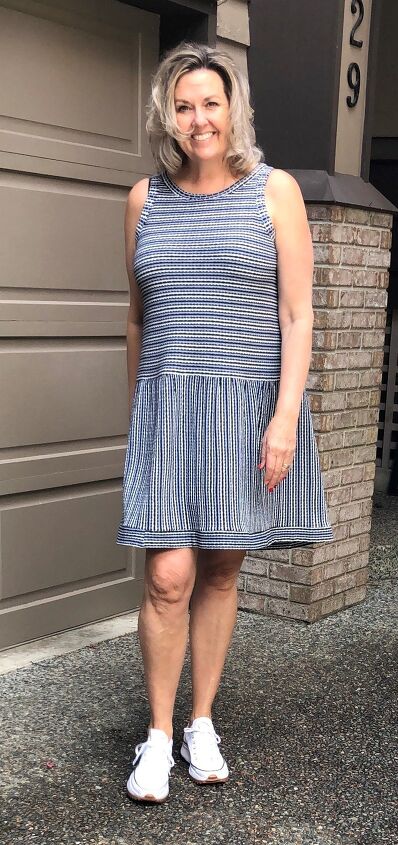
Time Out Tank With Tiers
I originally made this Time Out Tank as a separate to wear with shorts, jeans and a matching pull on tube skirt that I self-drafted from the same fabric. I wore the tank several times, but only wore it with the skirt once, under a jacket. It just didn't feel right, kind of "blah"....

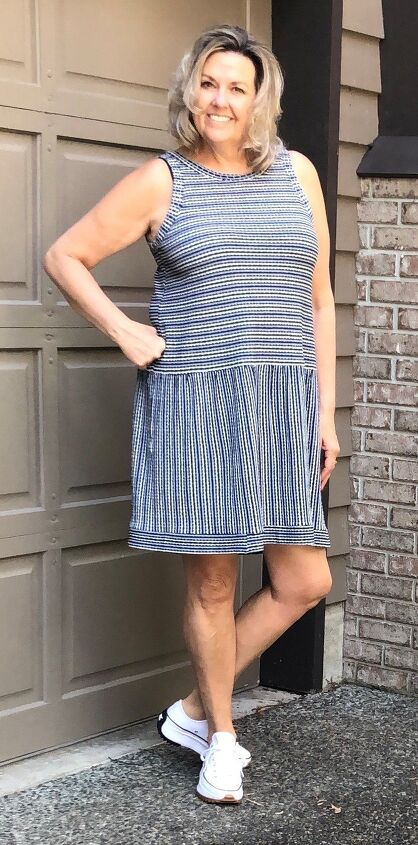
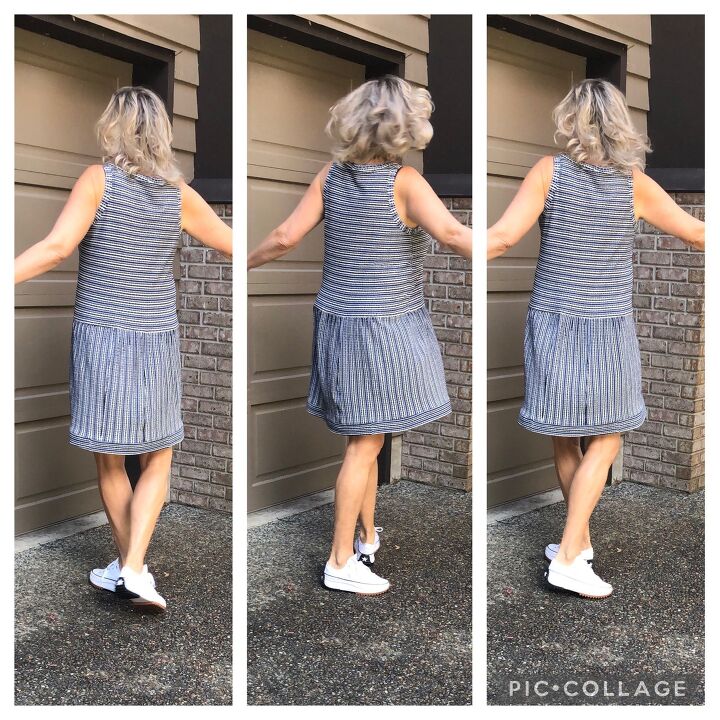
After I made the Everyday is a Weekend dress from Pattern Emporium ( see previous post) it got me thinking about redesigning the skirt to create a tier to attach to the tank. I had just enough fabric if I cut the waistband off the skirt then cut the skirt horizontally so that I had two 16" tubes. I cut the overlocked seam off one end of each skirt tube & sewed them together. Now I had a large 16" high tube to gather and attach to the bottom of the Time Out Tank bodice. I felt very comfortable creating this pattern mash up because of how clearly Kate from Pattern Emporium had outlined this process in the Every Day Dress pattern. I simply followed exactly the same process to attach this tier to the tank. The tier isn't as wide/full as the Every Day dress because I was limited by the fabric that I was reusing from the skirt, but there was enough to create a gathered effect.
Using a baste stitch I quartered the tube and sewed 4 separate basted segments the tube. I find that gathering is more accurate and easier to managed when I work in quarters. I used a sewing clip to mark quarter sections on the tank hem and on the basted edge of the tier. Working on one section at a time, I gathered the fabric between the clips and clipped the bodice and the gathered tier together. Working slowly around the entire bodice hem, I attached the gathered tier all the way around.
I sewed the tier to the bodice with a regular stitch length, sewing slowly to ensure an even gather as I took off the clips holding everything in place. Make sure to check the underneath of your fabric so that you are not accidentally sewing the tier into the gathering. This is really easy to do if you rush and don't keep your fabric smooth. Always checking is a much better choice then sewing quickly and having to unpick later- just sayin'
The Every Day pattern uses a clear elastic method to stablize the gathering of the tier. I really like this method and it creates a lovely finish to the gathered knit. Once the tier and bodice are sewn together, lay both layers on your overlocker and place the clear elastic on top of both layers. Overlock through the elastic to the layers of the dress. Go slowly and check that fabric has not snuck under your seam edge to avoid chopping it with the overlocker blade. This can create a hole that is irreparable. Once you have attached the clear elastic all the way around press the seam up into the bodice of the tank.
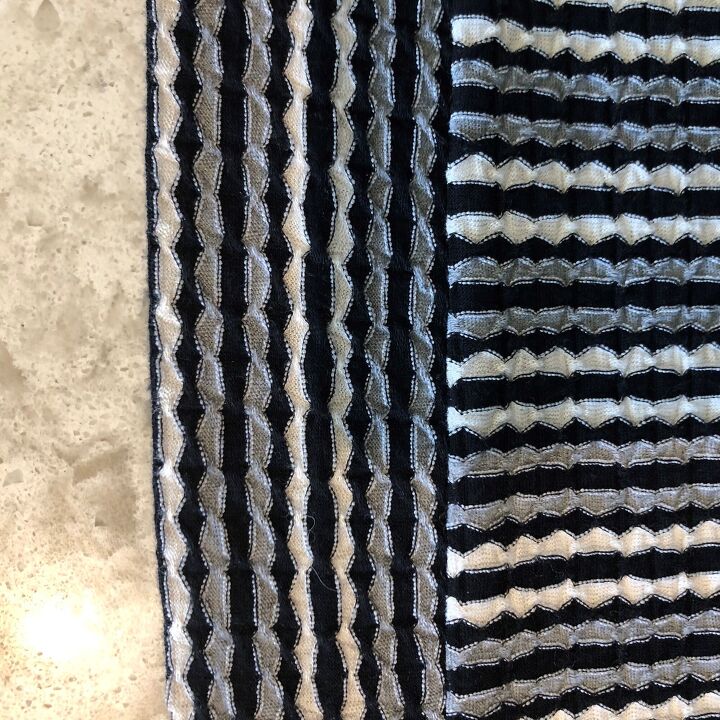
Since I am 6 feet tall and needed just a wee bit more length I cut a strip of fabric that was 4' high and the same width as the hemline of the tier. I cute the fabric with the strip going in the same direction as the bodice so that once I attached the band it would bookend the tier. I attached the banding as a hem, pressing it double then overlocking all 3 layers together. Once it was attached I pressed the seam allowance up into the tier. This banding technique is yet another sewing technique that Kate describes in her patterns.
I other important step that Pattern Emporium patterns stress and is absolutely essential is pressing. Don't be fooled into thinking that knit fabrics don't need pressing. Steam the seams with your iron, avoiding too much back and forth movement to avoid stretching. The steam flattens the seams and allows the fabric to regain its shape if it has been stretched while sewing. It's worth the time and effort to press, you make will look finished and professional.
This pattern mash-up wouldn't have happened without having learnt the skills from previous Pattern Emporium patterns. Each pattern teaches you and reinforces important techniques that allow you mash up your own make and enjoy the result of refashion creations. After all.... there is Sew Much To Design.
Happy Sewing,
Lou Sheffer
0 views0 commentsPost not marked as liked
The author may collect a small share of sales from the links on this page.


Comments
Join the conversation