Everyday Eyebrow Tutorial: How to Get Full & Defined Brows

Hello! Today, I’ll be showing you my eyebrow tutorial. If you are wondering how to do everyday brows that leave your eyebrows looking full, thick, and perfect, then keep reading to get the inside scoop!
Also, this is the ideal eyebrow tutorial for beginners. Ready? Let’s start.
Tools and materials:
- Spoolie
- Eyebrow definer pencil
- Makeup brushes
- Foundation
- Eyeshadow
- Eyebrow gel
- Makeup sponge
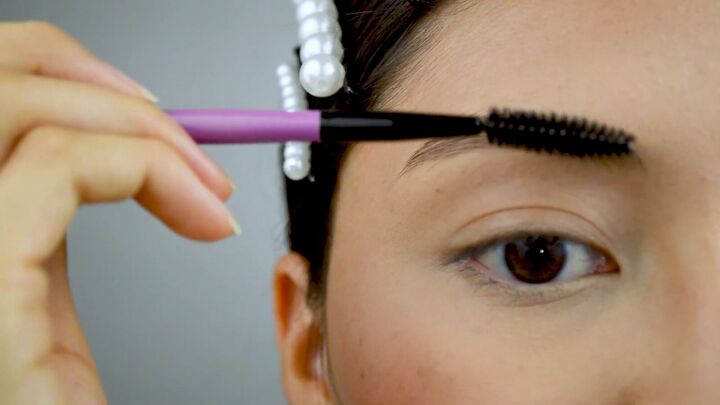
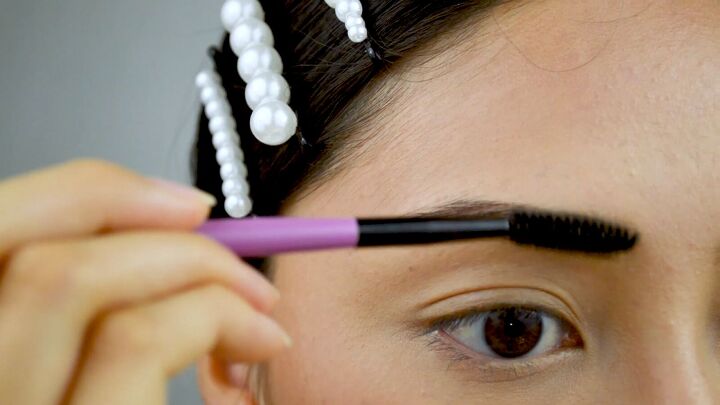
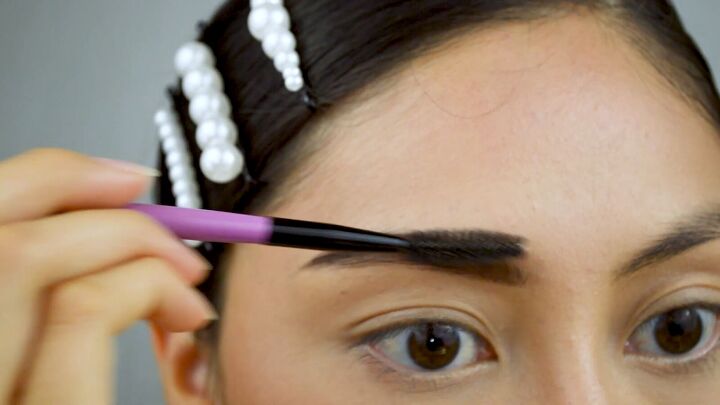
1. Brush your eyebrows
First, take a spoolie and brush through your eyebrows. This will help take off any foundation residue and will set the hairs in place.
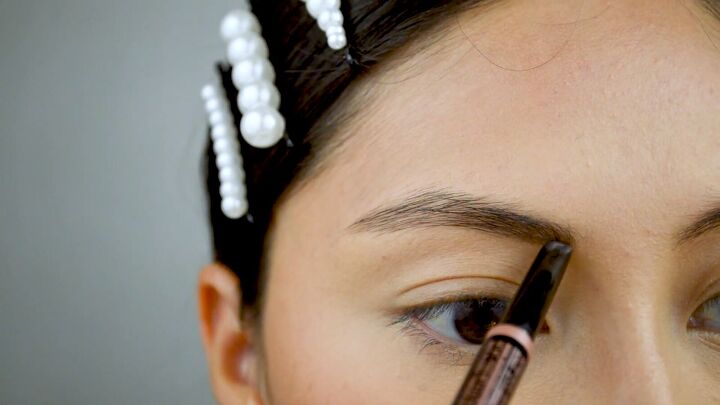
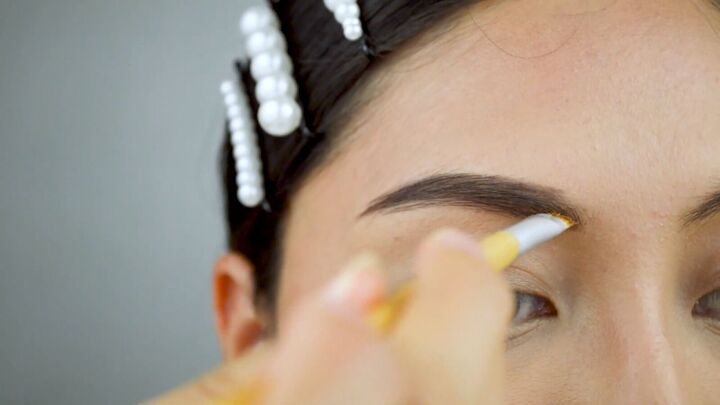
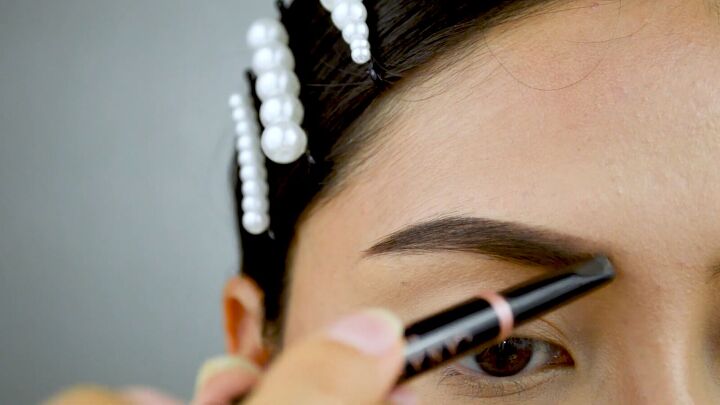
2. Fill in your brows
Now, take your brow pencil. If it has an angled tip, like this brow definer product, that’s better. Start drawing a line on the bottom front section of the eyebrow. Then fill in the brows upward.
Next, outline above the brow. Start with a line, as shown. This will give the illusion that your brow is thicker.

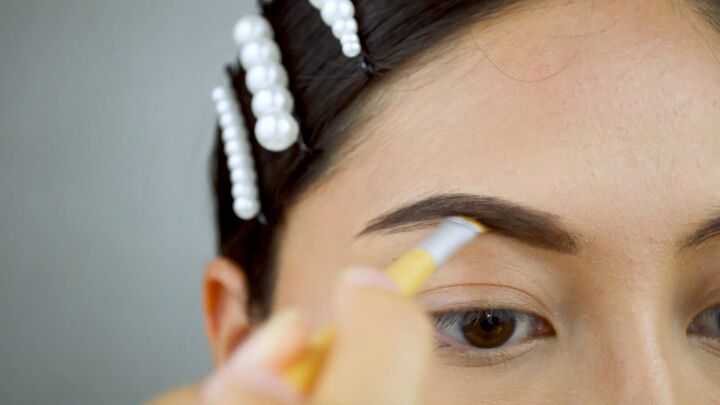
Once you have the line, fill it in below it. Remember to do small brush strokes so it looks like your natural hair. Also, go in the direction of the hair.
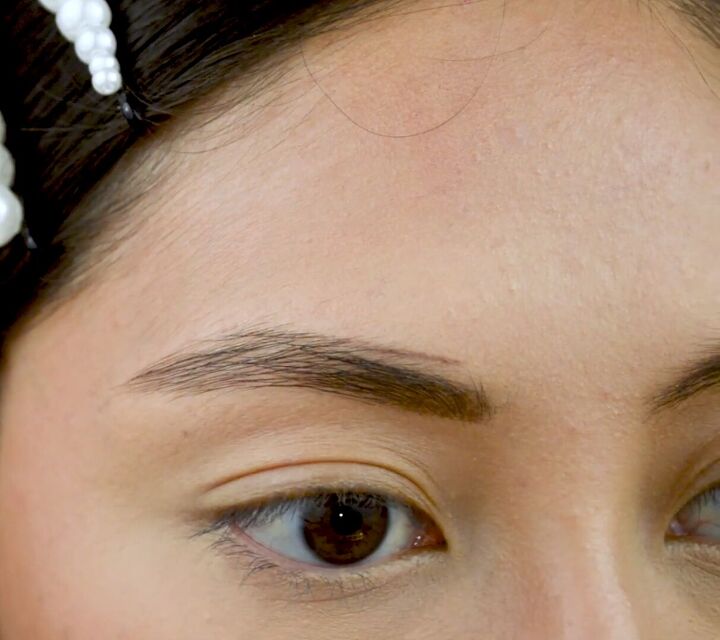
Go through the rest of your eyebrow and fill in any sparse areas.
Every once in a while, take your spoolie brush and gently run it through the brow. Continue filling up the spaces.
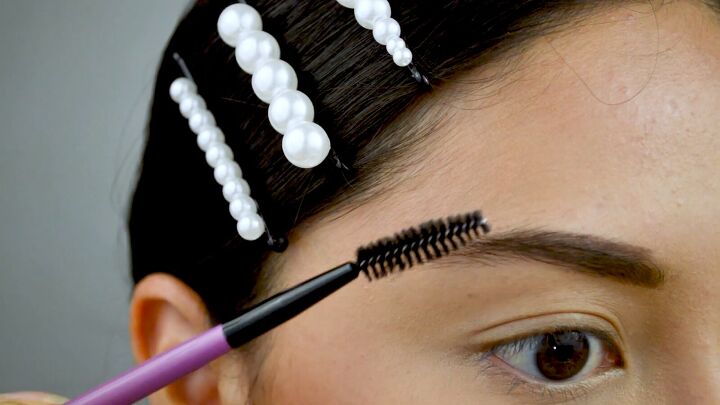
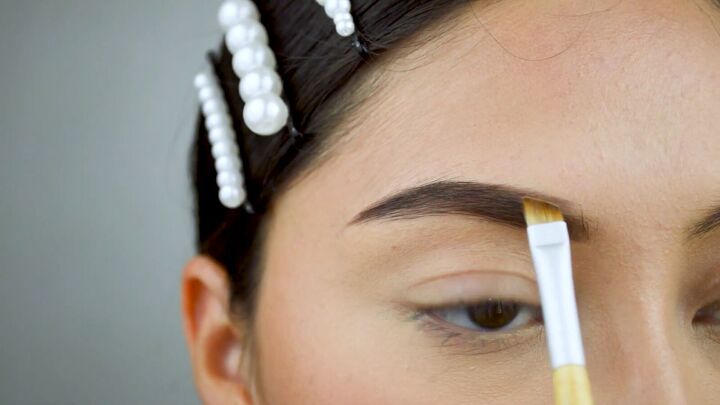
Once you get to the tail end of the brow, take your spoolie and shape it neatly.
Then, fill the end in.
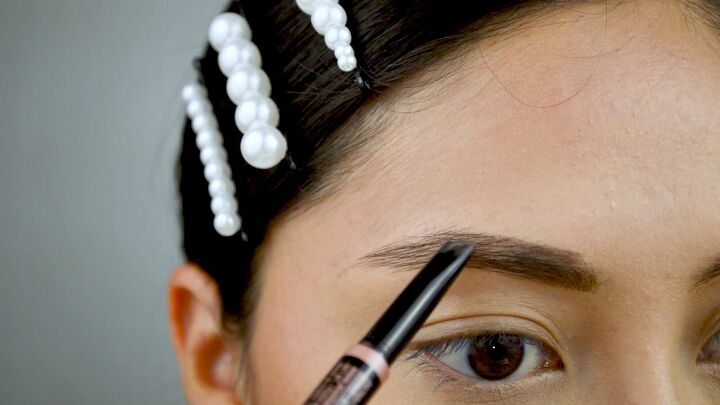
After you’ve filled in your brows with a pencil, go in with an angled brush and a light brown eyeshadow shade. Of course, if you have different colored brows to mine, you can use a different, lighter shade.
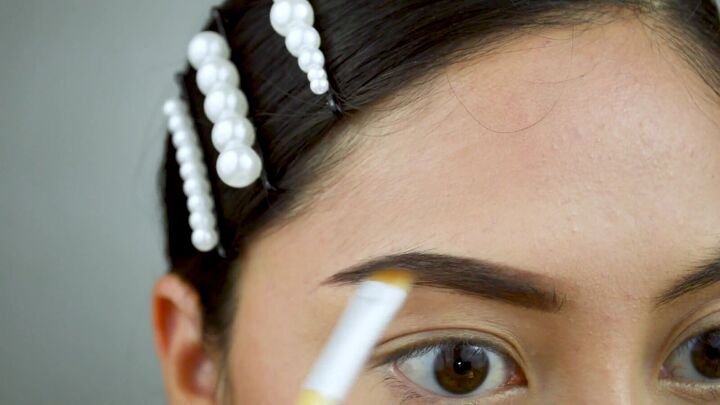
Brush upward, starting from the front.
Then, brush sideways, in the direction of the hair.
Apply more of the shade and fill in the top front part. Brush it inward to get a gradient effect.
Fill the rest of the top part in the other direction (the hair’s direction).
With a spoolie, brush the front back and forth slightly.
Should you need more filling up in the front, take your brow pencil and make hair-like strokes in the front. Make sure you have a light hand when doing this.
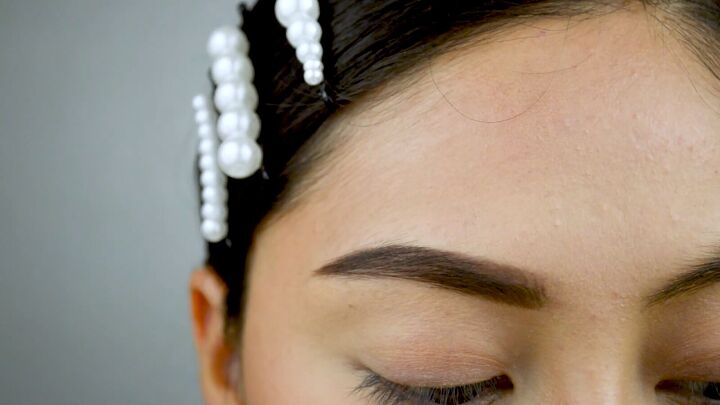
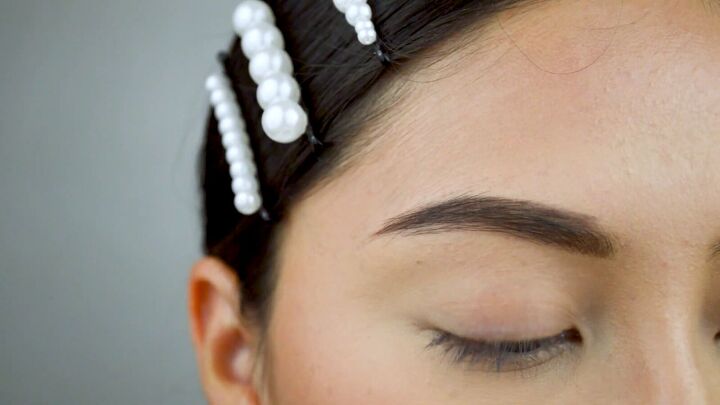
So far, this everyday eyebrow makeup is looking pretty good! You could stop right here and simply put eyebrow gel over. However, if you want them to look sharper, then check out my next step!
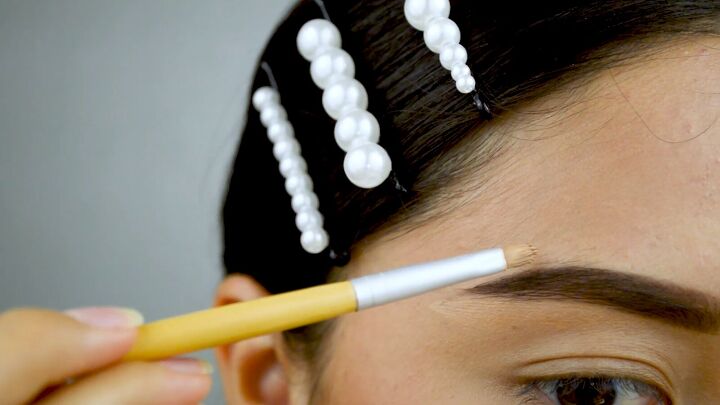
3. Add foundation
If you want clean and crisp brows, then all you need is a small brush and foundation to clean up around the edges.
Tip: You can use concealer for this step, but I feel the foundation looks more natural.

When you get to the front, try to be as light as possible.
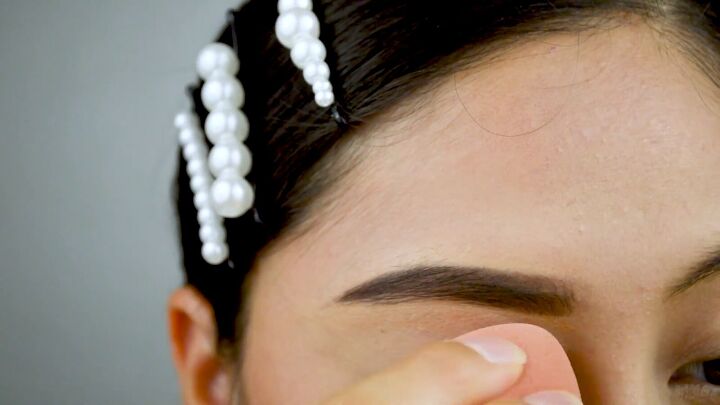
Then, take your beauty blender sponge to blend out the foundation.
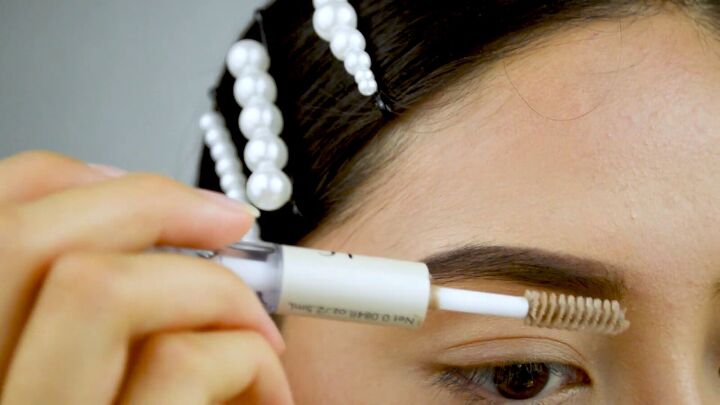
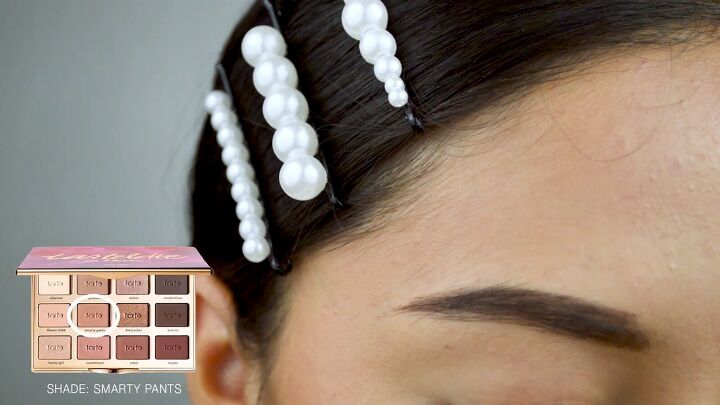
4. Apply a clear brow gel
The final step in this easy eyebrow tutorial is to apply a clear brow gel. Lay it upward and then to the side.
I personally like to have my hair in the front part stand up more. This will help preserve your brows and keep everything in place throughout the day.
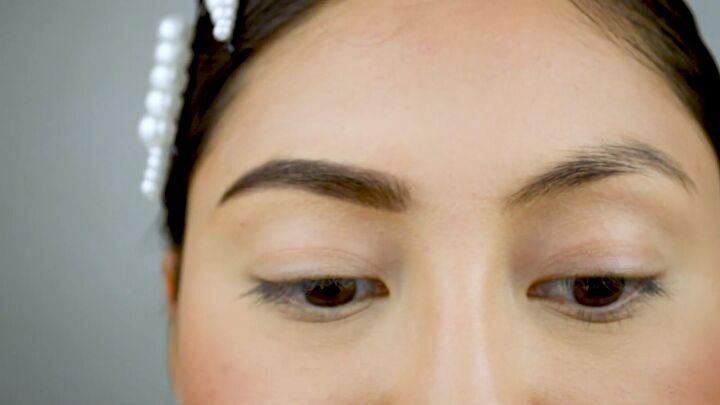
Eyebrow tutorial
We are done! Can you see the difference? I hope you learned some tricks from my eyebrow tutorial.
I think this look is perfect for everyday brows. It looks so natural and definitely gives the face an instant lift. Thank you for joining me, and good luck!
The author may collect a small share of sales from the links on this page.


Comments
Join the conversation