How to Make Fabric Trick or Treat Bags for Halloween

Trick-or-treat? Halloween is on its way and I’ve got a treat for you. In this sewing tutorial, I’m going to show you how to make some fabric trick-or-treat bags that are super cute and functional as well.
They are the perfect size for your kids (or yourself) to hold candy inside. Follow along as I show you how to create these homemade trick-or-treat bags.
Tools and materials:
- Outer fabric
- Lining fabric
- Interfacing
- Scissors
- L-shaped ruler
- Marker
- Ruler
- Clips
- Iron
1. Cut the fabric
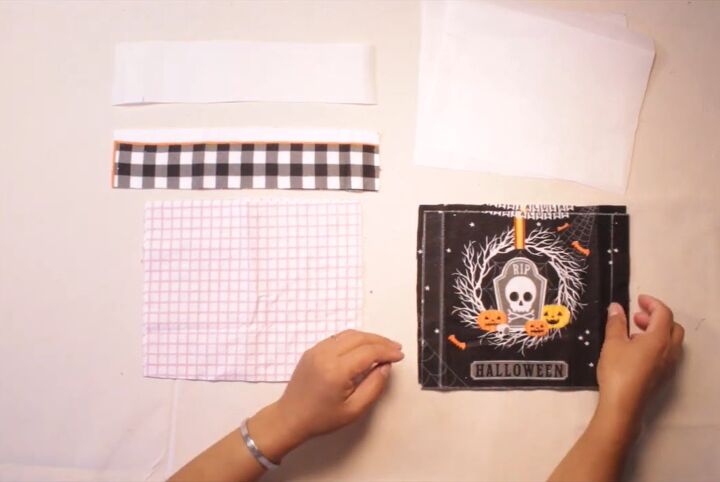
Start by cutting your fabrics. You will need two pieces of the outer fabric that measure 18x22cm (7x8.5 inches) as well as two pieces of interfacing and two pieces of the lining of the same size.
In total, you should have six pieces. For the handle, you need one piece of fabric measuring 6x27cm (2x10.5 inches) and a piece of interfacing the same size.
2. Attach the interfacing
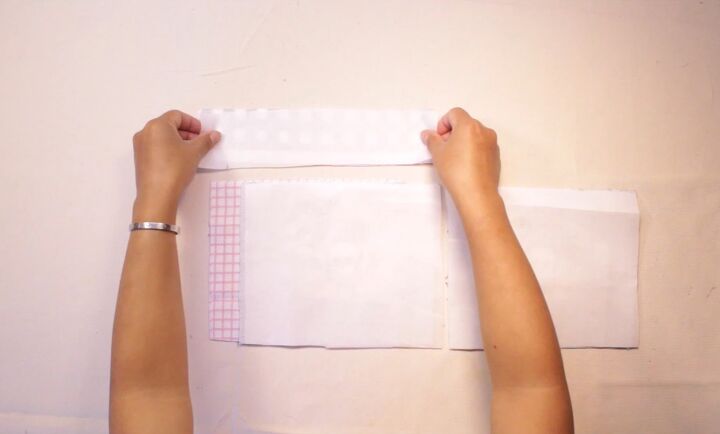
Place the outer fabric of the bag and the handle fabric right side down and place the corresponding interfacing pieces on top of them. Press the interfacing down.
3. Cut out boxes
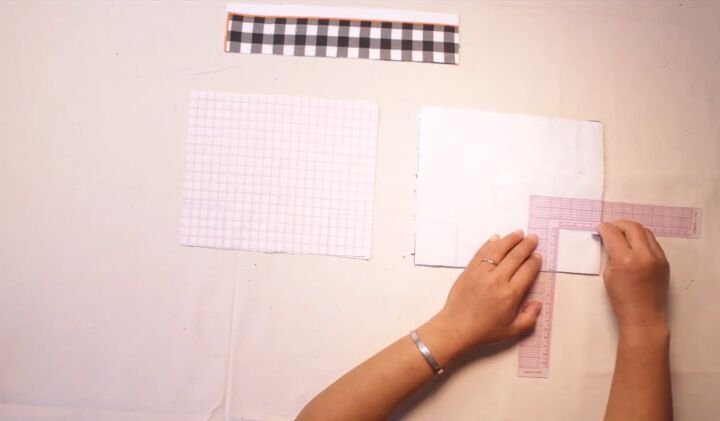
Place the two lining pieces right sides together and the two outer fabric and interfacing pieces right sides together. Draw boxes measuring 5x5cm (2x2 inches) on two of the corners of each piece, then proceed to cut those boxes out.
4. Sew the fabric
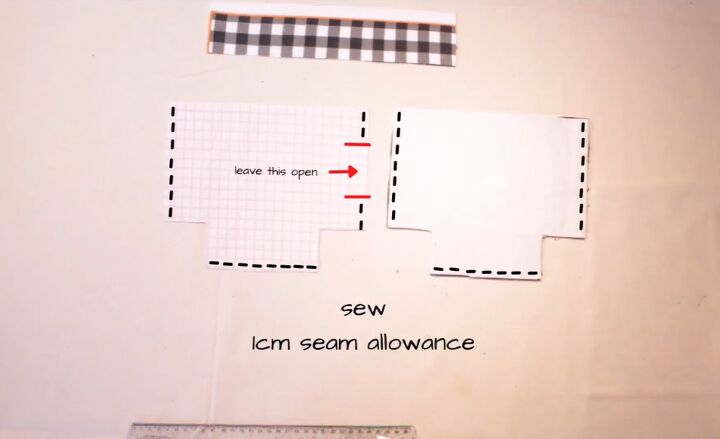
Mark a 6cm (2 inches) opening on the lining. Then sew leaving a 1cm seam allowance.
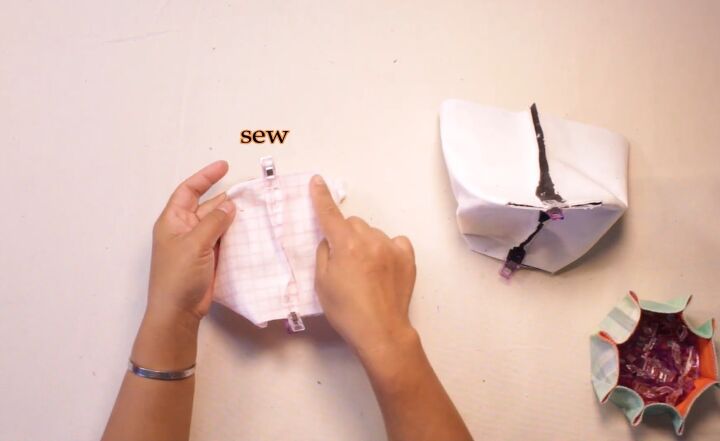
5. Sew the sides
Fold the sewn fabric as shown to create a 3D bag shape and clip the open sides closed, then sew them down.
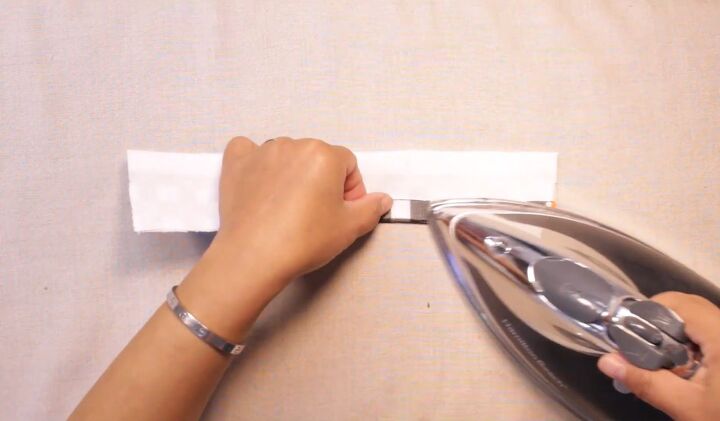
6. Iron and sew the handle
Fold the handle in half lengthways with the wrong sides facing each other and iron it flat. Then open the sides up, fold each side in half again and iron them down.
Once done, fold the handle in on either side and then in half again, iron it down, and clip it together. Proceed to sew along the open side.
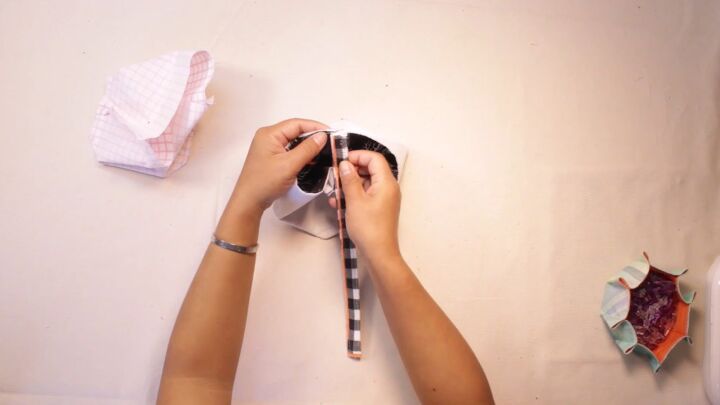
7. Attach the handle to the bag
With the outer part of the bag turned inside out, clip the handle to it.
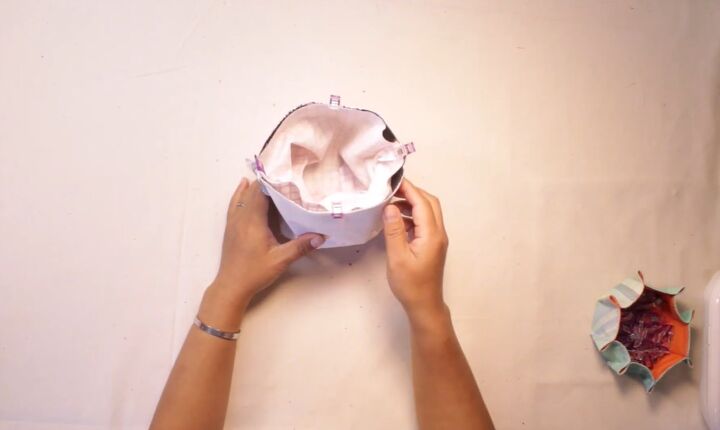
8. Add the inner fabric
Insert the inner fabric into the bag, make sure the right sides are facing each other and clip it in place as well. The clips should now be holding both the handle and the inner fabric.
Add an additional two clips so the inner fabric is clipped on four sides and then sew all the way around the top.
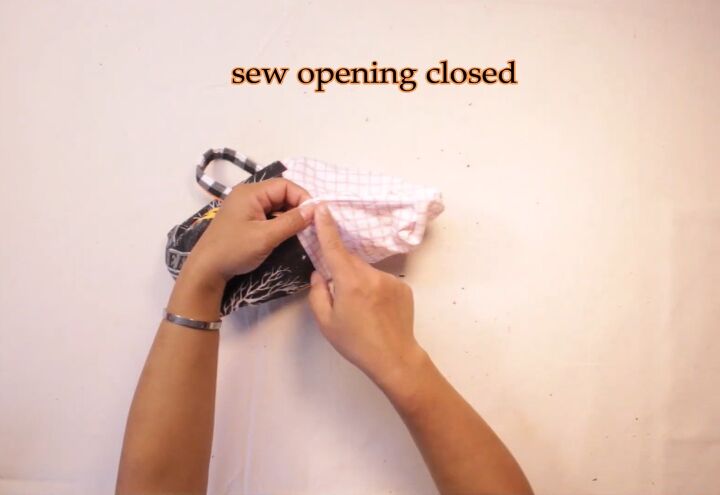
9. Turn right side out
Find the opening in the inner fabric and use it to turn the bag the right side out. Finish off by sewing the opening closed and topstitching all the way around the top of the bag.
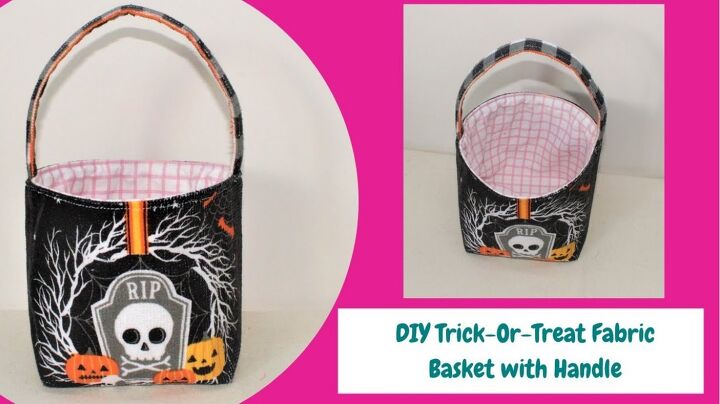
Fabric trick or treat bags
Here is the finished bag! It is so cute and just the right size for your kids (or you!) to hold all of their sweets inside. This was straightforward to make and I’m very pleased with the end result, it is the perfect accompaniment for your Halloween outfit.
The author may collect a small share of sales from the links on this page.


Comments
Join the conversation
Those are fantastic!!! You could probably sell them!!! I love them and you did a fabulous job!!!