Glitter Green Eye Makeup Tutorial

Today, I am going to show you how I layered different shades and textures of green eyeshadow to create this beautiful glitter green eye makeup look. It is glamorous and unique, perfect for evening makeup. Let's get started.
Tools and materials:
- Concealer
- Eyeshadow
- Eye pencil
- Eyeliner pencil
- Liquid eyeliner
- Lash primer
- Mascara
- Eyebrow pencil
- Foundation
- Bronzer
- Powder
- Blush
- Lipstick
- Highlighter
- Base shadow brush
- Crease brush
- Small angle brush
- Detail shader brush
- Blush brush
- Sponge
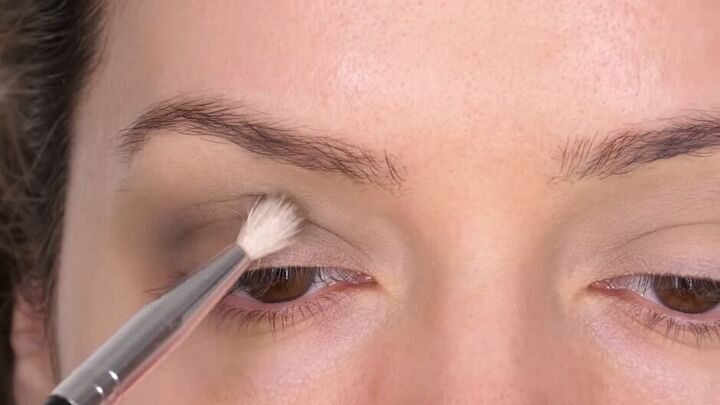
1. Start with eyeshadow
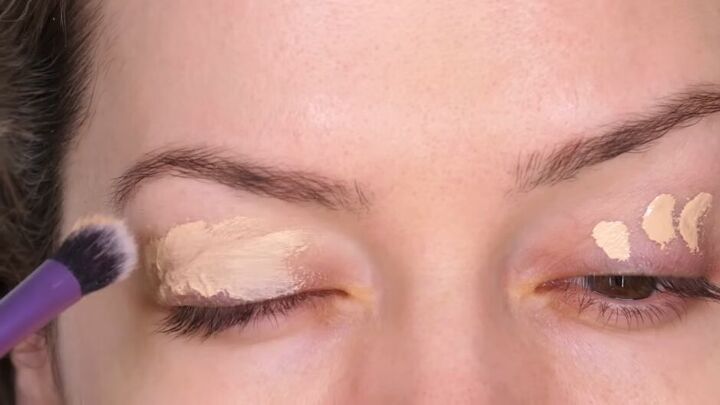
Begin by prepping your lids with concealer so that the eyeshadow has a base to stick to.
The first color we're going to use for our green eyeshadow look is a cool, olive-toned shadow with a matte finish.
Work this over the lid going up towards the brow bone.
This is our transition shade, the shade everything else blends into and it’s going to be the color we take the highest.
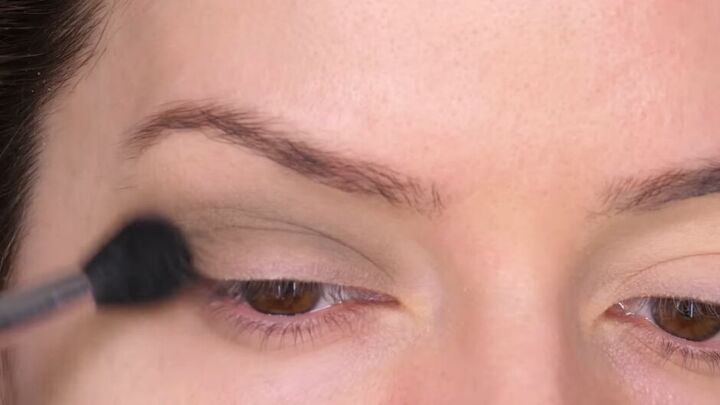
Using a small crease brush, dip into a slightly more intense olive-green shadow.
We’re still taking it through the socket but we're not taking it as high as the transition shade. This way we create a nice gradient between the two shades.
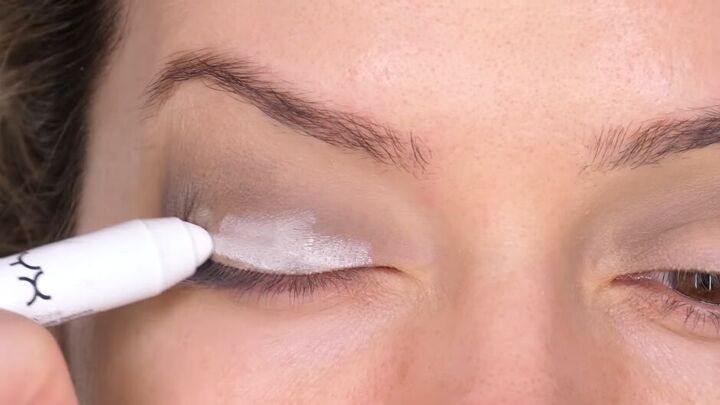
Before we apply some metallic colors, use a white pencil over the lid.
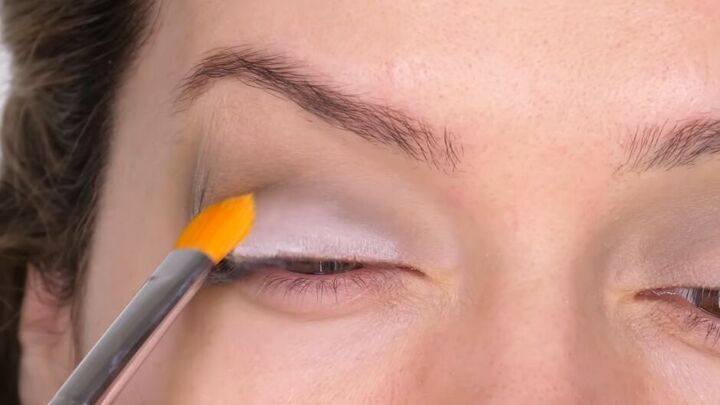
The concealer will be set in place by now so the pencil will give us a base for the glitter to stick to.

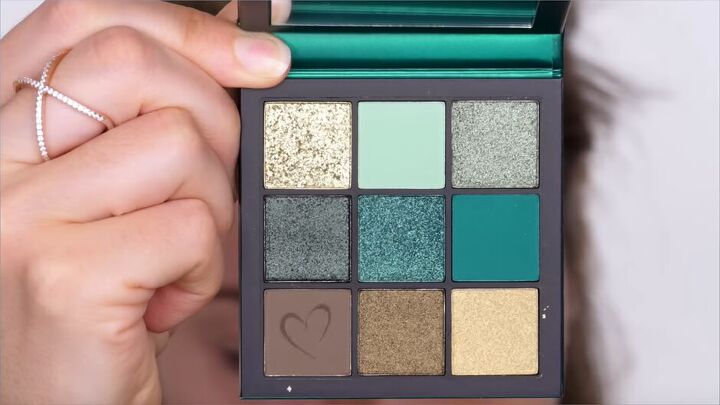
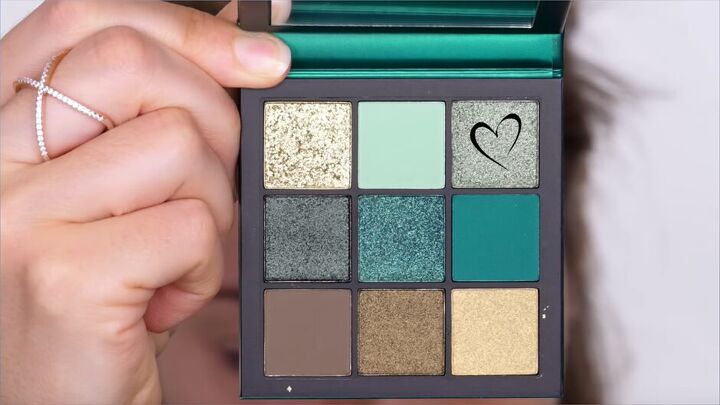
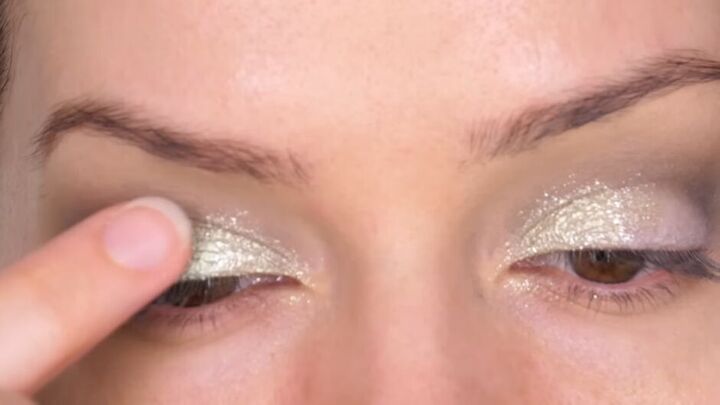
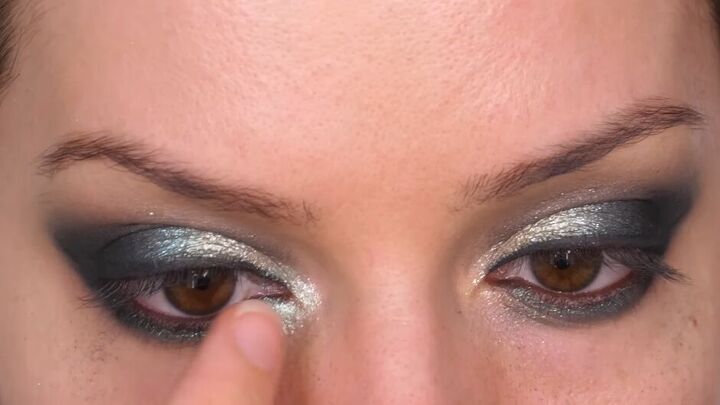
Find a glittery chartreuse in your palette.
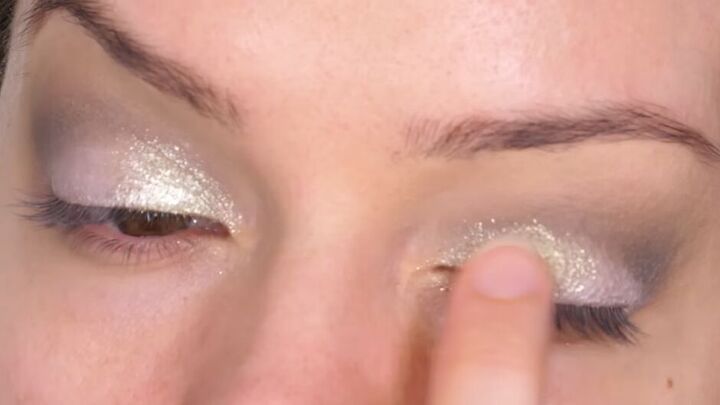
Use your finger to apply it to the inner corners of your eyes.
Tip: It’s best to apply glittery shades with your finger. The warmth from your finger melts down the shimmery particles and transforms them into more of a metallic finish.
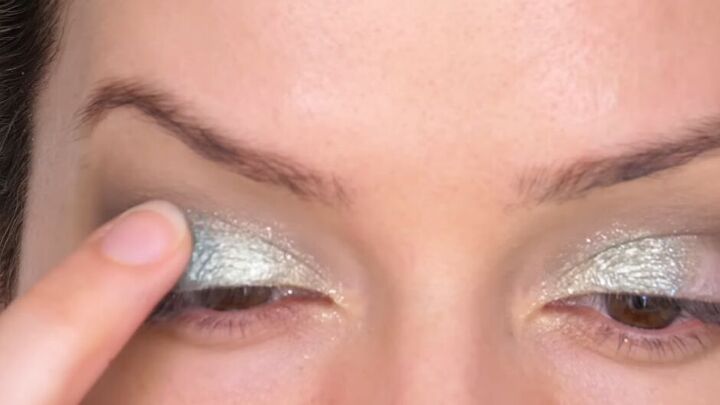
Next you need a subtle glittery green shadow.
We're layering this over the edge of the chartreuse color and fading it across to the center of the lid.
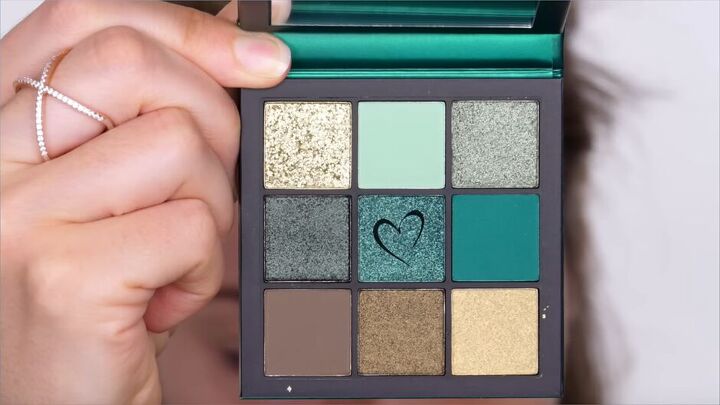
Then we're going in with this deep metallic teal shade.
We're going to press it on the center of the lid, slightly overlapping the previous color so they fade into each other, and then pull that towards the outer edge.
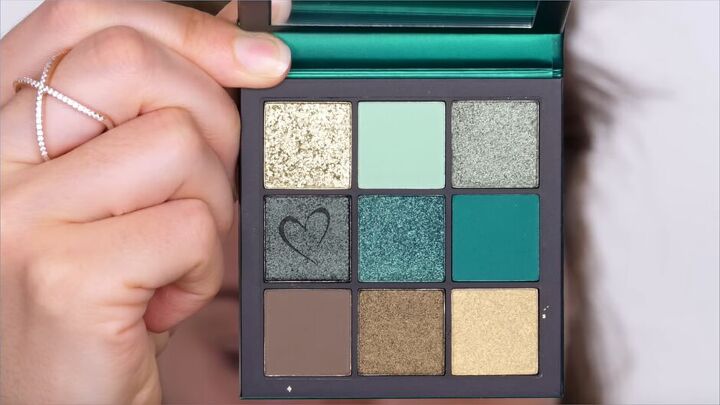
Now find a deep forest green shade.
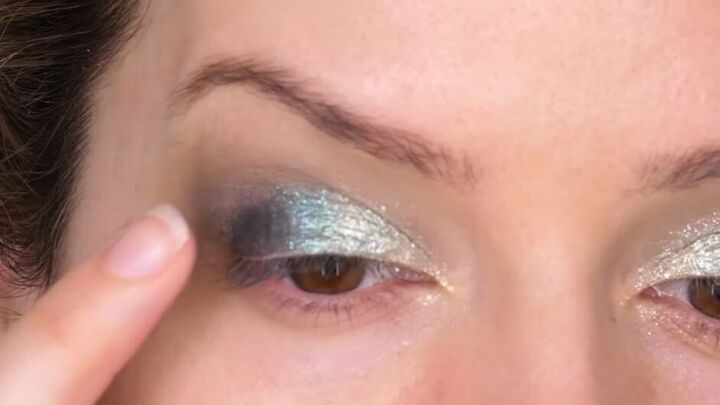
Press that on the very outer corner, slightly overlapping the teal shade.

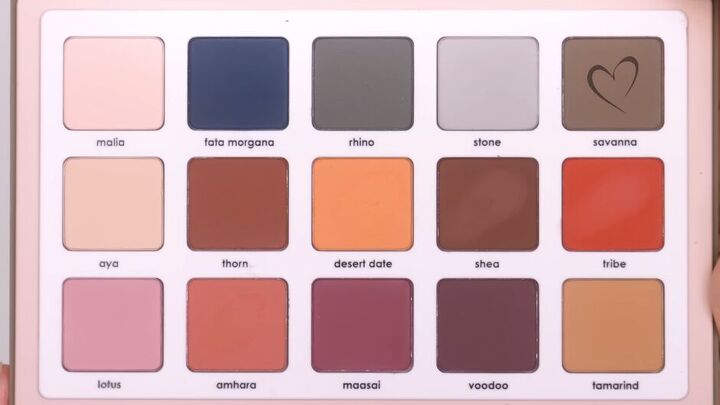
Mix together two medium green colors with a matt finish.

Using your small crease brush and a light hand, work this over the seam of where those metallic eye shadows meet the socket.
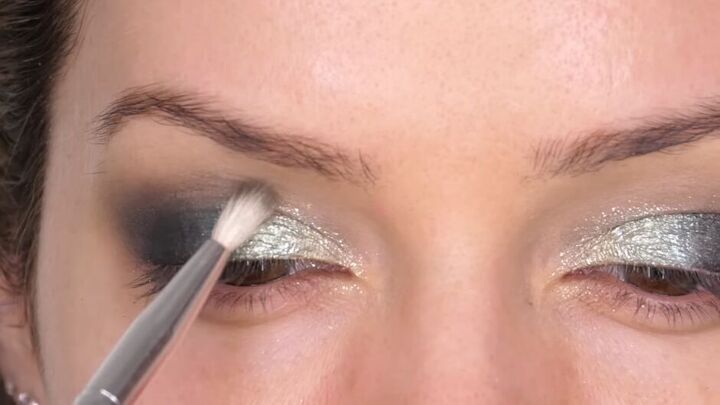
We want that nice transition between eyeshadows and skin. Just work that through the socket, slowly building up the shade.
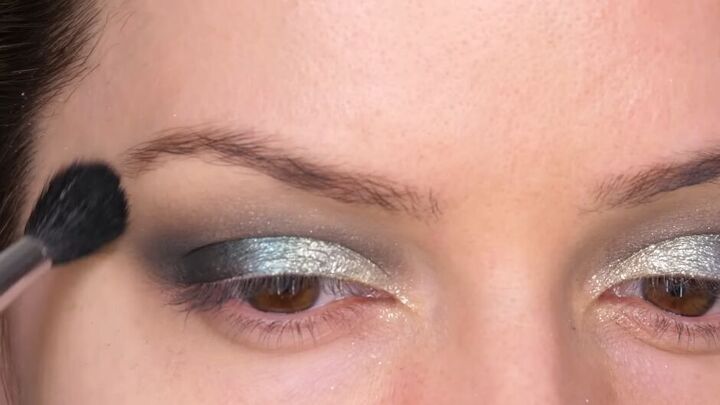
I always like to go back over with a clean blending brush to make sure everything's soft and seamless.
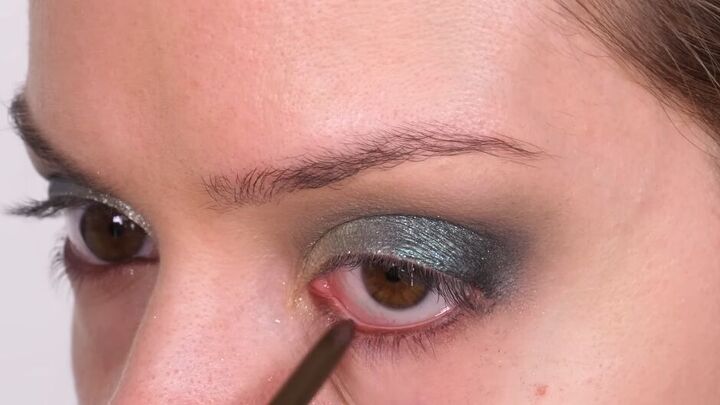
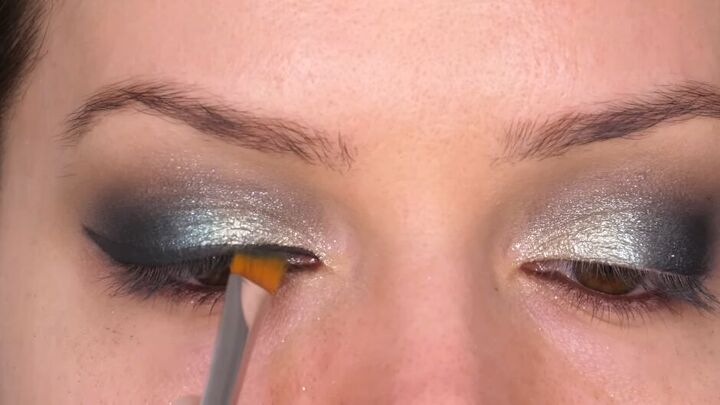
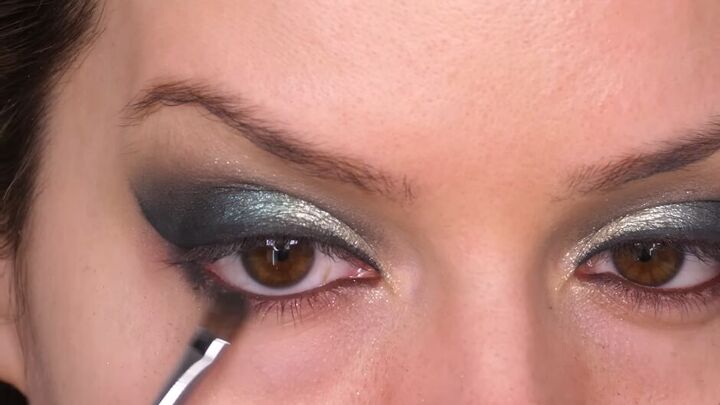
2. Apply eyeliner
Below my waterline, I'm applying a dark brown eyeliner.
I'm also going to use it to tight line along the eye as well.
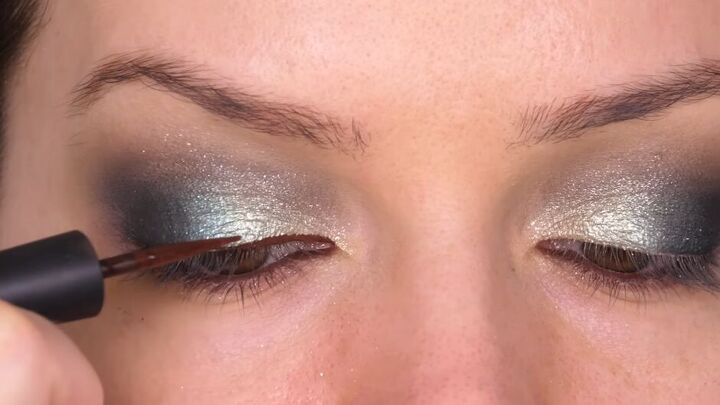
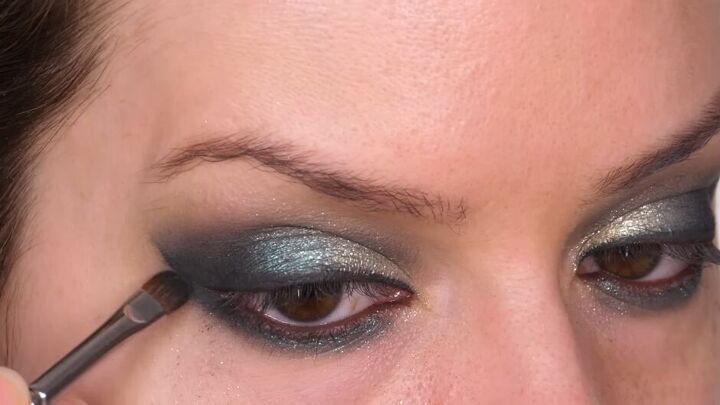
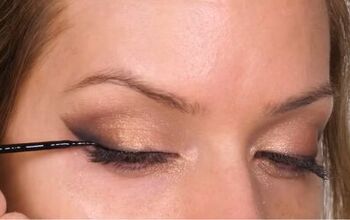
To line your top lid, use a matte eyeliner.
Create a wing.
Then take a matt teal shade and using an angled liner brush, press this onto the eyeliner.
If you have a deep dark green eyeliner then you use it instead of the eyeliner and teal shadow.
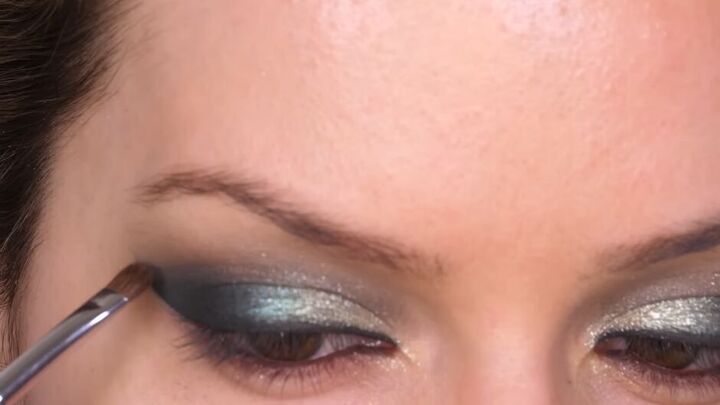
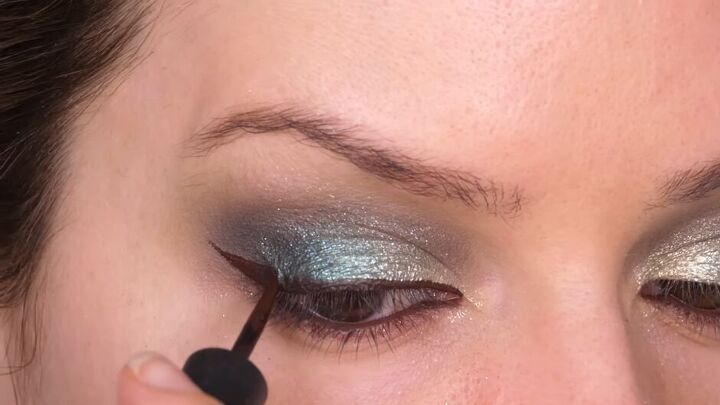
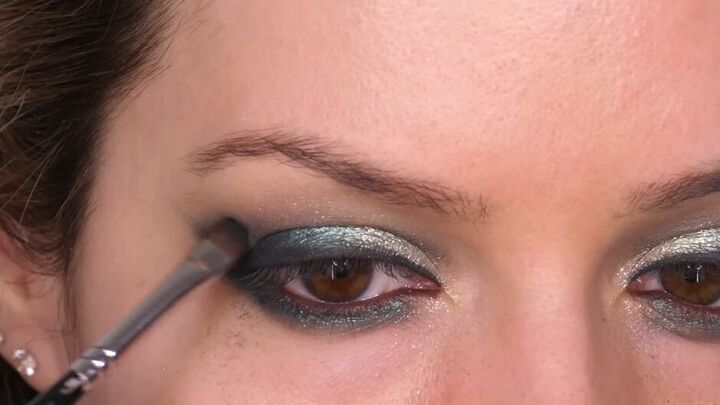
3. Finish blending and smoking out the eyes
Now use a mini detailer brush and a small stippling motion to pull the color from the eyeliner.
Then, across towards the socket of the eye so we get a color graduation.
We've created a bit of a wing and now we're smoking that wing out.
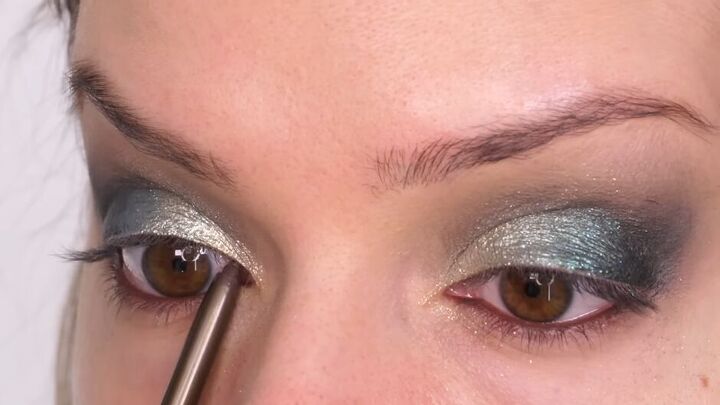
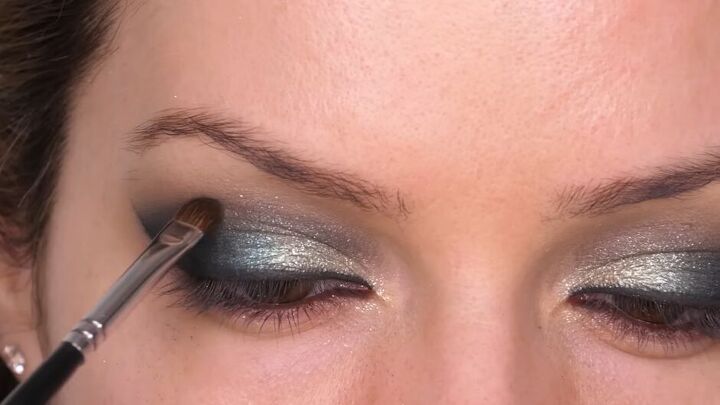
Take the teal green you used earlier and run it underneath the lower lash line all the way across.
Pull that color up toward the wing.
Press more of the teal green over the wing and then smoke that out and make sure you have a nice almond shape.
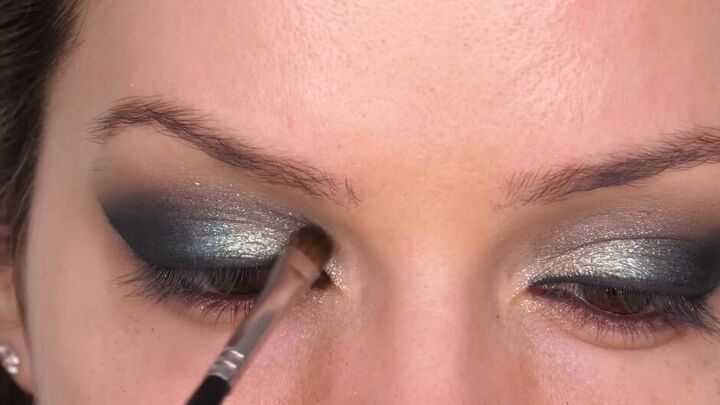
Choose a metallic mint green.
Press it into the inner corners of the eyes.
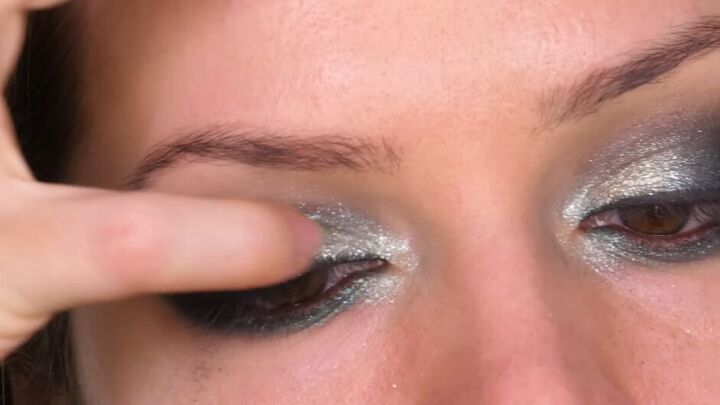
Also, pull it across the chartreuse color. You should now have gorgeous green smokey eyes.
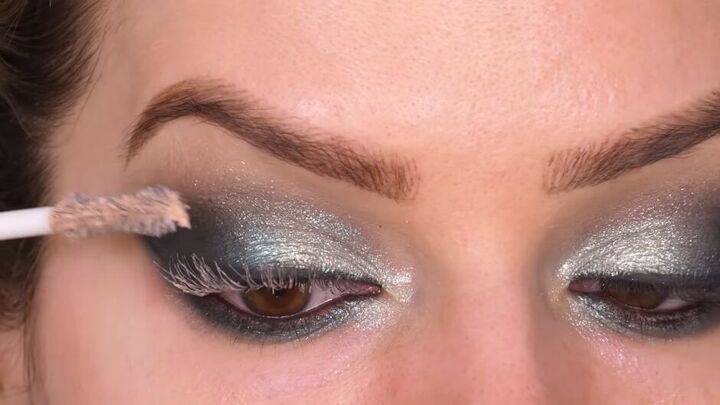
4. Add mascara
Prime your lashes.
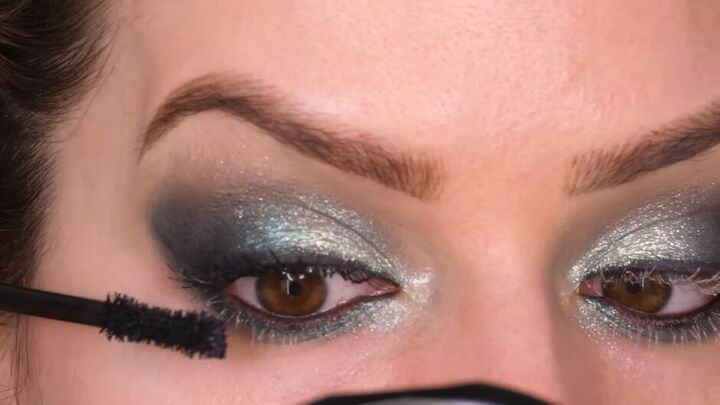
Apply mascara to your top and bottom lashes.

5. Fill in your eyebrows
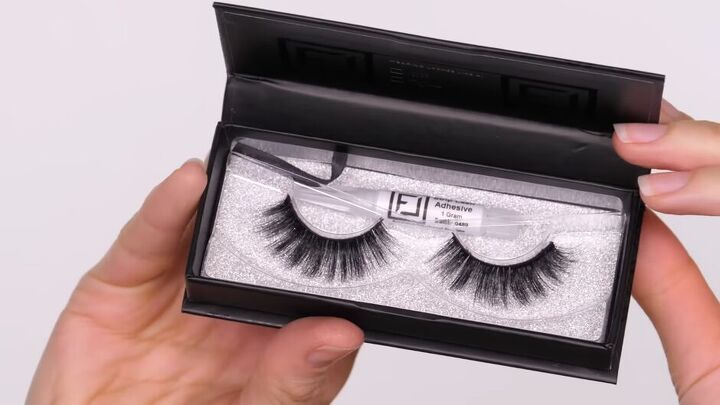
6. Add false lashes (optional)
I applied these false lashes for a little more drama.
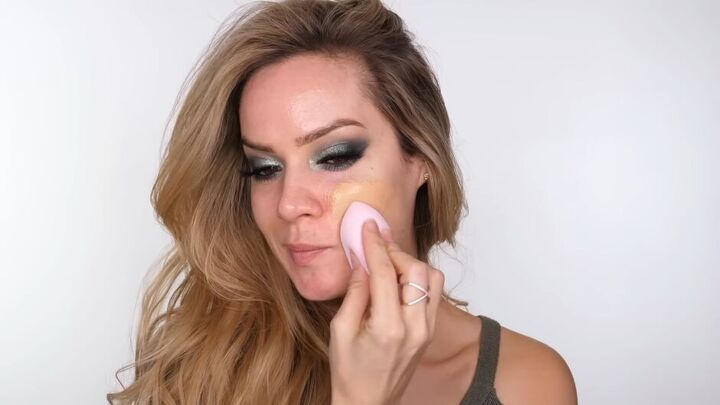
7. Apply foundation
For the face, apply your foundation.
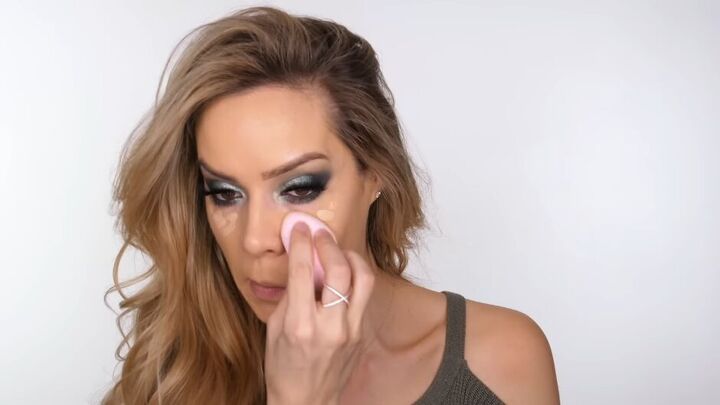
Apply a small amount of concealer underneath the eyes and then press this into the skin with a dampened sponge.

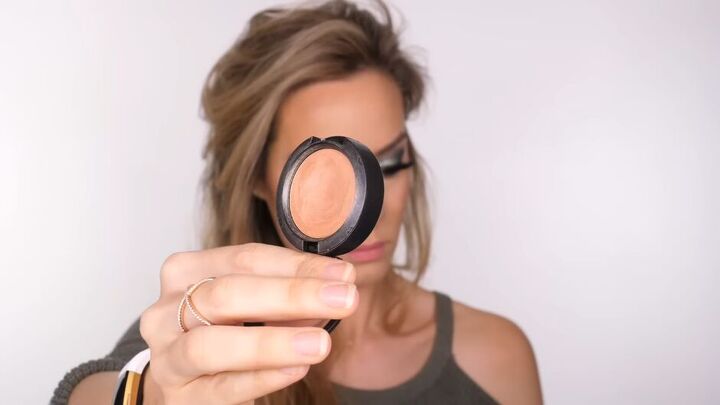
8. Sculpt your cheeks
Add some sculpting powder to the hollows of your cheeks.
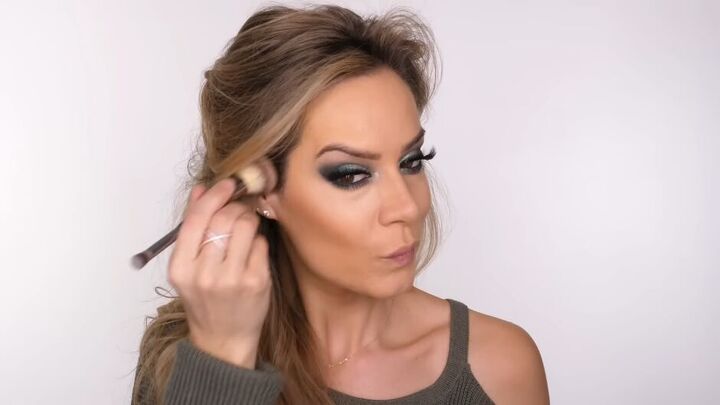
Warm up the cheekbones with some bronzer.
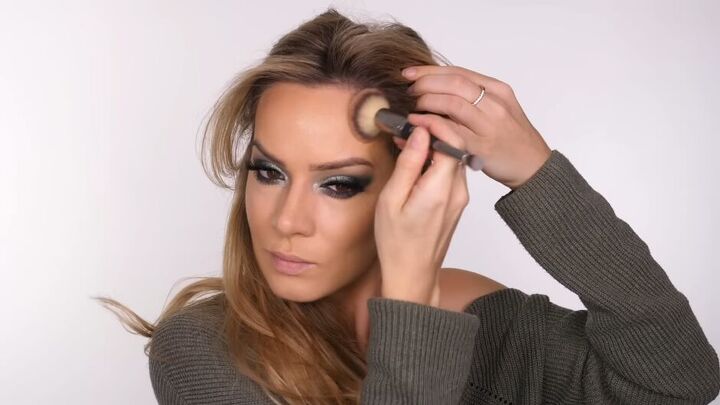
Take that bronzer around your hairline and work it into the scalp.
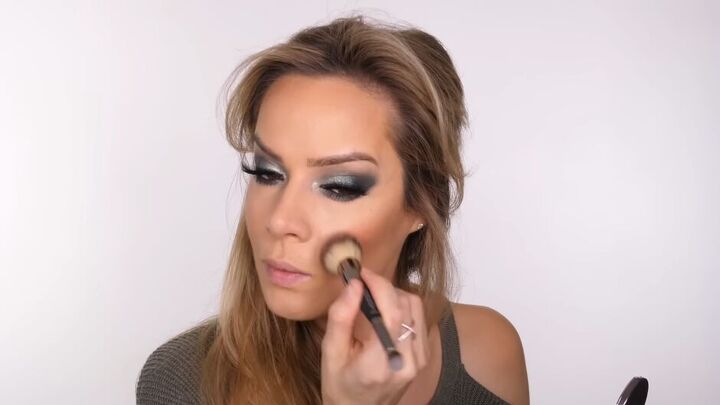
On the apples of your cheeks use a peachy tone to complement the green on your eyes.
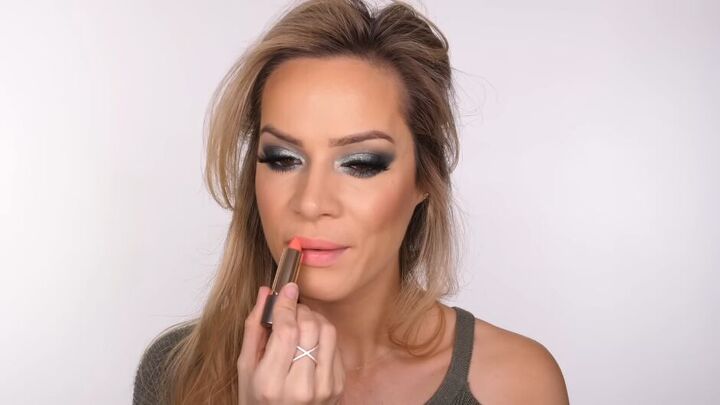
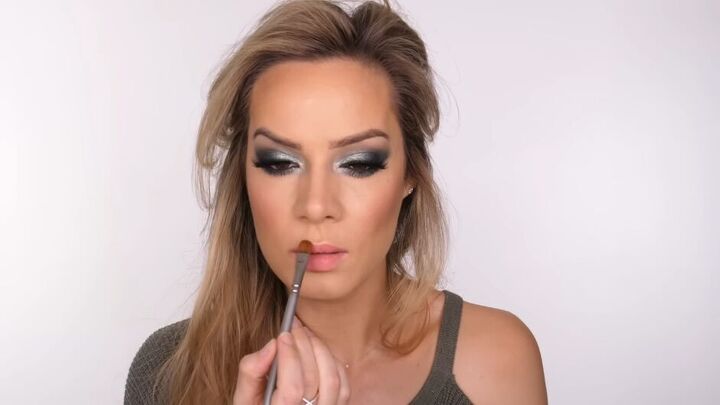
9. Add lipstick
Use lipstick in a soft peach tone.
10. Highlight
Then add a small amount of highlighter to your cupid’s arrow.
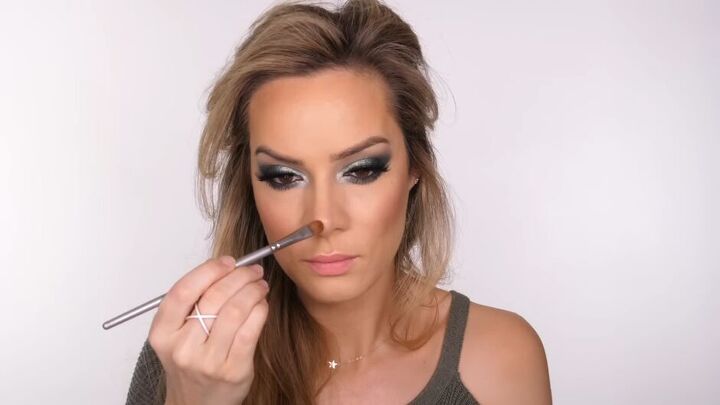
Add a tiny amount of the highlighter to the very center of your nose.
Finish it all off with a cream color blush.
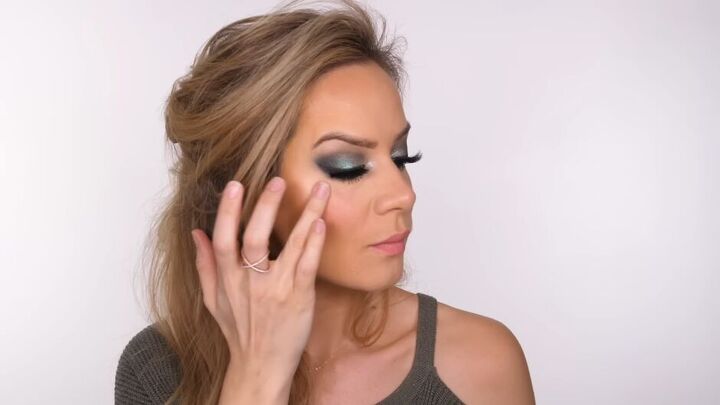
Apply this to the very top of your cheekbones.
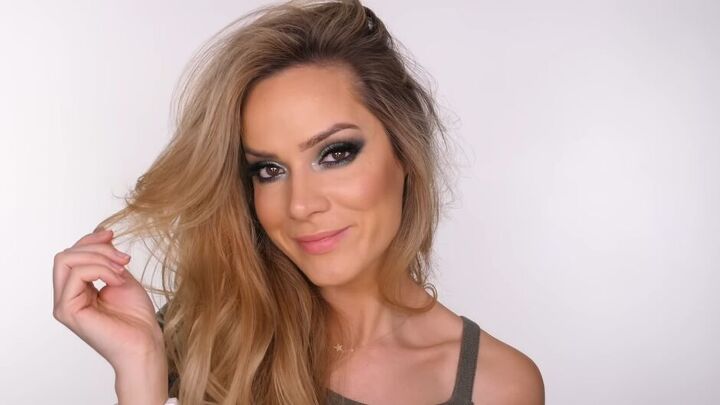
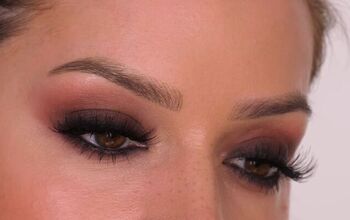
Glitter green eye makeup
That completes the glitter green eye makeup look. I hope you enjoyed this green eyeshadow tutorial.
If you have any questions leave them in the comment section below!
Products used:
Too Faced Born This Way Multi-Sculpting Concealer
Real Techniques Base Shadow Brush (comes in a duo)
Huda Beauty Emerald Obsessions Palette
UK & EU: http://bit.ly/2T1bBU5
Natasha Denona Safari Palette
ZOEVA 224 Luxe Defined Crease Brush
Worldwide: http://bit.ly/2SXODx3
NYX Jumbo Pencil Milk
Delilah Eye Line Long Wear Retractable Pencil - Twig
Milani Stay Put Matte 17HR Wear Liquid Eyeliner
UK & Worldwide: http://bit.ly/2QQWX0B
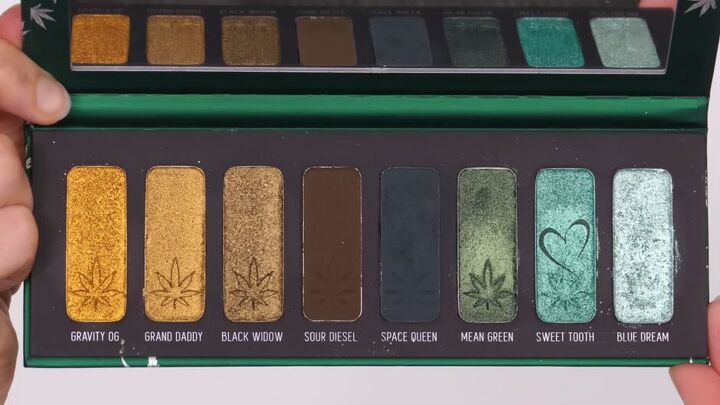
Melt Cosmetics Smoke Sessions Palette
Worldwide: https://bit.ly/2QvObVz
MAC 266 Small Angle Brush
237 Detail Shader Brush
Worldwide: http://bit.ly/2DAiO0N
Marc Jacobs Velvet Epic Lash Primer
Marc Jacobs Velvet Noir Mascara
Flawless Lashes By Loreta 514
MAC Shape + Shade Brow Tint Pen
UK & EU: http://bit.ly/2OMJ2n9
bareMinerals BarePro Foundation
Kevyn Aucoin Sculpting Powder
MAC 159S Duo Fibre Blush Brush
Hoola Bronzer Benefit Cosmetics
Delilah Colour Blush - Dusk
Worldwide: https://bit.ly/2BQibSt
It Cosmetics Heavenly Luxe Complexion Perfection Brush 7
Delilah Intense Colour Lipstick - Foxy
Worldwide: https://bit.ly/2SVLM7O
The author may collect a small share of sales from the links on this page.


Comments
Join the conversation
Pretty