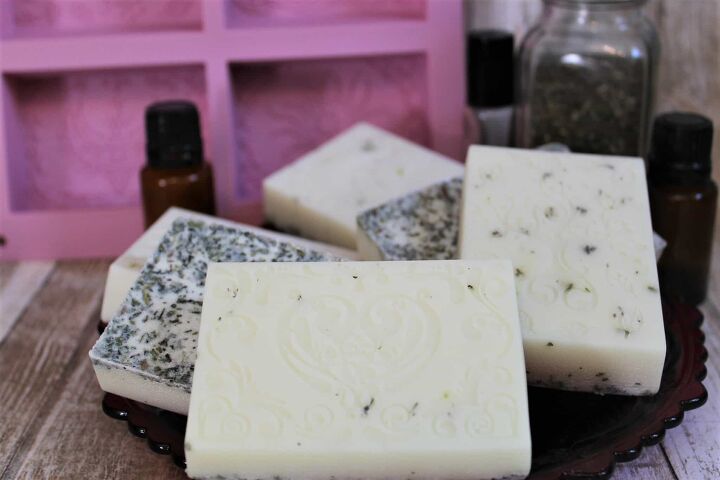
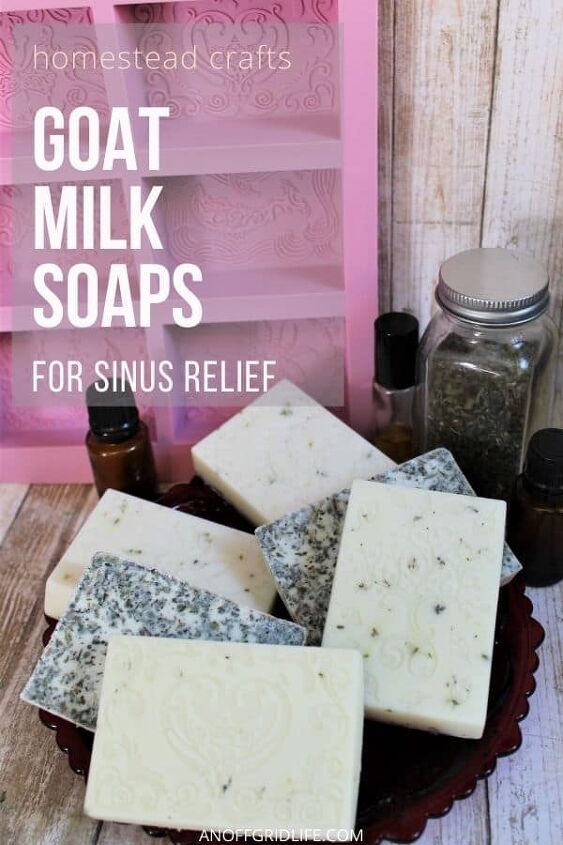
Goat Milk Soaps
If you're ready to try soap making as a new homestead craft, here's a simple goat milk soaps tutorial to try! ⬇️⬇️
Estimated reading time: 11 minutes
Why Make Goat Milk Soaps at Home?
Making your own goat milk soaps at home can be a lot easier than you may think.
Some great products are available that take much of the work out of the process. And if you like to use natural products for scents and health benefits, then soap is a beautiful way to incorporate those.
Knowing what goes into the body products you use is a significant factor for many people today. And since most of us use some form of soap, making goat milk soaps at home is a perfect starting place if you’re interested in some simple homestead crafts.
Using Melt-and-Pour Goat Milk for Soap
If you're new to soap making, you'll soon discover several melt-and-pour soaps to purchase online.
For these soaps for sinus congestion, which I suffer from in winter, I decided to go with goat’s milk because it's very moisturizing. And since it gets so cold and dry here, extra moisturizer is always good.
This goat milk soap is also easier to cut than some of the others too. And soap making is one of the homesteading and homeschooling activities I'm doing with my fifth-grade and second-grade daughters. So simple and easy is best. (That's why we're reading through the Soapmaking for Beginners articles over on Mother Earth News.)
This soap comes in a large block. Just melt it down, and add any ingredients you’d like. Then it is easy to customize the scents and ingredients to fit your needs.
Goat Milk Soaps for Sinus Relief
I came up with this recipe to help alleviate sinus issues. It uses a lovely combination of mints and woodsy scents. Not only do I think this smells amazing, but I like the fact that I'm using natural ingredients as well.
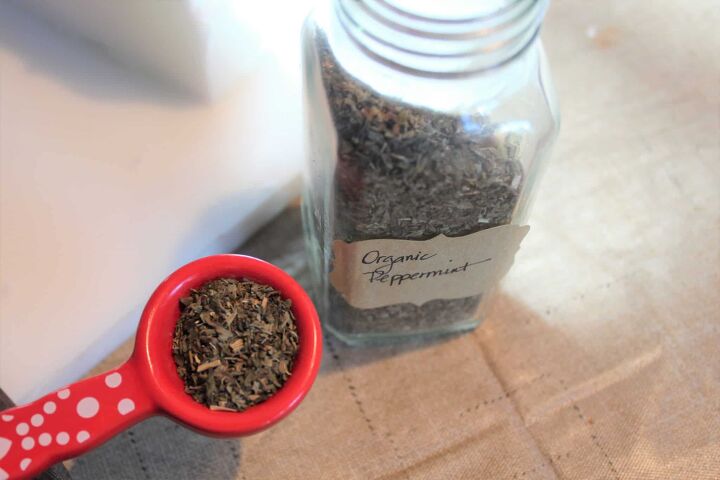
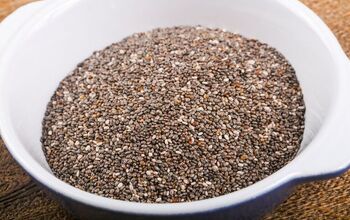
This particular recipe contains the herb form of peppermint, which gives exfoliation and contributes to the aroma, along with being great for sinus relief.
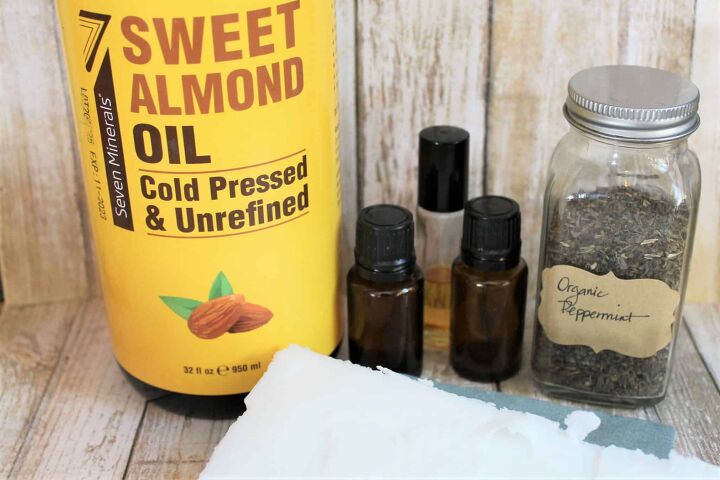
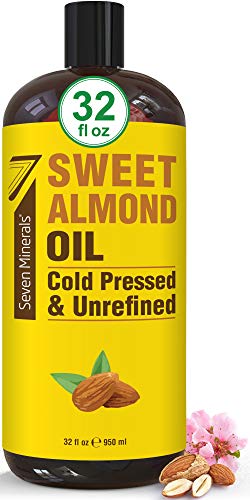
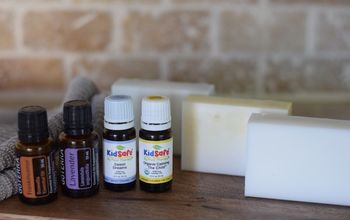
It also includes sweet almond oil for nourishes the skin and moisturizing, plus three essential oils.
Essential Oils and Herbs for Sinus Relief
Spearmint is the first essential oil. It is easily a favorite scent in my home. It has the popular minty aroma, but with a sweeter note than just using peppermint. Both spearmint and peppermint work well for helping to open up the sinuses. However, when combined they work even better.
Making Mint Essential Oils
Spearmint oil offers many benefits for your body including
- stress reduction
- anti-bacterial
- hormonal balance
- and it is high in antioxidants.
It's also a soothing oil for pain and nausea.
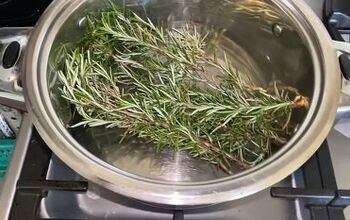
Of course, you could always make your own mint essential oil. Where we live, in Canada's Northwest Territories, we can forage for many, many medicinal greens, including wild mint.
In fact, we used some of the dried mint leaves we foraged last summer in this recipe.
And when it comes to essential oil brands, we usually stick with Young Living Oil, although we've also experimented with Revive Oils (affiliate link). Both are good.
Cedarwood Oil
The next essential oil added is Cedarwood. This oil has a great earthy, woodsy scent and it is another powerful oil. It is antiseptic, antibacterial, anti-inflammatory, antispasmodic and antifungal.
In addition to those properties, it's calming and grounding for the body and mind. It helps heal skin issues and balance the skin, and it's considered helpful for improving the respiratory system.
Eucalyptus Oil
The last essential oil you will be adding is eucalyptus. Many people know to use this oil for respiratory uses - think of Vicks Vaporub!
A potent and great-smelling oil, eucalyptus oil quickly helps open up the breathing pathways and gives relief from sinus pain.
It helps reduce mucous. And for soap, it helps add a refreshing note that energizes. And as a bonus is that it is also a disinfectant.
And you know, I just like combining these ingredients into one soap!
Supplies Needed
To get started making these goat milk soaps, you'll need some basic soap making supplies.
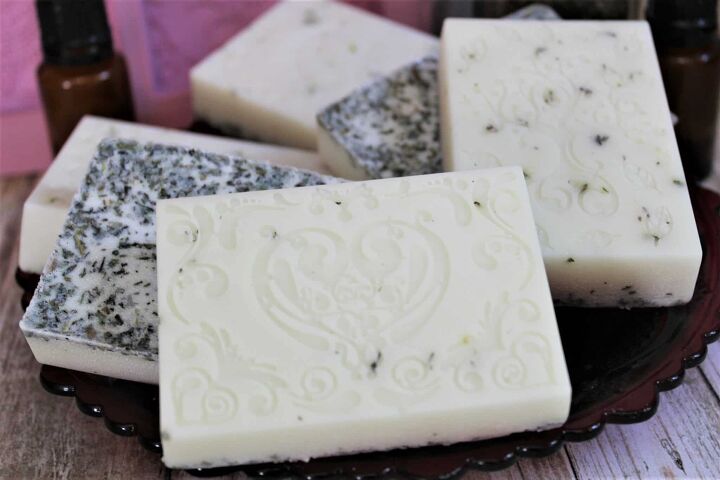
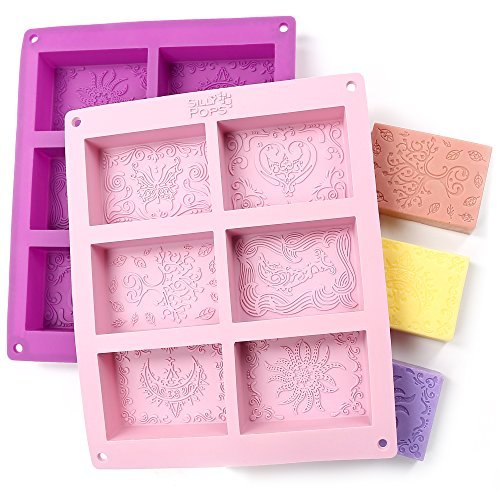
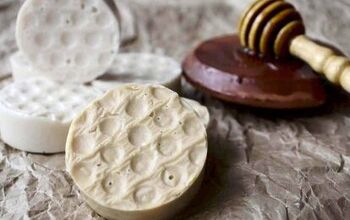
First, you'll need a silicone mold to pour your soap into. And they do make so many varieties to choose from!
The one I used is a standard-sized bar and this recipe will make four of these goat milk soaps. If you have other molds you prefer to use, go right ahead. Just be prepared to adjust your measurements up or cut the recipe in half.
Ingredients for Mint Cedarwood Eucalyptus Soap
1.5 cups goat’s milk soap base
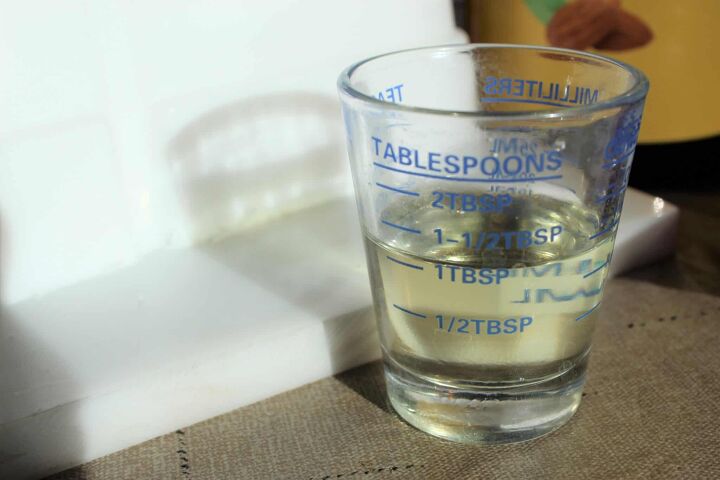
1 tbsp. sweet almond oil (or substitute this with another oil such as jojoba)
1 tsp. peppermint leaves
24 drops eucalyptus essential oil
22 drops spearmint essential oil
18 drops Cedarwood essential oil
Directions for Goat Milk Soaps
Check your silicone molds to be sure they are clean. You don't want to find dust or debris stuck to them.
The molds tend to be sticky sometimes, and those little specks can turn up on the top of your goat milk soaps if you miss it.
Place the mold in a nice flat spot for pouring into later and so it is ready to go.
Get Pre-Scored Soap Blocks
Now you'll need to chop and melt the soap base. Most of the time, this type of soap is pre-scored into cubes. This helps with measuring it out if you know how many you need.
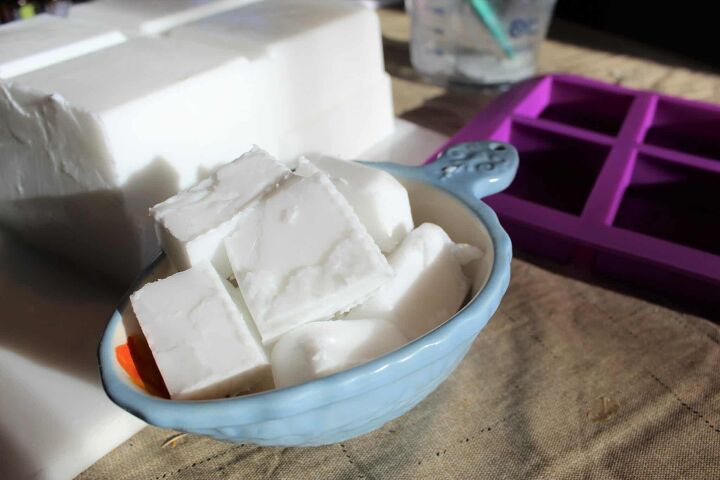
If you have this type of soap, chop it up into 12 cubes. If yours doesn’t have this little perk, then I suggest chopping a slice across the brick of soap. Make it about an inch thick, and then chop that into approximately 1” sized cubes.
So I used a microwave...
Before I go any further, I have a confession to make.
Yes, we live off the grid. Yes, we generate off grid electricity using solar panels in the summer and generators in the winter.
So we're very conscious of the amount of energy a microwave uses! And yes you can totally make soap without a microwave. But gee whiz, it's a lot easier with one.
And since safety is a factor with the kids, this seemed the easiest option for our beginner soap making efforts.
Judge me if you must. I'm okay with it.
Melting the soap blocks
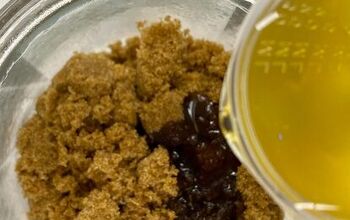
Place approximately 8 cubes into a large glass measuring cup and microwave for 90 seconds. While that is melting, go ahead and measure out your sweet almond oil for the next step.
Remove the soap and stir with a rubber spatula to check for any leftover lumps, and scrape any soap off the sides or top. Check to see how much soap you have in the cup: it should be around 1 cup.
Add in the rest of the cubes and the almond oil and stir well, scraping the bottom of the cup and turning the soap to help it get melting. Microwave this mixture for 60 seconds.
At this point, you'll need to keep the microwave trips to 30 seconds or under. The bottom of the soap stays a lot hotter than the top. (Just guess how I learned THAT.)
Also, the soap easily boils over if you heat it too long. The top will thicken and start to set a lot faster than the bottom, so it can trick you into thinking its cooler than it really is.
Now it's time to add in the essential oils. Cedarwood is a thick oil that is a slow-mover. It make take a minute to start dripping.
On the other hand, the spearmint and eucalyptus both are thin and run out fast, so be careful counting those drops.
Stir the soap as you add in the oils. This helps to get them well-dispersed and then once you have all three oils mixed in, give the soap about 20 seconds in the microwave.
Stir and check for any lumps, and as long as it is smooth and liquid, you’re ready to add in the peppermint leaves.
If it needs another run to get melted fully, go ahead and do that. Once the leaves are added you’ll be pouring the soap, so it should be as smooth as possible.
Measure the peppermint leaves and slowly add them to the soap, stirring as you add. They will try to stay on the top, so just turn the spatula and press them down inward if needed. I don’t like to add too many, but if you could always add an additional half a teaspoon or so.
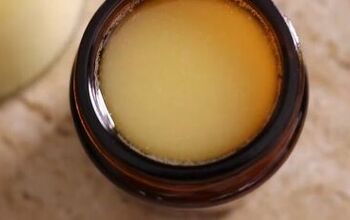
Pour the soap into the molds
Next, get ready to pour the soap!
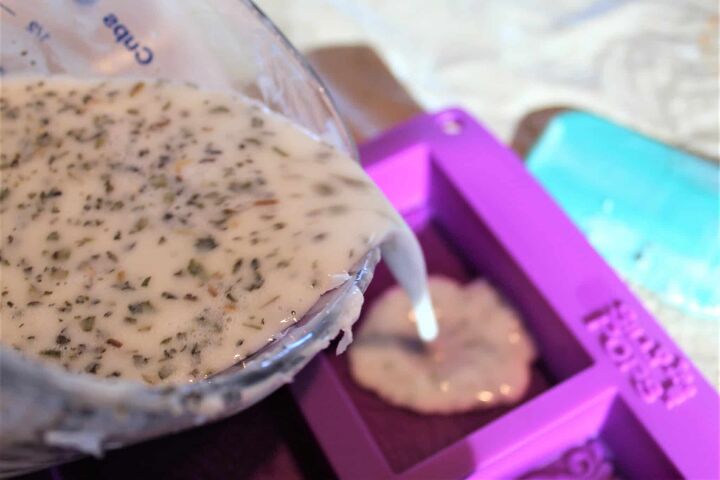
Scrape and stir the mix well. Then fill the molds up to about ⅔ or so full in each one. If you have any soap left, you can top them off.
Try to fill each one to the same fullness if possible so that each of the goat milk soaps is the same size when finished.
Do you have any thick soap left on the sides or top of the cup? If so, microwave it for 15 seconds, scrape the sides, stir and then pour it.
Let your soap cool
The last part of the process is to allow the molds to fully cool. Leave them sitting right where you pour them so the design doesn’t get messed up, and then let sit for about 2 hours or so.
Use your hand to feel the bottoms and centers of the goat milk soaps after some time to see if they're cool to the touch. Once the whole bar feels cool, with no warmth in center, go ahead and remove them from the molds.
Peel back the silicone with one hand and pull out the soap gently with the other. You may notice a little moisture on the tops or sides of the soaps from the heat. That's okay! Just let them sit out for about 15 minutes or so and that should evaporate.
You can always blot them with a paper towel but if they’re still warm at all, it can dent the soap.

Once they are fully cooled, they are ready for use!
Materials
- 1 ½ cups of pour-and-melt goat milk soap
- 24 drops of eucalyptus essential oil
- 22 drops of spearmint essential oil
- 18 drops of cedarwood essential oil
- 1 tablespoon of sweet almond oil
- 1 teaspoon dried peppermint leaves
Tools
- Soap mold
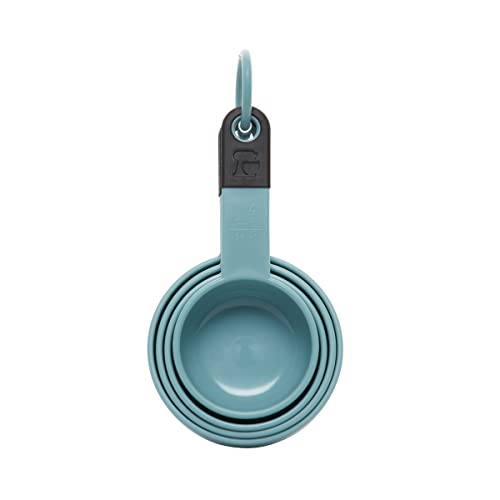
- Measuring cup
- Measuring Spoons
- Big mixing bowl
- Large knife
- Spatula
Instructions
- Using a sharp knife, chop soap block into 12 1-inch by 1-inch cubes.
- Place approximately 8 cubes in a microwave-safe bowl and microwave for about 90 seconds.
- Stir melted soap with spatula to check for lumps. Microwave again if needed until smooth.
- Measure the liquid soap; for this recipe you'll need 1 cup of melted goats milk soap.
- Add the remaining four soap cubes AND the almond oil.
- Stir this mixture well. The four cubes should start to melt - microwave for an additional 60 second if needed to ensure a smooth consistency.
- Add each of the essential oils, stirring continuously as you add each.
- Return to microwave for 15 - 20 seconds if needed once you add the oils. Do NOT let this mixture boil.
- Add the peppermint leaves and stir them in well.
Notes
Do NOT let this mixture boil! You might want to microwave for 15-20 seconds at a time instead of 60 or 90 seconds if your microwave is very strong.
If you like the rougher texture of extra leaves, add another ½ tsp.
Recommended Products
As an Amazon Associate and member of other affiliate programs, I earn from qualifying purchases.

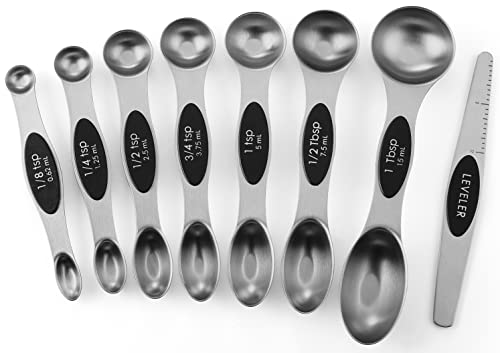
Measuring Spoons You might also like...


Like this post? Save it for later!
The author may collect a small share of sales from the links on this page.


Comments
Join the conversation