Easy Beaded Bag for the Beach

I’ve always been a big fan of that really popular simple beaded bag. I knew I wanted one, so I did the only natural thing and went down a rabbit hole of beaded bag tutorials. I was completely inspired and here is my attempt at following those tutorials and making my own beaded bag!
Tools and materials:
- Beads
- Craft wire
- Scissors
Weave the beads
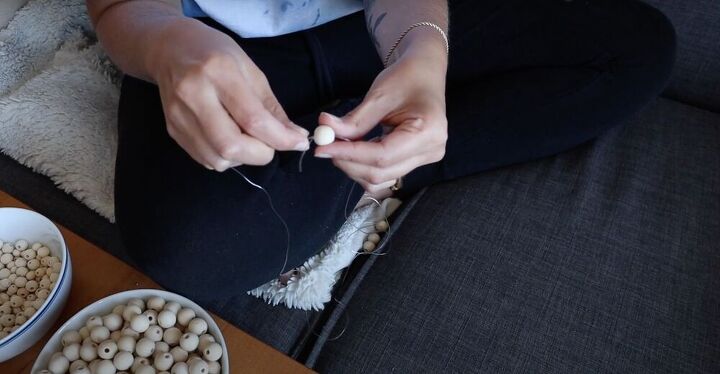
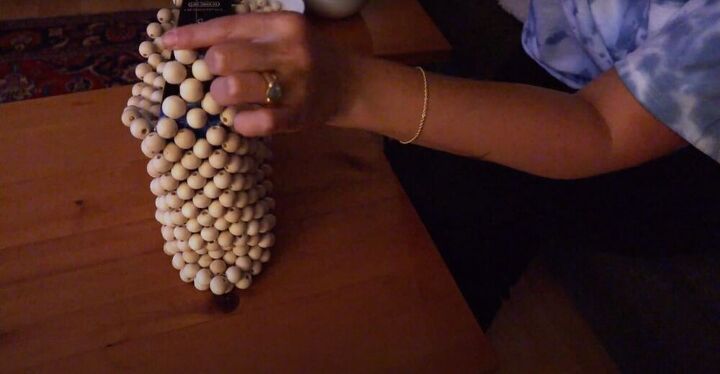
Start with one long string that you fold in half. String four beads onto one end. Once you have your four beads, grab one from the end and pull it all the way to the top. Take the opposite string and string it through the bead going in the opposite direction. Next, pull the strings tight so that the bead is pushed down to meet the other three and forms a circle.
Make a row of nine
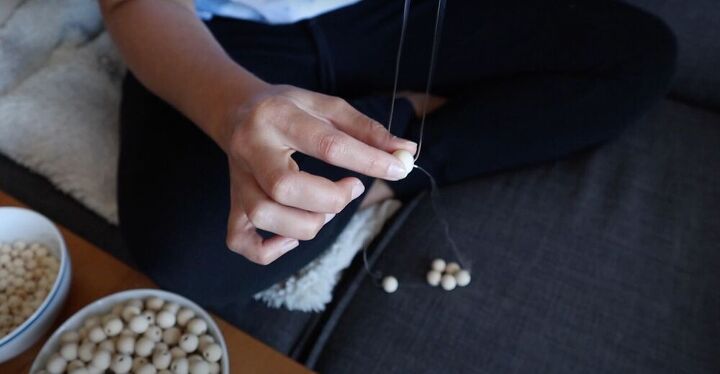
String one bead on each end (one on the right and then one on the left) and then add an additional bead onto one side - keeping it at the top. Next, string the opposite string going the opposite way onto the bead you left on the top and push it down again as we did before. Keep doing this until you have a row of nine circles. These circles are going to be the thing that makes the body of the bag.
Finish the row
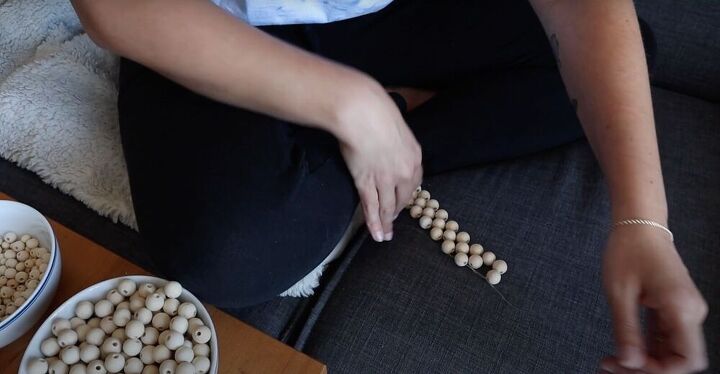
String three more beads onto the top of the row of circles and then tie the two ends of the strings together to loop the three beads around. This will give you a tenth row. Leave the string facing out to the side so that you can start your next row. Just take the bottom string and put it through the bead on the side so that you can attach your next row.
Add a new row
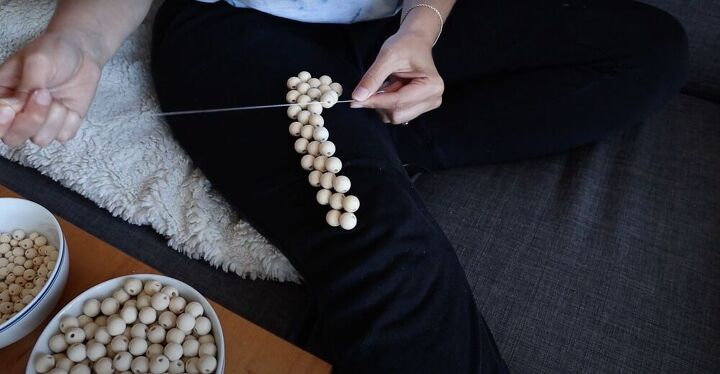
Take the top string and add three beads to it. Weave the bottom string in through the same three beads the opposite way - creating a circle. Now, take the bottom string, string it through the side bead to attach the first circle. For this row, we’re only going to add two beads at a time, stringing them onto the top row, then stringing the bottom string through it and pulling it tight to secure. Continue doing this (for hours) until you get an entire row of beads (ten by 24).
Make the bottom and strap
Fold your beads in half and then string your craft wire through the edge. I then inserted a book into the bag to keep it in the shape (and structure) I wanted. Next, I went in with the same process as before to weave the bottom of the bag and then the strap.
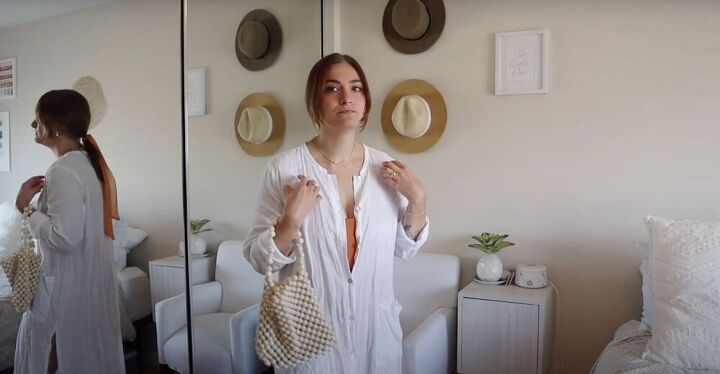
My DIY beaded bag ended up being super stretchy because of the wire I was using. For a more structured shape, use a tougher wire. I love how it turned out though. I think the floppy-ness gives my bag personality and a much chiller (almost beach) vibe!
The author may collect a small share of sales from the links on this page.


Comments
Join the conversation
I love how natural and easygoing this girl was teaching how to make the bag.
Yes want to make but will wait untill the weather gets colder