Bookworm Patronus Tote Bag
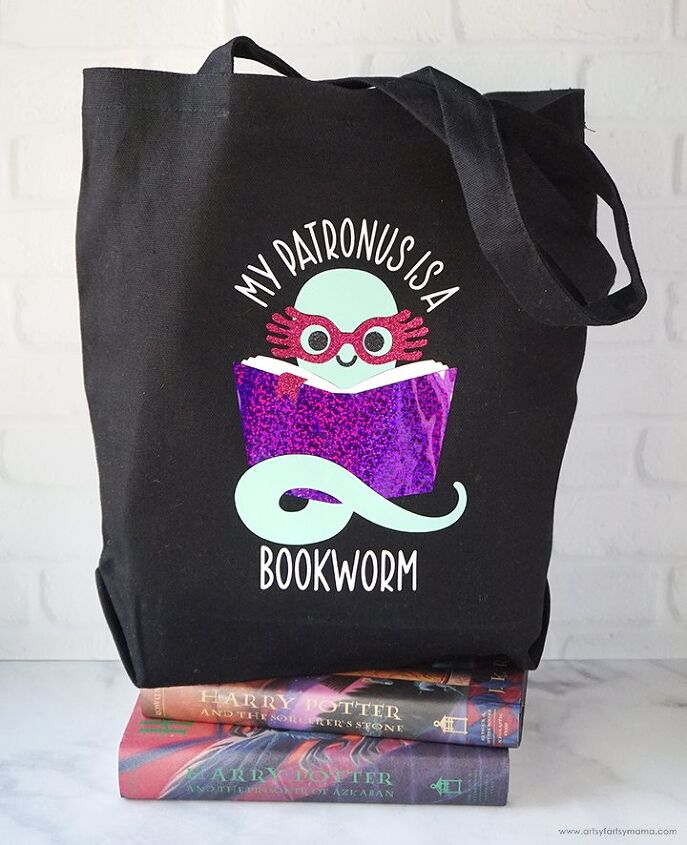
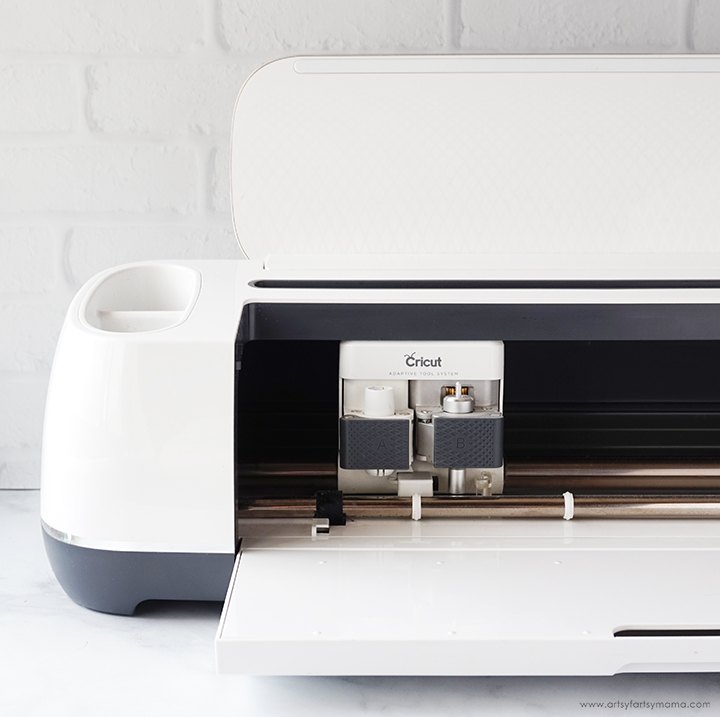
Not only are we major Potterheads, but my daughter and I are also huge book nerds as well. To combine our love of magic and reading, I decided to make a fun cut file to declare that my Patronus could certainly be a bookworm. This cut file can be used to create so many projects using your Cricut (or vinyl cutting machine). I used a variety of colorful HTV to create a new library tote bag, and I am SO excited with how it turned out.
To make your own Bookworm Patronus Tote Bag, you will need these supplies:
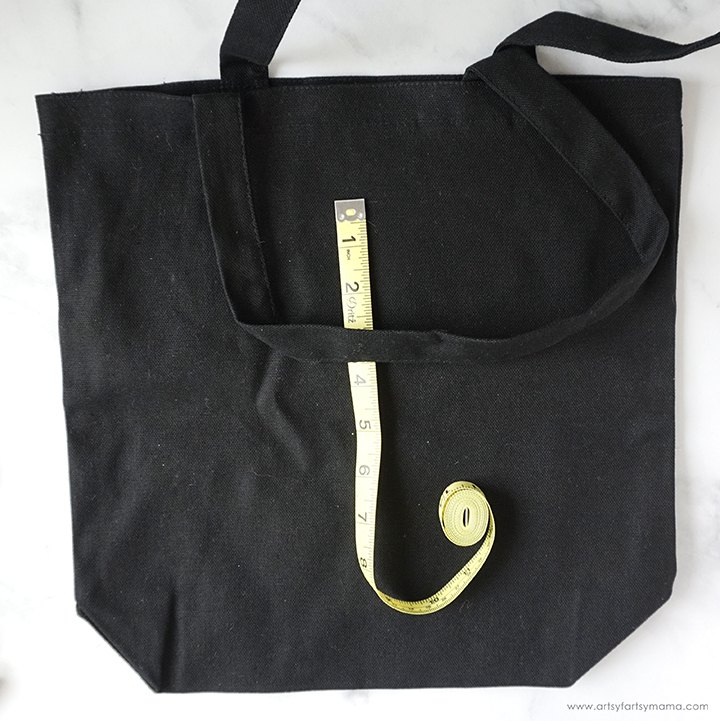
Lay the tote bag down flat and use a measuring tape to determine how large the design needs to be to fit on the front of the bag.
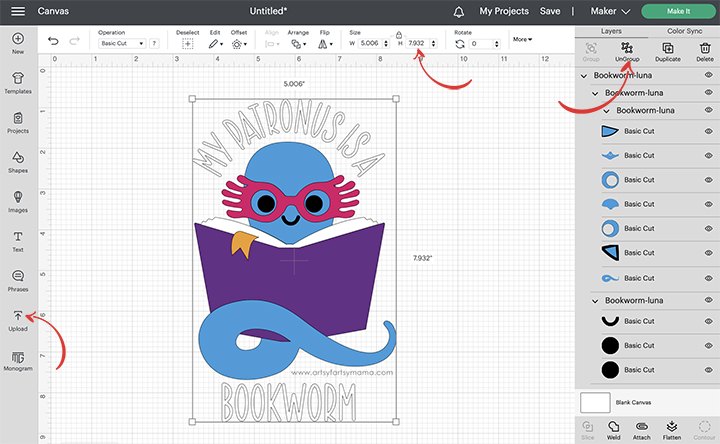
Upload the "Bookworm Patronus" cut file into Design Space by clicking on the Upload icon in the menu on the left side of the screen. Size the image to fit your tote using the measurement you took. Next, select the whole image and click "Ungroup" at the top of the right-side menu.
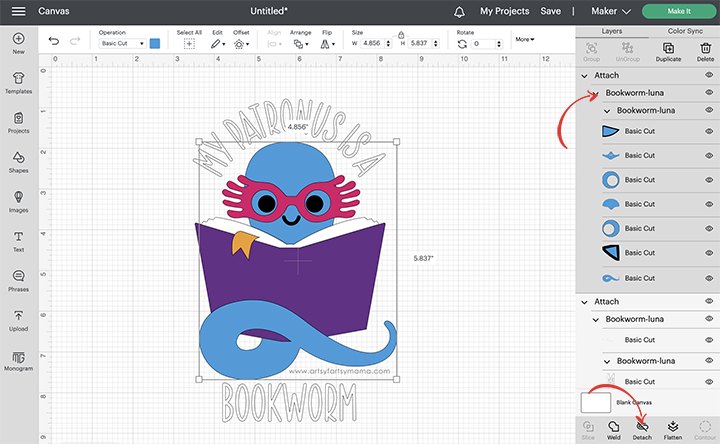
Select the pieces of the image that are all the same color, and click "Attach" at the bottom of the menu. Repeat this process for all of the different pieces of the design. If you don't attach them, all of the parts of the design will re-arrange themselves to fit on the mat instead of keeping their place on the design.
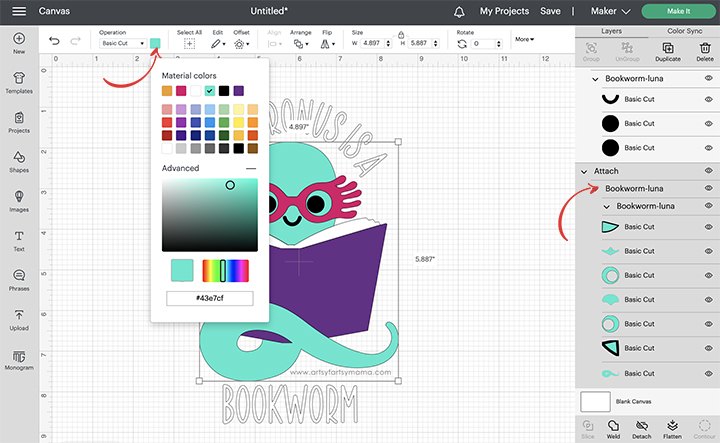
To change colors of the design, select the different groups and then click the color box icon in the top menu bar. From there, you can choose from a rainbow of colors, or use a custom color by clicking the "Advanced" option.
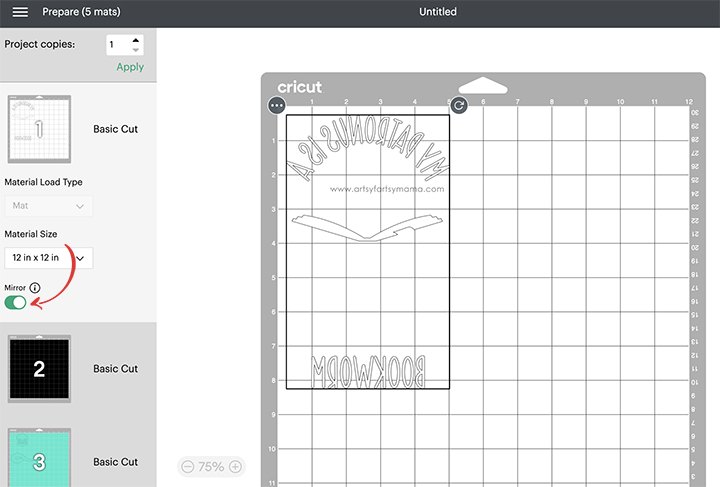
Before cutting the HTV, make sure to mirror your images! If you don't, your design will be backwards when you put it on the shirt. To do this, select each mat thumbnail in Design Space before cutting, and click the "Mirror" toggle to reverse the image.
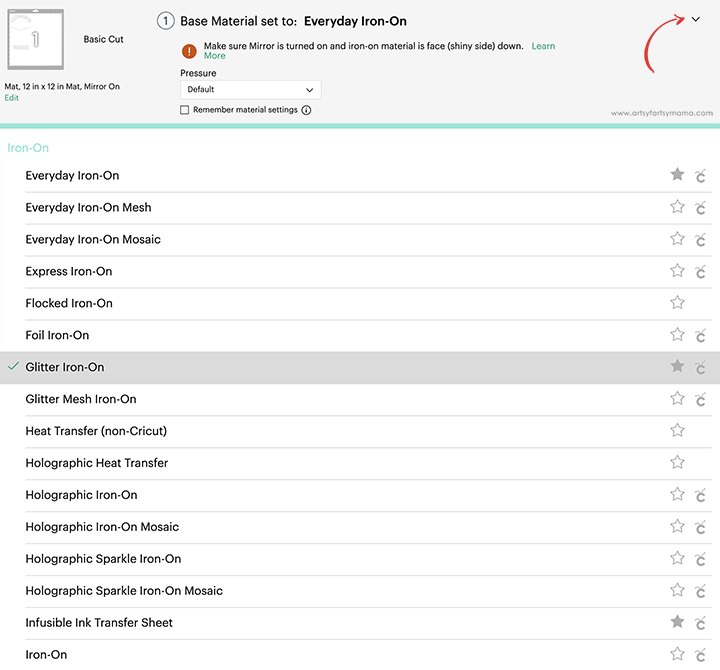
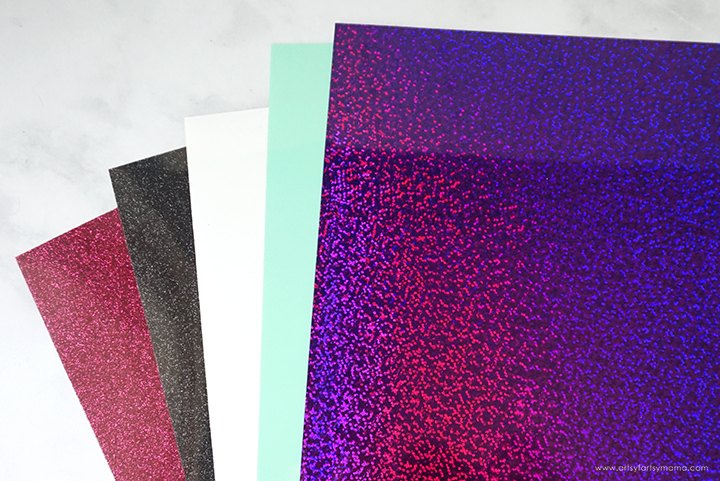
Before hitting the "Go" button, make sure you have the settings set to cut the type of HTV you are using. To change the material, click the arrow on the right to get to the entire list of options. For my project, I used Poli-Flex Turbo HTV, Poli-Flex Glitter HTV, and Star-Flex Holographic.
Follow the prompts in Design Space and place the HTV face-down on the mat, and load it into the machine. Press the Cricut icon button to cut the design out, one color at a time.
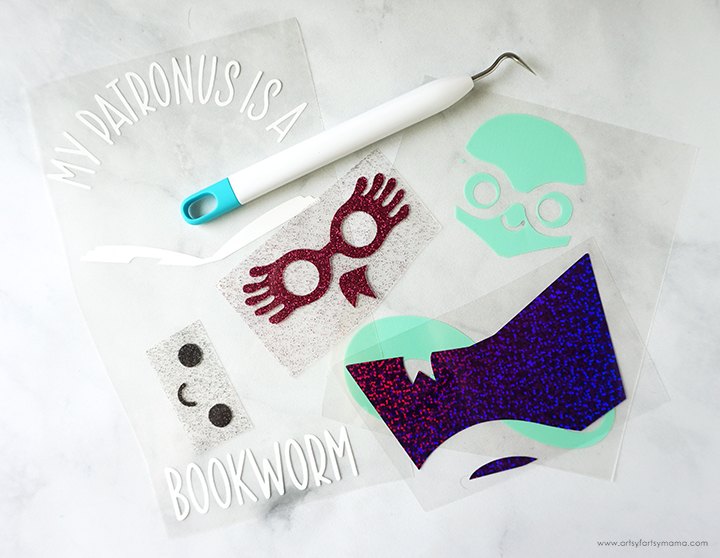
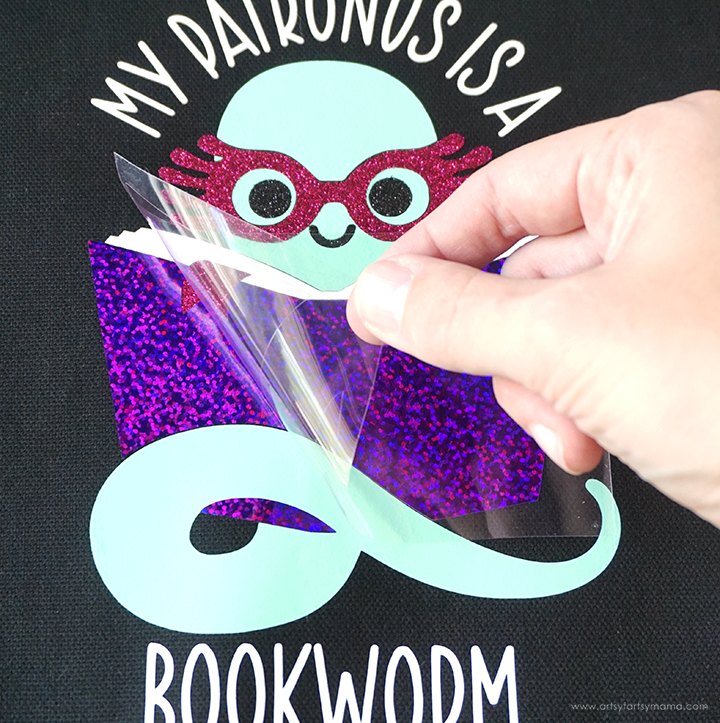
"Weed" the excess HTV by removing all of the parts that don't belong in the design. I usually peel away the outer edges first (starting at the corner), and then work my way around the design. Then I use weeding tools to help remove the smaller pieces of the design, like the insides of the letters.
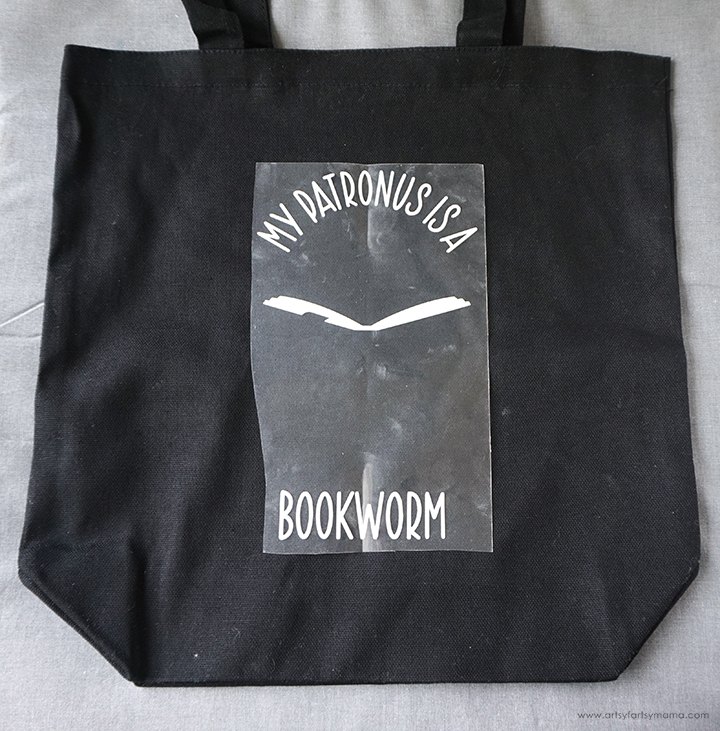
Place the tote on the EasyPress Mat. Fold the tote in half and press it with the EasyPress to make a crease. Next, fold the piece of HTV with the wording on it in half vertically and make a crease at the top and bottom of the carrier sheet. Line the crease in tote with the crease in the carrier sheet up. This is a simple trick to ensure that the vinyl is aligned in the center of your project!
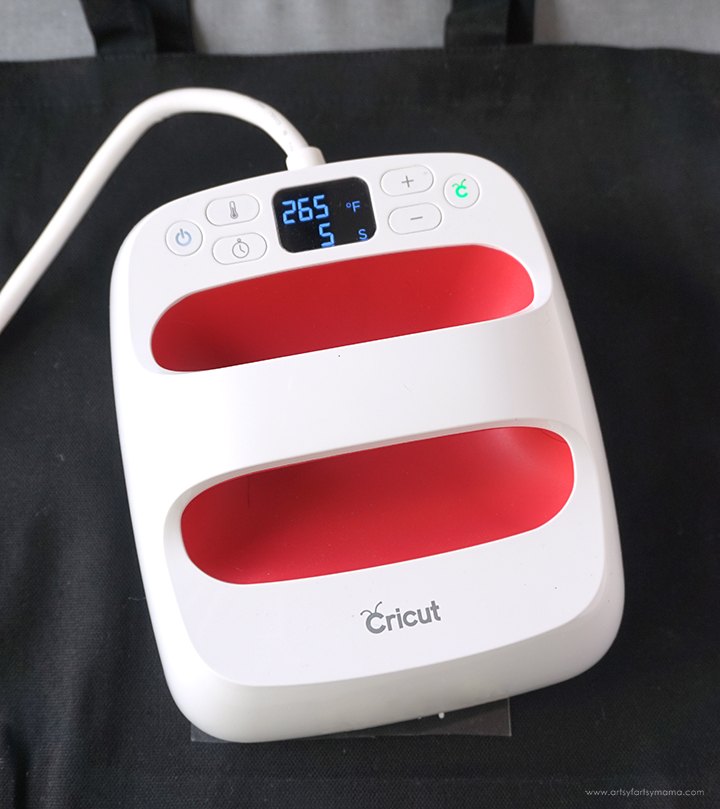
The Poli-Flex Turbo HTV is actually really cool - it looks and feels like a typical iron-on HTV, but it uses a lower temperature and only need 5 SECONDS of pressing time!! Turn the EasyPress on and adjust the heat and time setting. Once the light turns green and the machine beeps, it's ready to use.
Place another piece of HTV onto the tote, one at a time, and match the pieces up like a puzzle. Cover the vinyl with a protective sheet to prevent scorching the vinyl that has already been pressed onto the tote. Refer to the pressing directions for each different type of vinyl for best results.
Once the last carrier sheet has been removed, the Bookworm Patronus Tote Bag is ready to use! My daughter immediately took a trip to the library to fill this bag up with a bunch of new books to read, and she got so many compliments on the bag while we were there.

The author may collect a small share of sales from the links on this page.


Comments
Join the conversation