Blanket Upcycle: How to DIY a Super Trendy Faux Fur Bag

Hi everyone. In this tutorial, I’m going to show you how to make a trendy fur bag that I’ve been seeing all over. If you’d like to learn how to make a purse out of fabric, keep reading.
Tools and materials:
- Fuzzy blanket
- Fabric
- Scissors
- Seam ripper
- Ruler
- Sewing machine
- Pins
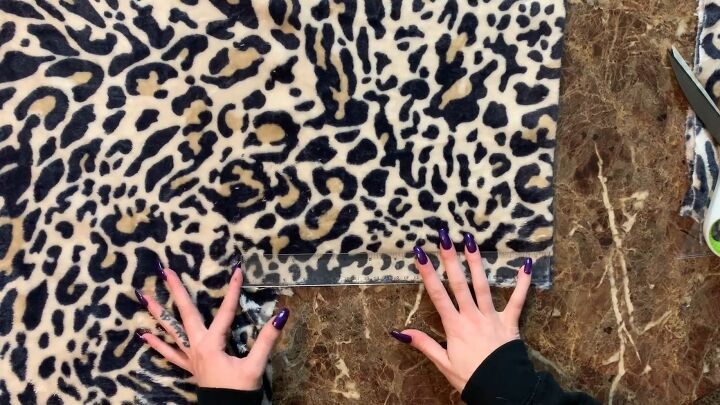
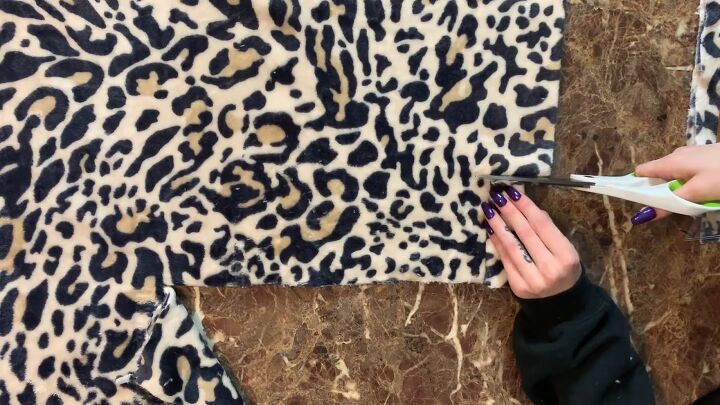
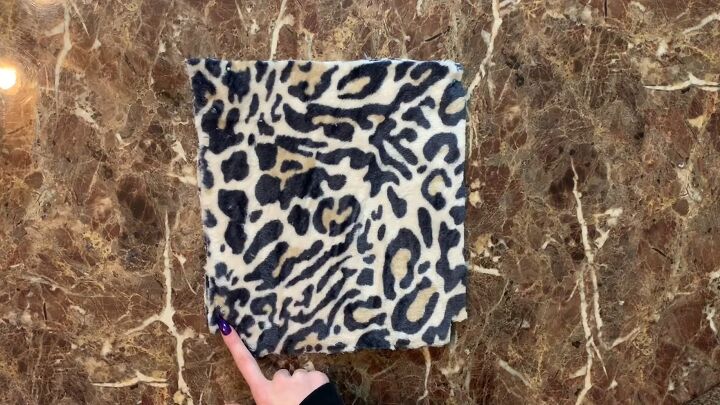
1. Cut out an 11x11 square from the blanket
Open your blanket fabric and fold it in half. Using a ruler, measure an 11x11-inch square. Cut it out with scissors.
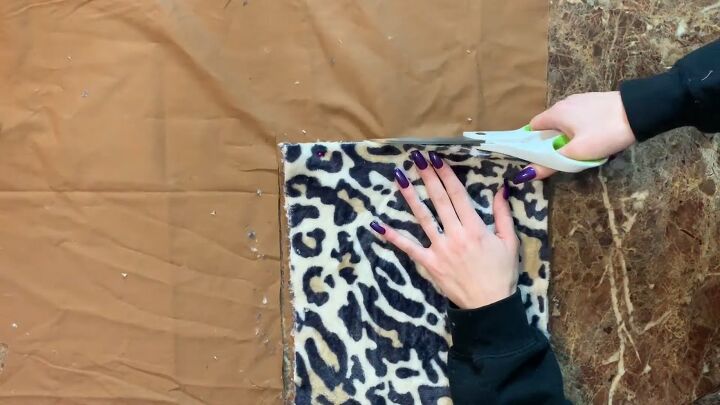
2. Cut out the lining
Use the blanket fabric to cut out the inside lining, so that we have equal pieces.
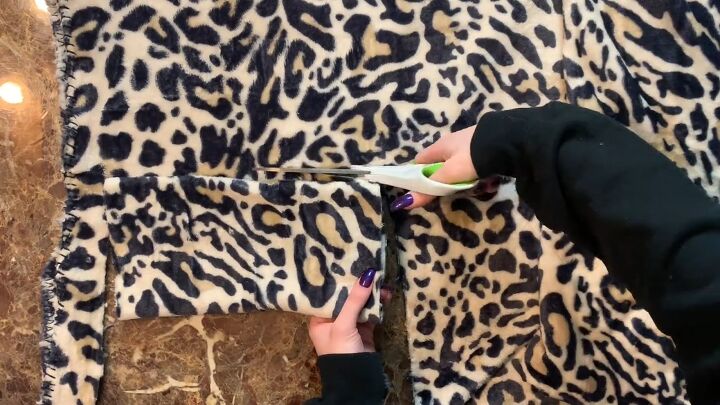
3. Cut squares in the bottom corners
Lay all of the layers of fabric on top of each other and cut two squares on the bottom corners.
Fold the fabric in half to cut two equal-sized squares on each side.
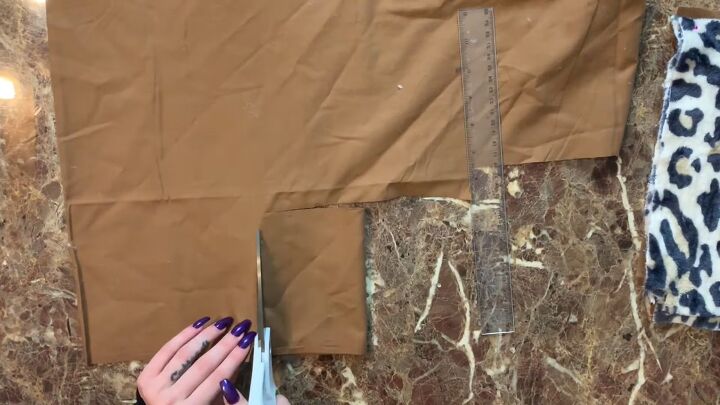
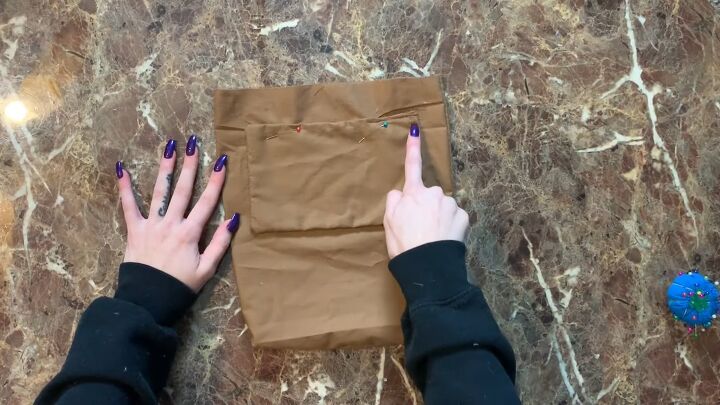
4. Measure and cut the phone pocket
To make a phone pocket, measure a rectangle that is 8x6 inches. Cut that out on a double layered fabric.
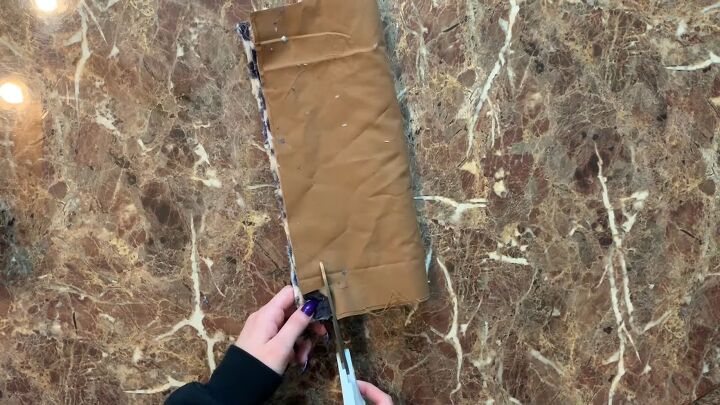
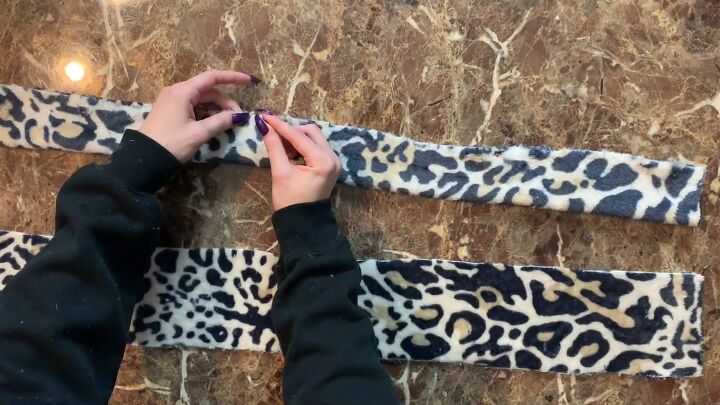
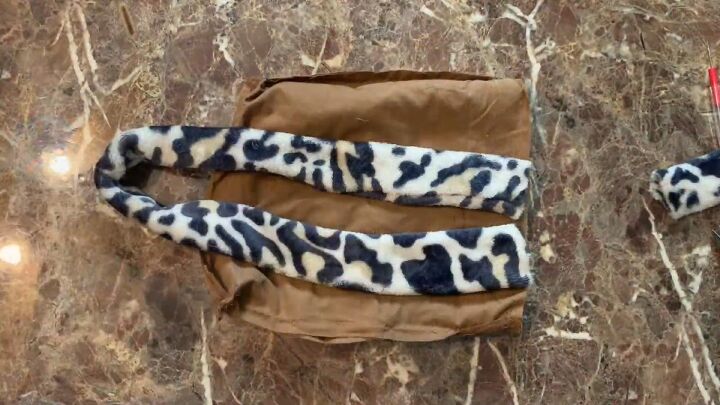
5. Measure and cut straps
The last thing to cut out is the straps. I made these straps about 14 inches long and cut on a fold.
Cut the straps 4 inches thick. Use the first strap as a template for the second.
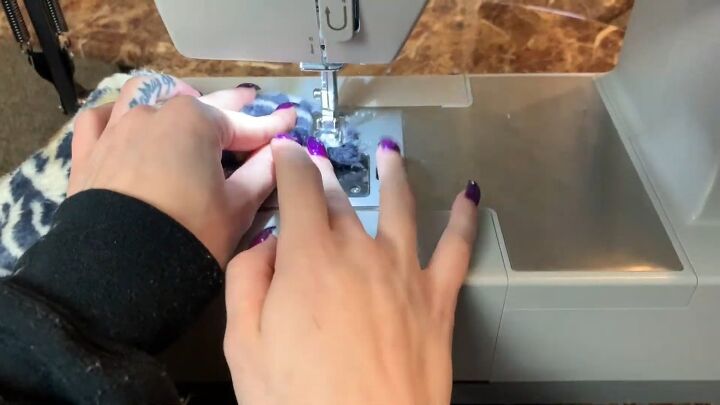
6. Sew together the fuzzy fabric
Align the two pieces of blanket fabric so they’re right sides facing and stitch down the sides and across the bottom.
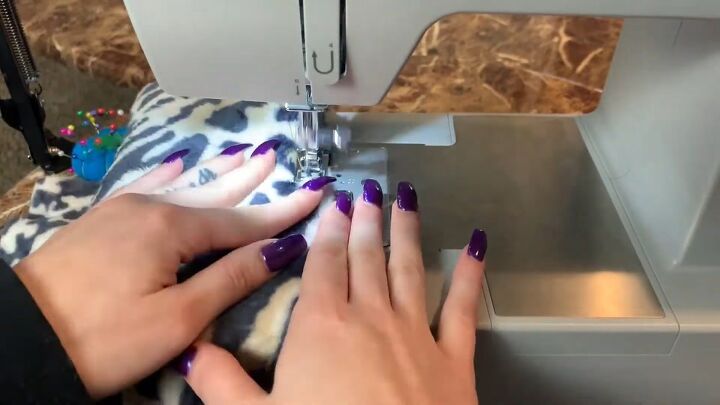
I used a zigzag stitch because this is a thicker fabric and I wanted the edges to be locked in.
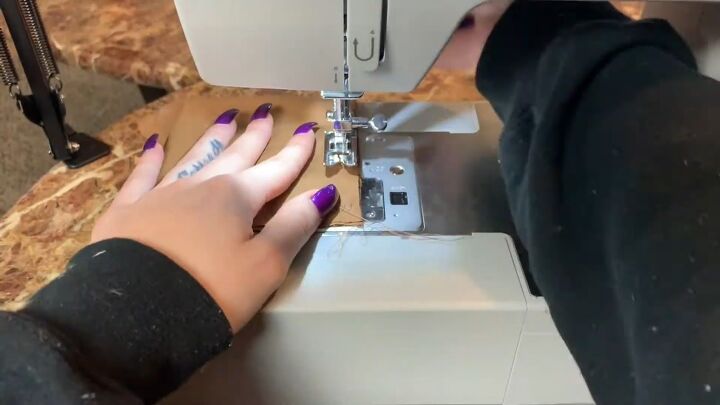
7. Sew together the lining
Align the lining so they’re right sides facing together and sew down the two sides and along the bottom.
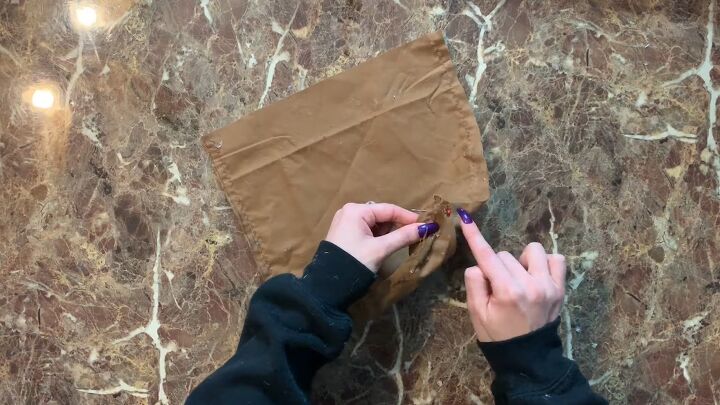
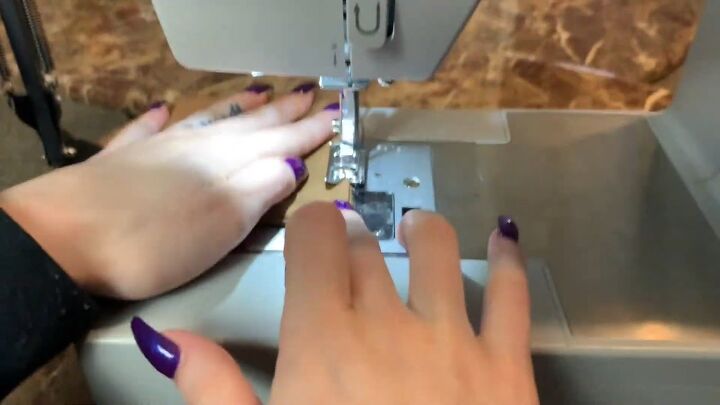
8. Sew the corners of the lining horizontally
Take the two corner squares and align the two sides together and pin them down.
Here’s a closer look. Open up the inside so you can see the diamond shape, then close the two ends shut.
Open up the seam and sew horizontally across it.
9. Sew the corners of the blanket fabric horizontally
Repeat step 8 with the blanket fabric.
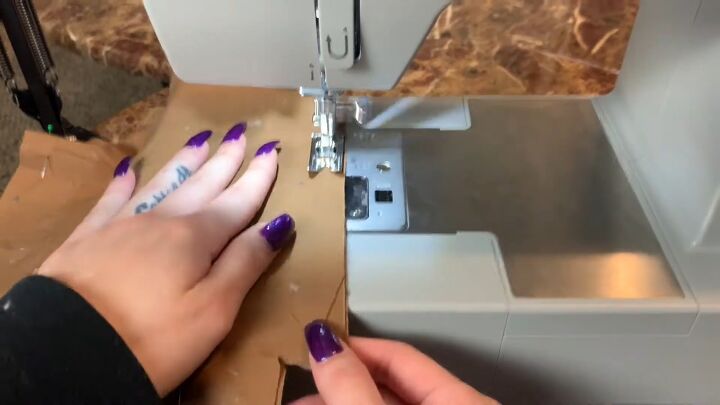
10. Sew the pocket and leave an opening
Sew a straight stitch all around the perimeter of the pocket. Don’t finish it all of the way.
Instead, leave a little bit of room that’s just enough to fit a couple of fingers through so you can flip the pocket right side out.
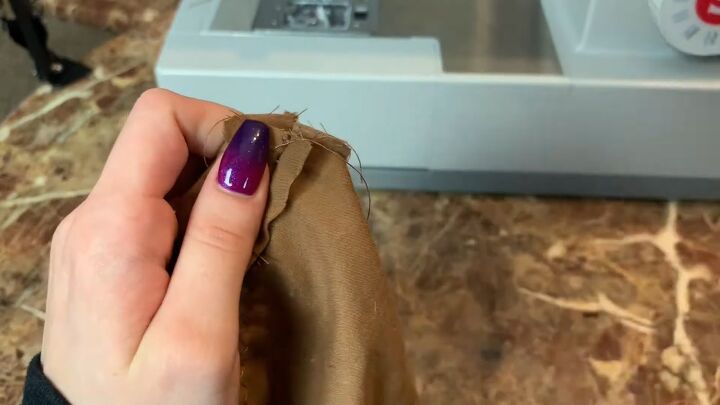
11. Top stitch the pocket opening
Flip the pocket right side out and then top stitch over the hole you left.
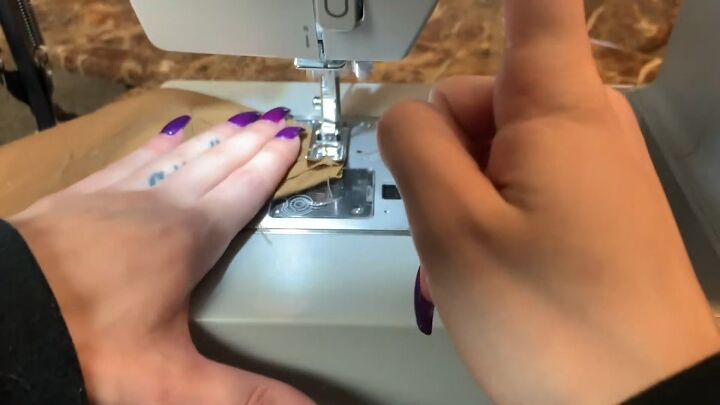
12. Attach the pocket to the lining
Make sure the lining is facing right sides out and attach the pocket with a straight stitch, going all the way around the sides and the bottom.
When you’re doing this, be conscious of not sewing the lining shut together.
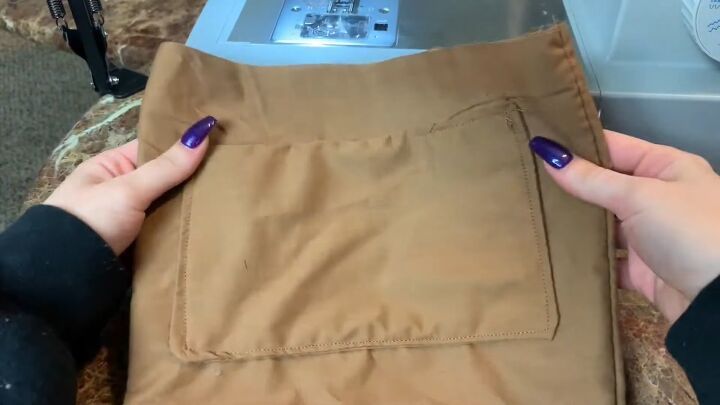
Here’s what the pocket looks like when it’s attached.
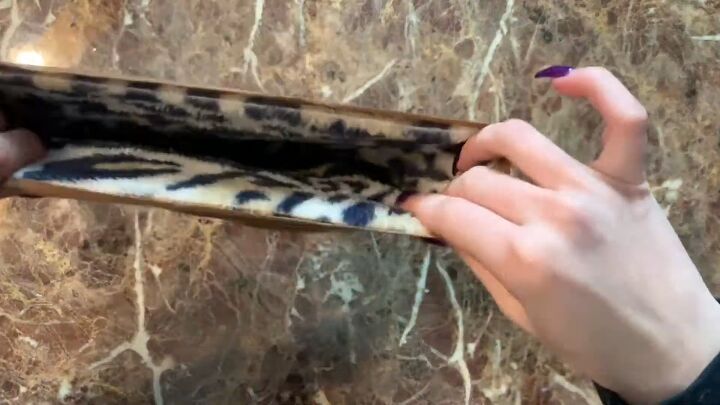
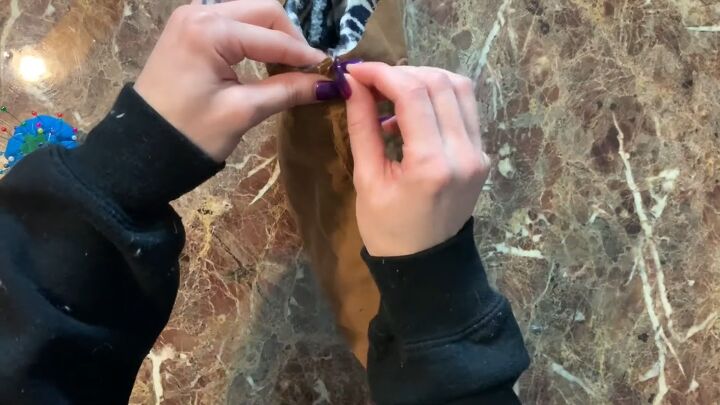
13. Fold the straps right sides together and sew
Fold the straps in half so the right sides are facing together. Pin them down and then sew straight stitches down each one.
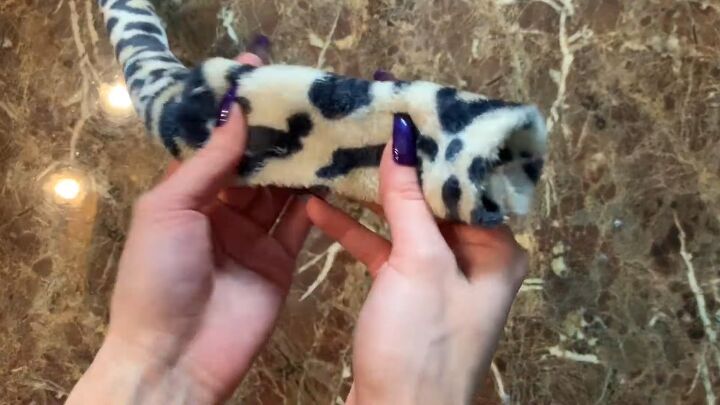
Once they’re sewn, turn them inside out so they’re facing the right way.
14. Place the blanket fabric inside the lining
Now we just have to attach everything.
Flip the lining so the wrong side is facing out and flip the blanket fabric, so the right side is facing out.
Place the blanket fabric on the inside of the lining.
Match up the side seams and pin them down.

15. Put the straps between the lining and the blanket fabric
Put the straps between the lining and the blanket fabric. Pin both sides down closest to the side seams. Do this to both sides.
This is how the straps should look inside the purse.
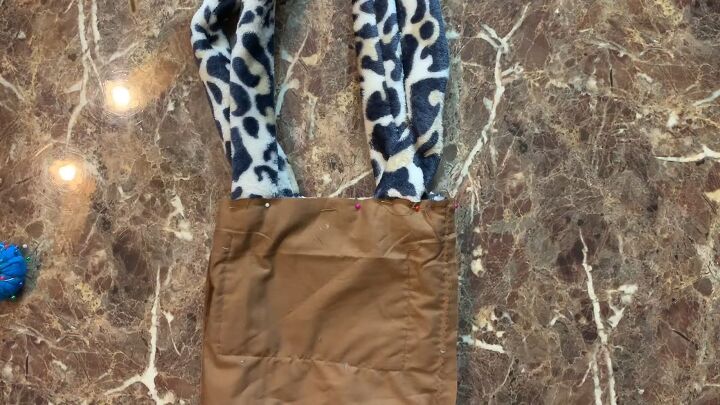
If you did it right, you will not see the straps. If you can see them like this, it’s the wrong way.
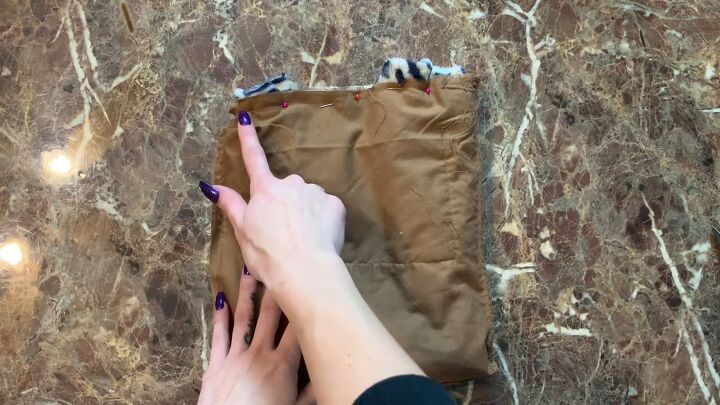
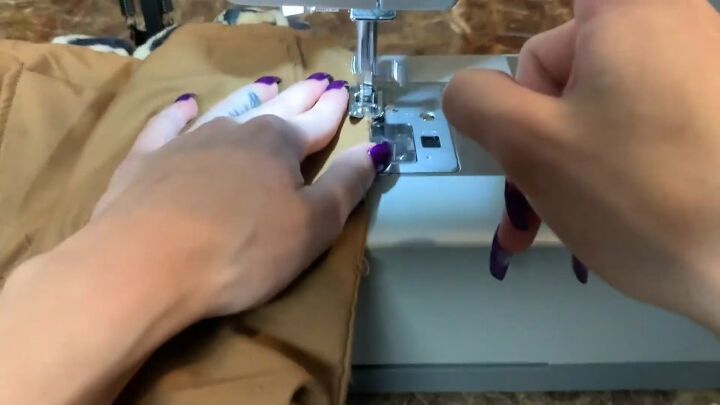
16. Sew completely around the top of the purse
Sew completely around the top of the purse. Don’t leave any spaces, just completely sew the whole thing shut.
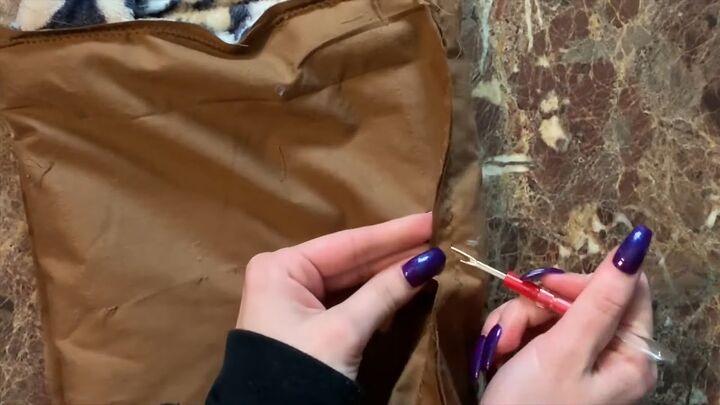
17. Seam rip the lining of the purse and flip it right sides out
Once you’ve sewn the entire top, take a seam ripper and rip a little hole only in the lining of the purse.
Use this hole to flip the purse right sides out.
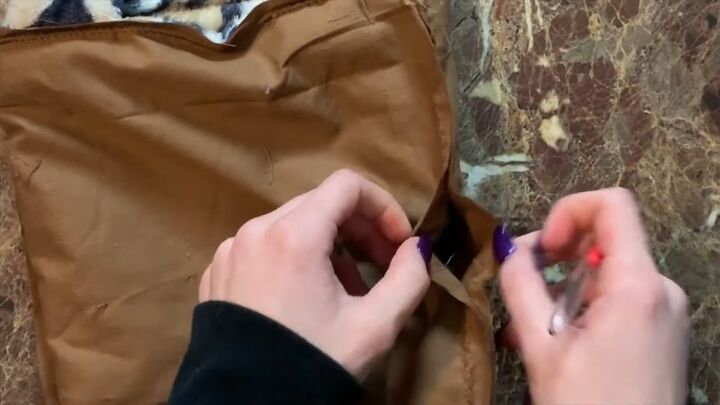
18. Top stitch the hole in the lining
Once the lining is exposed, top stitch the hole you made. Then put the lining back inside the purse.
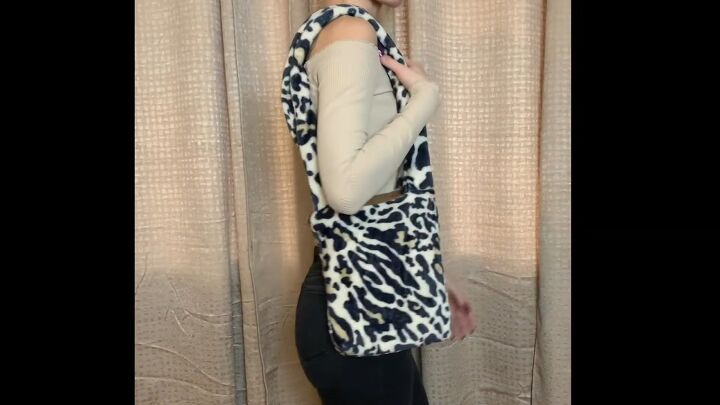
DIY fur bag
All done! Here’s the finished cheetah print purse!
I really like this faux fur purse. It’s really cute and super soft and fuzzy on the outside. Let me know what you think about this fluffy bag down below.
The author may collect a small share of sales from the links on this page.


Comments
Join the conversation
Love the bag. Gotta give you extra points for being able to do it with those gorgeous long fingernails. I would have sewed them to the bag.
Andrea