How to Sew a Cute Zipper Pouch Using 2 Dollar Store Potholders

Hey, guys! In today’s tutorial, I’m going to show you how to sew a zipper pouch. Making your very own DIY zipper pouch is easier than you think, and all you really need are some potholders.
If you don’t have some spare ones lying around the house, you can get them pretty cheap at the dollar store. Sounds like something you’re interested in? Great! Keep reading for my easy and cheap quilted zipper pouch tutorial.
Tools and materials:
- 2 Potholders
- Zipper
- Sewing machine
- Needle and thread
- Lace/Ribbon
- Scissors
- Pins
- Clips
- Button
- Bracelet materials
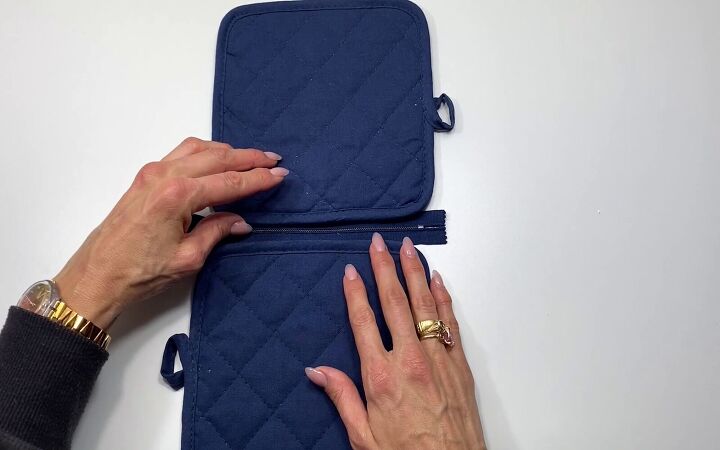
1. Place the potholders on the zippers
Place one potholder on the top half of the zipper and the other on the bottom half with the right side of the potholders facing you. The wrong side of the potholder is the one with the tag, which I recommend you cut off.
Notice the placement of my potholders. For the one on the top, I let the loop stick off to the right side so I can use that loop later if I want to hold the pouch on my wrist.
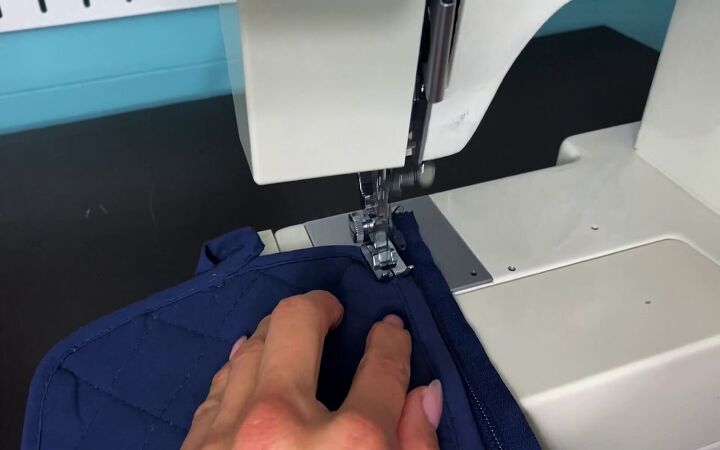
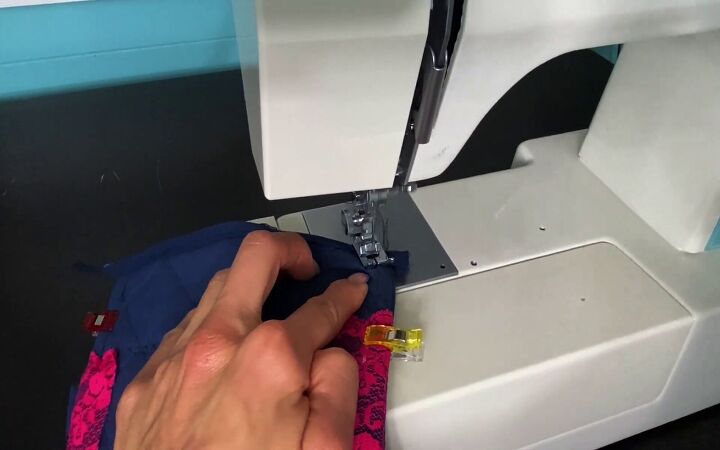
2. Sew
You can pin or clip the potholders down, but since it’s so small, I decided not to. Sew the potholders to the zipper along the seams that are already there.
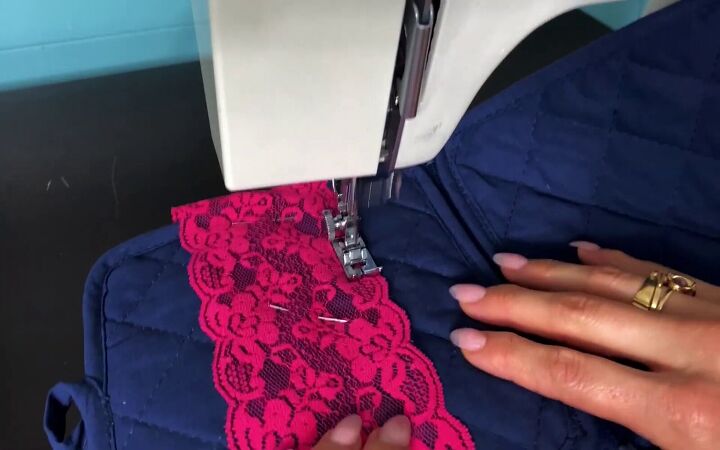
3. Pin down your lace and sew
Next, I have this really nice piece of lace that I’m going to sew to the zipper pouch. For this one, I am going to use some straight pins to hold it in place.
I do like the look of contrasting thread showing so I’m going to use a zigzag stitch across the top and the bottom to get that look. Make sure to fold the ends underneath the potholders for a clean edge.
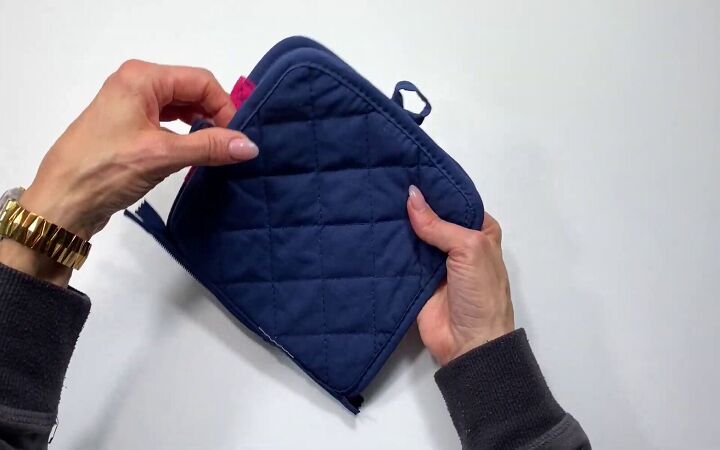
4. Fold and clip the zipper pouch
Open up the zipper about halfway and fold the zipper pouch right sides together, ensuring your chosen loop is tucked in so it sticks out when you turn it right sides out.
You can leave the other loop sticking out since you won’t need it. You can even trim it off, but I don’t think it’s going to bother me. Then clip the zipper pouch closed.
5. Sew
Sew all the way around the zipper pouch except where the zipper is, ending with a backstitch on both edges that meet the zipper.
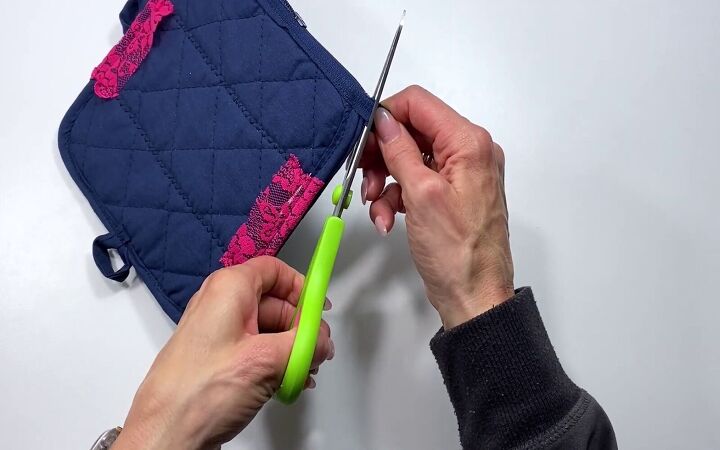
6. Trim
Trim the tails of the zipper off for a cleaner edge.
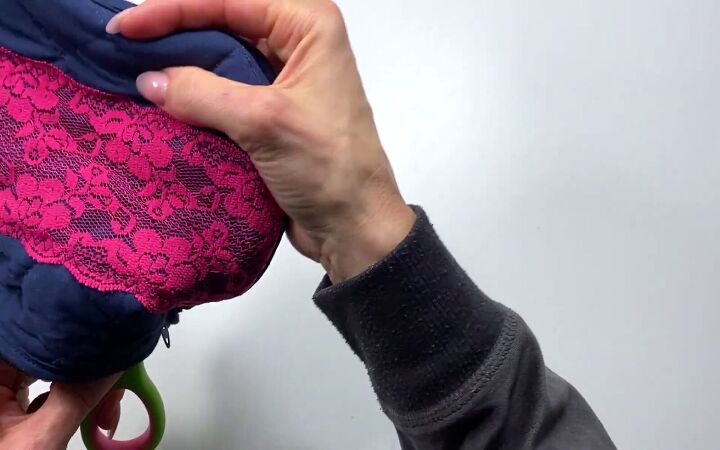
7. Turn right side out and make sure it’s functional
Turn right side out. It can be a bit difficult, but you only have to do it once. If your corners aren’t working with you, use a pair of dull scissors to push them out.
Give it an iron if you want, flatten out the edges, and make sure the zipper works and is in place.
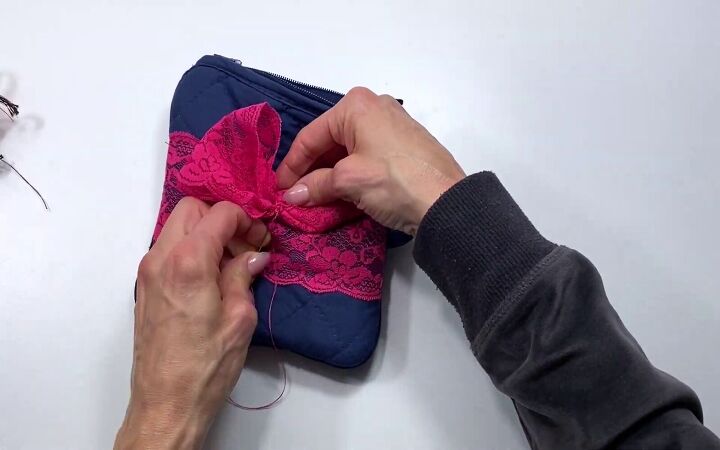
8. Add a bow
I decided to create a bow with that same piece of ribbon and hand sew it on.
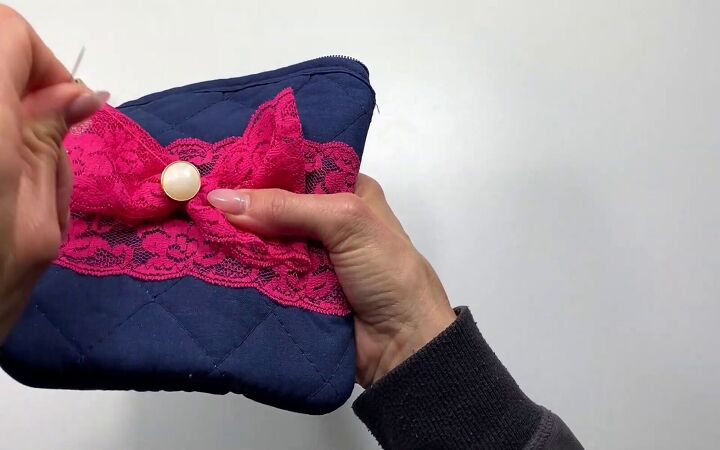
Then, I added this little pearl button right to the center of the bow.
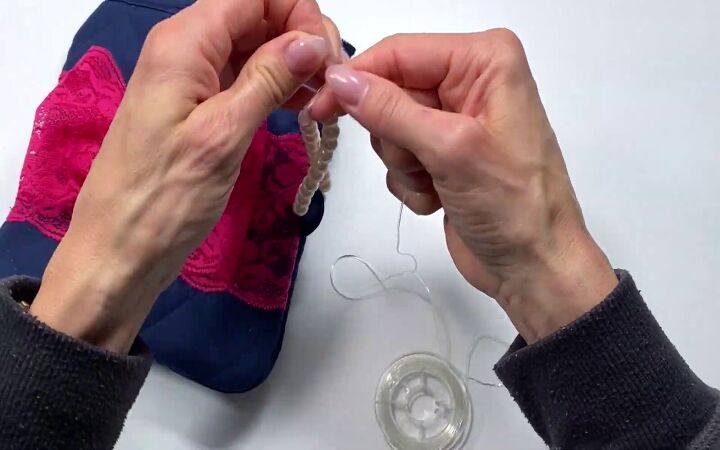
9. Create a bracelet on the loop
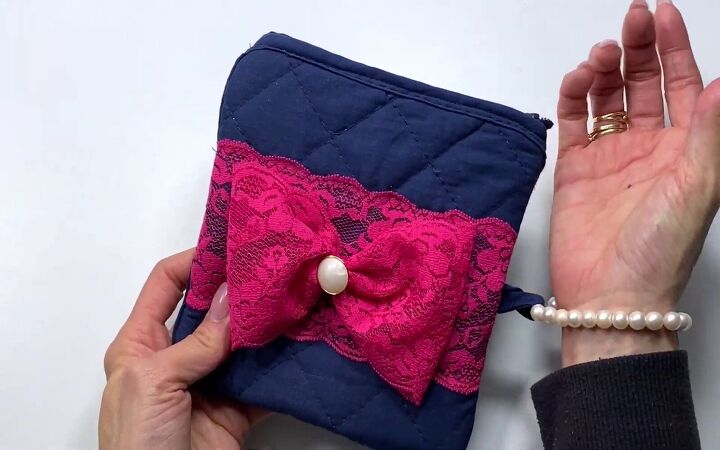
For the final touch on our quilted zipper pouch, I used a string of pearls and tied it around the loop to add a little bracelet I can stick my wrist through and hold the zipper pouch that way.
How to sew a zipper pouch
All done! I love the bright pop of color on the navy blue. Navy blue is one of my favorite colors to design with and wear, which is why I like this particular zipper pouch.
I hope you liked this tutorial on how to make a zipper pouch and let me know if you decide to make your own!
The author may collect a small share of sales from the links on this page.


Comments
Join the conversation
Depending on where the inside loop is, you can also put a key ring on it to hook keys, change purse, etc. to. All my keys have a clip or caribiner attached to them so I can clip them to my purse, inside pockets, or wherever. You can always hook directly to the loop, but using a metal ring makes it easier to clip on and won't wear out the loop.