Shelter-in-Place Sewing: Pillowcase Tote
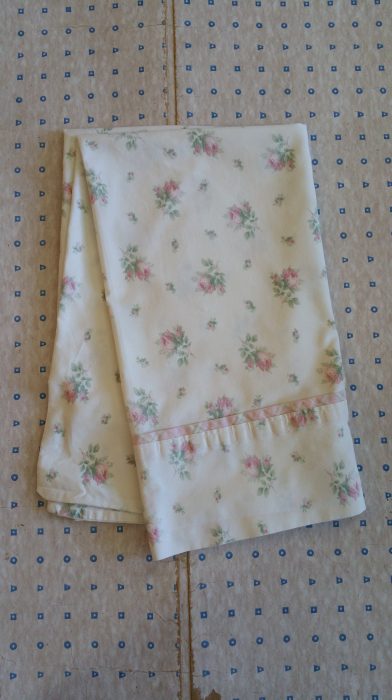
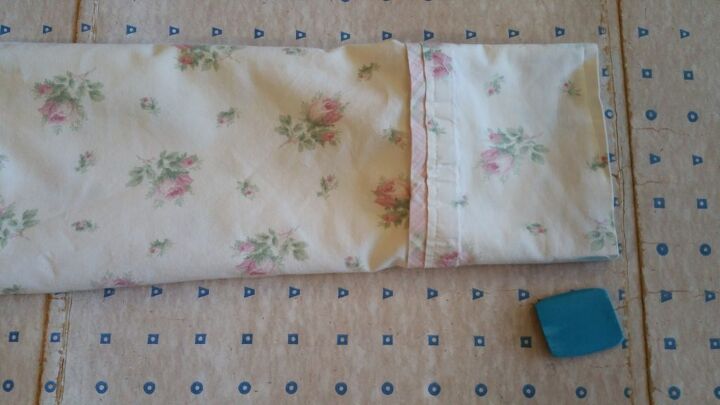
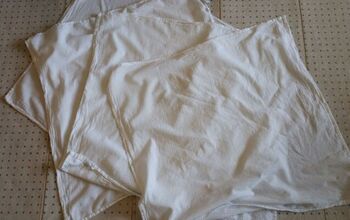
It’s week four of shelter-in-place, and I am digging deep into my fabric and refashioning stashes for available materials! I recently rediscovered this pillowcase, a second-hand purchase from long ago. This seems to be the opportune moment for bed linen transformations! (Just check out last week’s post!) Pillowcase, your moment to shine has come!
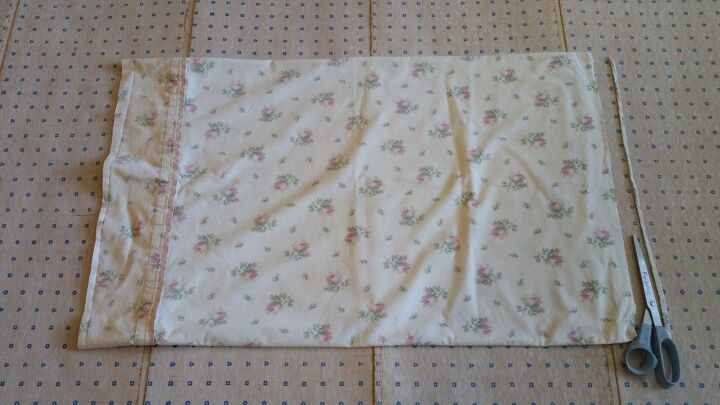
The shape of the pillowcase immediately made me think of a tote bag! I began by cutting off the very bottom of the pillowcase.
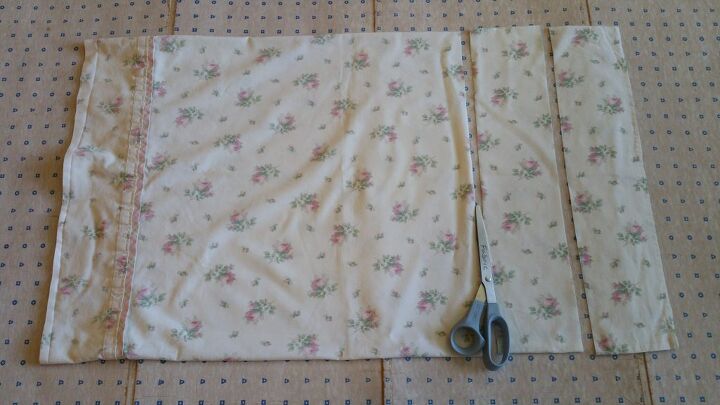
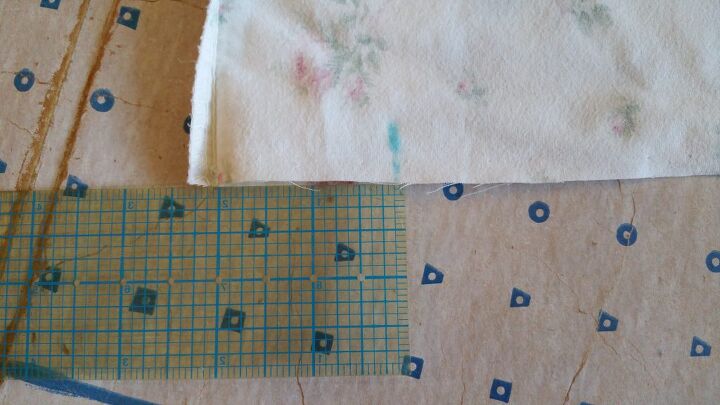
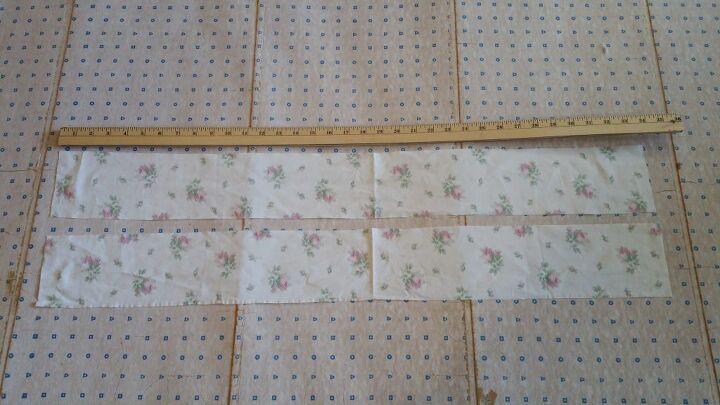
Next, I used my ruler and chalk to mark four inches from the bottom and then eight inches from the bottom.

I cut along those markings to create two four-inch strips for the bag’s handles. The remaining pillowcase will become the bag itself.
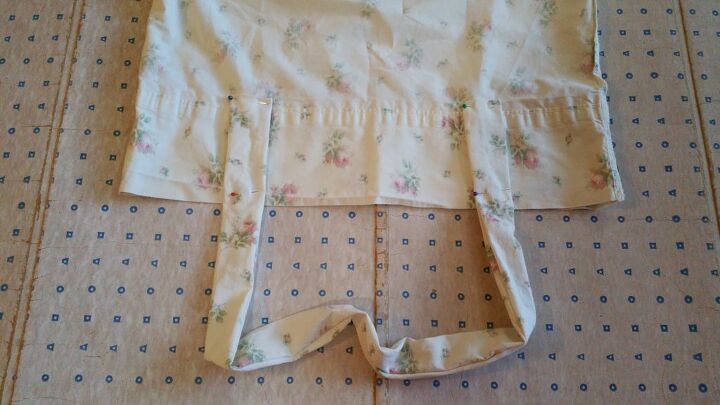
I briefly took a break from strap making to form the rest of the bag. To create a sort-of-flat bottom for the bag, I measured two inches from the side seams. I marked this measurement with chalk and a pin.
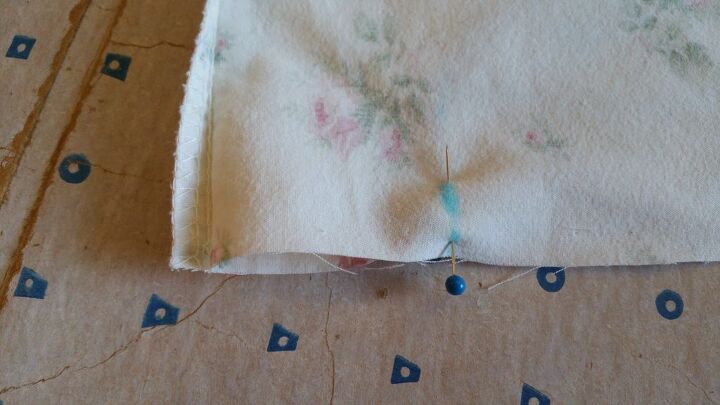
Next, I used a pinching motion I learned from origami to bring the side seam to meet the pin.
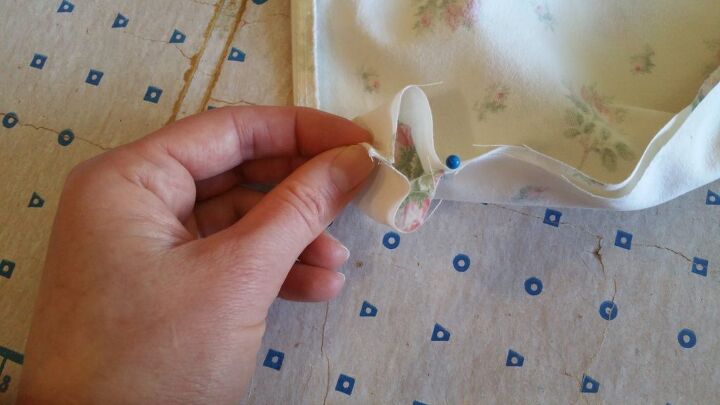
I pinned the origami folds in place and then pinned the rest of the bottom closed.
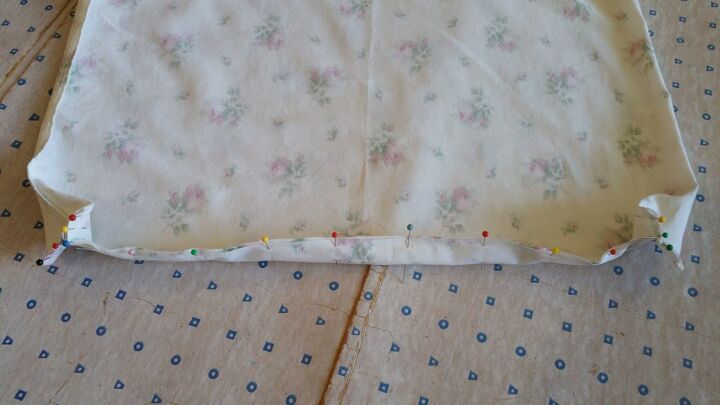
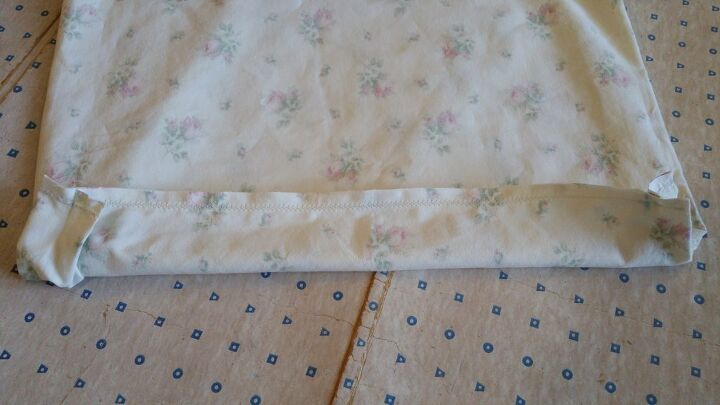
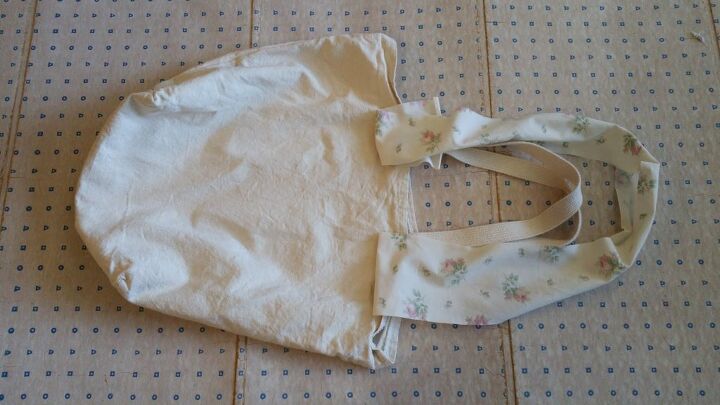
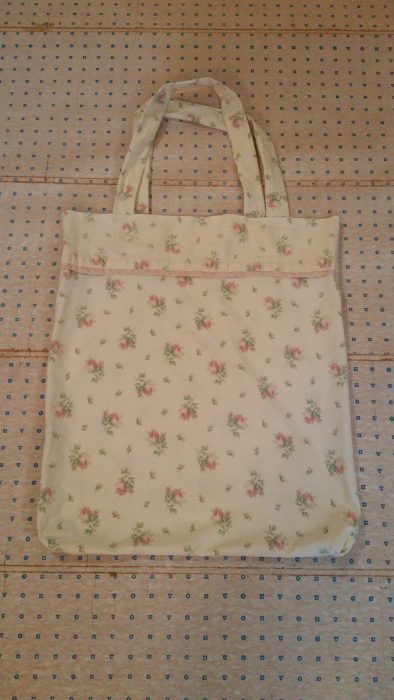
This is what the bottom of the bag looked like after sewing. (I sewed each little origami fold individually, then sewed the main bottom seam.) I used a zig-zag stitch in hopes of making the seam stronger and a bit more flexible. I realized, however, that this bag would not be as strong as a reusable grocery bag and would need to be used for lighter loads.
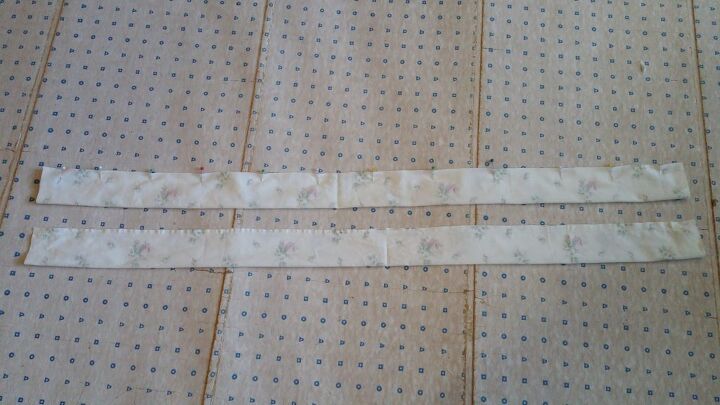
Time to get back to those straps! I cut the circles of strap fabric open at the side seams. Next, I estimated their desired length. I used about 34 inches, as I like longer straps and wanted extra room for attaching the straps to the bag. In hindsight, I could have easily shortened these to about 32 inches.
I used an existing bag to help me guesstimate the length.
I then folded the strap strips in half with right sides together. I pinned and stitched along the long edges.
Here are the resulting tubes of fabric! To help me turn them right-sides-out, I attached a safety pin to one end and then pushed the safety pin back into the tube. I pushed the pin along inside the tube until it emerged on the other side, dragging the fabric with it!
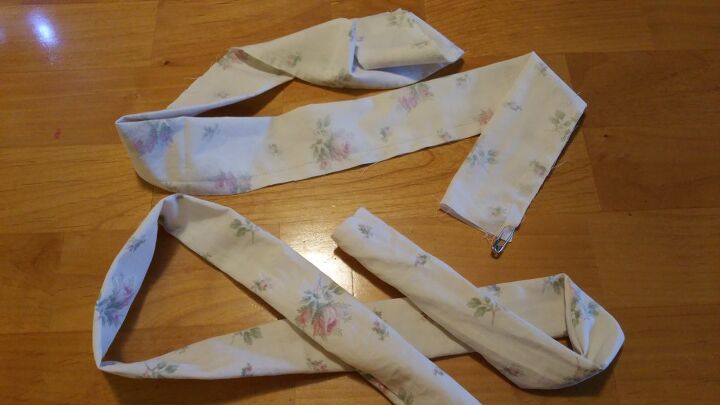
With the tubes right-sides-out, I rolled the raw edges inward about half an inch. I pinned that to keep it in place.
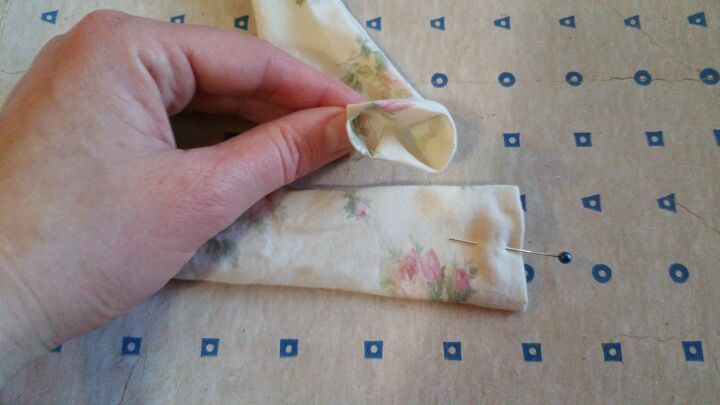
To help me judge the placement for the straps, I folded the bag in half and then in quarters. I used my chalk to mark these measurements on the inside of the front and back of the bag.
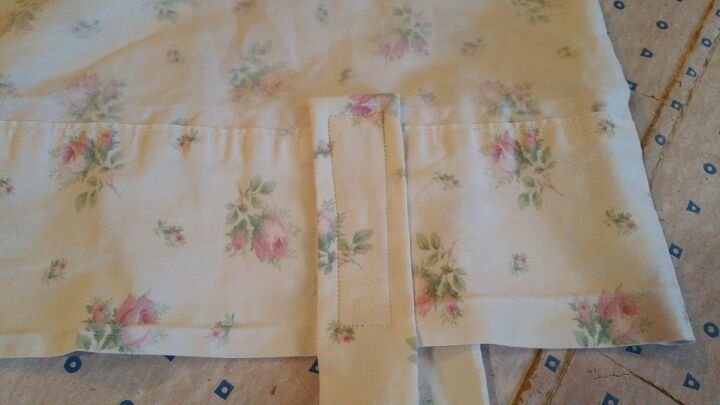
With the bag inside out, I lined up the straps with the quarter markings I had made. I pinned the strap ends a bit beyond the edge of the pillowcase border.
After pinning the straps in place, it was time to get sewing! I chose to sew a rectangle shape, in hopes of giving the straps extra strength.
I turned the back right-sides-out, and Ta-DA! We have a tote bag!
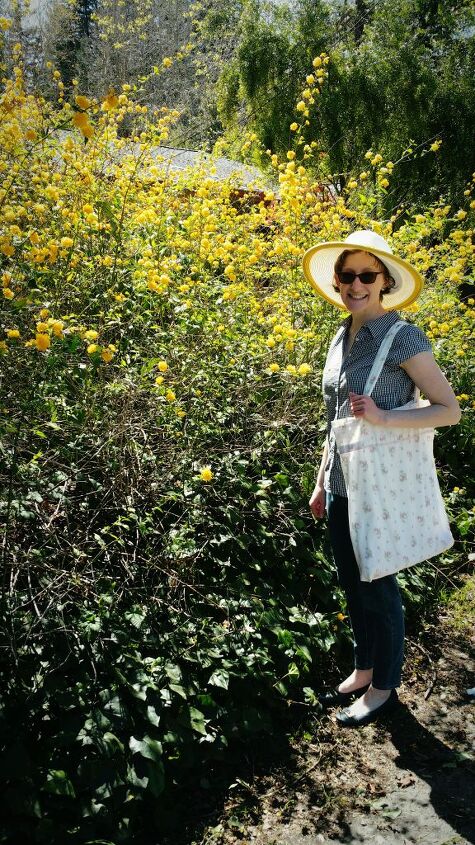
I brought my new bag along on a shelter-in-place-approved walk around the neighborhood!
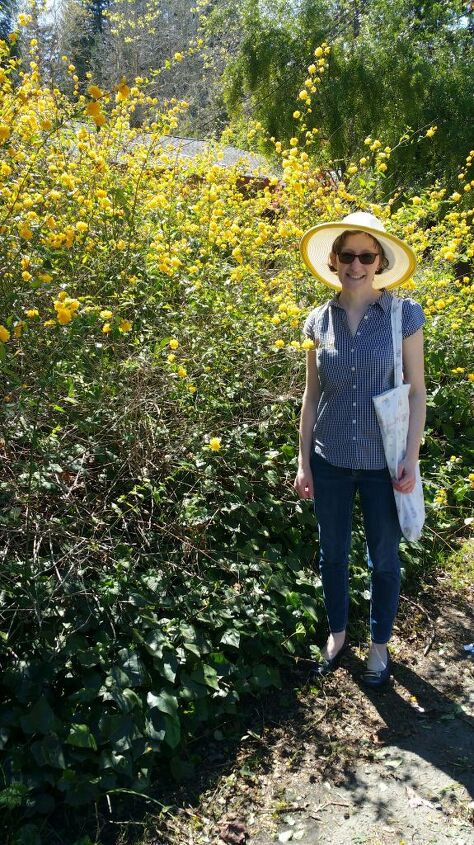
It was such a gorgeous day! I’m loving that flower print alongside the spring blooms!

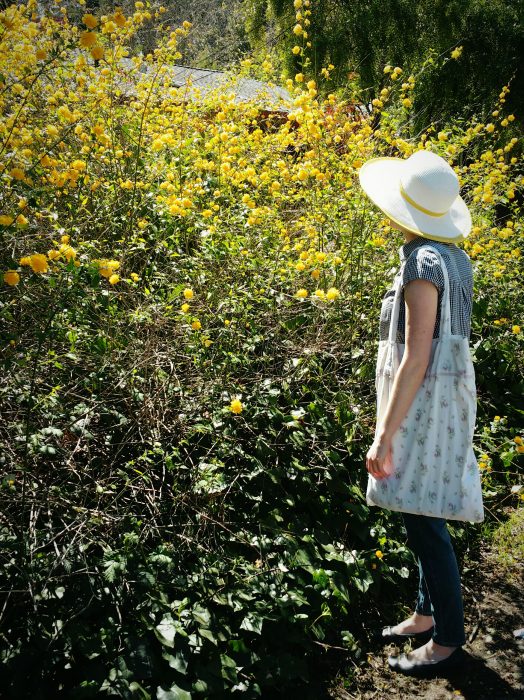
This is officially my favorite bush!

Happy Spring, Crafters! Here’s to a season of healing! Be sure to follow us and our Youtube channel for more crafty goodness coming your way soon! 🙂
Follow us!
The author may collect a small share of sales from the links on this page.


Comments
Join the conversation