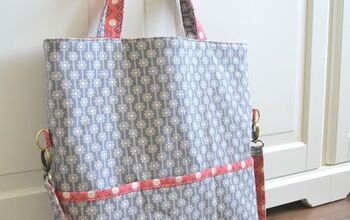
Bag Tutorial
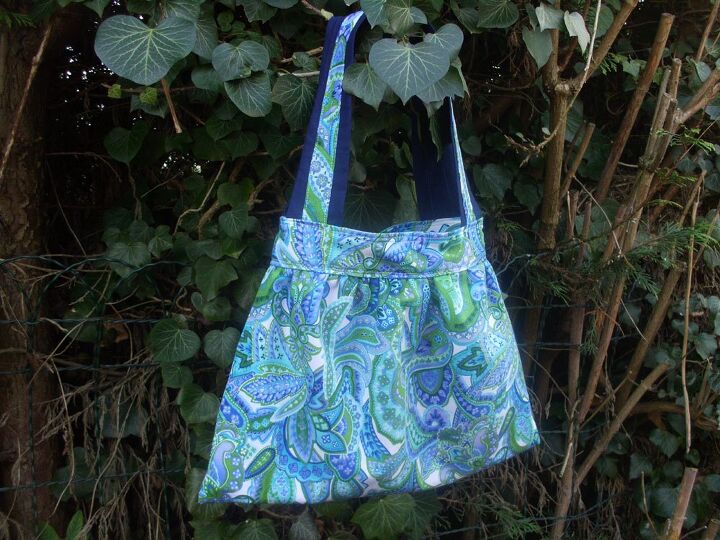
This tutorial has taken a little while coming out of my head onto my computer. It would appear that I have taken up throwing up for Lent. It also started a week early, perhaps following some other calender. Grim. Anyway… a bag tutorial!! No pattern needed and it should work for bags of various shapes and sizes.
You will need:
- Fabric for the main part of the bag (I used 1 fat quarter)
- Fabric for the lining
- You may also want some fabric in a contrasting colour
- Fusible interfacing
- Needle and thread or sewing machine
- Tape measure or string and a ruler
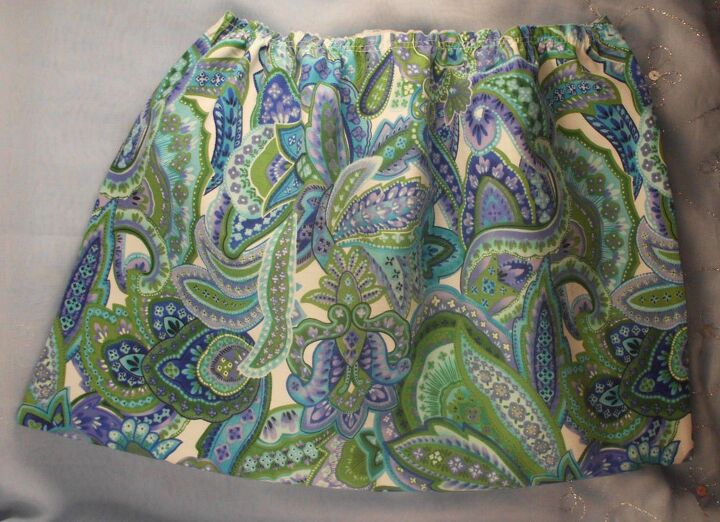
- Firstly you will need to decide how big you need your bag to be. Will it be a tiny bag just for your purse and phone? Or do you need it to be big enough to hold an A4 folder? Or nappies and wipes? Or the kitchen sink? You might find it helpful to get the stuff you want to put in your bag to give an idea of how big you need it to be. Remember to allow extra fabric for seams too! When you have decided, you will need to cut four rectangles about 7 cm wide. This is the part that holds the whole bag together. The length of them will depend on how big you need the opening of your bag to be. Which fabric you want to use is up to you, main or contrasting. I used four rectangles of the main fabric approximately 7cm x 25cm.
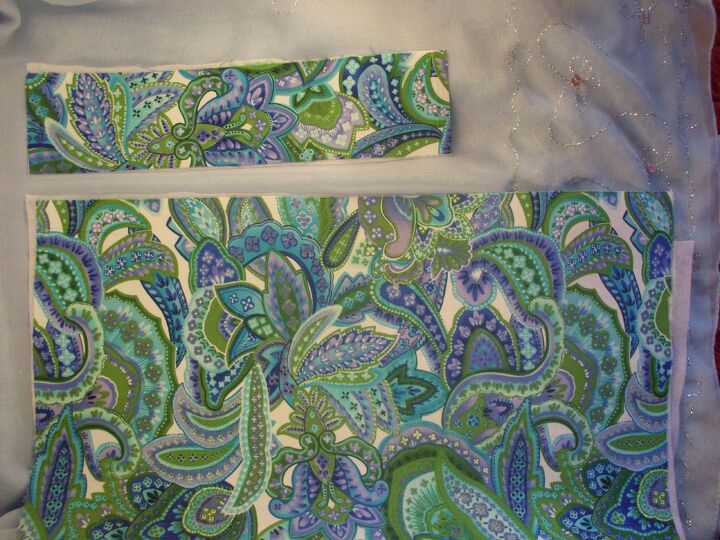
Then you will need to cut the pieces for the main part of the bag, so either two pieces from the main fabric or one piece folded in half. The important thing here is to ensure that the top edge is 1/3 to 1/2 longer than the rectangles. Iron some interfacing onto the wrong side.
2. From the lining fabric, cut a piece that is the same size as the main bag piece.
3. With your sewing machine set to the longest
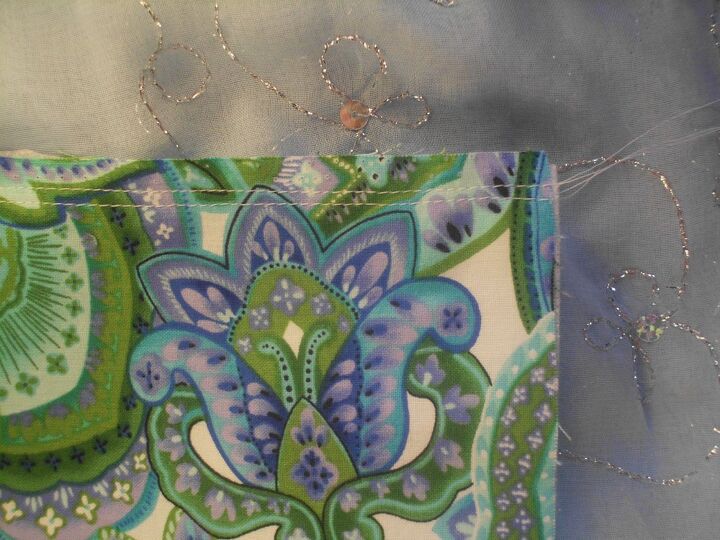
stitch it will do, sew two separate rows along the top edge, close together. Repeat for the other top edge. If you are using a needle and thread, sew two rows of running stitch. Don’t backstitch the ends! You need them free!!
4. Now firmly grasp the top two threads on
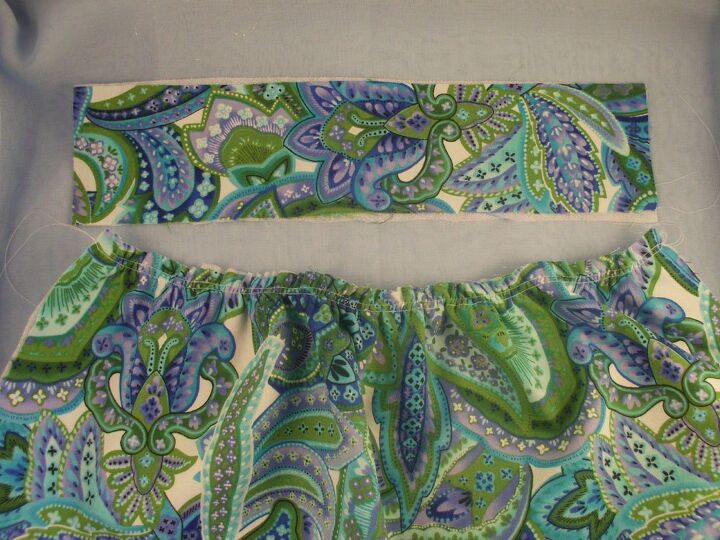
one side and pull to gather the fabric. When the width of the fabric is the same as the length of the rectangles, tie the ends together. Try to spread the gathers out so that they are even. Repeat for the other top edge, then repeat the whole process for the lining.
5. Now with the wrong sides together, sew
up the sides of the main part of the bag. Trim the seams and turn the right way out. Repeat for the lining, but leave it wrong side out.
6. Now take two of the rectangles and sew
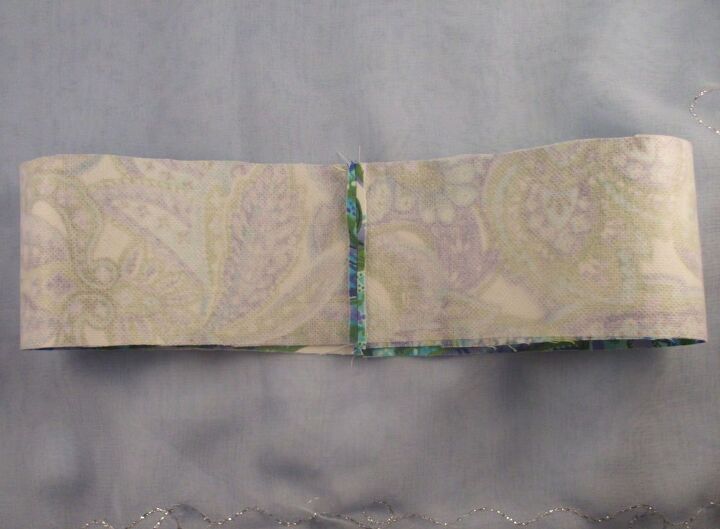
the short edges together to make it into a circle. Repeat for the other two rectangles.
7. Fold up the long edges, pin and press.
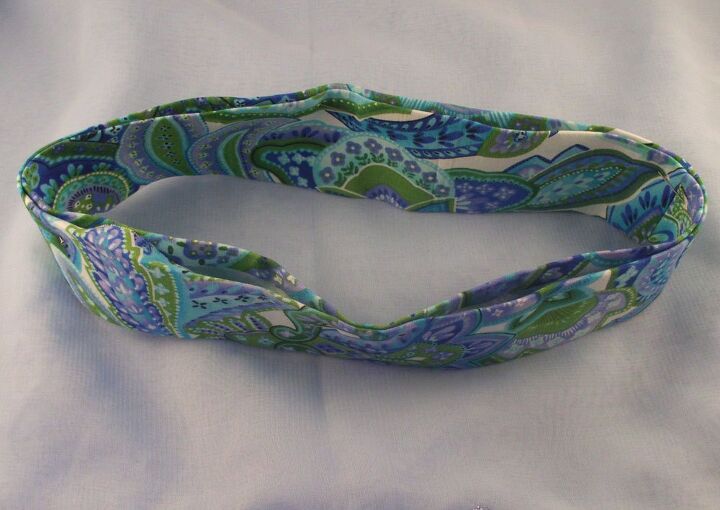
Pop one inside the other, wrong sides together, with the seams matching.
8. Put all this to one side because we are going to do the straps now You will need to decide how long you want them and how wide is comfortable for you. This is where the tape measure comes in! Put it over your shoulder or your pushchair, or hold it, and decide where you want the bag to dangle. Then you will need to cut four pieces of fabric, two for each strap, either from the main or the contrasting fabric. Remember to allow a bit extra for seams! The easiest thing to do is to cut all the bits the same size, fold in the raw edges, pin and press. Then pin two together, wrong sides facing, and sew along each of the long edges.
If you want to be fancy, cut two pieces the
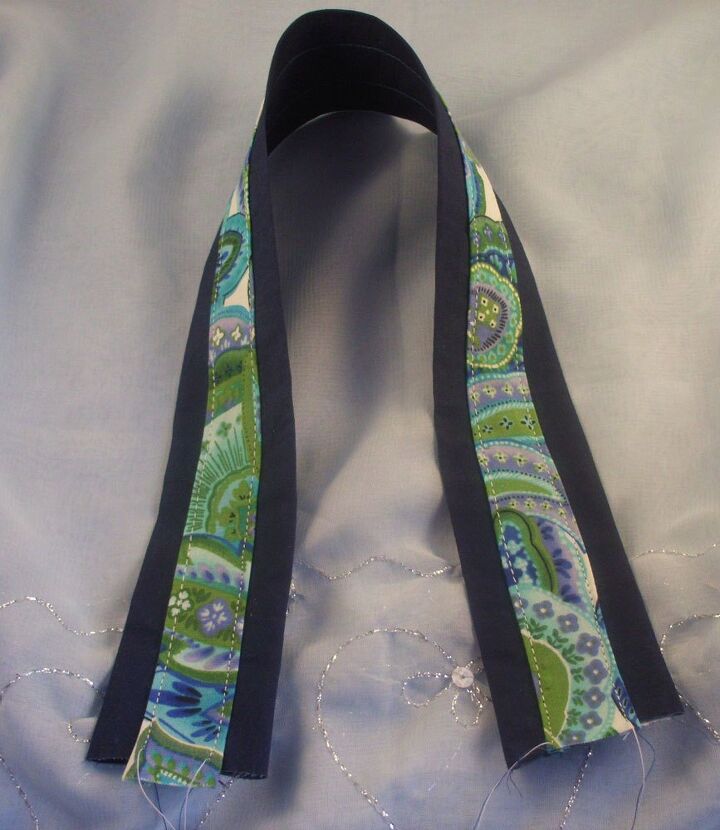
desired length (allowing a little bit extra) and twice as wide as you want the straps to be from contrasting fabric. Fold in the raw edges, pin and press. Cut two pieces the same length from the main fabric at your desired width. Fold in the raw edges, pin and press. Then pin the narrower strip so that it covers the raw edges of the wider strip. Sew along the long edges of the narrow piece.
9. Now is the tricky part. Put the ends of the
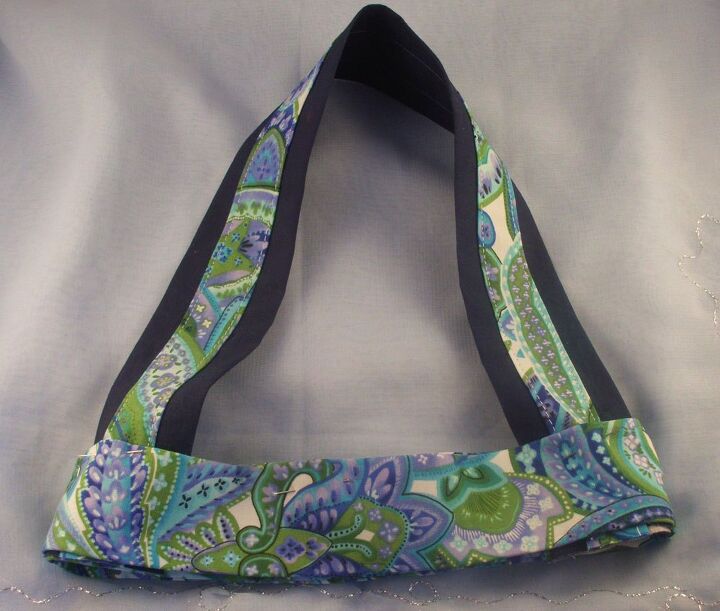
straps in between the two circles that were rectangles and pin at the top. Make sure that they are close to the seams as they will be lined up with the sides of the bag.
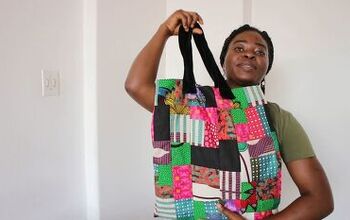
10. Put the lining inside the outer of the main part of the bag. Next attach the circular ex-rectangles. Pin the outer one to the outer of the bag and the inner one to the bag lining. They should cover the stitching but you don’t want the main bits poking out of the top 🙂 Ideally the ends of the straps should be between the lining and the bag outer. Then sew along the top of the rectangles and again along the bottom. Trim the threads and you have a new bag!!
If you make something, please photograph it and post it with a comment. I’d love to see it!
The author may collect a small share of sales from the links on this page.


Comments
Join the conversation