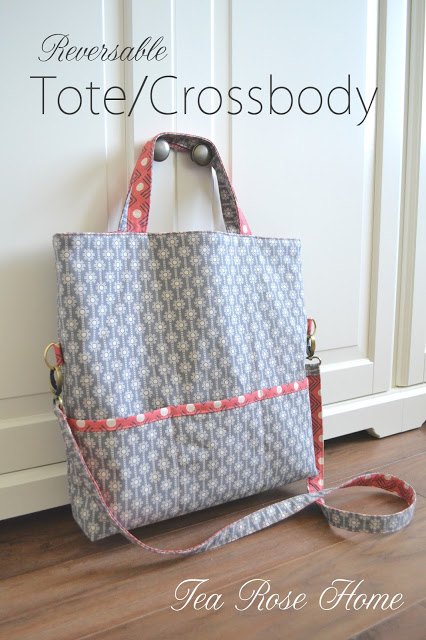
ModeS Fabric Review ~ Reversable Tote/Crossbody Bag Tutorial
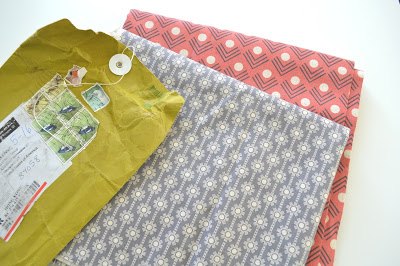
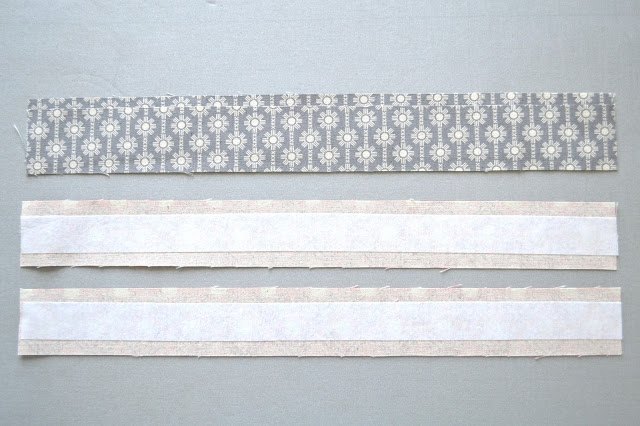
The nice blend of 85% Cotton/ 15% Linen is perfect for what I had in mind to make.
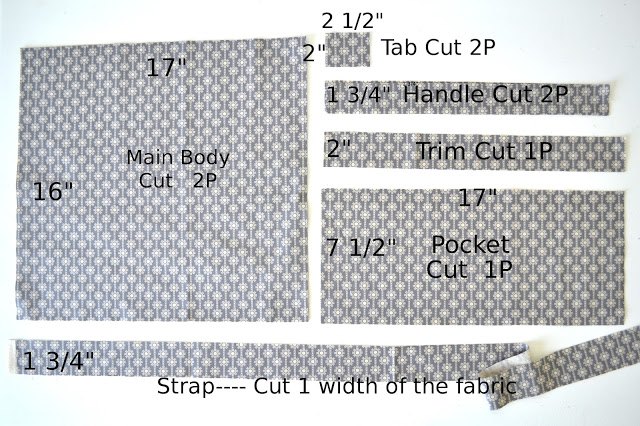
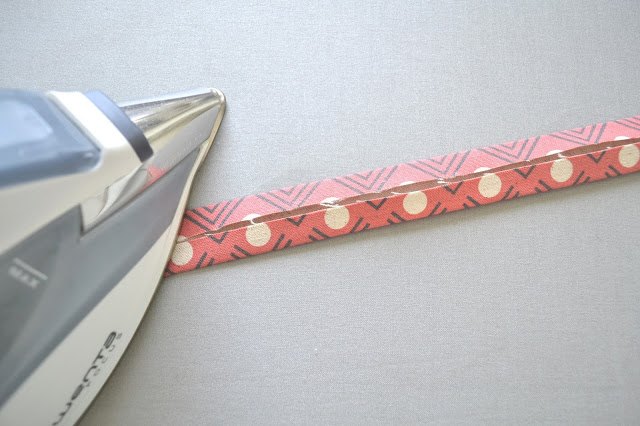
2. Fold the trim piece in half horizontally, press with iron. Open it up, bring both seams to the folded line in the middle as you press with an iron. Sew them on to the top seam of the pocket. Make sure to mix and match the two fabrics.
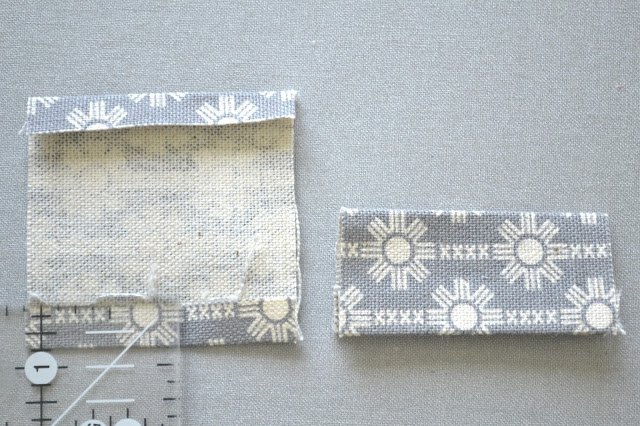
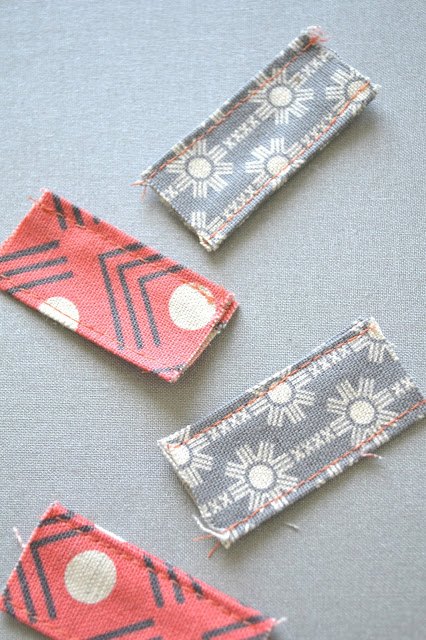
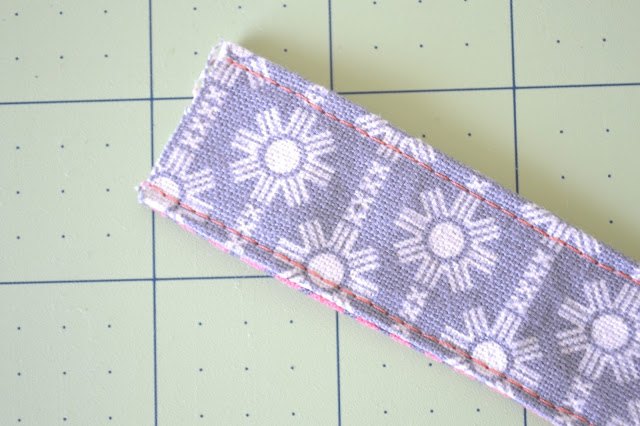
3. Fold the 2" side of the seams of the tab by 3/8" press with iron and fold it in half. Sew.
4. Cut 2 strips of 1" x 16" from fusible interfacing. Read the manufacture's instruction and Fuse them onto the middle of the wrong side of the handle of fabric.
5. Mix and match the handle of fabrics A and B. Put them right sides together and sew along the side of the edge of the interfacing. Leave both ends open for turning the fabric inside out.
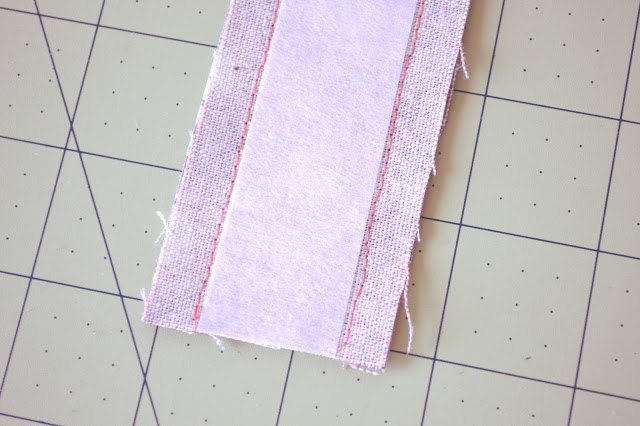
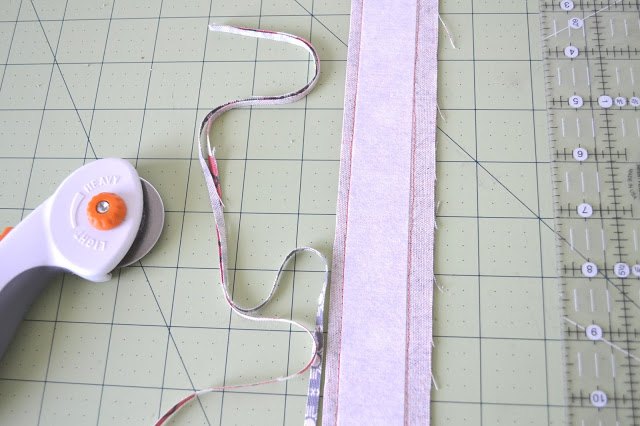
6. Cut the excess to make the seam smaller. This makes it easier to turn the handle inside out.
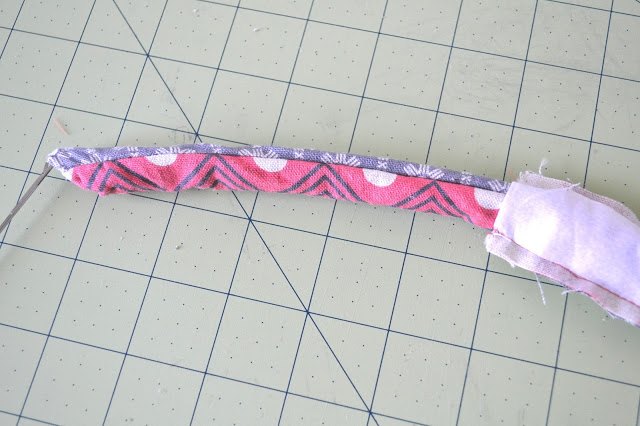
7. Press the handle with an iron. Top stitch both sides 1/8" from the edge.
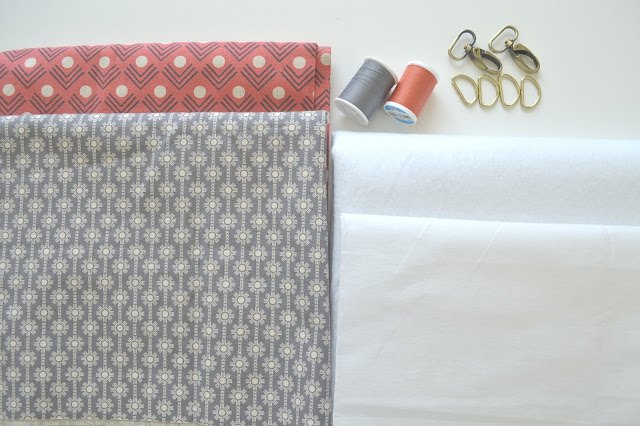
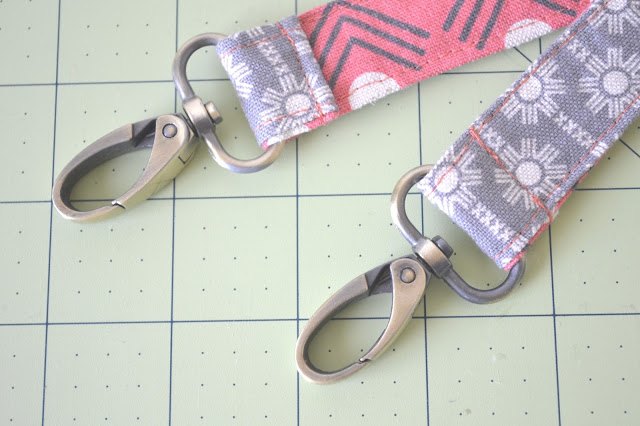
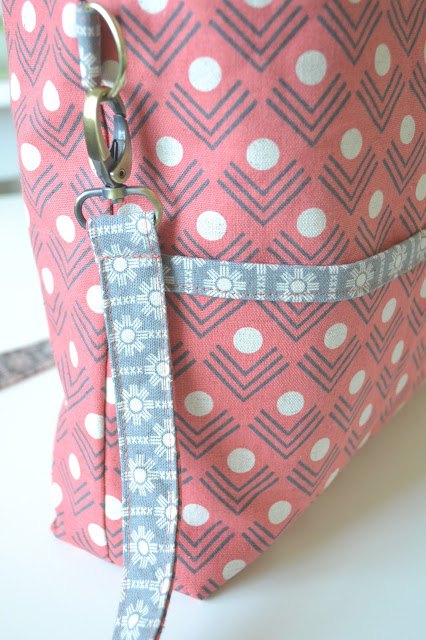
8. Cut the Cut strips of 1" x width of the strap from fusible interfacing. Repeat steps 3 to 6 and make the strap. Sew both ends with swivel hooks and set the finished strap aside.
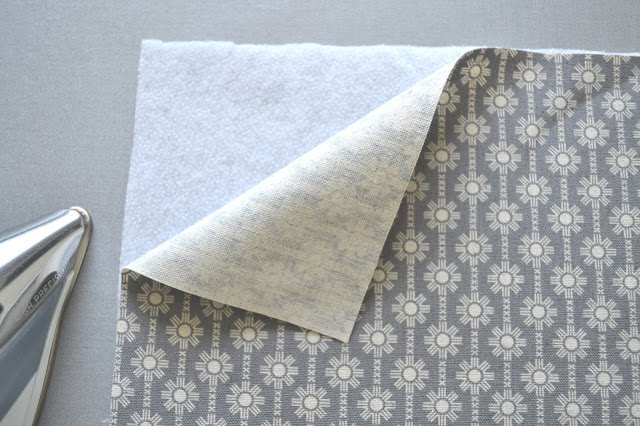
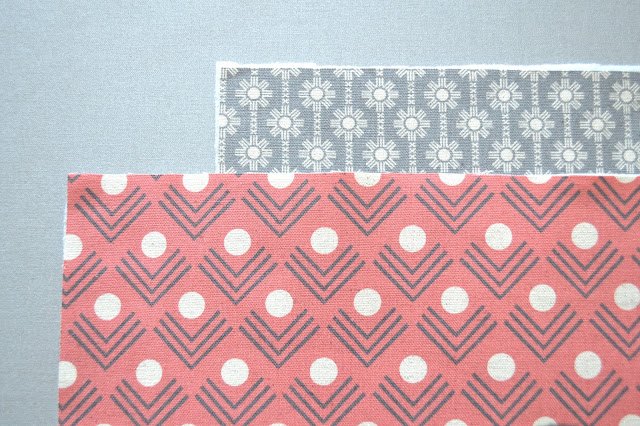
9. Cut 16" x 17" rectangle from the fusible fleece. Fuse them onto the wrong sides of body pieces from one of each fabric A and B. You might ask why not the same fabric set... because this bag will be reversible and each (A side and B side) will have its own pocket. To sew the pocket, I wanted a stronger body to stabilize the pocket better. That is why we need to fuse the fleece to one of each fabric.
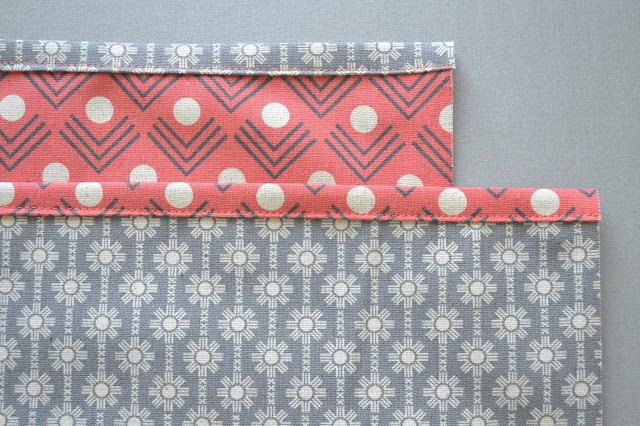
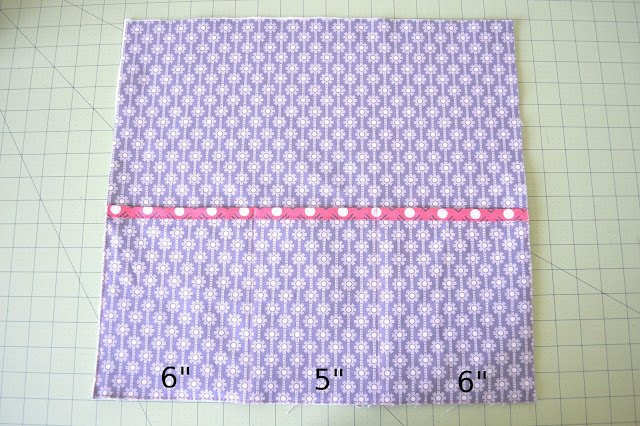
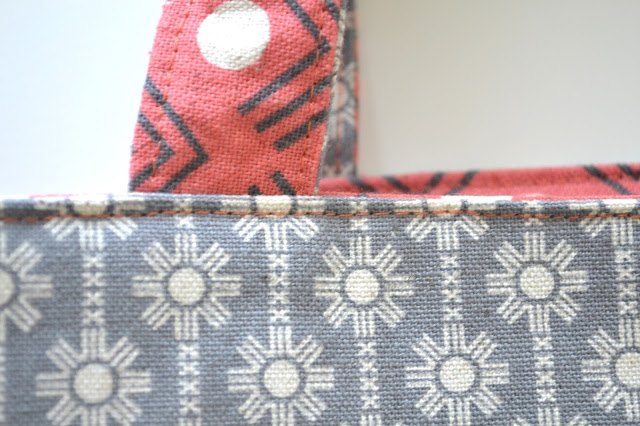
10. Pin the pocket onto the fused body pieces. Measure 6" from both sides of the pocket, draw lines and sew on top of the line to separate the pocket. With large stitches sew the pocket to the body to keep them together better. Sew very close to the edge. Now you have a body piece with a pocket.
11. Take the same fabric but without the pocket and put them together with right sides of the fabric and pin the sides and the bottom. Fold the tabs you made during step 2, fold in half with a D-ring. Remember, if you are working on fabric A, you want to use tabs made out of fabric B so you can create a contrasting design. Measure 5" from the top edge of the body and slide in the tabs just blow the 5" lines so you can sew them in on the side of the bag. Sew with 1/2" seam.
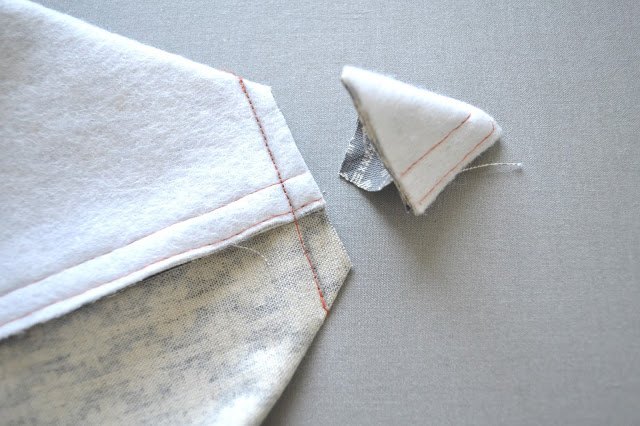
13. When you turn the body inside out, it will look like the picture below. Work on the other set of the body pieces as well.
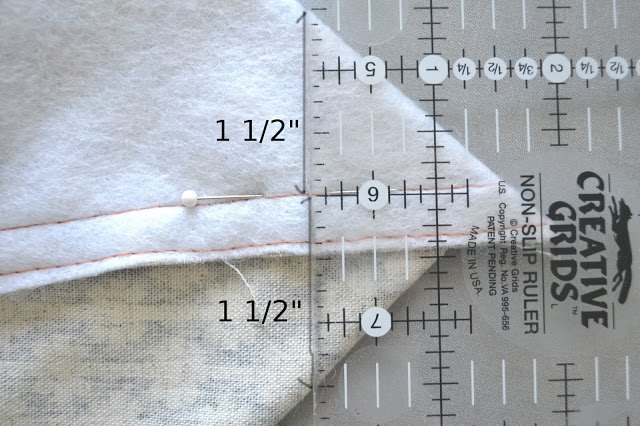
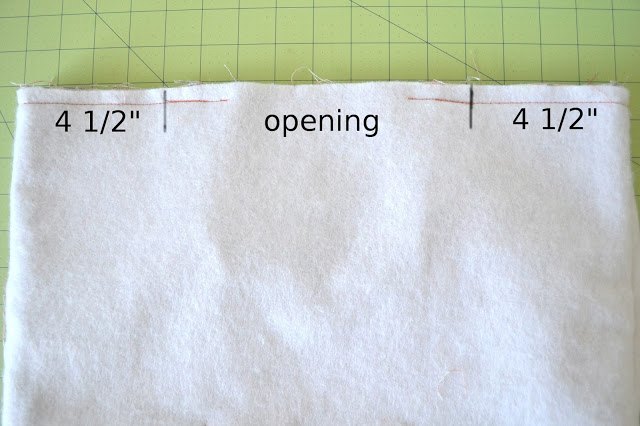
14. Put both body pieces right sides together. Make sure that side seams line up perfectly and pin. Measure 4 1/2" from both sides and slide in the handles between the right side of the fabrics A and B. Make sure that the handle fabric will contrast the body fabric. Mixing and Matching is happening here as well. Leaving the opening, sew all the way around.
15. Turn the body inside out. Press the seam with an iron. Top stitch the edge of the opening of the bag.
16. Hook the strap you made on step 7 to the side of the bag you want to use. Now the bag is ready to be used!
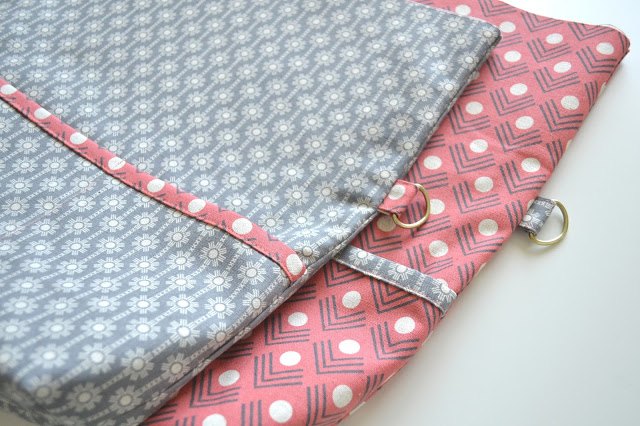
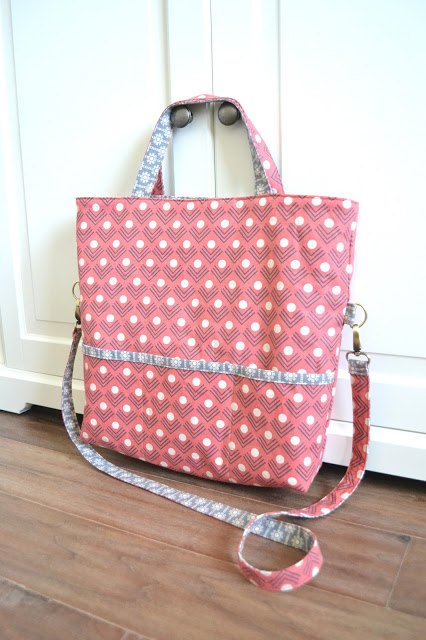
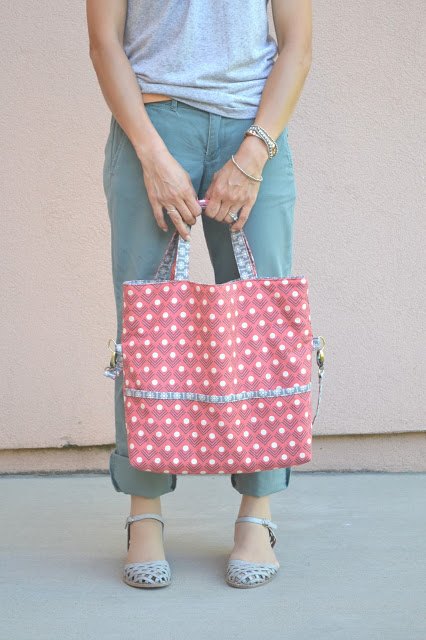
Side A or...
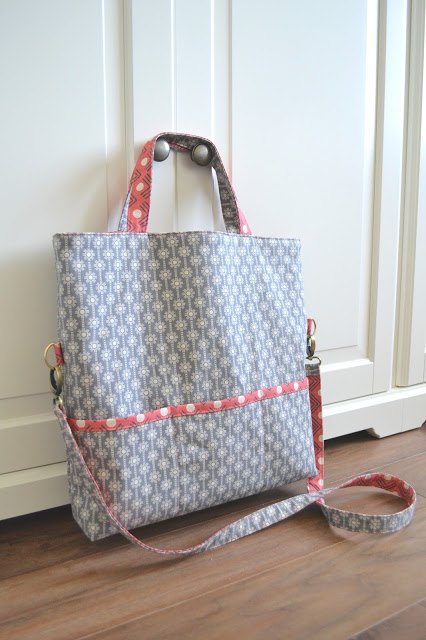
Side B, which one do you like the best?
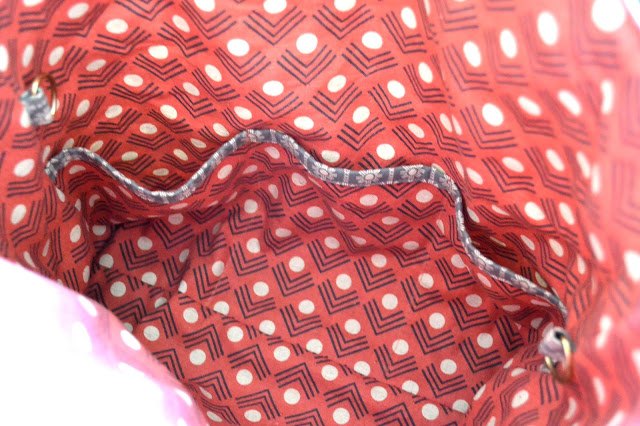
When you are using one side of the fabric, you still get pockets inside of the bag as well. Total of 6 pockets!
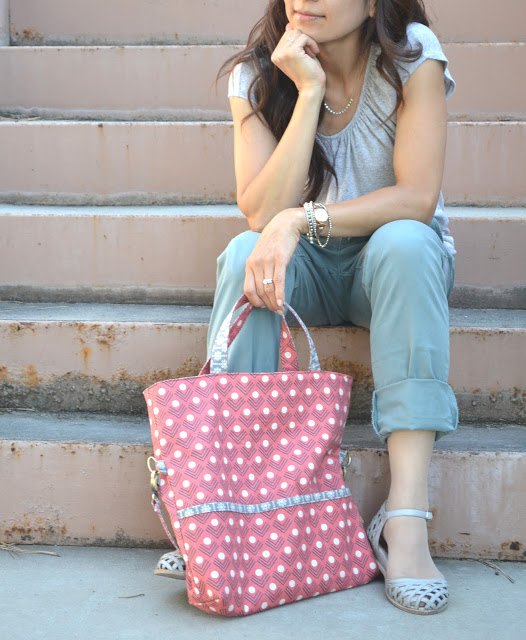
Before I send this bag (or "these" bags?? because you can use it in so many ways!), I needed to test it.
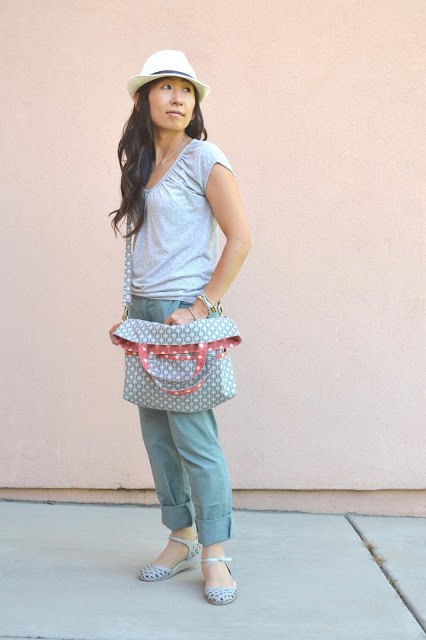
You can fold the top when you don't have much to carry
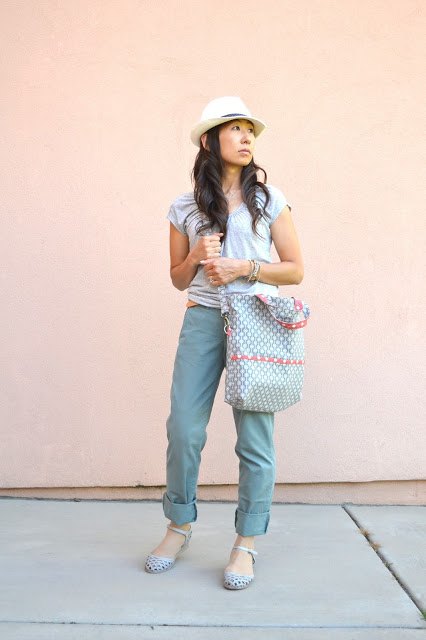
I like this side too
Do you want to head over to ModeS to see their large selection of fabrics and see what kind of fabric combinations you can come up with? Thank you for stopping by, I hope you enjoyed the tutorial! :)
The author may collect a small share of sales from the links on this page.


Comments
Join the conversation
♥️
I love this. I have been looking at tote patterns for weeks. I like this but might just to the sizing that I'm looking for.