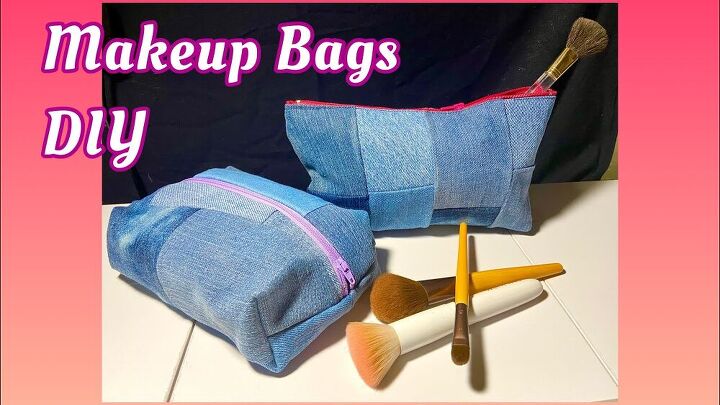
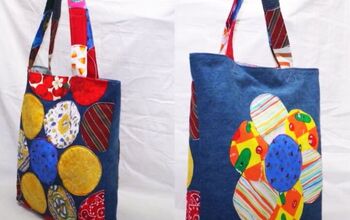
How to Make Patchwork Denim Makeup Bags

I’m going to show you how to make two different DIY makeup bags. They’re really simple and are a super funky design - denim patchwork. This is an easy peasy lemon squeezy tutorial, and you’ll come away with two great roomy purses that you can stash all of your makeup in.
Pattern 1
Tools and materials:
- Paper
- Two 9inch (23cm) zippers
- Scrap denim
- Fabric
- Tape
- Ruler
- Pins
- Rotary cutter or fabric scissors
- Fabric marker
- Sewing machine
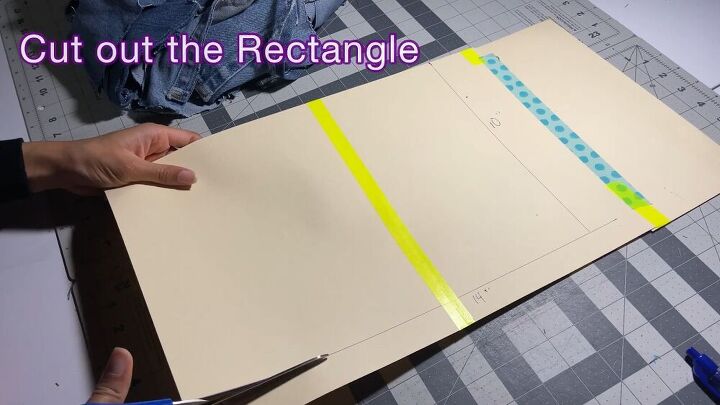
Cut out template
Tape your paper together and then measure out a 10x14inch (25x36cm) rectangle. Cut out the rectangle. Measure another 6x10inch (15x25cm) rectangle and cut it out.
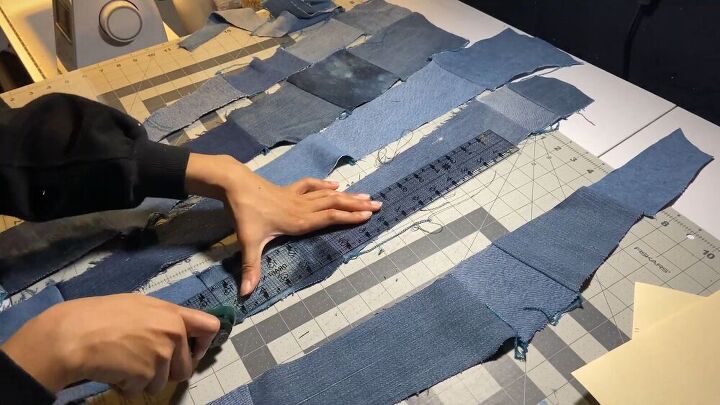
Cut the denim
Cut out denim scraps into rectangular and/or square shapes and lay them out in rows. Once done, place the fabric in piles. Then sew/serge together the pieces by rows, and when you've sewn them together, cut the sides to make them straight.
Sew the fabric
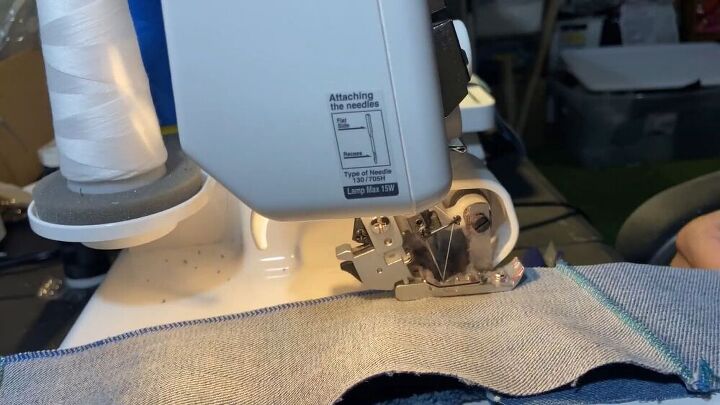
Place pieces of fabric one on top of the other, good sides facing each other with the straight sides together, and sew with a straight stitch or overlock.
Tip:
Pin the pieces of fabric if you need to, to hold them in place.
Once sewn together, iron your new material flat.
Cut the denim and lining fabrics
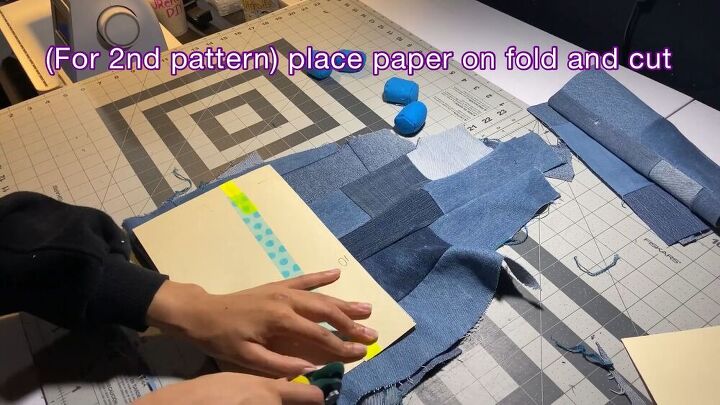
Place your 10x14inch (25x36cm) rectangle template on top of the fabric and cut out a piece of fabric this size. With your second pattern [6x10inch (15x25cm)], place paper on fold and cut. You will therefore end up with a piece of material double this size.
Cut out a 10x14inch (25x36cm) rectangle (using your template) in the fabric you’ll be using for your lining. Taking this together with your denim piece, place the wrong sides together and sew/overlock around the edges.
Tip:
You may find it helpful to place weights on your template while cutting around it to
make sure it doesn’t move around.
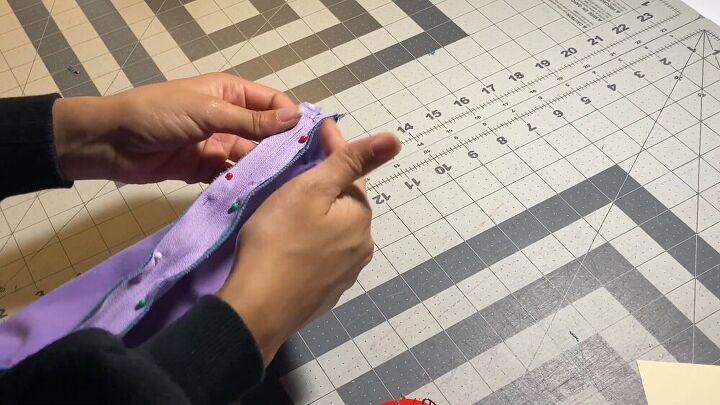
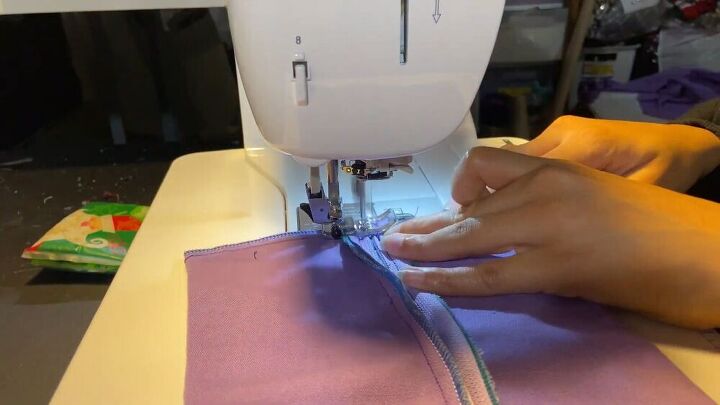
Pin and sew zipper to fabric
Pin the zipper at the top edge on the right side of the denim fabric. Fold over fabric and repeat the pinning zipper to the bottom edge. On the sewing machine, switch to zipper foot and sew a straight stitch along the zipper - do this on both sides.
Sew open edges
Arrange the material so that the zipper is in the center and pin along the open edges. Sew along the top and bottom edges with a straight stitch.
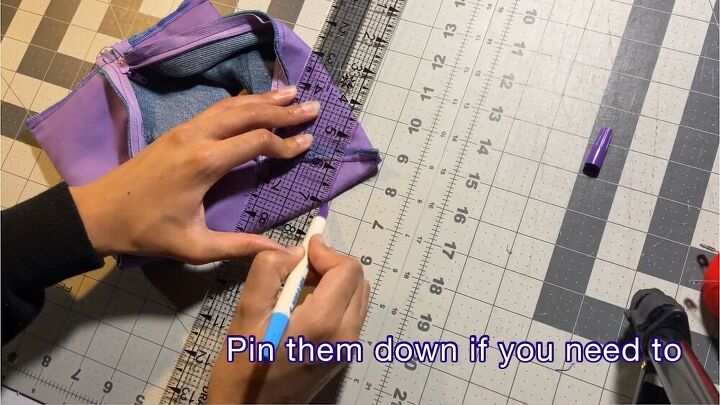
Trim the corners
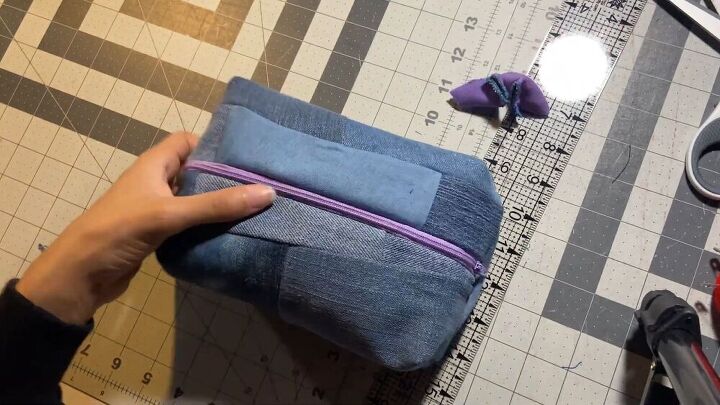
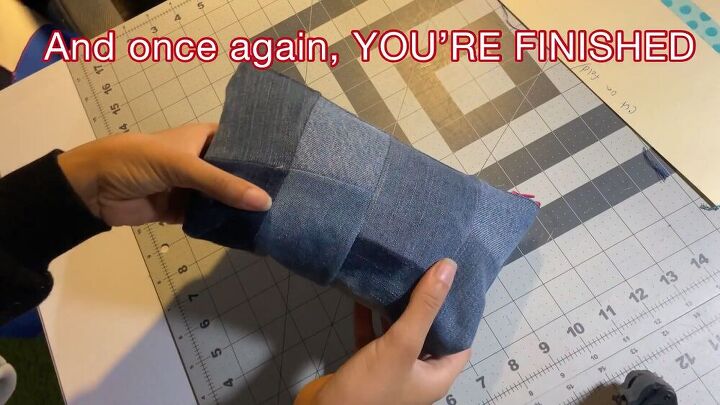
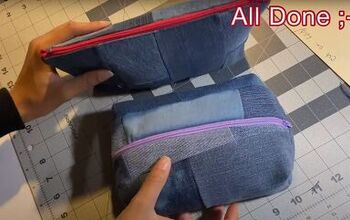
Flatten out the corners. Measure 1inch (2.5cm) from the corners and mark it, do this to all four corners. Pin them down if you need to. Sew along those lines, trim the hanging threads. Cut off the corners, making sure not to cut through the seam. Turn inside out, turn those corners out, and you’re finished!
Pattern 2
With your 6x10inch (15x25cm) rectangle template, copy steps 1-5 of the first tutorial.

Sew up the sides
Cut off excess threads. Pin open sides closed with the zipper at the top. Sew a straight seam along the sides.
Trim the corners like you did in the first tutorial.
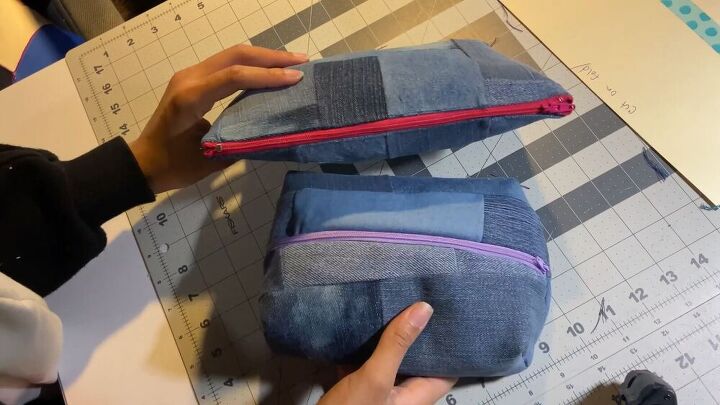
These two makeup purses are nice and big, so there’s plenty of space to store all of your makeup inside. I can’t get enough of the denim patchwork pattern; the contrast between the different denim types is just gorgeous. The colored zippers add a nice touch to give the bags a pop of color.
How would you customize your own DIY makeup bag? Let me know in the comments below!
The author may collect a small share of sales from the links on this page.


Comments
Join the conversation
Love these!