How to Make a Leather Purse Step-by-Step: Fun Prada Mini Bag DIY

In today's tutorial, I'm going to be showing you how to make a leather purse, with the help of my dad! My dad used to make leather purses all the time, so he has all the supplies and he's going to teach me some of his skills.
For my DIY leather purse, I’m going to try to recreate the infamous Prada mini bag (usually around $1,000) for only a fraction of the price. This bag oozes quality and timelessness, and is such a classic piece to own.
Tools and materials:
- Leather (you could also make this bag out of fabric, if you prefer)
- Tape
- Rotary cutter
- Binder clips
- Sewing machine
- Heavy-duty thread
- Zip
- Ring
- Clamp hardware
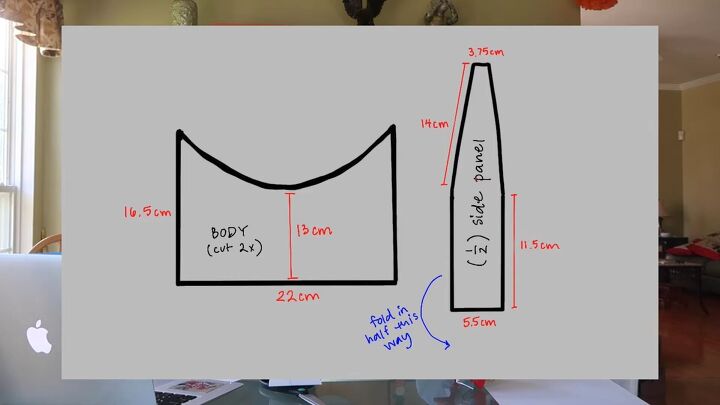
1. Make the leather handbag pattern
You can find the pattern for the leather purse here.
There is a slight mistake, though. The whole side panel should be 61cm long (24 inches), not 50cm (20 inches), so add 2.5cm (1 inch) to the two long sections of the side panel, so that they measure 16.5cm (6.5 inches) and 14cm (5.5 inches).
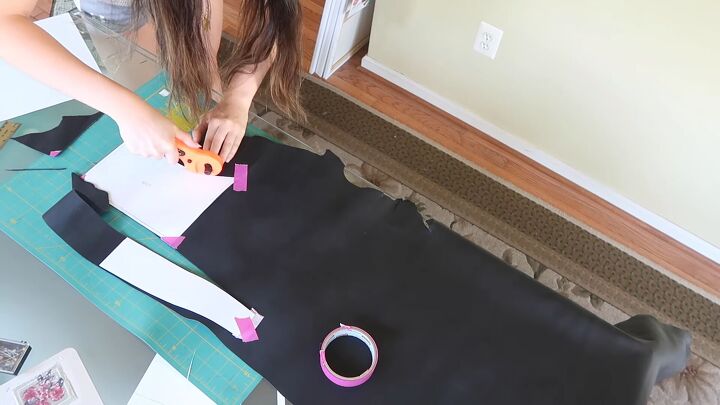
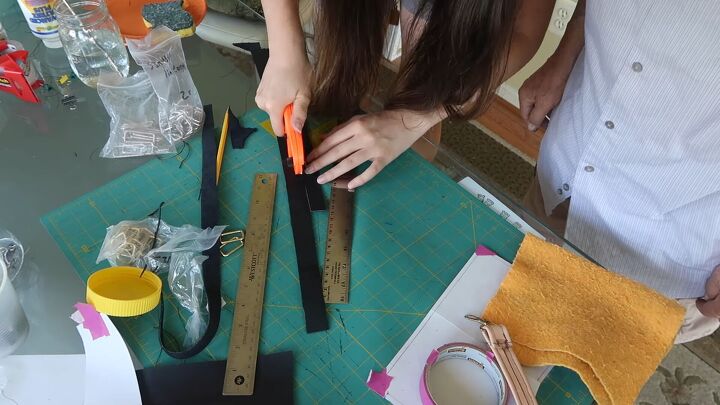
2. Cut out the leather
I recommend taping down your pattern pieces, so they don’t move around when you’re cutting your material. Cut around the pattern as precisely as possible. You want to cut two body pieces out.
Since the side panel pattern only shows half of its length, you want to double it by flipping it over before cutting it out.
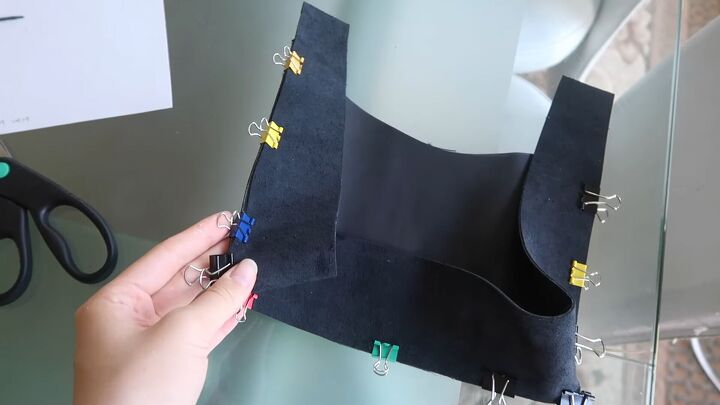
3. Pin the pieces together
Mark the center of your pieces, using the pattern as a guide; this way, you know exactly where to line up each piece when you go and pin them together. Use binder clips to pin the leather in place.
Using the center marks that you used previously, line up your pieces exactly - right side to right side. Since the bag is curved, you want to cut some small slits to allow it to curve nicely around the edge.
You can cut two tiny slits, one on each side of the side panel piece, and that should be enough to allow you to create this nice even curve.
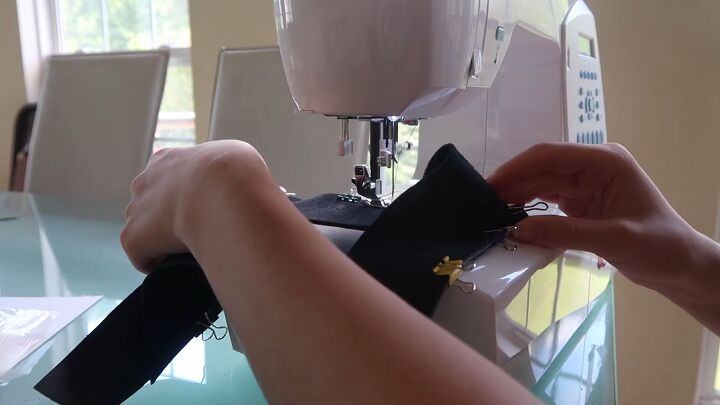
4. Sew the leather purse
To sew the material, I used heavy-duty black thread. Throughout the process, I used the hand cranker on the side of my machine, so I had more control.
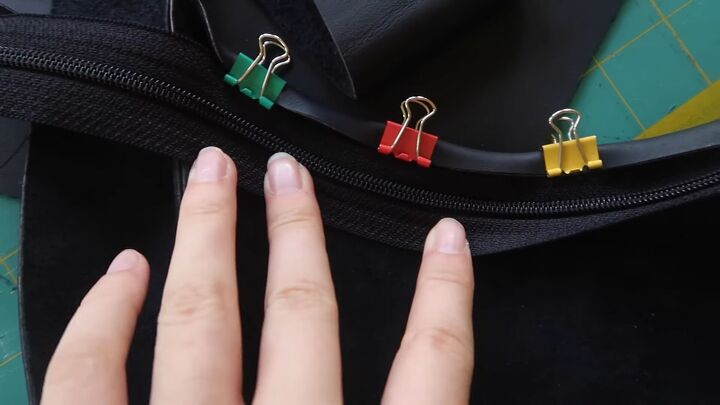
5. Add the zipper
Fold over the raw edge of the purse and pin it down. After the entire edge is pinned, take the zipper and place it inside the folded piece.
Make sure that you push it far enough so that it’s all the way in there, so that you can sew one seam and attach the zipper at the same time as you hem the raw edge. Then, go ahead and sew it together.
Go slowly and use the hand-crank instead of the foot pedal to ensure that the stitch is straight.
Tip: To make leather easier to bend, wet it with a sponge.
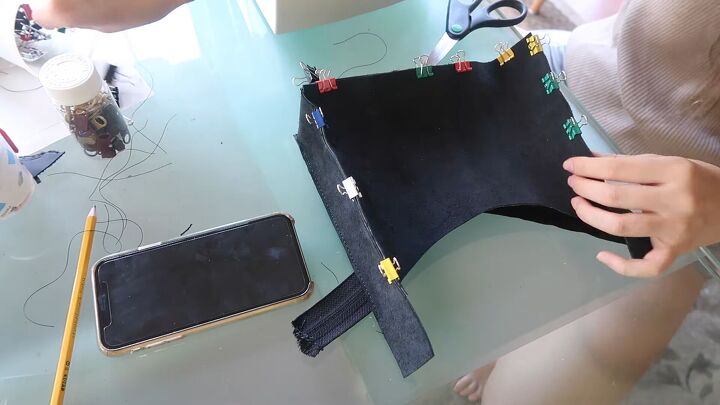
6. Attach the last body piece
Attach the second body piece to everything else, pinning it right side to right side with binder clips. And then you know the drill, just sew it together.
Wet the other raw edge of the purse and pin it and attach it to the zipper on the other side of the purse. Sew this part down. It may be a little hard to maneuver under the sewing machine, since most of the bag is already sewn together.
7. Sew the sides down
According to my pattern, the side panel is a little longer, and originally I wanted that to end up being connected to the strap. But the little ring that I have is too thin to fit through this piece.
So, I’m going to fold the side panel and sew it down, and then I’ll add another piece of leather that has the ring attached to it.
I have two little pieces of leather that I will wrap around the ring. You want to attach it at the same time you fold and sew down the excess leather. This way, there is only one seam, and it looks more professional.
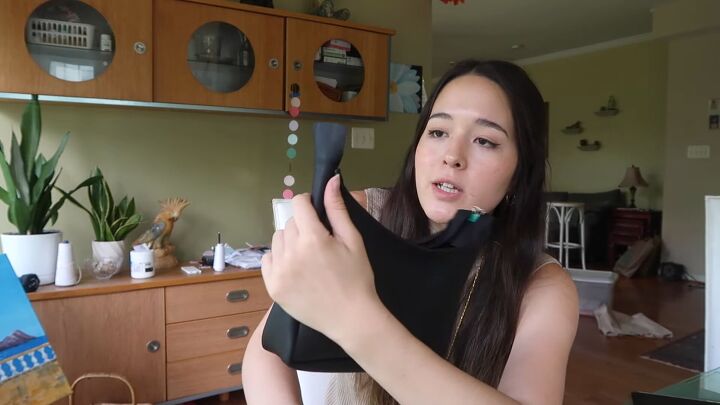
8. Determine strap length
You want to decide how long to make the strap. I took the strap off of another purse I made and attached it to this purse as a reference.
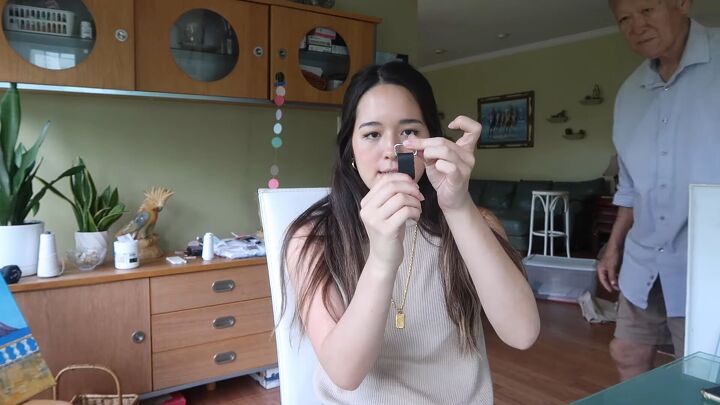
9. Cut out your strap and attach it
Whatever length you decide, cut that out of your leather. I made mine about 16 inches long and 1 inch wide. I used some clamp hardware, folded the edges of the strap over, and sewed it shut. Then, I clipped down the strap and ta-da, you’ve got yourself a Prada bag.

How to make a leather purse tutorial
I’m really proud of myself for making this DIY leather purse! It wasn’t easy, but the end result was definitely worth all of the effort that went into it, and it was a lot of fun working with my dad. Let me know if you try out this tutorial on how to make a leather purse
The author may collect a small share of sales from the links on this page.


Comments
Join the conversation
I have some pretty faux leather fabric that I'm anxious to use to make a purse like this. It's self-healing so the edges should be easy to finish and I liked how you reduced the steps by making only one stitch to accomplish several steps at once. I can also see how this process could be enlarged easily by extending the dimensions up to create a thicker, wider, and taller finished product. Prada? No thank you! Over-rated status symbols are so passe!
That’s so special you had your dad to teach you this. Memories were made. Looks like something I could possibly do!