How to Make a Mini Purse With a Zipper & Lining in 7 Simple Steps

Learn how to make a mini purse by following this DIY sewing pattern and instructions. It’s just the right size for your mobile phone and a few essentials, so you’ll want to take it everywhere with you! Let's get started.
Tools and materials:
- Main print fabric
- Coordinating plain fabric
- Lining fabric
- Fusible fleece fabric
- 10-inch zipper
- Sewing pins
- Scissors
- Measuring tape
- Thread
- Iron
- Sewing machine
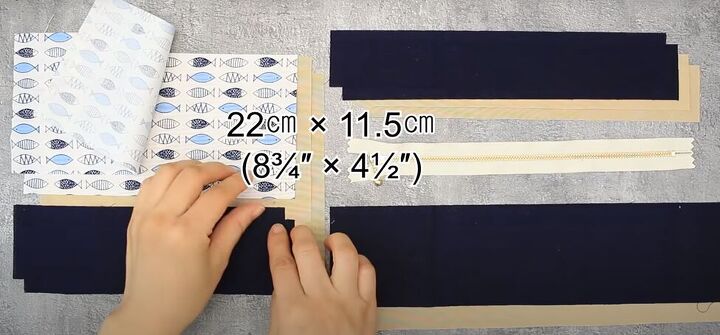
1. Cut the fabric
For all cutting measurements, follow the guide in the video from 0:48 to 1:16.
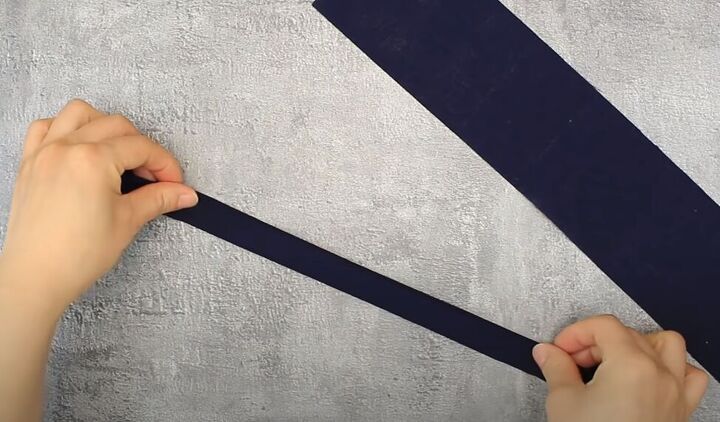
2. Sew the mini-purse sides and handles
Fold the long edges of your 8 x 37-centimeter (3⅛ x 14⅝-inch) plain fabric rectangle into the middle, then fold them in half lengthwise, keeping the right side on the outside.
Pin and sew along both long edges. Do not backstitch at the ends.
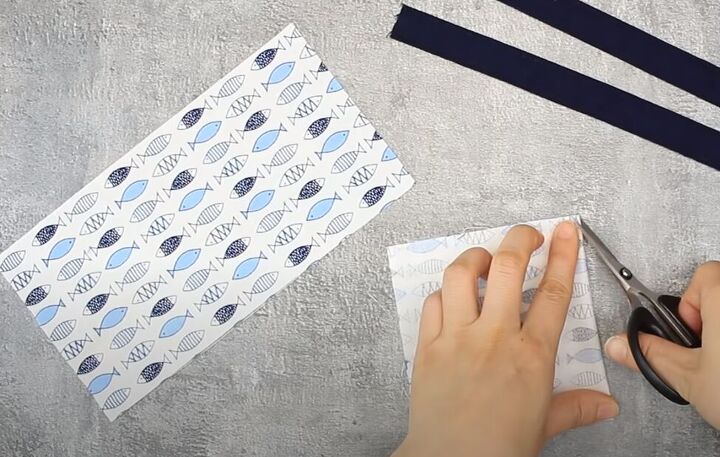
Fold the printed rectangles in half widthwise, with right-sides facing in, and snip the folded corners.
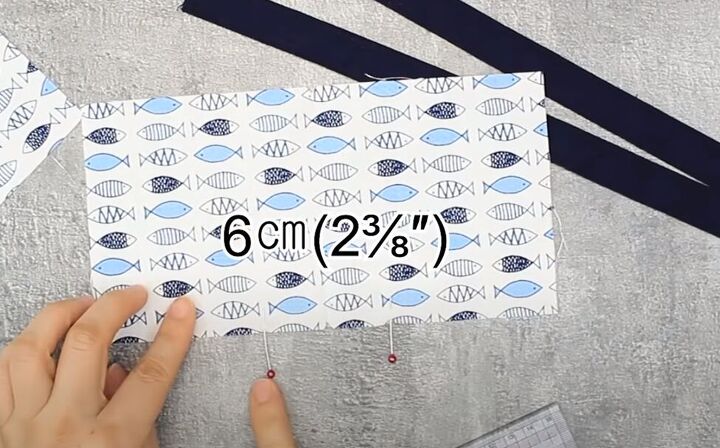
Open the rectangle and mark a 6-centimeter (2⅜-inch) section at the center bottom of the front of the fabric with pins.
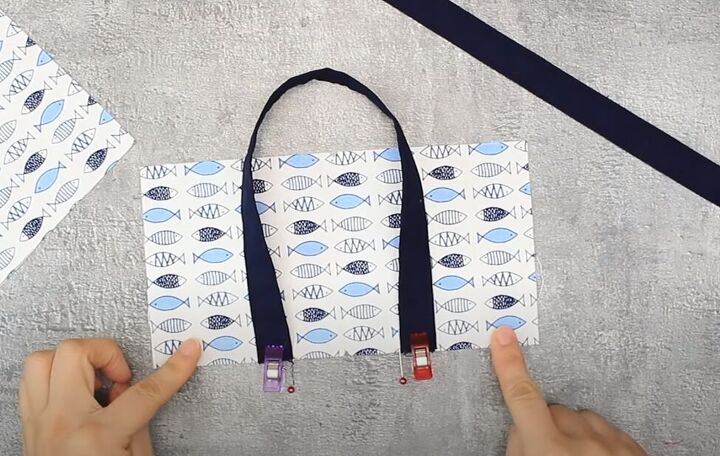
With right sides facing, pin each end of a strap handle to the edge of the rectangle on the outside of the pin mark.
Repeat for the other printed rectangle and handle and sew the handles in place.
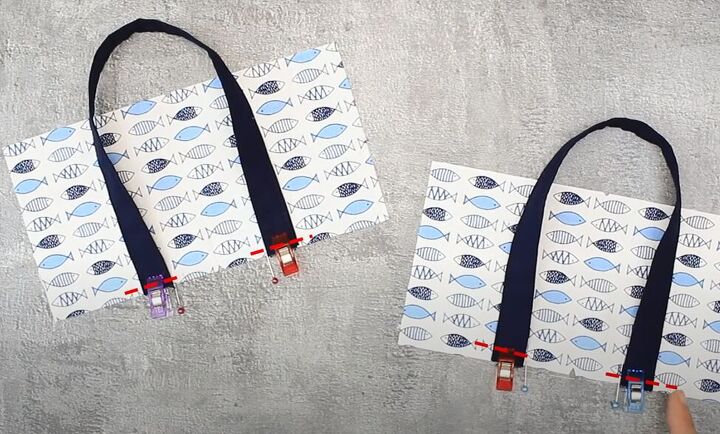
With right sides facing, pin a plain rectangle along the strap edge of each piece and sew in place with a 1-centimeter (⅜-inch) seam allowance.
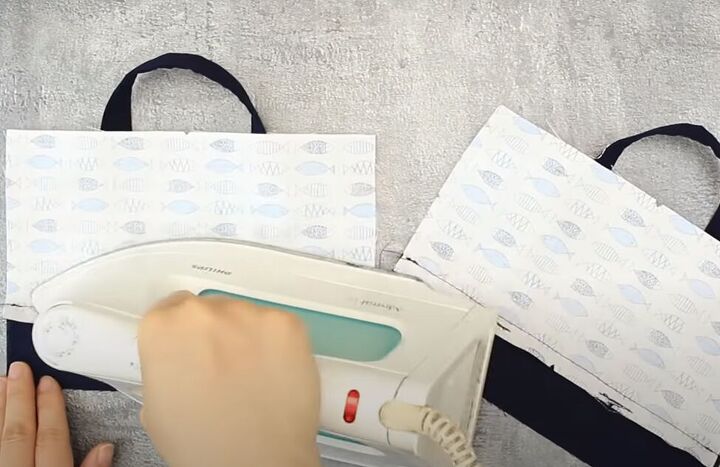
Iron the seams flat on the back and the front.

3. Add the interfacing
Cut your two fleece rectangles into the largest ovals you can.
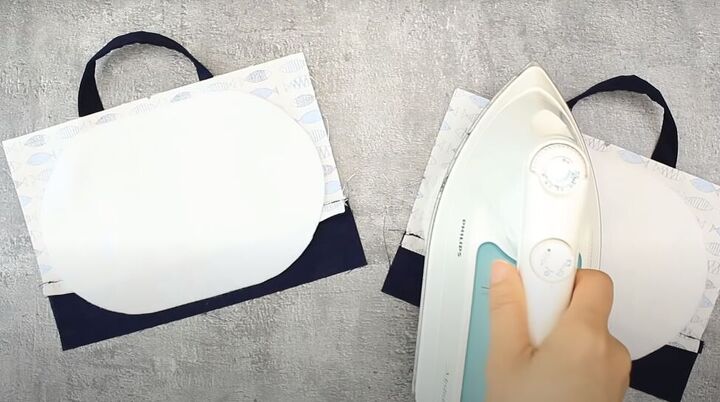
Iron the fleece ovals to the back of your sewn mini-purse pieces.
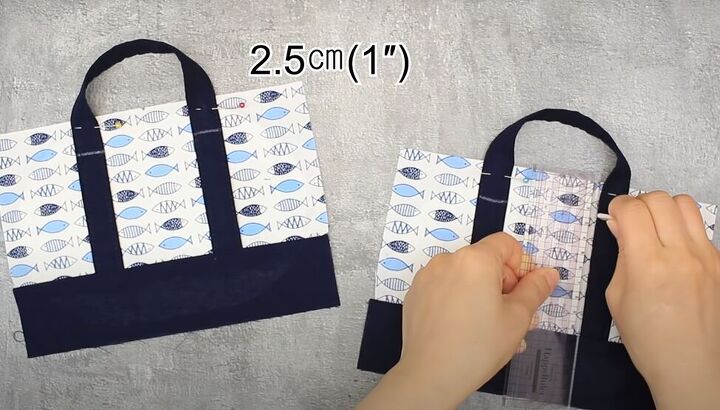
4. Attach the handles
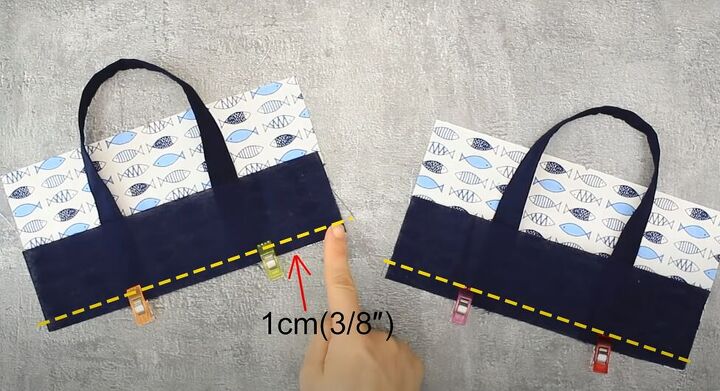
Pin the handles at the tops of the purse sides, and mark 2½-centimeters (1-inch) below the top edge of the purse on each handle.
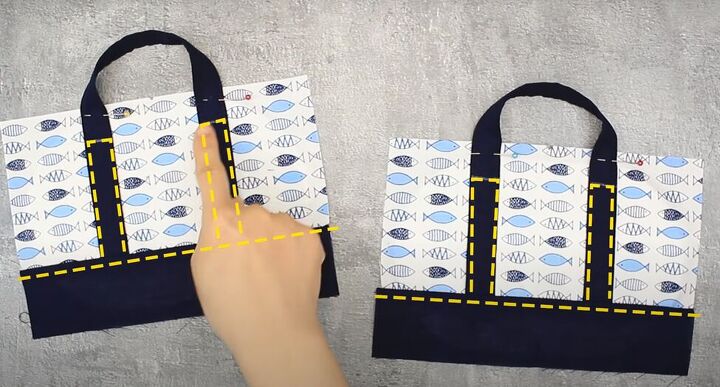
Topstitch across the bottom of the purse sides and along the handles as shown above.
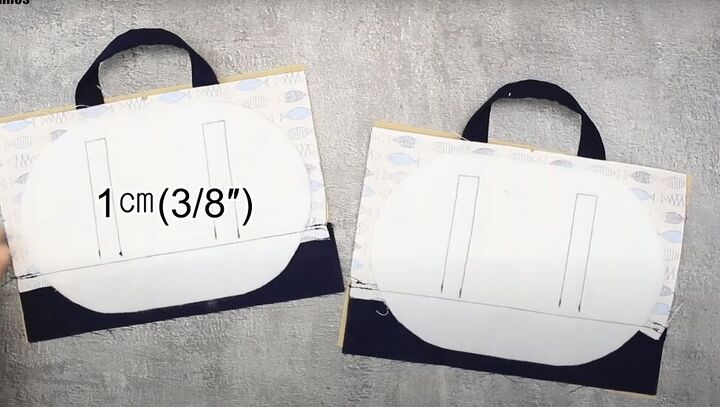
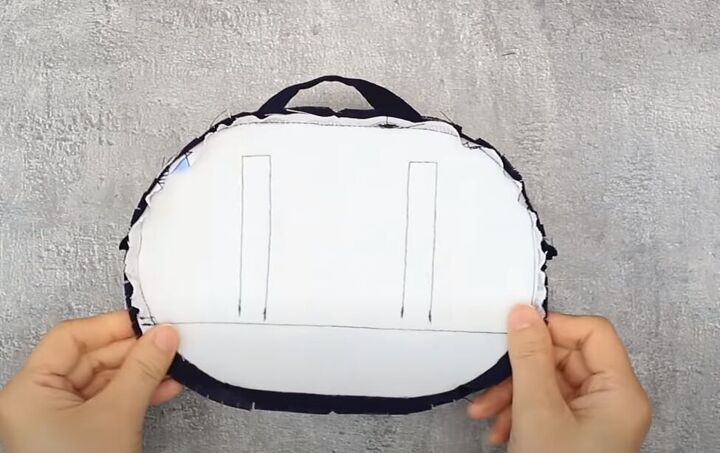
5. Shape the purse into an oval
With the right sides facing, place the main purse sides and the matching lining pieces together.
Lay the oval fleece piece in the middle, leaving about 1-centimeter (⅜-inch) all around the oval. Mark the position of the handles on the oval.
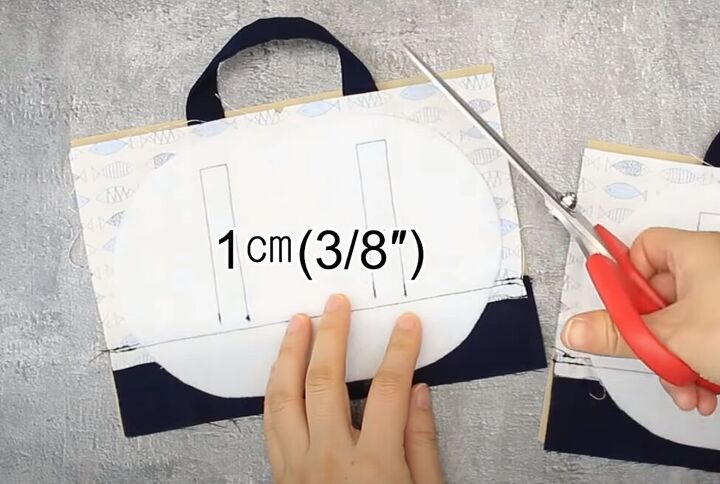
Cut the rectangle in an oval 1-centimeter (⅜-inch) larger than the fleece oval, not cutting across the edge where the handles come out.
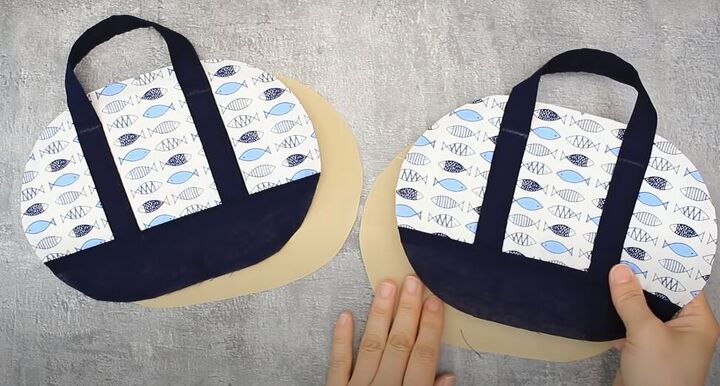
Your purse and lining pieces should look like this.
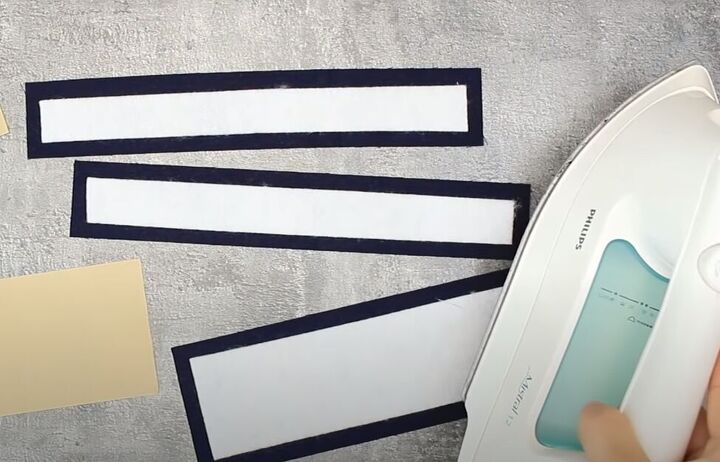
6. Make the zippered purse top
Iron the fleece rectangles to the fabric rectangles as shown above.
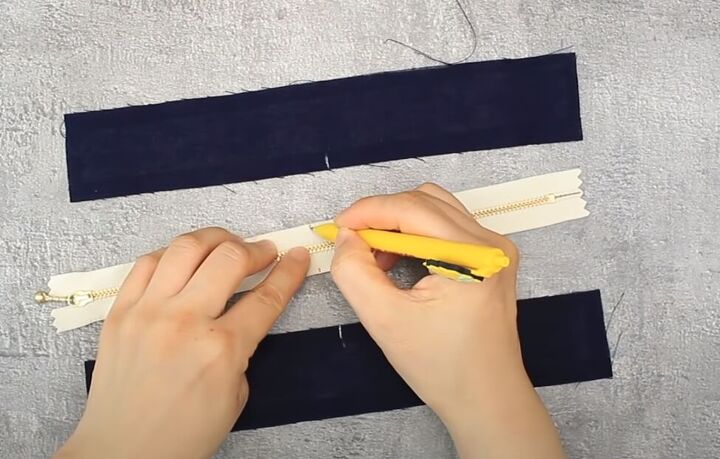
Mark the center point on both of your rectangles and your zipper.
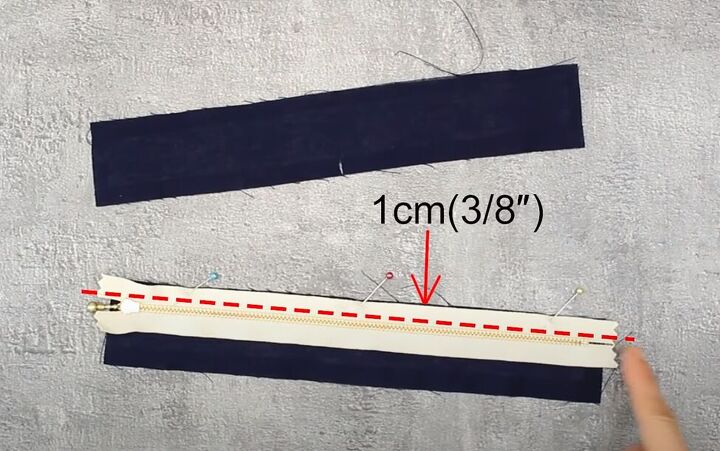
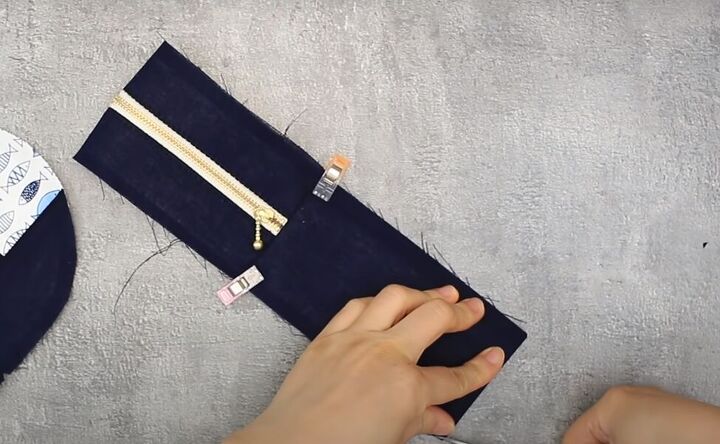
With right sides facing, pin your zipper along the edge of one fabric piece and sew it into place with a 1-centimeter (⅜-inch) seam allowance.
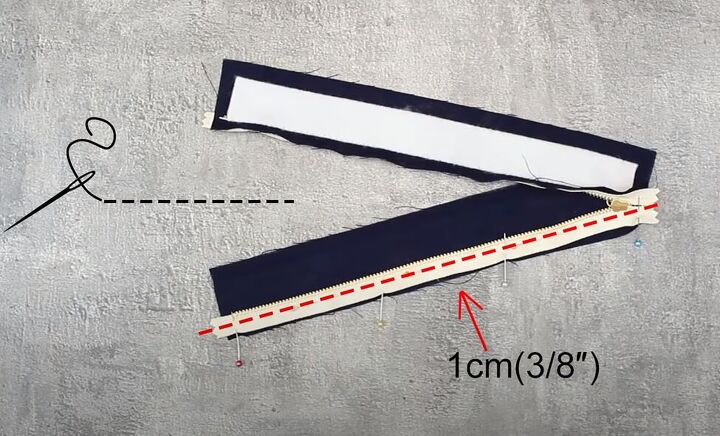
Pin and sew the other side of the zipper to the other piece of fabric as shown above.
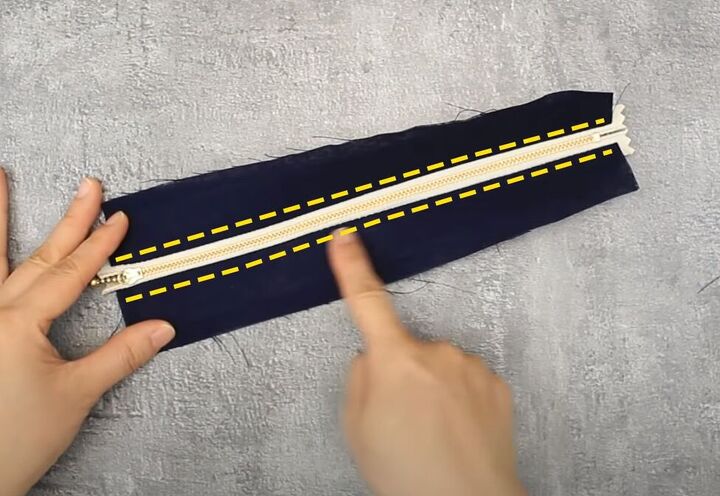
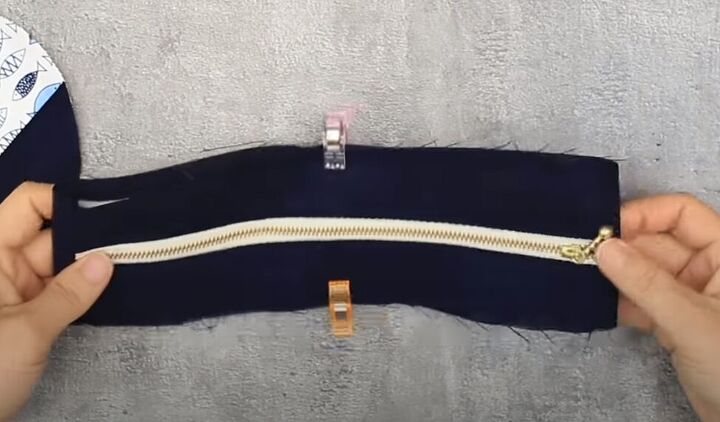
Flatten the seams towards the outer edges and top stitch along both sides of the zipper.
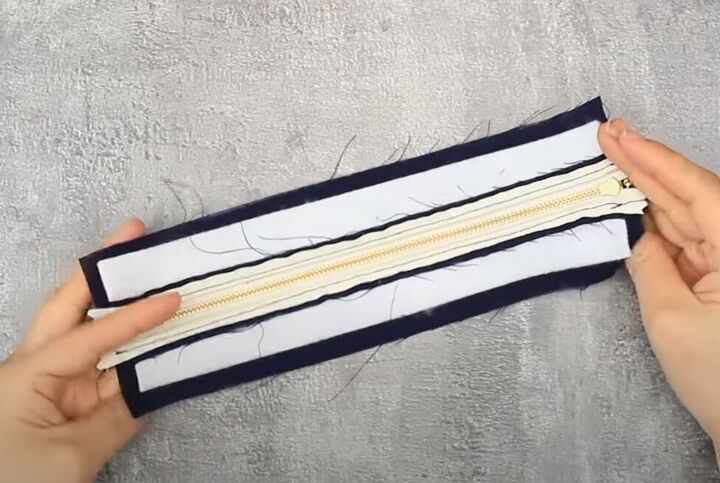
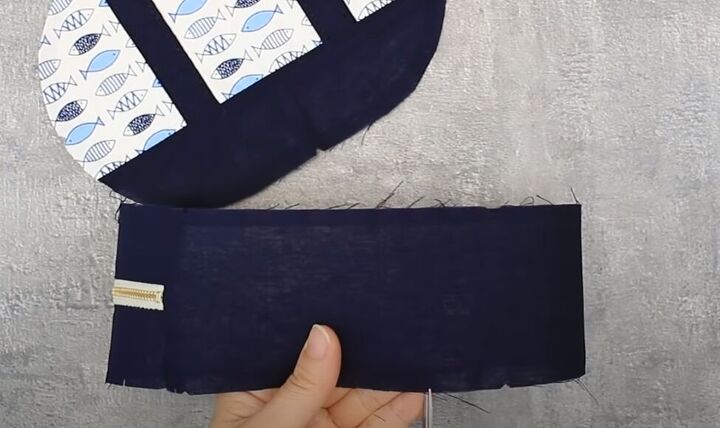
This is how it should look on the back.
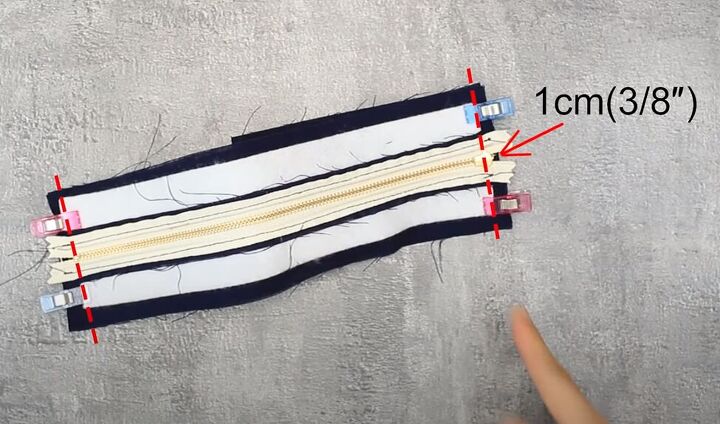
With right sides facing, pin the zippered rectangle to the larger plain fabric rectangle, lining up the two short sides. Sew the short edges with a 1-centimeter (⅜-inch) seam allowance.
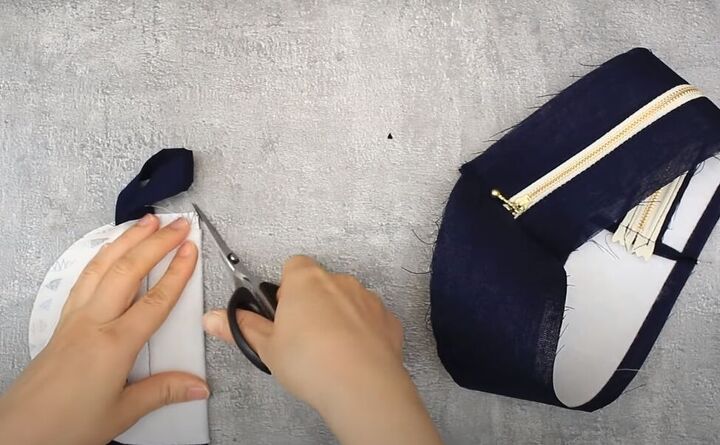
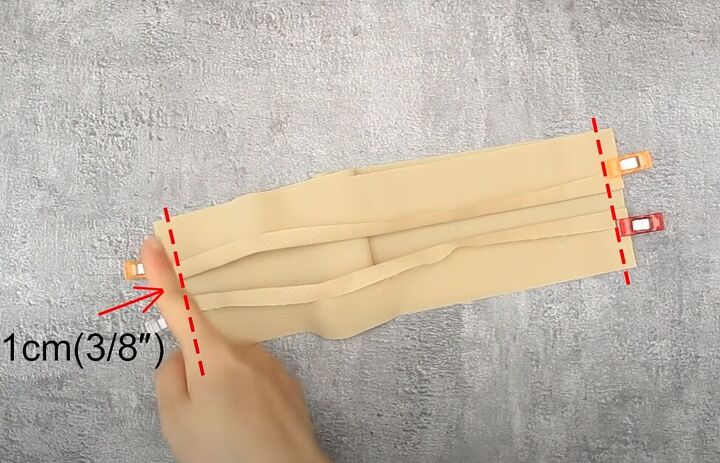
Fold the mini-purse in half widthwise, with the right side facing in and snip the top straight corner.
Now fold it in half lengthwise and snip both bottom corners.
Fold the zippered tube as shown above and snip all 4 corners.
Refold the zippered tube as shown above and snip all 4 corners again.
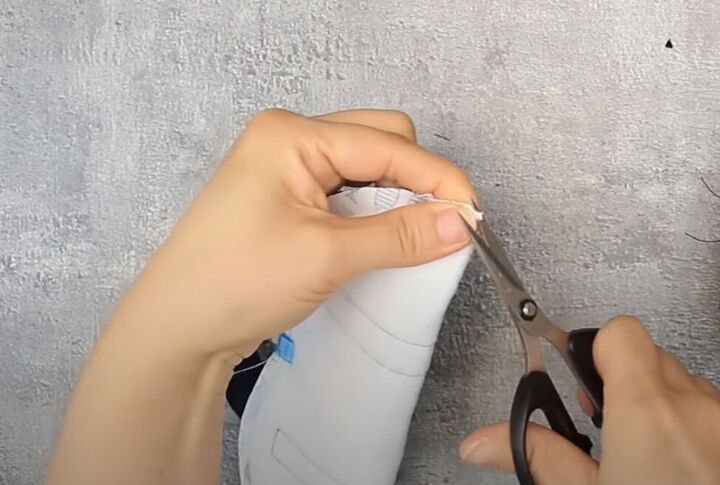
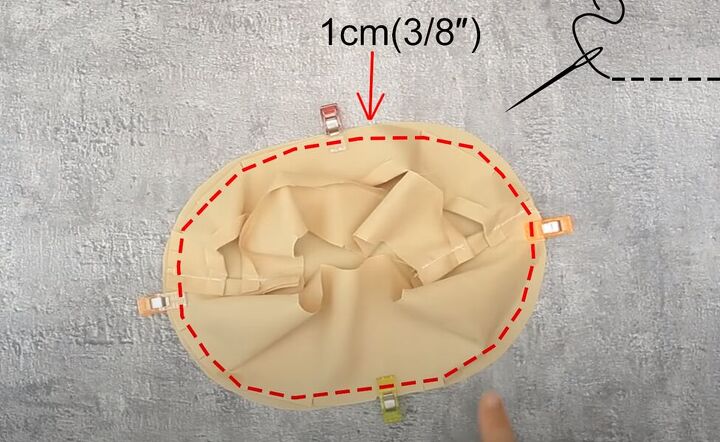
Make tiny snips all along both edges of the zippered piece.
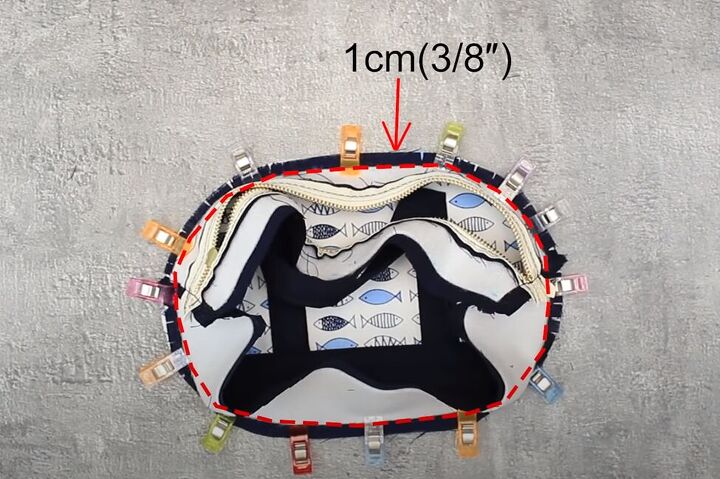
With right sides together, pin the zippered piece to one side of the purse. The snips you made will help you line up all the curved edges. Sew around that edge with a 1-centimeter (⅜-inch) seam allowance.
Pin and sew the zippered piece to the other side of the purse in the same way as you did with the first side.
7. Add lining
Fold over and iron down one long edge of both small lining rectangles 1-centimeter (⅜-inch).
Pin both of those pieces to the larger lining rectangle, with the folded edges at the center. Sew both short edges with a 1-centimeter (⅜-inch) seam allowance. Make tiny snips along both outer edges of this newly sewn tube.
Pin the lining tube to the lining oval and sew it in place with a 1-centimeter (⅜-inch) seam allowance.
Sew the other lining side on the same way as you did the first.
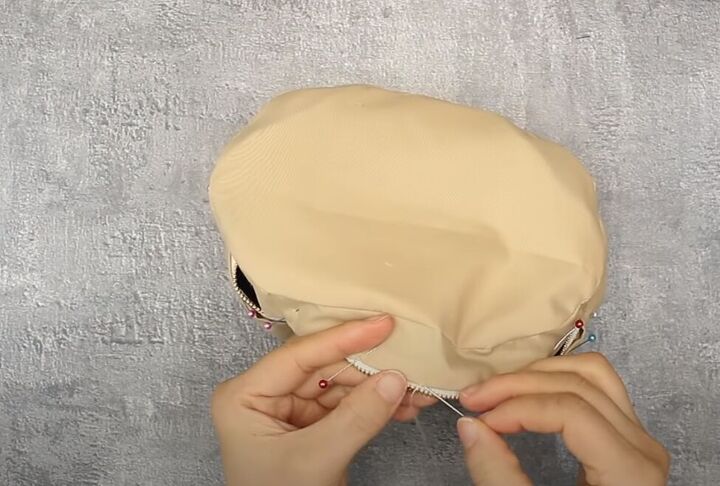
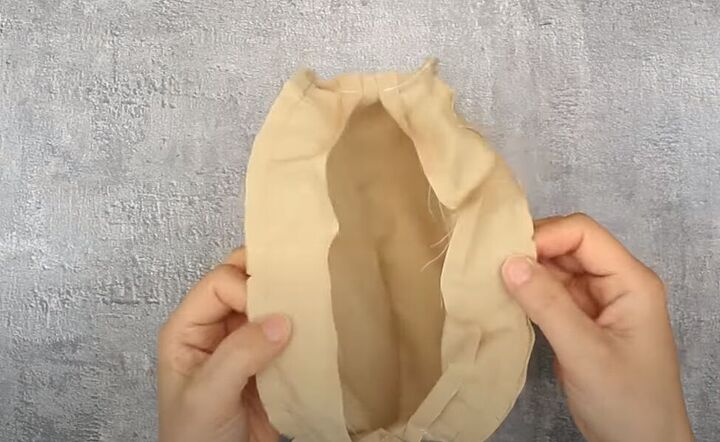
Turn the lining right-side out and insert the inside-out mini-purse into the lining. Pin the top of the lining to the zipper and hand-sew them together.
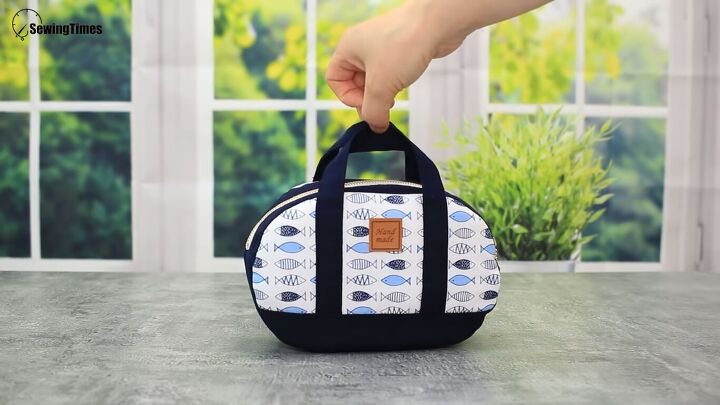
How to make a mini purse
Turn your whole mini-purse right-side out and start deciding what to fill it with! You’re going to find this DIY mini-purse so handy that your friends may ask for one too.
Leave a comment to let me know if you tried this mini-purse sewing pattern and how yours turned out.
The author may collect a small share of sales from the links on this page.


Comments
Join the conversation