How to Make a Bucket Bag - 8 Easy Steps to Create This Magical Purse

Make a bucket bag from scratch! Add a touch of magic to your purse collection with this beginner-friendly fabric bucket bag tutorial. The details on this bag are so beautiful and you can easily recreate your own by following this step-by-step guide on how to make a bucket bag at home.
Also, there’s no need to purchase a pattern, as this tutorial comes with a free bucket bag pattern! Ready to make your masterpiece? Let’s do this!
Tools and materials:
- Sewing machine
- Measuring tape
- Iron
- Black velvet fabric
- Red lining fabric
- Matching thread
- Scissors
- Pins
- Embroidered patches
- Pair of beaded curtain cords
- Long strap (2.2 yards)
- Matches
- Safety pin
- Pearls
- Fabric glue
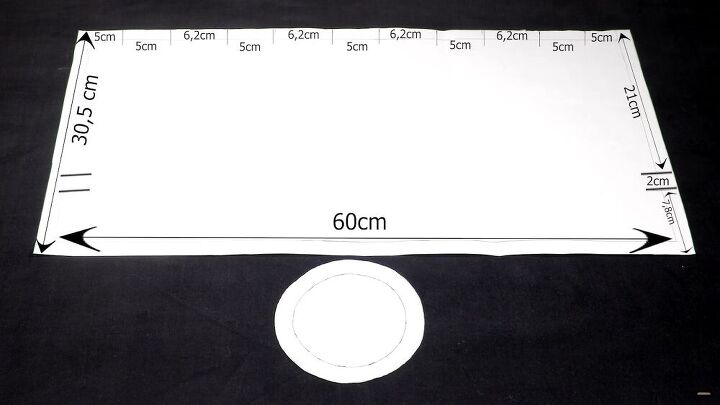
1. Make the bucket bag pattern
Draw a 60cm (24 inches) x 30.5cm (12 inches) rectangle. Measure 7.8cm (3 inches) along the shorter sides of the rectangle, then add two lines 2cm (¾ inch) apart, as shown. These will be the notches for your strap.
On the longer top side, measure alternating marks of 5cm (2 inches) and 6.2cm (2.44 inches), as shown.
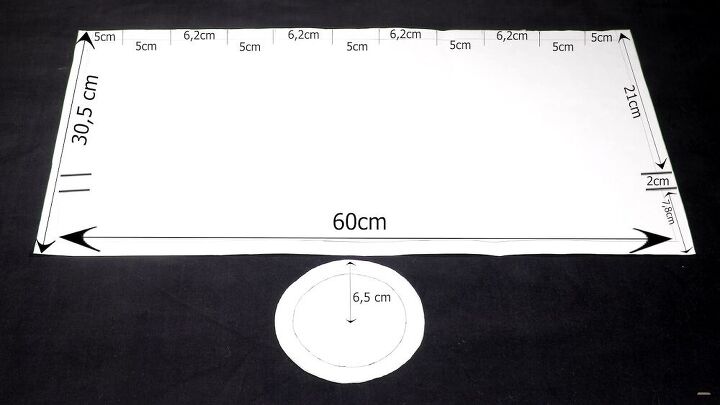
Next, draw a circle with a 6.5cm radius. Cut out your pattern pieces.
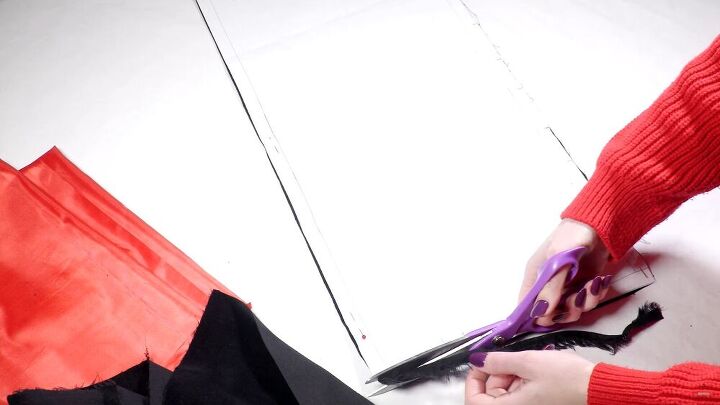
2. Cut the pattern pieces
Cut the circle and the rectangle from both the velvet and lining fabric. Pin the pattern onto the fabric, so the fabric does not move while cutting.
Mark the notches for your strap with small snips on the edge, as shown.
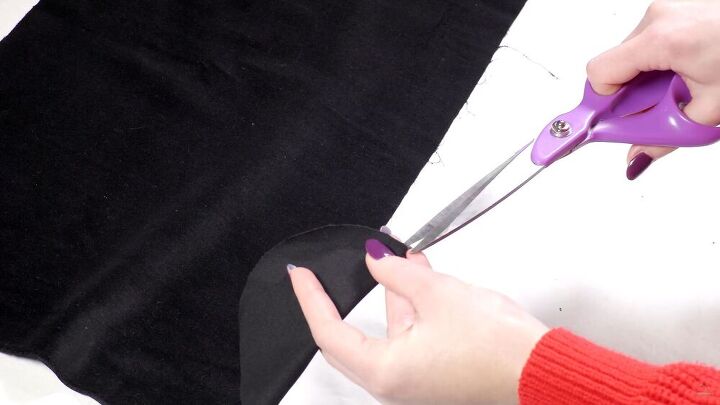
Fold your circular pieces in half and mark the sides of the circle with small notches, too.
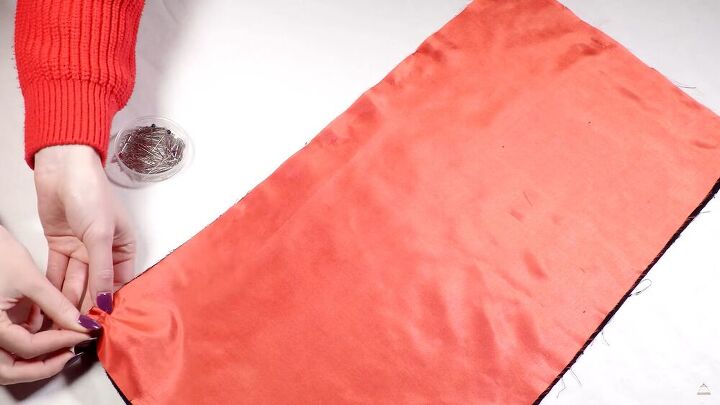
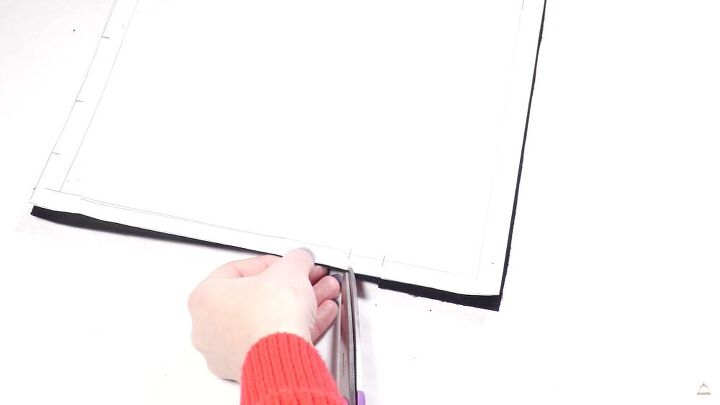
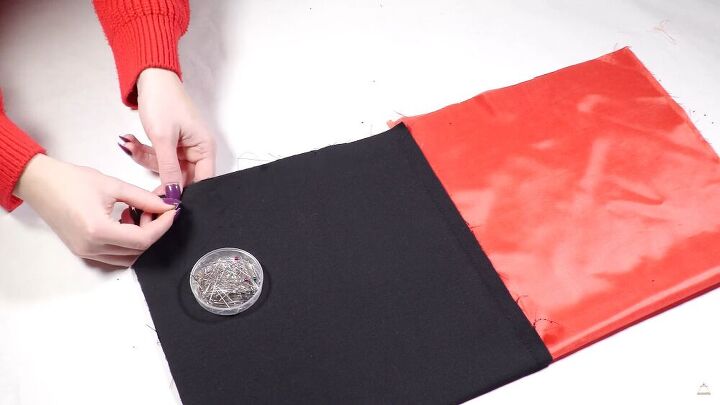
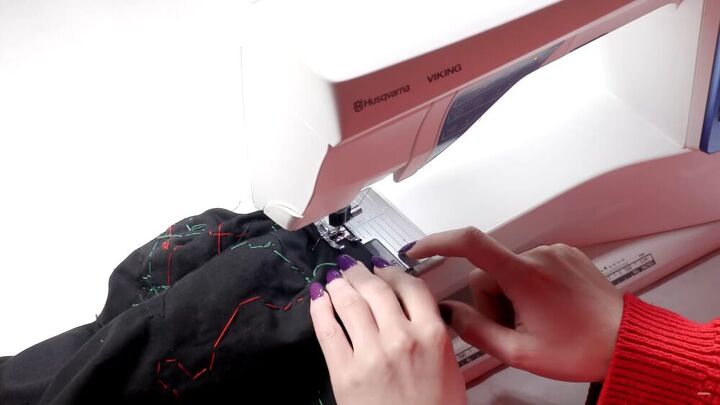
3. Sew the bucket bag
Place the rectangular pieces together, with the velvet side facing up and pin along with one of the longer edges.
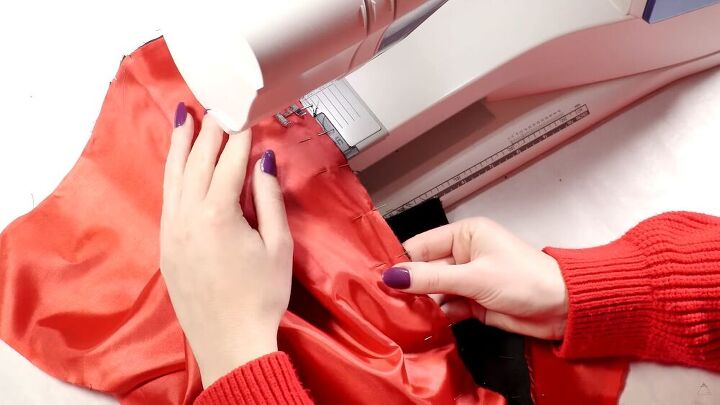
Stitch the lining to the fabric along the pinned lines. I use a ⅖-inch seam allowance.
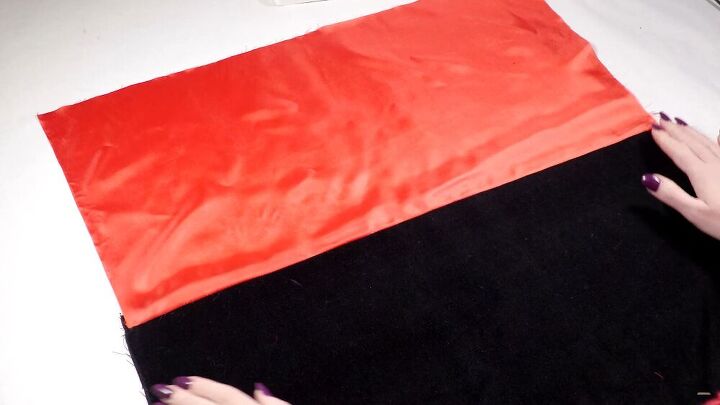
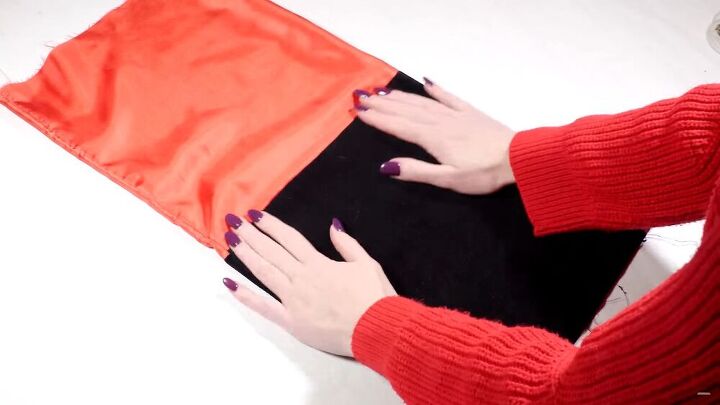
Fold the lining over and gently iron the seam.
Fold your whole fabric piece in half and pin the sides together. Then stitch the raw edge to secure. Be careful during this step - avoid the notches where necessary.
Can you see your bucket bag slowly taking shape? Exciting! Now turn the bag right sides out and iron the seams.
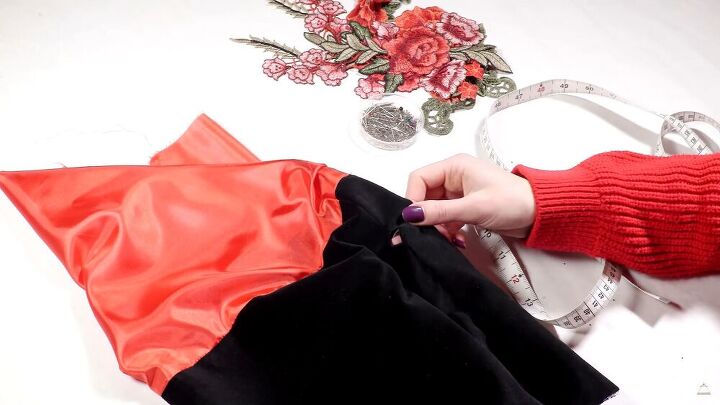
Next, find the gap for the strap, and add a pin directly underneath it.
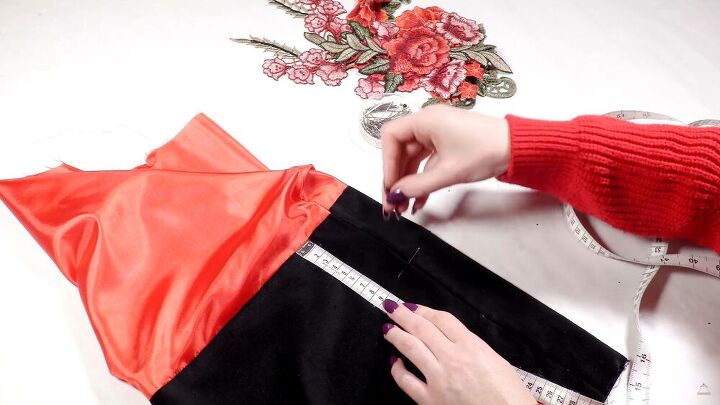
Using the first pin as a guide, add pins all around the bucket bag. This line will help determine where the embroidered patches will go.
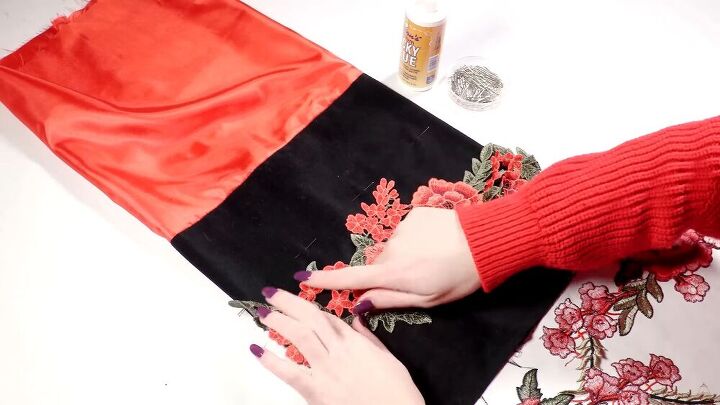
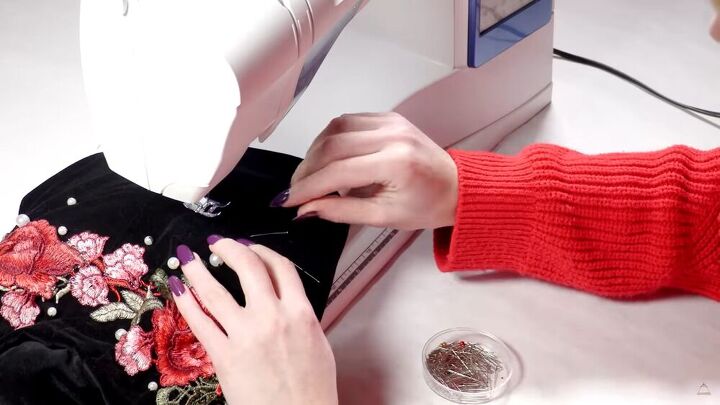
4. Embellish the bucket bag
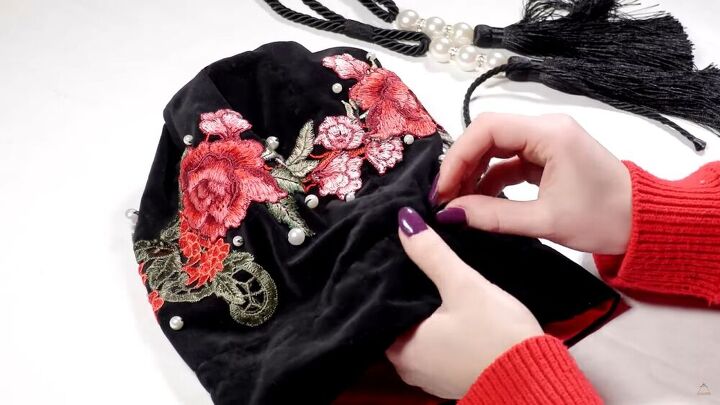
This is my favorite part. It’s time to jazz up your bucket bag. Here, I’m using lovely embroidered rose patches, but of course, you can use any color and design you wish.
Start by placing the patches accordingly, paying close attention to the pinned line, and not placing anything beneath it.
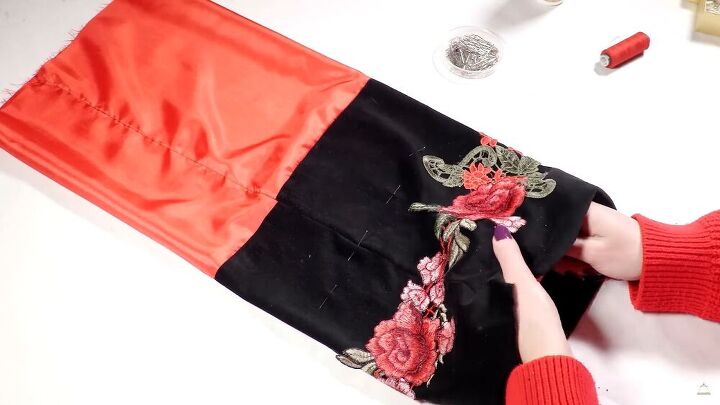
Now, when you’re happy with the location, go ahead and glue them on! Feel free to cut the patches, so they fit best across the bag. Once the glue has dried, hand-stitch around the patches with matching thread.
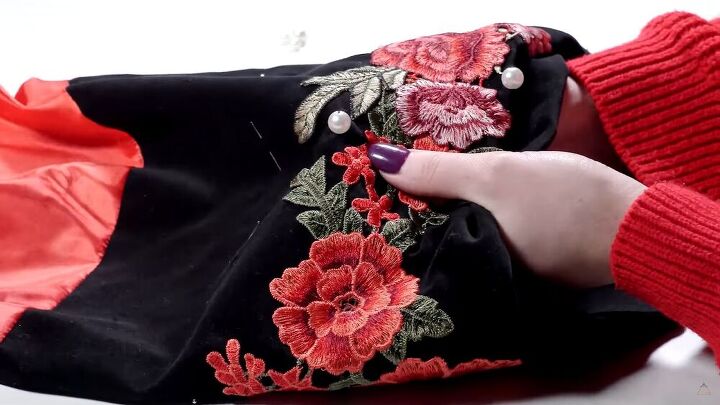
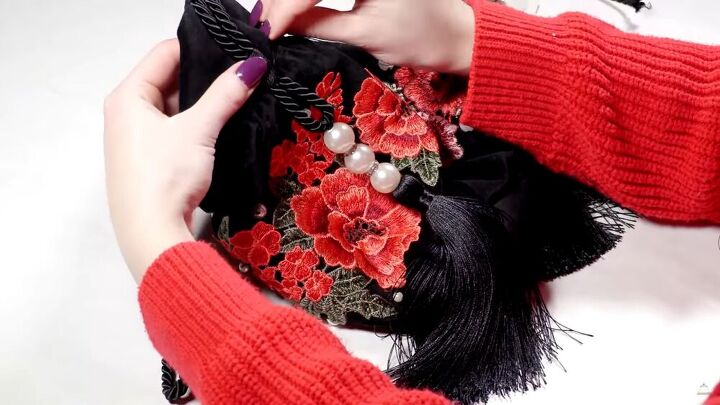
Now, add pearls to the bag design. You could also add rhinestones or studs - let your creativity run wild!
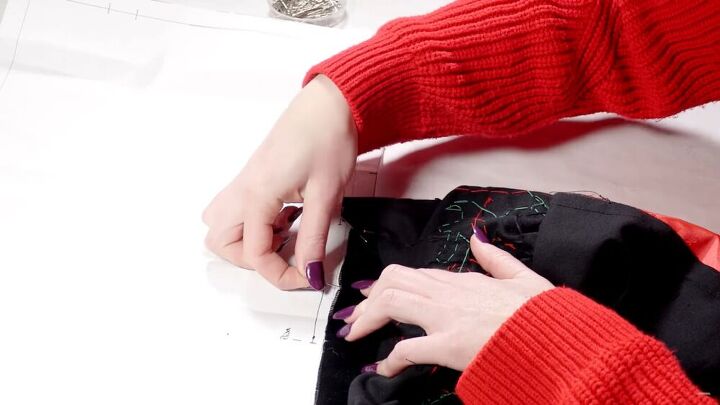
5. Make the pleats
Place the seam on one side of the pattern and mark the places with pins. Carry on until you complete the whole circumference of the bucket bag.
Fold the pleats, secure with pins, and stitch them 1.5cm (⅜ inch) from the edge. Repeat the process on the red lining after.
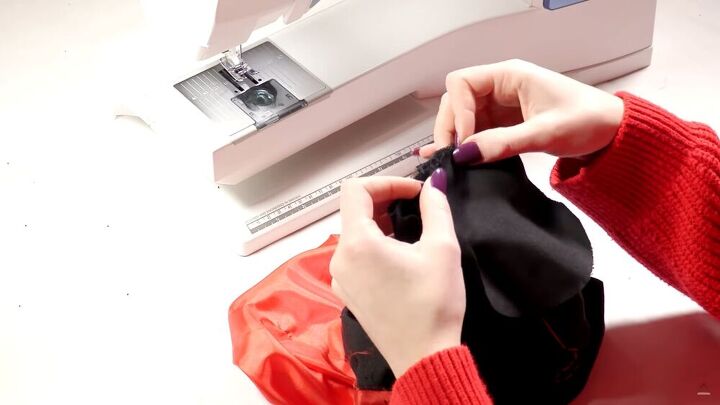
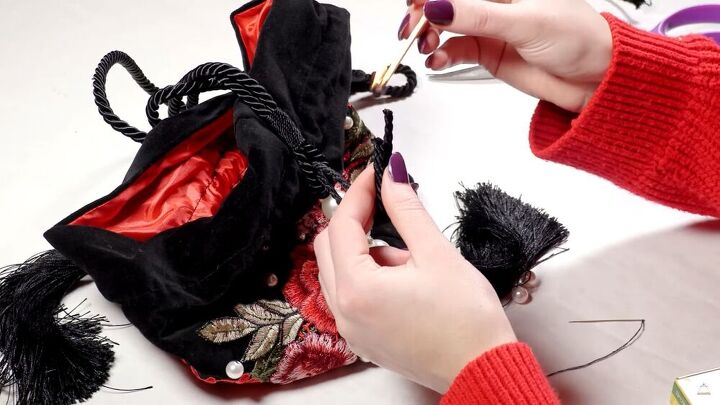
6. Assemble the bucket bag
When both pieces are complete, turn the bucket bag inside out. Pin the main fabric circle to the bottom of the bag and stitch around to secure it. Then, do the same for the lining part.
Be sure to flip the bag so that the main fabric piece is right side out and attach the circle to the outside of the seam.
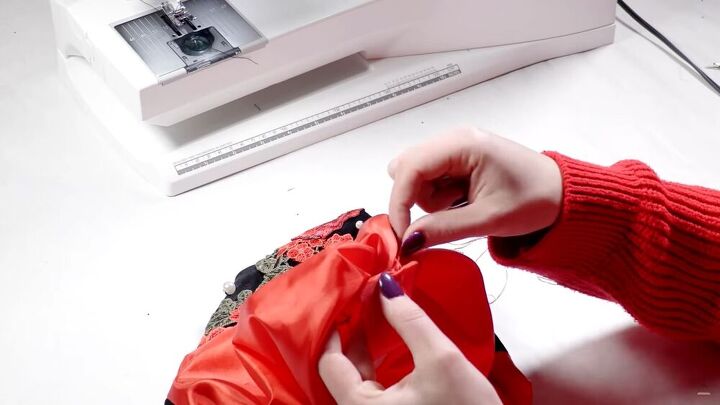
You will only be able to stitch half of the circle. So, when the half-circle is complete, turn the circle over and stitch the rest of the raw edges manually.
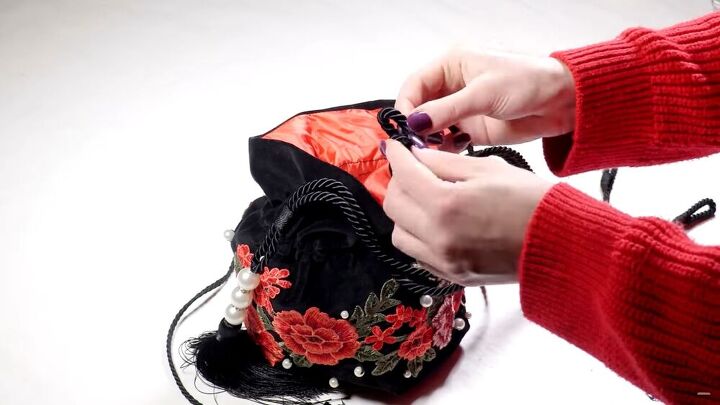
7. Make the tunnel
Now, it’s time to make the tunnel for the strap. For this, find the gap in the main fabric piece. Then stitch two lines around—one at the bottom, the other at the top.
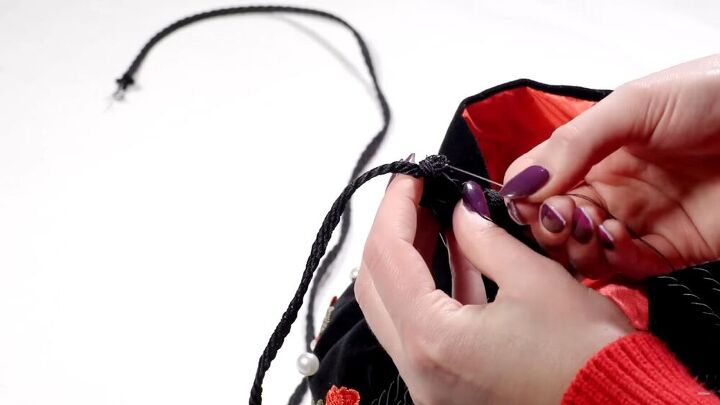
8. Add the cords and straps
With the help of a safety pin, feed the strap through.
Pull the strap so that it’s evenly distributed. Then, loop it through the curtain cord, and hand-stitch the end to the bag. Stitch the other curtain cord to the other side of the bag. Cut the ends after.
Melt the ends to prevent fraying. Match sticks work best, but please be responsible while doing so.
Measure the smaller cord so that it fits comfortably around your shoulders. Cut to size and loop it through the other strap.
Sew both cords together to ensure a tight grip. Repeat on the other end.
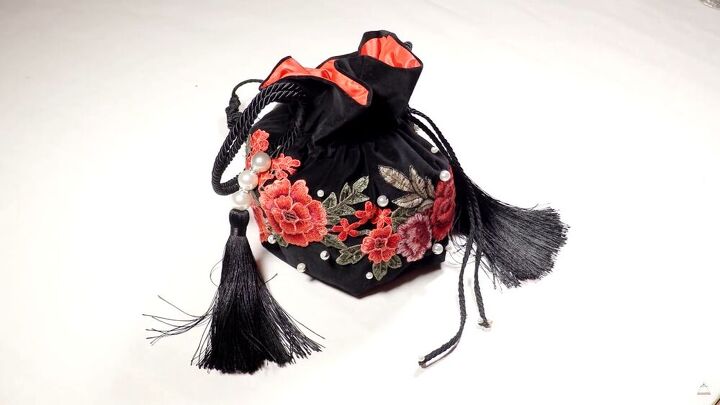
How to make a bucket bag tutorial
Your beautiful bucket bag is complete. It’s so lovely and unique. Now you know how to make a fabric bucket bag with this easy fabric bucket bag tutorial! Remember, the creative part is all up to you!
The author may collect a small share of sales from the links on this page.


Comments
Join the conversation
Lovely, thank you for sharing.