How to Sew a Ruched Bag From Scratch

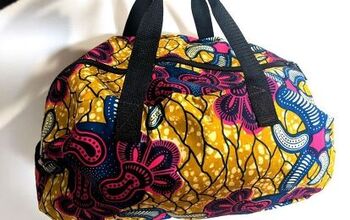
In today’s tutorial, I would like to show you how to make a ruched bag. This purse is all over Instagram, so I thought I would try to remake it using some faux leather fabric. This is a fairly simple project, and good for beginners. Let’s get started on recreating this easy ruched bag.
Tools and materials:
- Faux leather fabric
- Zipper
- Chain (for the strap)
- Scissors
- Ruler
- Pen
- Fabric glue
- Sewing machine
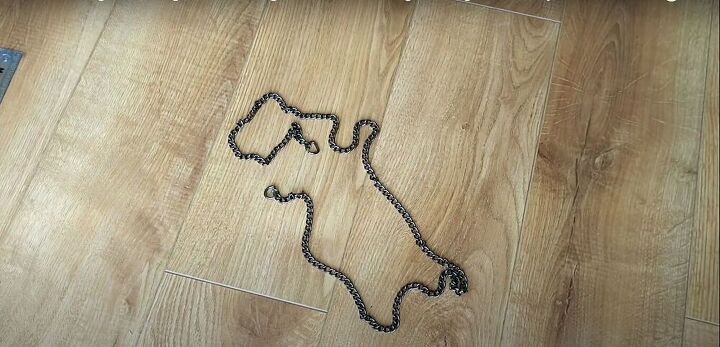
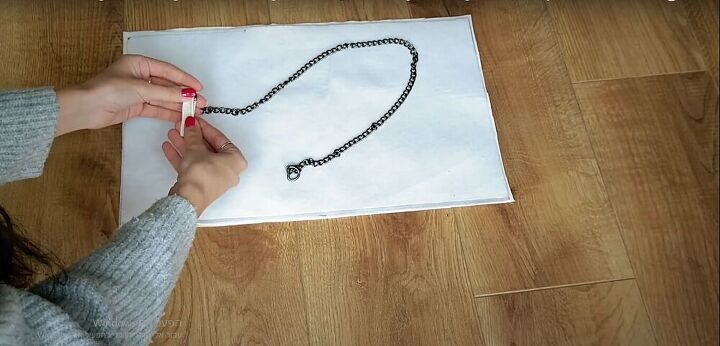
Remove chain
I removed a chain from an old bag I didn’t want anymore and adjusted the length with pliers.

Measure and cut
I measured and cut out two rectangles, each 12 cm x 2 cm (4¾ inches x ¾ inches), and cut them out.
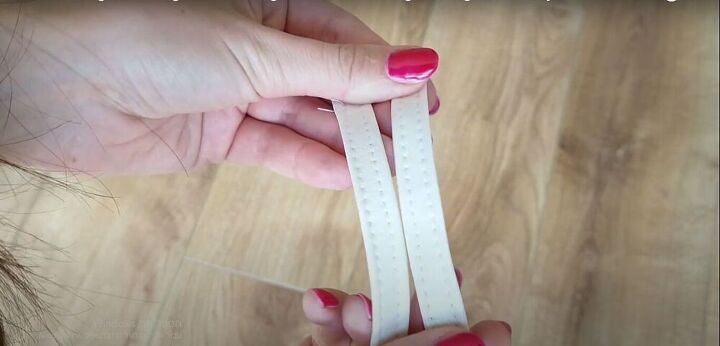
Sew
I folded the long edges of the rectangles inward and sewed them down.
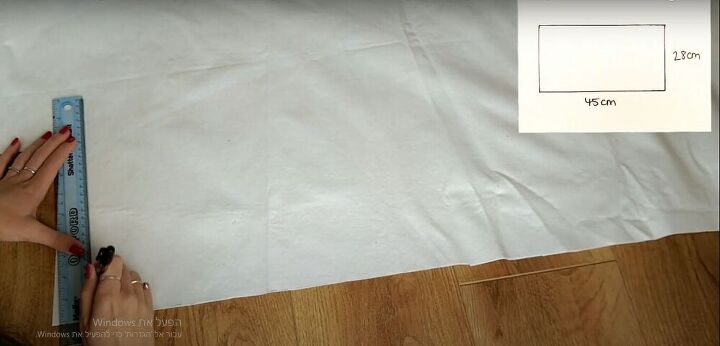
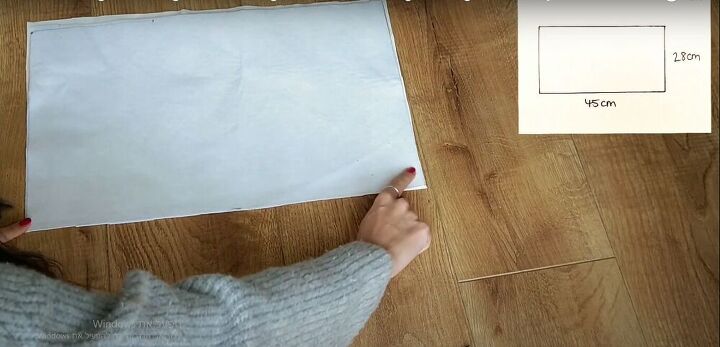
Measure and cut
For the main part of the bag, I cut out two 28 cm x 45 cm (11 inches x 17¾ inches) rectangles.
Sew
I sewed the two rectangles together along one long edge, with the right sides of the fabric together.
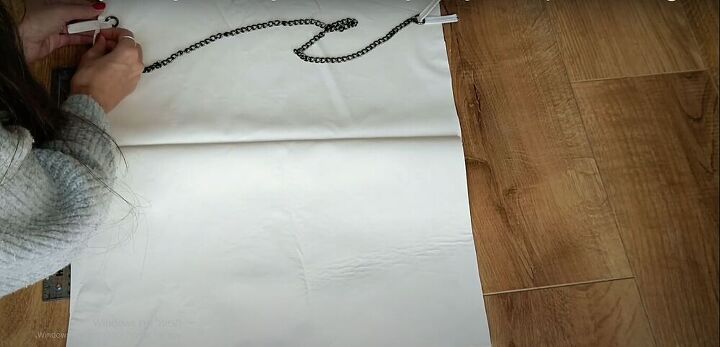
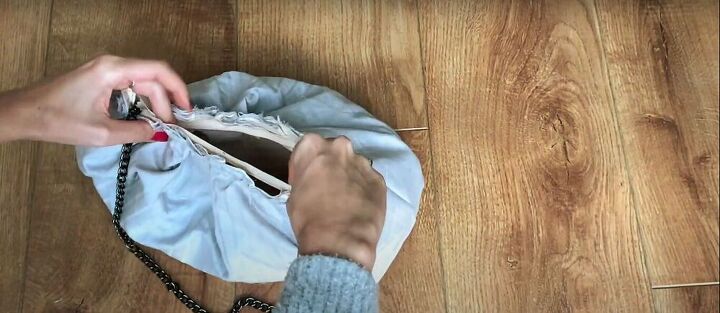
Attach the chain
I fed the two strips through the ends of the chain, and then pinned the strips to one layer of the bag, about 17 cm (6½ inches) above the seam.
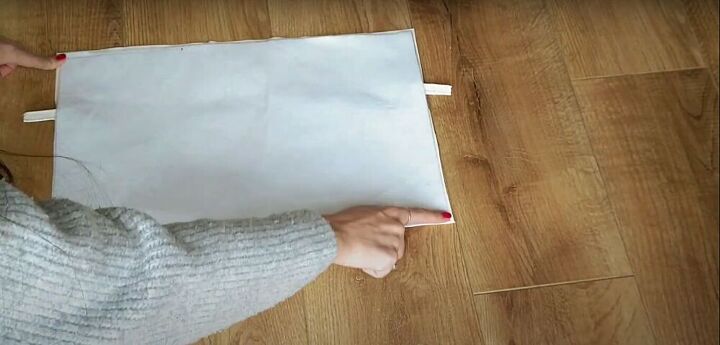
Sew
I then sandwiched the strips between the two layers of fabric and sewed down the sides of the bag.
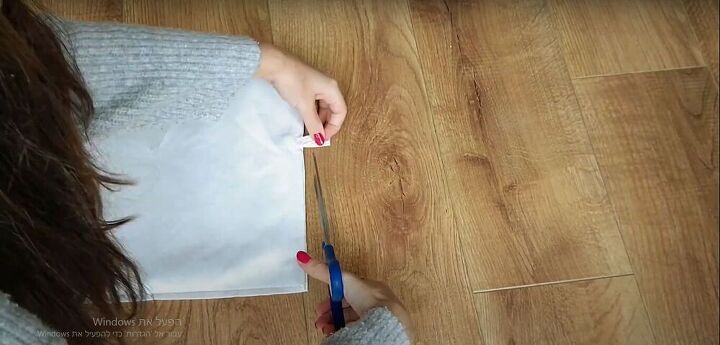
Cut
Once the strips were sewn in place, I cut the excess fabric.

Measure and mark
I measured and marked 6½ cm (2½ inches) from the side and bottom of the rectangle, and connected them to make a square. I did this on both bottom corners and on both sides of the bag.
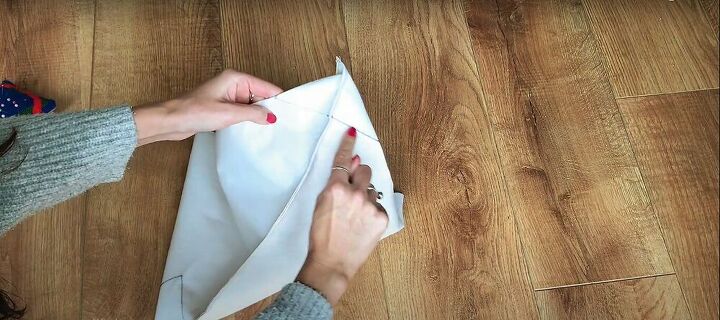
Sew
Next, I separated the two layers of the bag and folded along the corners. Then I sewed along the markings.
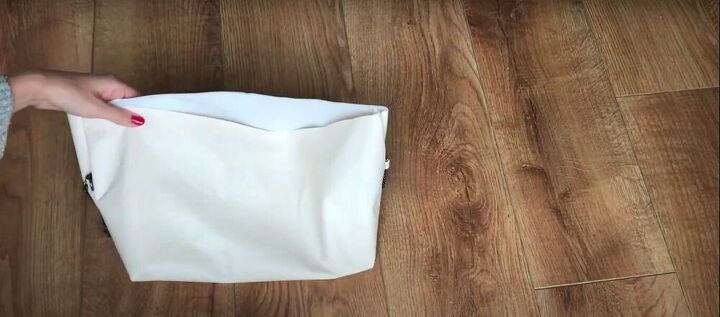
Once the corners are sewn, the bag should look like this when it’s turned right side out.
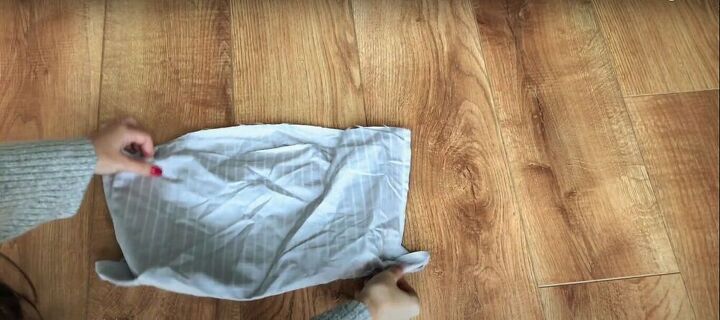
Make a lining
Using the same steps and measurements as I used for the bag, I made a lining.
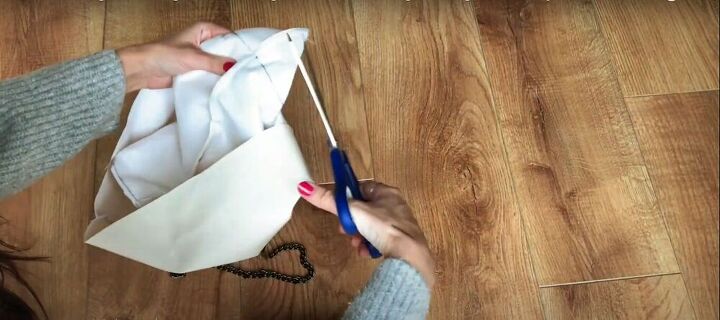
Cut
Next, I cut off the excess fabric from the corners of the bag, and from the corners of the lining.
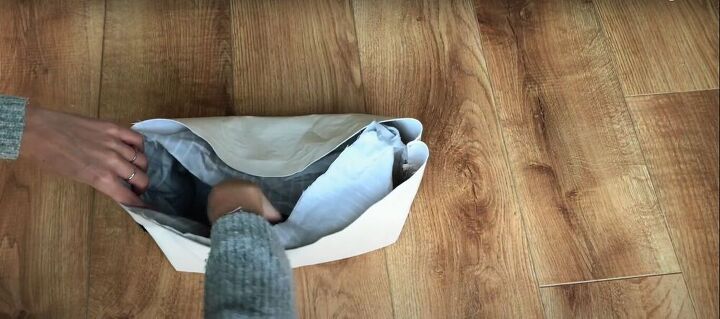
Sew
I then inserted the lining into the bag and sewed it in place all around the top edge of the bag.

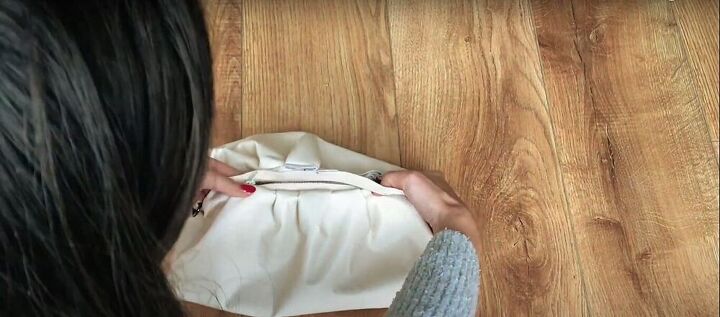
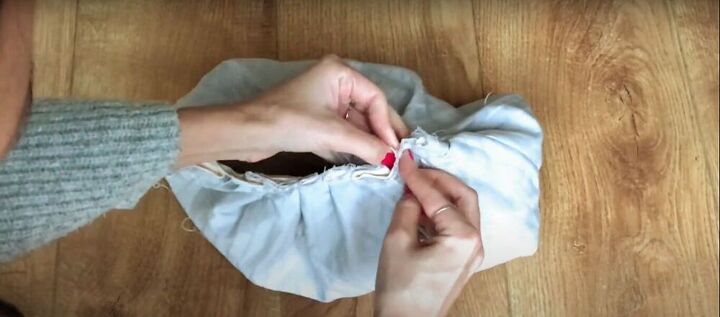
Pleat and pin
I started making pleats and pinning them down along the top edge of the bag, starting in the center. I repeated the pleating and pinning on the other side of the bag, taking care the edges were the same length once I was done pinning.
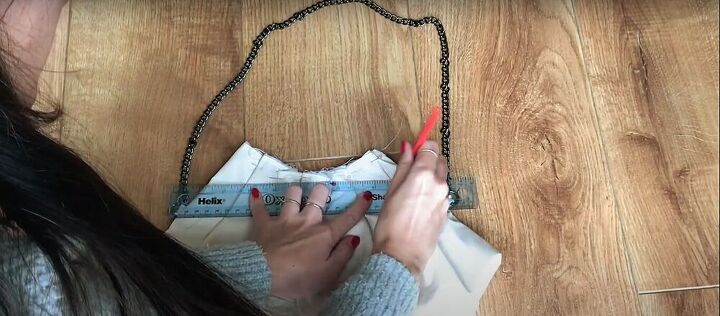
Mark and sew
Next, I drew a straight line across the top of the bag, on both sides, as the pleating curved the opening of the bag. Then I sewed along the straight lines to secure the pleats.
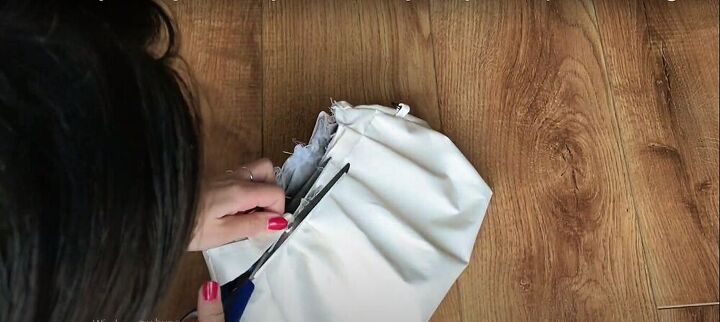
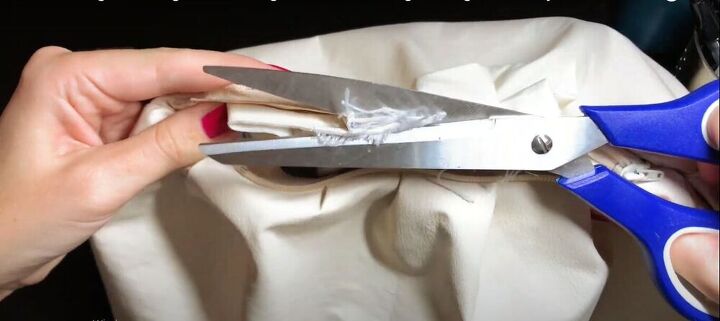
Cut
Once the pleats were secured, I cut off the excess fabric.
Attach the zipper
Next, I attached the zipper to the bag, making sure that it was placed exactly in the middle. I placed the zipper right side of the bag and sewed it on.
For the second side of the zipper, I turned the bag inside out and attached the zipper right sides together.
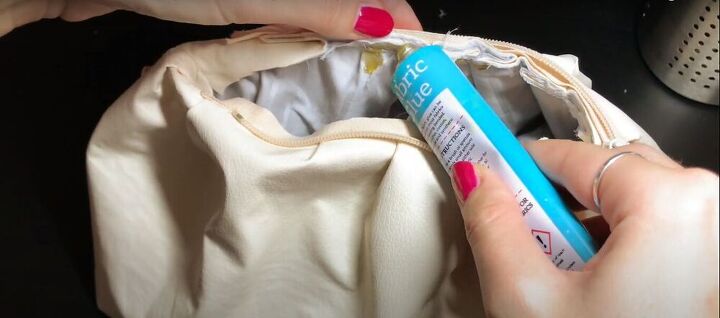
Close up the edges
To close up the edges, I turned the bag inside out and sewed down the edge on the side of the bag where the zipper closes.

For the second side, I used fabric glue to glue down the edges for a seamless look. I used a clamp to hold the fabric down while the glue was drying.
Cut
I then cut off the excess fabric from the inner seams.
Glue
Lastly, I glued the inner seams to the lining so they would lay flat, and clamped them down to dry.


I love this bag so much. I think it looks very elegant yet casual. What do you think of this DIY ruched bag? If you use this tutorial to make a ruched bag of your own, I would love to see the results.
The author may collect a small share of sales from the links on this page.


Comments
Join the conversation
The bag is beautiful!!! I’d have to have a towing chain for all of the “necessary” things I carry 😂. If you ever get stranded on an island, I’m one of the people you might want with you!!
All joking aside, you did a terrific job on your bag!