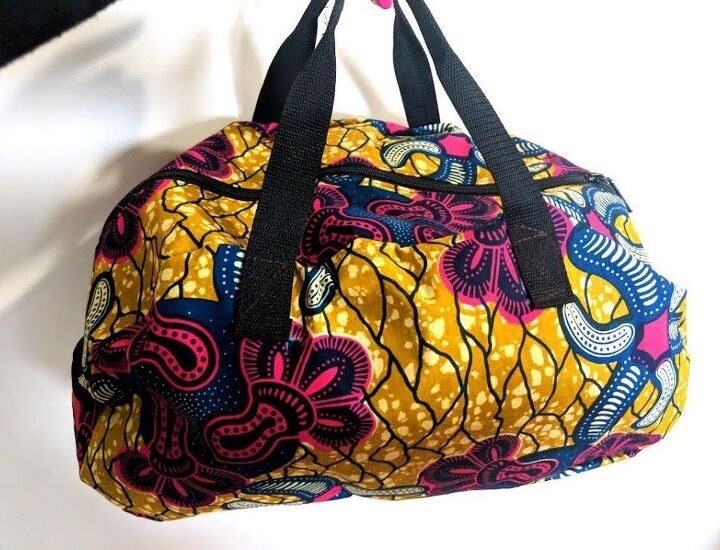
How to Make a Cute Travel Bag From Scratch in 6 Simple Steps

In this tutorial, I'll show you how to make a travel bag at home. You can customize this DIY travel bag by using whatever fabric you love.
Sewing a travel bag is very satisfying because you really get to use something you made every time you go away for a weekend jaunt or a longer trip. Let me show you how to sew a travel bag!
Tools and materials:
- Dinner plate
- Fabric:
- Outer: 2 pieces 30 X 8.6 inches
1 piece 25 X 8.6 inches
1 piece 18 X 8.6 inches
- Lining: 2 pieces 30 X 8.6 inches
1 piece 25 X 8.6 inches
1 piece 18 X 8.6 inches
- Pocket 1 piece 8 X 12.5 inches
- 2 handles - each 21 inches
- Zipper - 23 inches
- Fusible interfacing medium weight
- Scissors
- Sewing machine
- Tailor’s chalk/marking pen
- Iron
- Ruler
Iron fusible interfacing to all the outer fabric pieces. Keep the lining simple and as is.
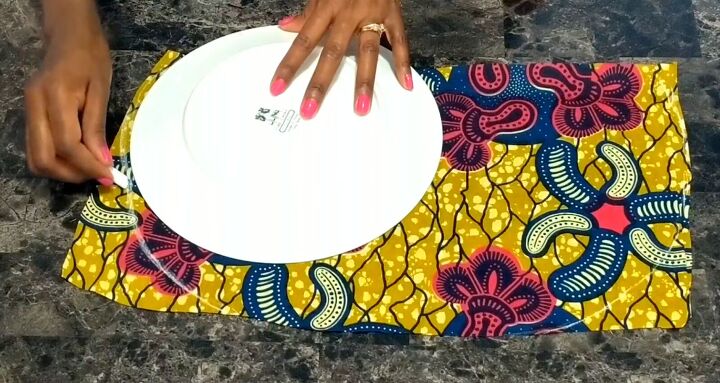
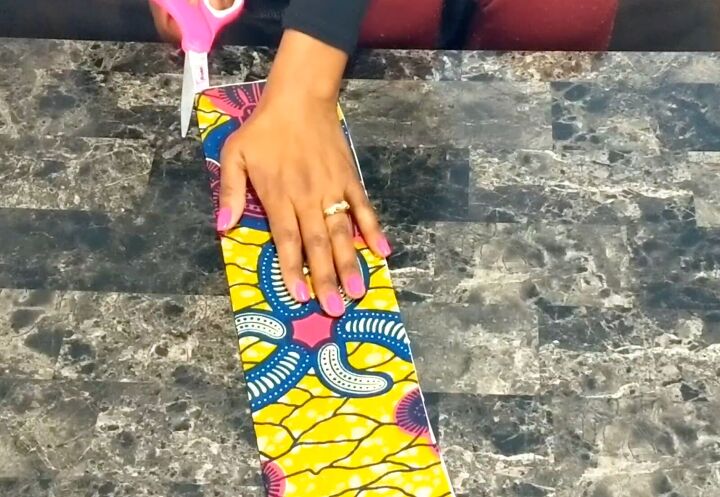
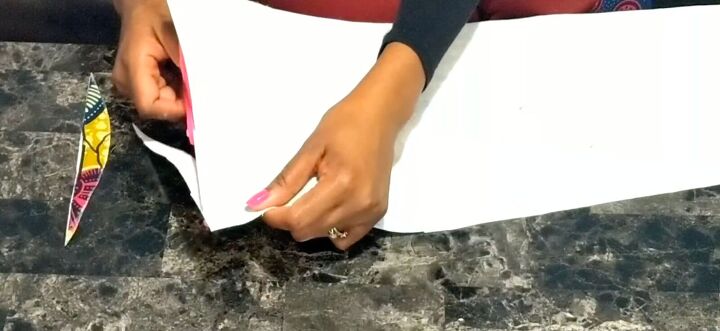
1. Create the sides of the bag
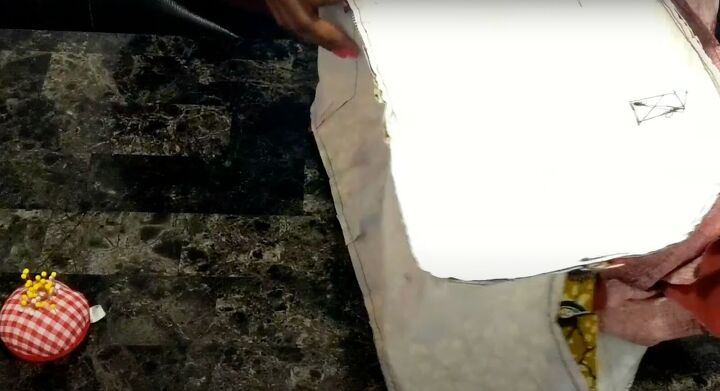
Lay the 30 X 8.6-inch fabric pieces down. Use the dinner plate at either end to create rounded edges at the sides with a flat bottom. Use the chalk to trace out the shape. Cut the fabric.
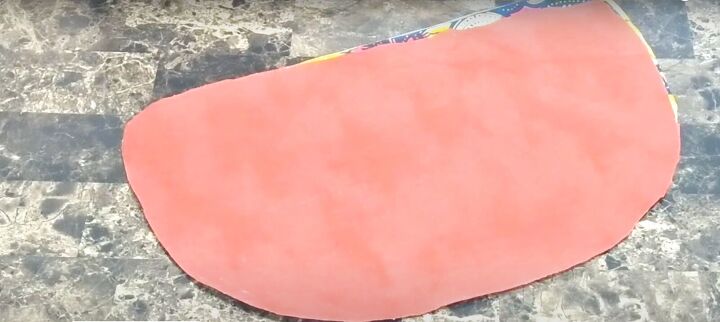
Use this as a template to cut the lining to match. Set the lining aside.
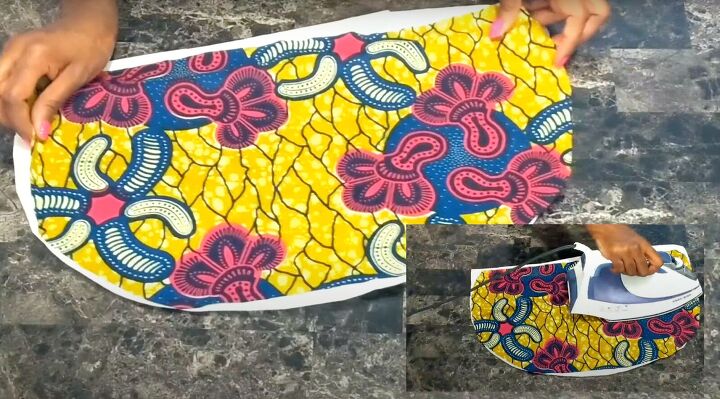
Iron the fusible interfacing to the wrong side of the outer fabric. Trim the excess to match the size of the fabric.
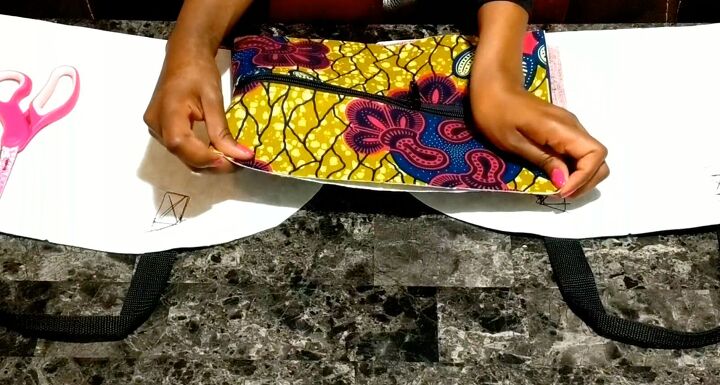
2. Make the top of the bag
Use the 25 X 8.6-inch piece of outer fabric. Cut the lining to match the outer fabric. Fold the outer fabric in half.
Cut along the fold to create two pieces.
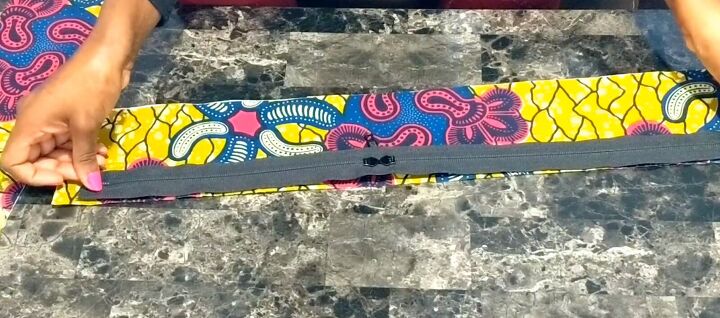
Lay the zipper along on the cut piece. Cut the lining to match the outer fabric. Lay one piece of the lining so the right sides are touching.

Pin these 3 layers together. Sew the zipper to this side.

Then repeat for the other side to attach the zipper. The zipper should be in the center. Topstitch the zipper.
3. Add the pocket
Take one of the pieces of the lining. Lay the pocket piece 8 X 12.5 inches on top of the lining in the center. Mark a line down the center.
Sew at the bottom and the two sides and down the center to create two pockets. Set aside.
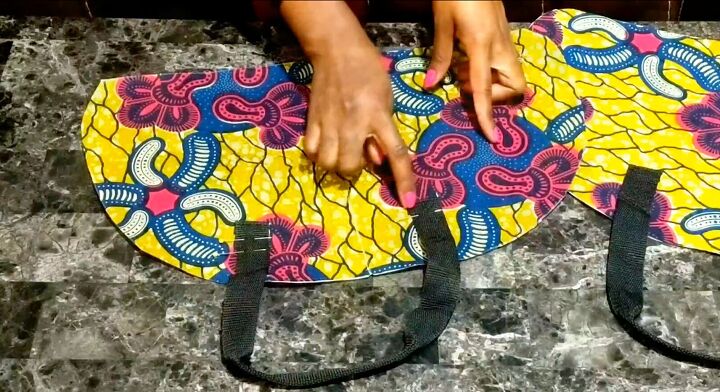
4. Attach the handles
Fold each of the sides of the back in half to find the center. Notch by snipping the center. Use your ruler to measure down 3 inches from the center. Mark that measurement.
From that measurement, turn the ruler horizontally to mark 3 inches on either side of the center measurement. Pin the strap at these 2 marks. Sew the strap in place for both sides of the bag.
5. Put the bag together
Fold the piece with the zipper in half to find the center. Snip to notch.
Pin the top with the zipper to each of the sides of the bag, with the right sides of the bag inside. Match up the center notches of the sides and the top portion.
Pin the lining together away from the outer part of the bag. Keep the zipper unzipped halfway.
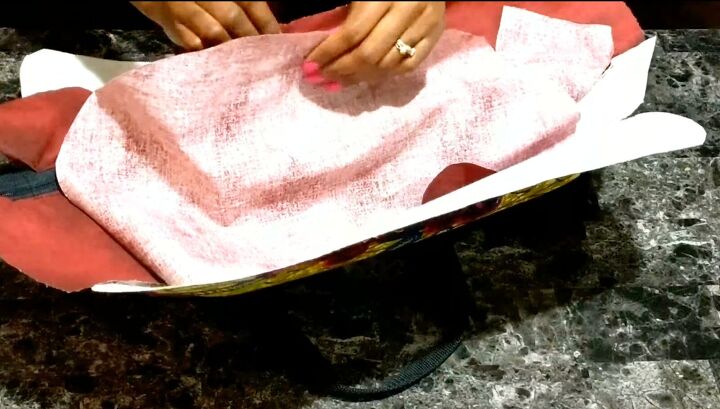
6. Make the bottom of the bag
Use the 18 X 8.6-inch piece outer piece of fabric. Cut a small curve on either end to fit the sides of the bag.
Pin all of the outer portions of the bag together and sew with a straight stitch. Backstitch at each beginning and end of each seam.
Sew the lining together afterward, leaving a 4-inch gap unsewn so you can pull the bag inside out once sewn.
Turn the bag inside out and you’re ready to travel!
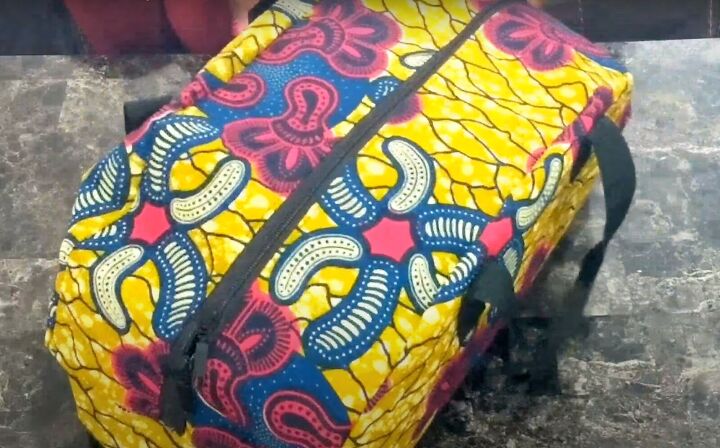
How to make a travel bag tutorial
I hope this tutorial on how to sew a travel bag helps you sew one today! Please tell me in the comments if you made this and where you went! Bon voyage!
The author may collect a small share of sales from the links on this page.


Comments
Join the conversation
This is fabulous - thanks for creating and sharing ;)
I’m trying this for sure. Thank!