How to Make a Bell Sleeve Top From Scratch in 6 Simple Steps

Today, I'll show you how to make a bell sleeve top. Sweater season is upon us, and while I may not like the cold season, I sure do love a lovely oversized and comfy sweater!
Lately, I have seen these beautiful DIY bell sleeve tops, and I decided to jump on the bandwagon and see how to make a bell sleeve top myself. Let’s get started! Join me and see how easy this bell sleeve tutorial is.
Tools and materials:
- Sweatshirt as a guide
- Fabric
- Pins
- Chalk
- Measuring tape
- Matching thread
- Sewing machine
- Scissors
1. Make the DIY bell sleeve pattern
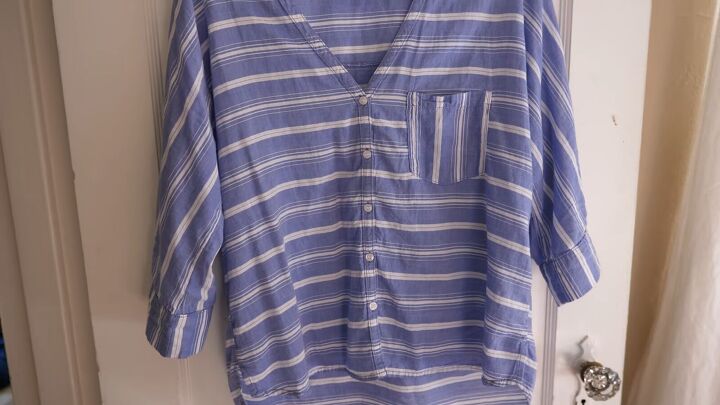
Use an oversized sweater as your pattern. Here, I picked this thrifted sweater as I really like the fit.
I like the style of the slouchy shoulder and it's also going to be easier to sew because there's no armhole; it's just one whole bodice-and-sleeve piece.
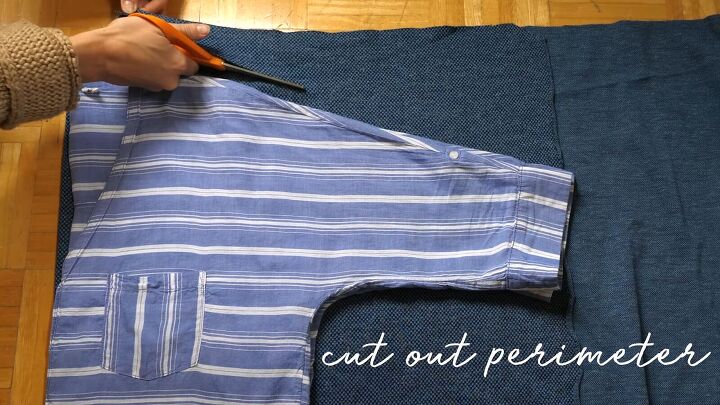
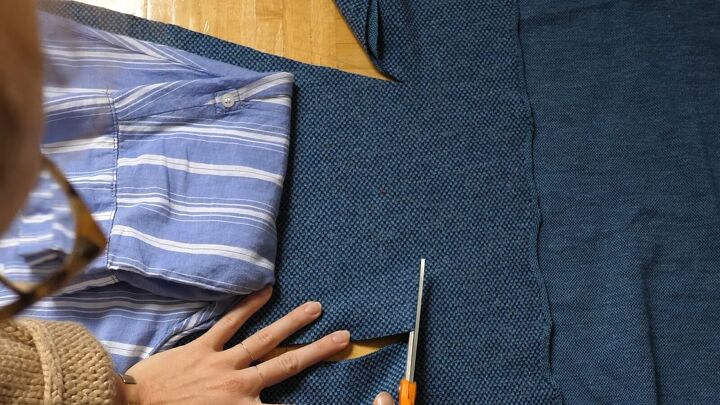
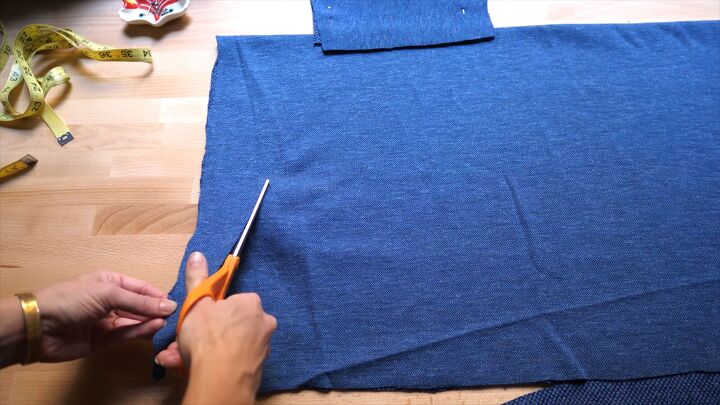
Fold your fabric in half and place your top (folded) by the fold. Be sure to leave a ½-inch seam allowance when cutting out the perimeter.
Do not follow the whole length of the sleeve as we will be making bell sleeves later on.
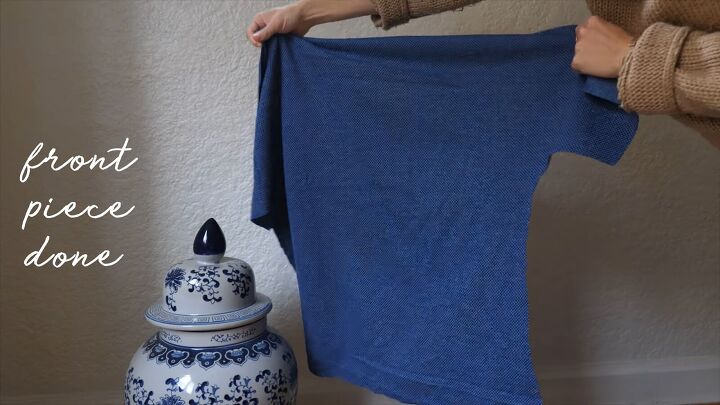
Here’s how the front piece looks.
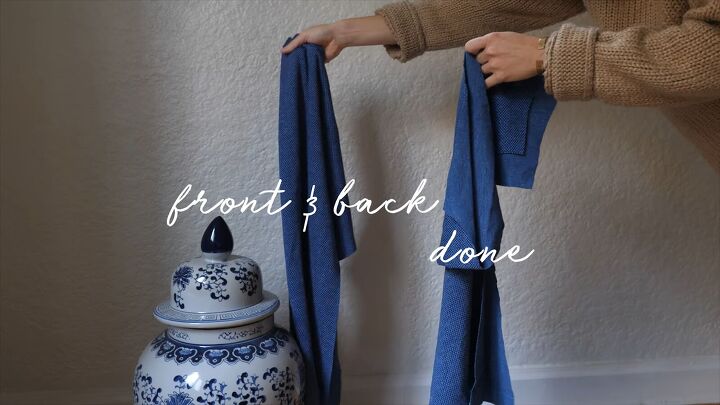
Next, repeat the above step for the back piece.

2. Pin the bodice
Once you have both pieces, lay them on top of each other, right sides facing. Then, pin the sides and shoulder sections (except for the armholes).
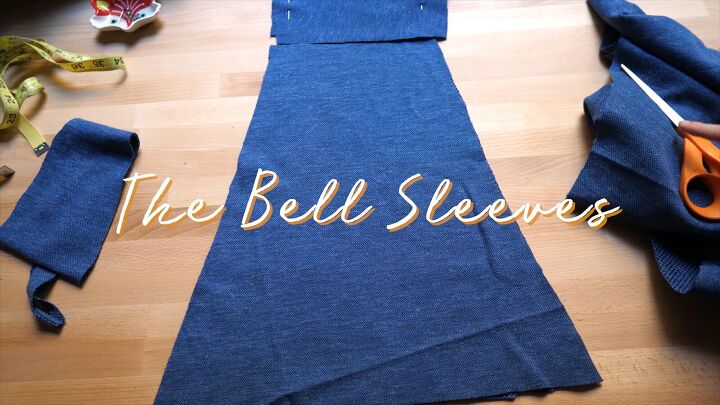
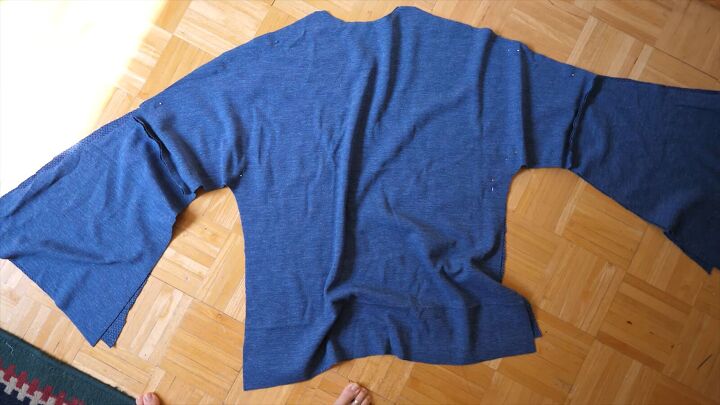
3. Make the bell sleeves
Using another piece of fabric, make the bell sleeve and pin both sides. The shape should really widen towards the bottom.
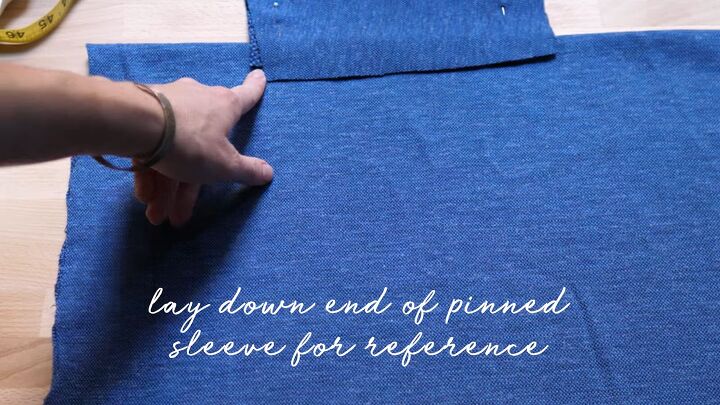
Lay down the end of the bodice sleeve for reference.
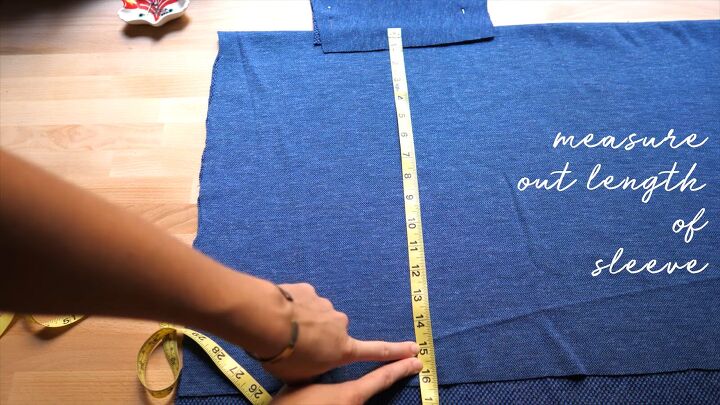
Now, measure your desired sleeve length and cut out two pieces according to the length. Make sure to widen the sleeve as you get to the bottom.
Cut one side.
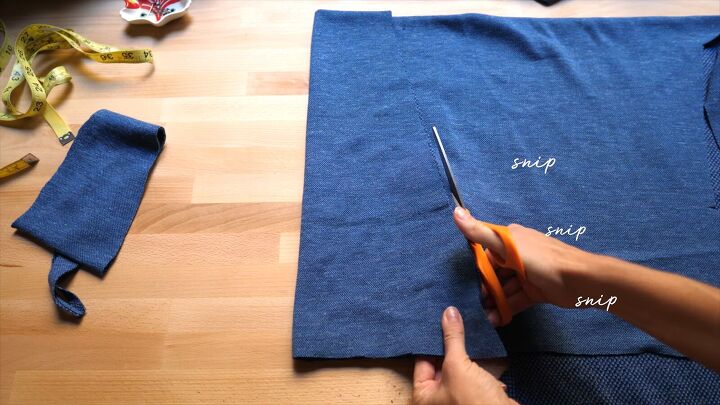
Fold in half and cut the other side; this will ensure both sides are symmetrical.
4. Assemble the DIY bell sleeve top
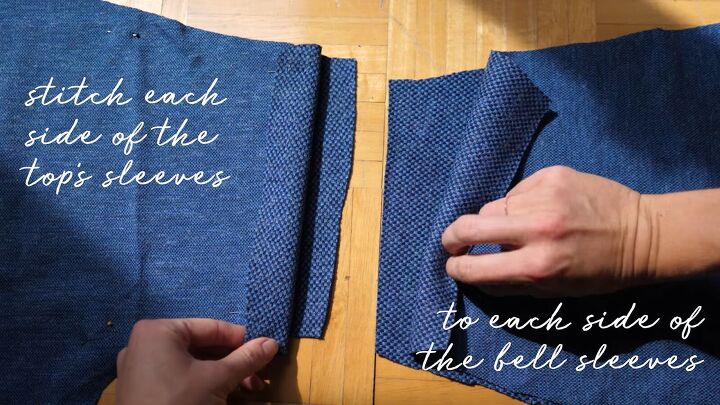
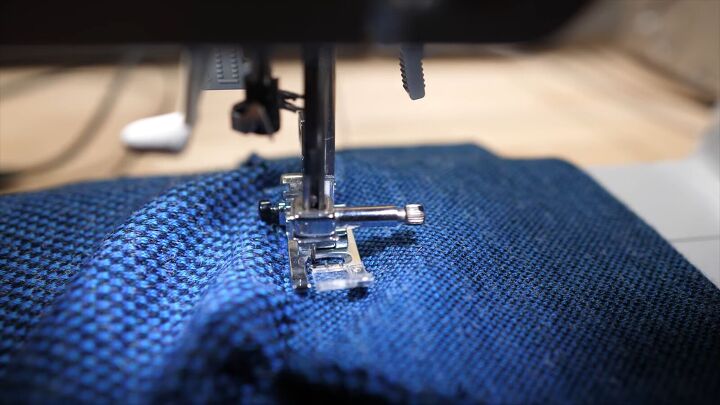
Stich each side of the top sleeve section to each side of the bell sleeves (right sides facing).
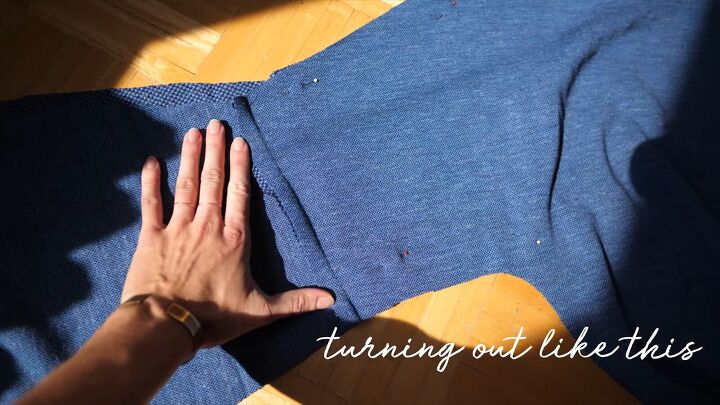
This is what it should look like.
Next, stitch all the pinned seams except for the top of the shoulder seams as you may need to amend the neckline.
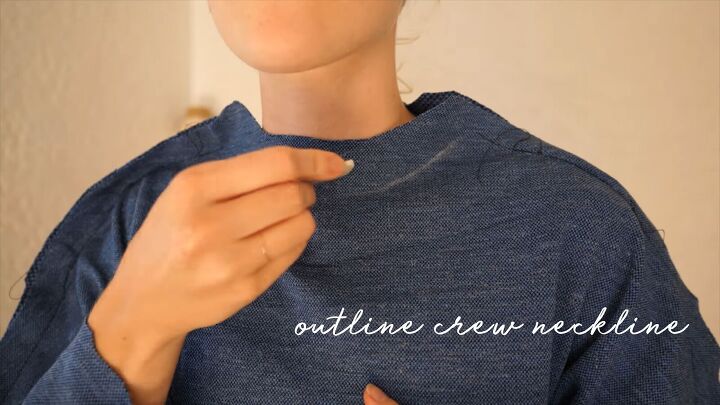
5. Modify the neckline
Now, wear your top and with a piece of chalk, draw a line where you’d like the neckline to be.
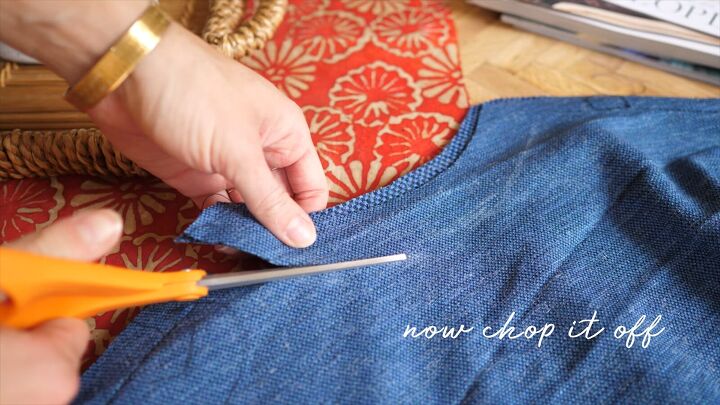
Cut out the new neckline.
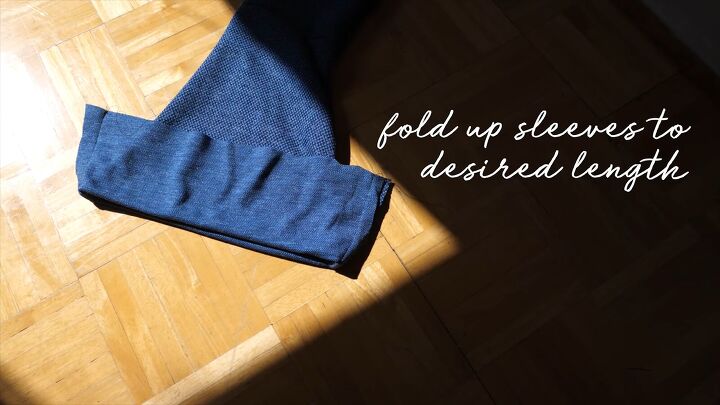
6. Make the rolled-up sleeves
Fold up your sleeves to your desired length.
Then, tack it up with spaced-out short stitches.
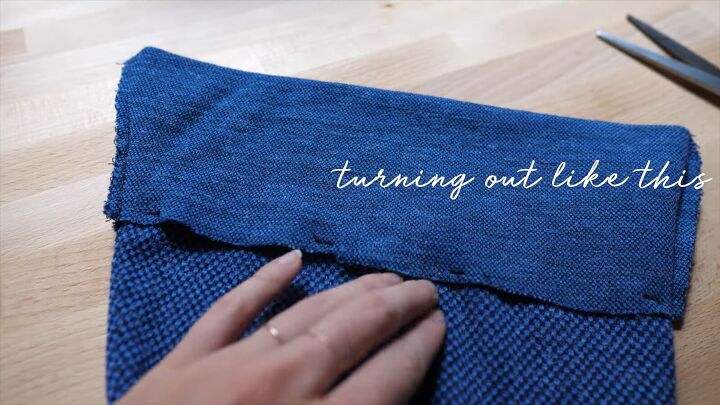
This is how it should look.
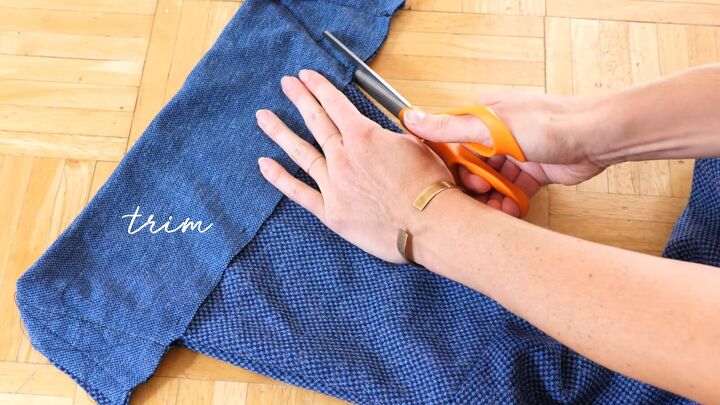
Mark the excess with chalk and trim off the sides.
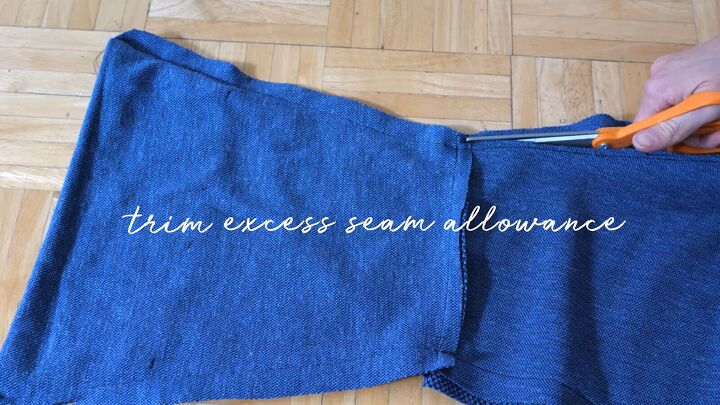
Also, while you’re at it, trim off the excess seam allowance.
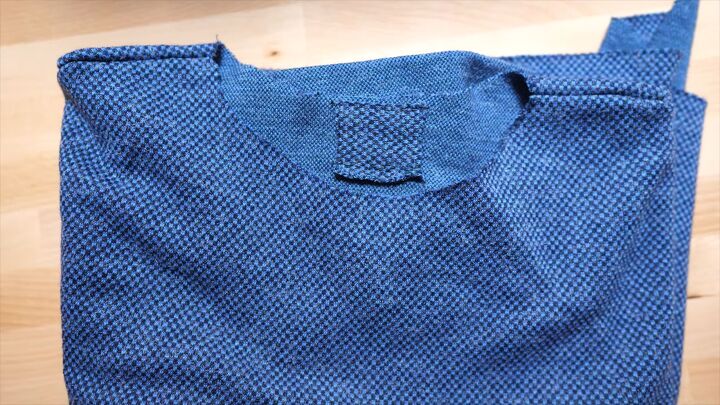
This is optional, but if you want to leave a personal touch, you can add a tag by cutting a square from your excess fabric and sewing it on the back neckline.


How to make a bell sleeve top tutorial
There you have it, a beautiful DIY bell sleeve top! I actually like this fabric because you don’t need to hem it, so that’s a big bonus. So, this is how you make a bell sleeve top seamlessly!
The bell sleeve pattern is easy, you just need a guide, and voilà, you’re done! Thanks for joining me, and I’ll see you again next time!
The author may collect a small share of sales from the links on this page.


Comments
Join the conversation