How to Sew a Beautiful Balloon-Sleeve Blouson Sweater From Scratch

In this tutorial, I'll be showing you how to sew a balloon sleeve top using a pattern. Balloon sleeves elevate even an ordinary sweater, transforming a blouse into something much more elegant and fashionable.
If you want to learn how to sew a balloon sleeve or need a balloon sleeve top sewing pattern, let’s get started so you can make your own DIY balloon sleeves!
Tools and materials:
- Balloon sleeve sewing pattern
- 1-2 yards of heavy stretch knit fabric
- Sewing machine
- Pins
- Needle and thread
- Scissors
- Iron
- Clapper
- Binding
1. Sew the sweater bodice
Download the pattern and print it. Cut out the paper pattern, lay the pieces on your fabric, and cut out the shapes in the fabric.
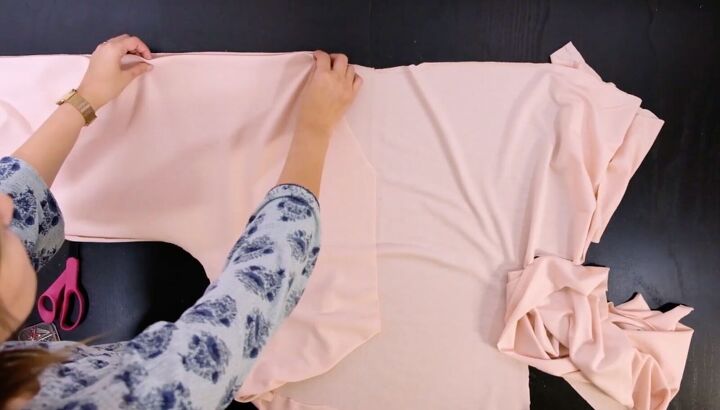
Lay the back face up. Lay the front piece over it so the right sides are together.
Pin the shoulders and the side seams. Sew the side seams all the way to the end of the sleeves together.
2. Finish the neckline
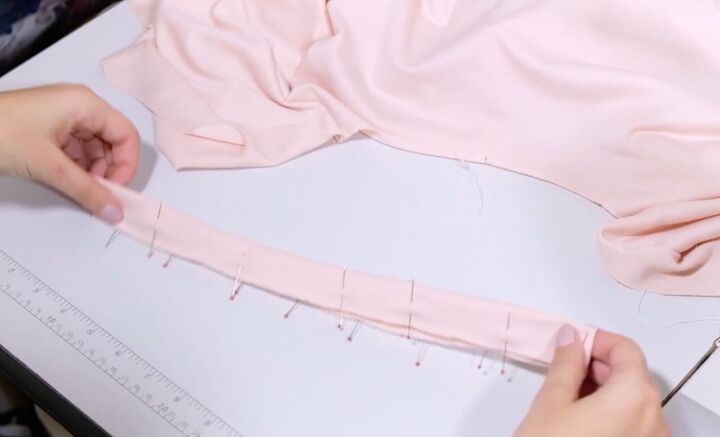
Fold the neckline binding in half. Pin and iron it flat. Fold it in half to mark the center. Line up the binding at the center with it at the center back.
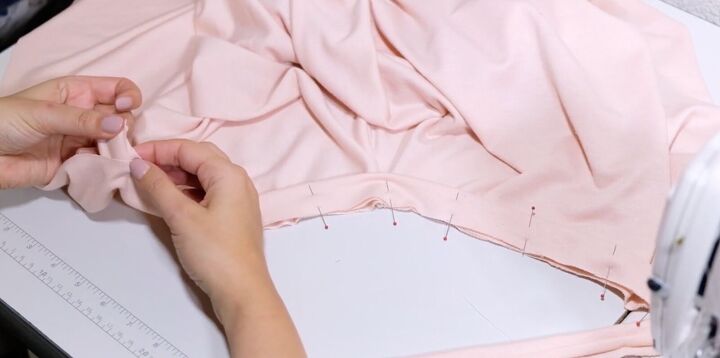
Start from the center on one side. As you pin the binding to the neckline, stretch it bit by bit.
As you pin it in place, the bodice will start to gather at the top. To avoid this from happening, slowly and carefully pull as you pin.
Keep the bodice taut and flat under the neck binding. At the very end, the binding should be 1 inch longer than the neckline.
Repeat this method for the other side.
If you feel a bit insecure about your pinning technique, you can always do a basting stitch to hold everything in place before you sew. Sew the neckline slowly, taking the pins out one at a time.
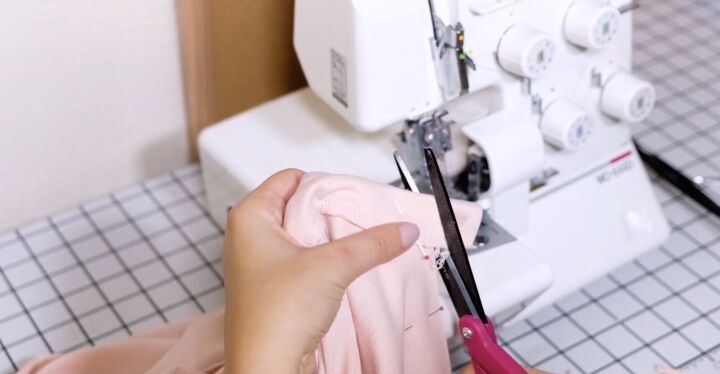
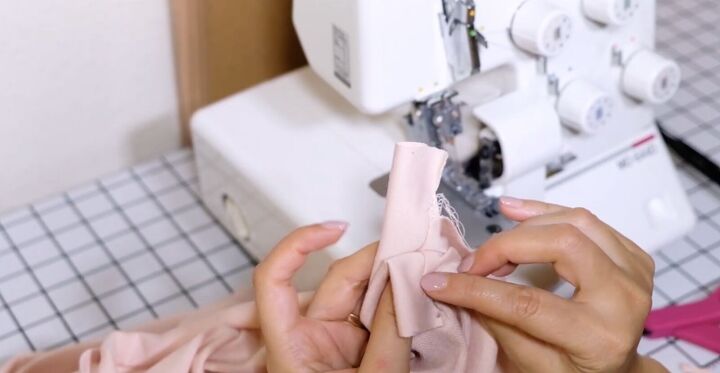
Take the binding right sides together and match them up by the seams. Pin these two pieces together. Then, cut at an angle to continue the straight line of the bodice. Serge these edges.
To hide the serged thread, take an embroidery needle with a large eye. Feed the serged thread through the eye and then feed the needle through the threads of the seam.
Pull it through and cut off the excess.
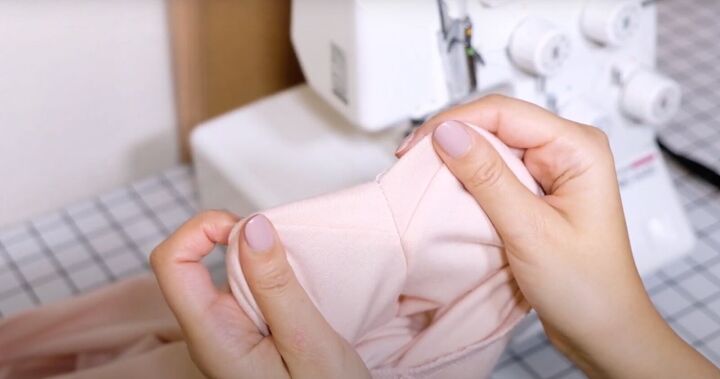
You have a beautiful V-neck!
3. Make the cuffs
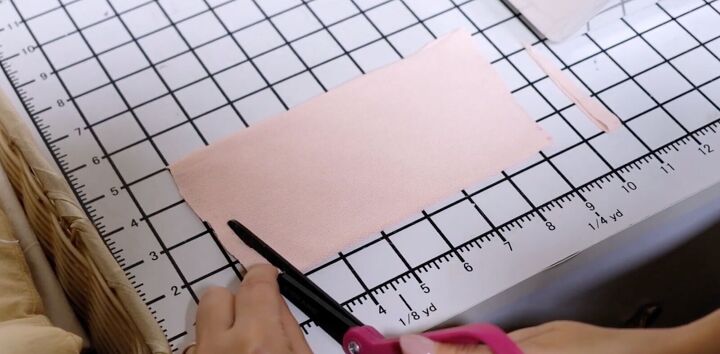
Fold the sleeve cuffs in half. To make them slimmer and the bottom and wider at the opening of the sleeve, draw a line starting at ½ an inch at the bottom of the folded edge, tapering off to the top corner.
Do this to both sides. Cut off these pieces.
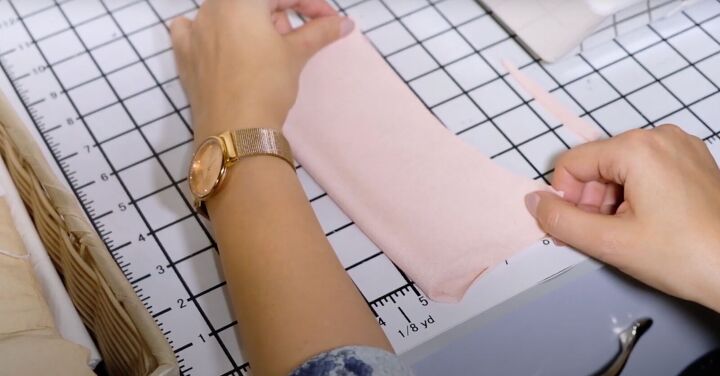
Open the cuff back up and now fold it the other way, with the slight dip in the center. Match the cut pieces. Serge the open side with the cut. Follow this method for the second cuff.
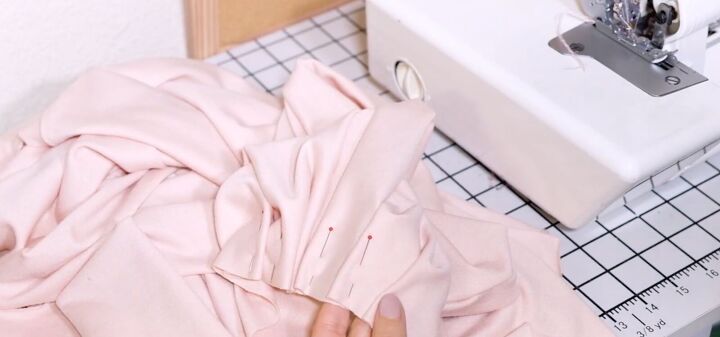
4. Make the balloon sleeves
Grab the sleeve at the bottom. Make six 1-inch-deep folds. Place them evenly around the sleeve. I like to do them on the outside. Then flip the sleeve inside out.
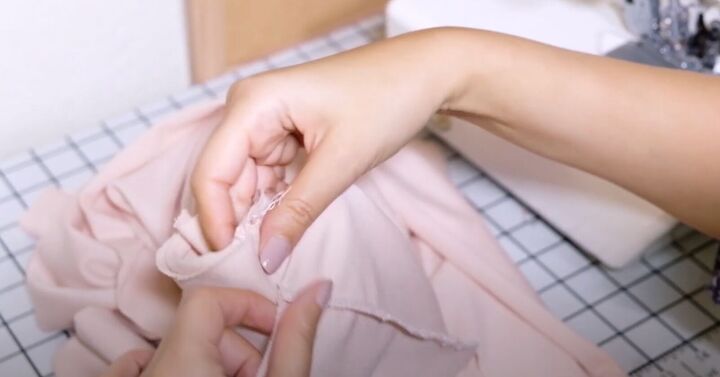
Take your serged and finished cuff and place it inside the sleeve. Match the side seams and pin it there.
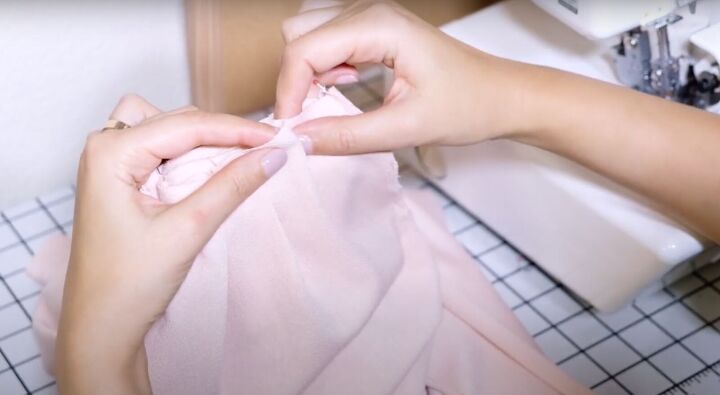
Stretch the cuff and pin them together. The center of the cuff should match the center of the sleeve. You can either gather it all around with a sewing machine or by hand sewing.
As you sew, stretch the cuff and the pleats evenly to fit the sleeve. Tie a knot to secure the thread.
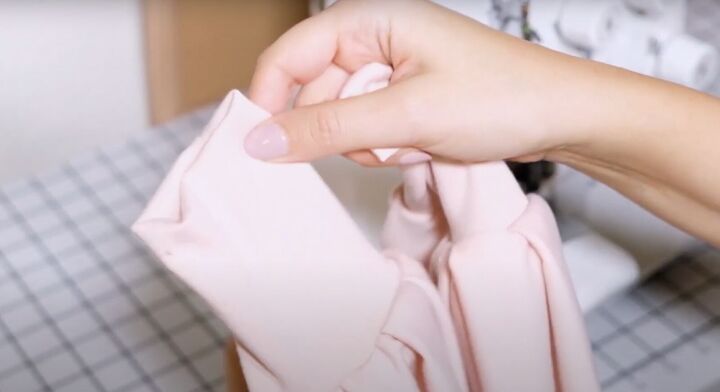
Then use this method to do the second sleeve.

5. Hem and press
Fold the hem toward the wrong side at 1 inch. Pin in place. Press the hem to make it as smooth and flat as possible. Press all the seams, including the side and center seams.
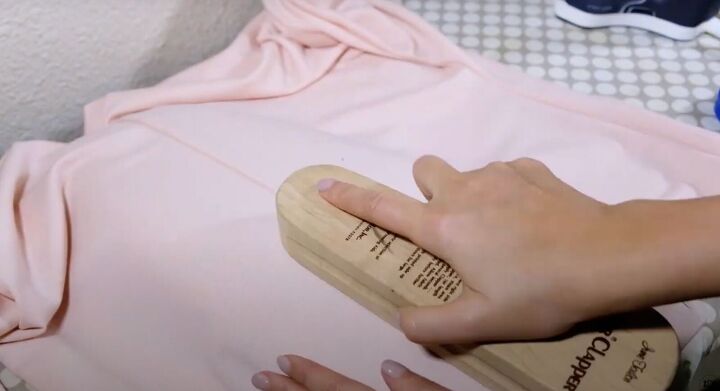
Cool with a clapper. Once every seam has been pressed, sew the hem, removing the pins as you go.
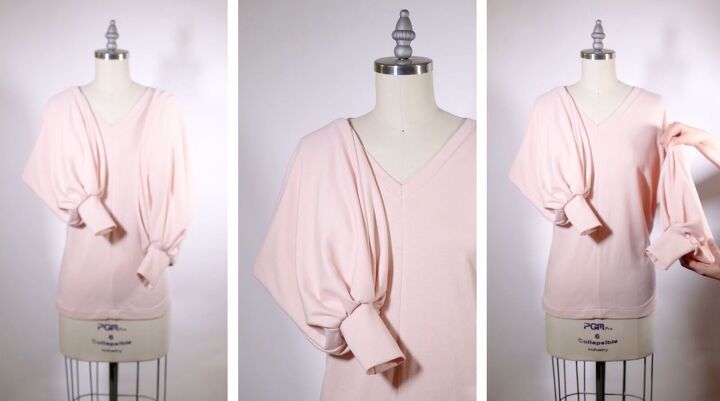
How to sew a balloon sleeve tutorial
There you have it! A beautiful balloon-sleeved sweater you made yourself!
Please let me know in the comments if you tried this balloon sleeve top sewing pattern and how many compliments you got when wearing it.
The author may collect a small share of sales from the links on this page.


Comments
Join the conversation