How to Sew a Tiered Skirt From Scratch

I love the way a tiered skirt looks, so feminine and flattering!
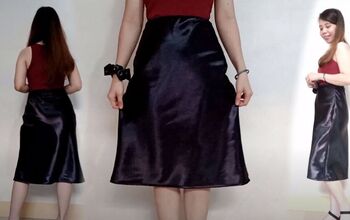
I made this black layered skirt for my mom when her birthday and Mother’s Day came out in the same week. She loved this layered skirt and wore it proudly.
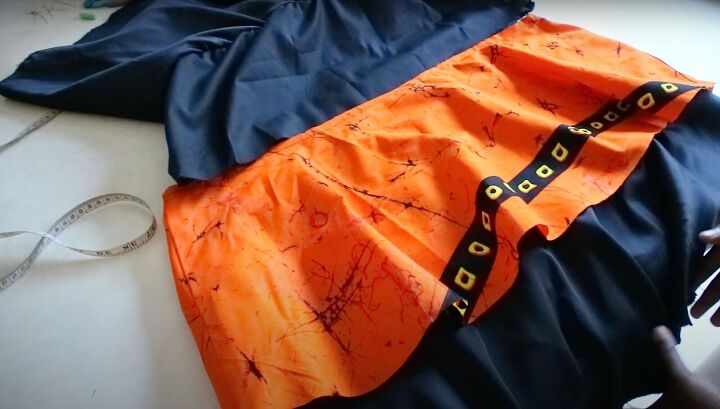
I based this tiered skirt pattern off of others but made it my own. There are three pieces to this half circle skirt, and I made the center one pop in a contrasting color. Follow along with me to learn how to sew a tiered skirt.
Tools and materials:
- Fabric - 2+ yards of outer fabric
- Lining fabric
- Matching thread
- Pattern paper
- Tailor’s chalk
- Ruler
- Measuring tape/ruler
- Pins
- Elastic band - gold preferred
- Sewing machine
1. Make the pattern
The overall length of my skirt was 30 inches. The first tier was 11 inches, the second tier was 10 inches, and the bottom tier was 9 inches.
You can measure on the pattern paper or directly on the fabric based on your skills.
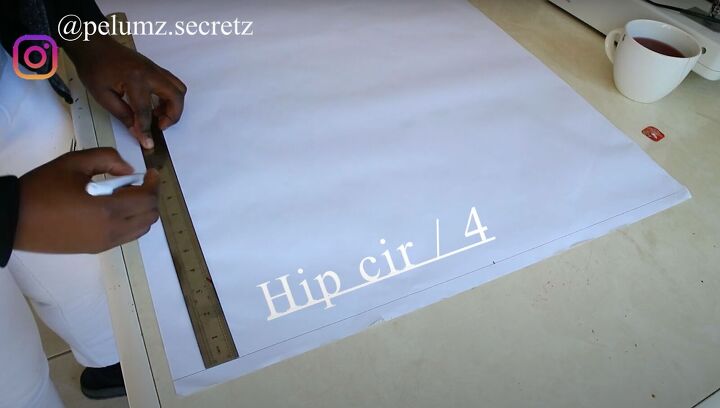
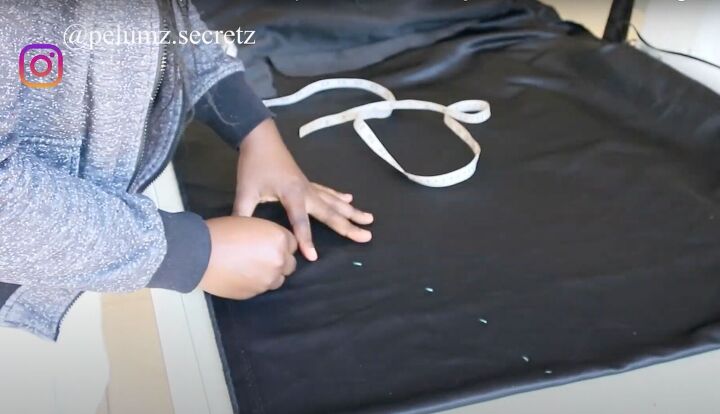
Measure your hips. Divide this measurement by 4.
If your fabric is straight, measure directly from the top. If it isn’t, mark a reference line. Mark your quarter hip measurement from the fold at the top.
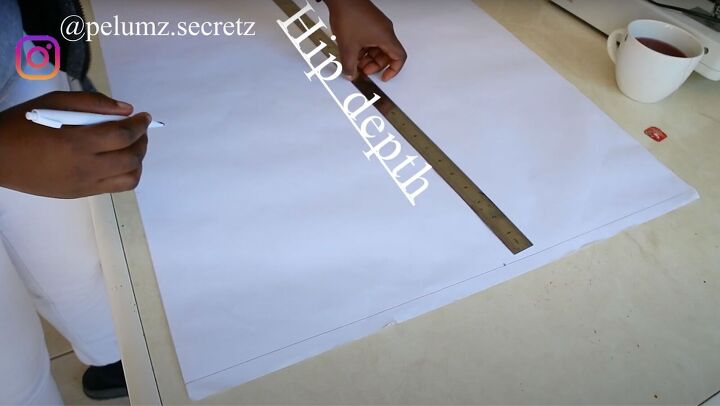
Then mark the hip depth.
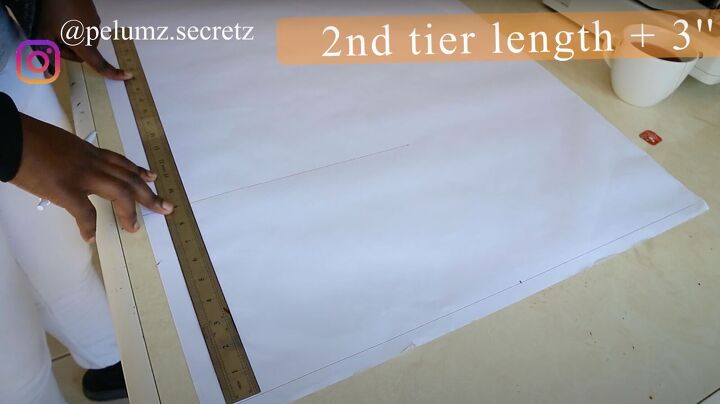
Add 3 inches to the hip circumference measurement to the length for hemming, seam allowance, and joining.
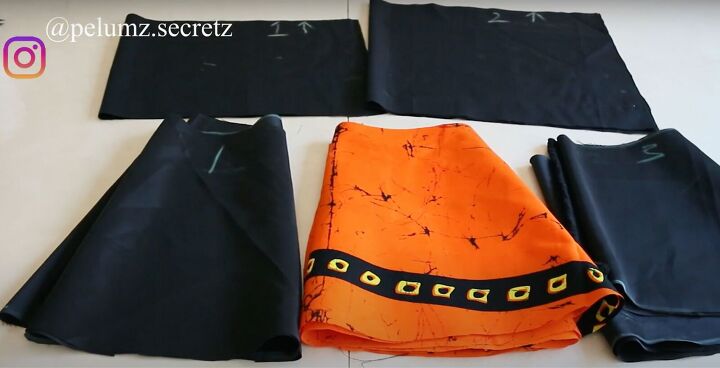
At the hem of the second tier, add 4 inches. Cut out the paper pattern. Fold your lining fabric and lay the pattern on top, attaching it with pins.
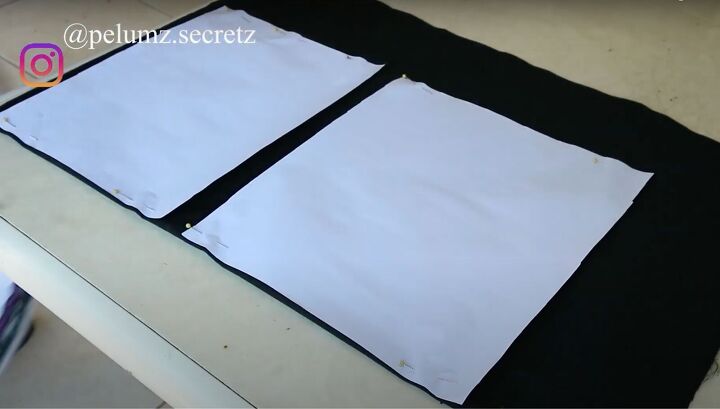
Cut out the fabric. You should have 4 pieces: front and backs for the first and second tiers.
You’ll need to determine the radius of the skirt which is your hip circumference plus 1 inch divided by 3.142 or π. Fold the fabric.
Mark along the unfolded edge with your hip measurement. Plot this measurement across the fabric with chalk.
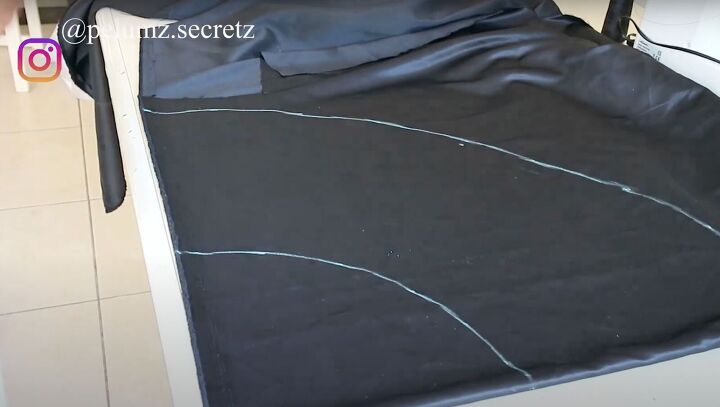
Measure the length of the first tier. Plot it across the fabric.
Cut out this piece.
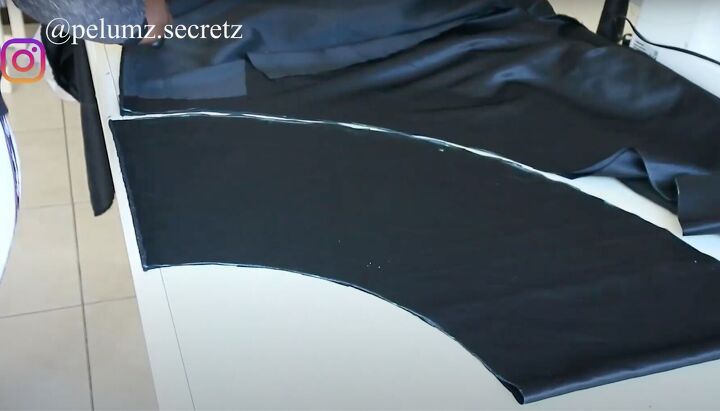
You’ll repeat this method for the second and third tier but add some more inches.
Mark the second tier by multiplying the first tier hem circumference by 4, then divide by 3.142.
Mark the third tier by multiplying the second tier hem circumference by 4 and dividing by 3.142.
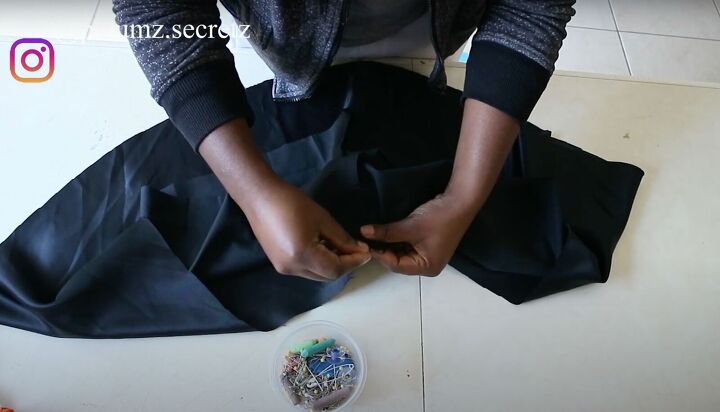
2. Sew the skirt tiers
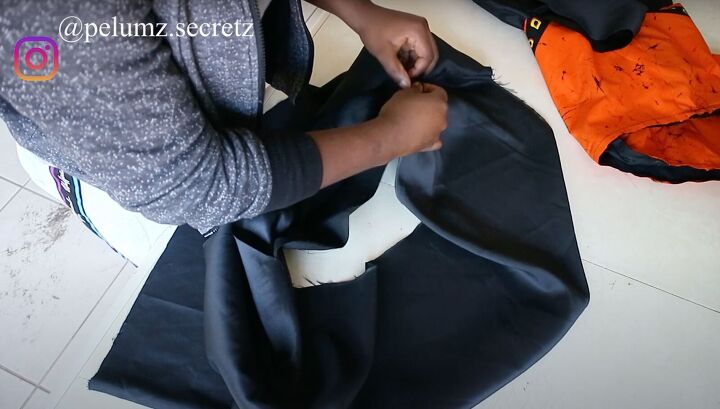
You should have 2 lining pieces and 3 skirt pieces. Start by sewing the lining front and back pieces for the first and second tiers on the side seams, right sides together.
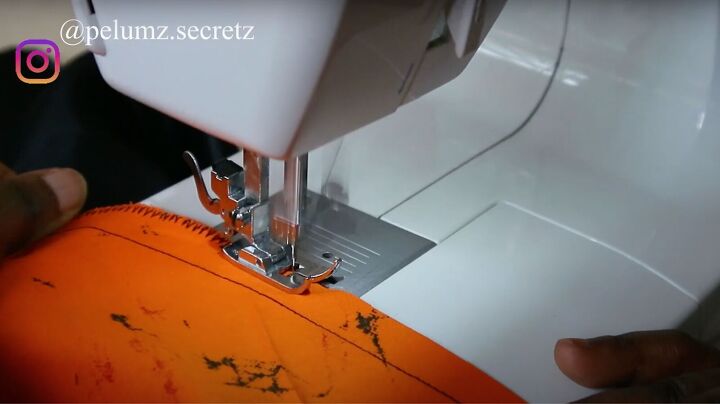
Close up all three of the semi-circles by sewing a straight stitch along the side seams, right sides together. Finish all the raw edges with a zigzag stitch.
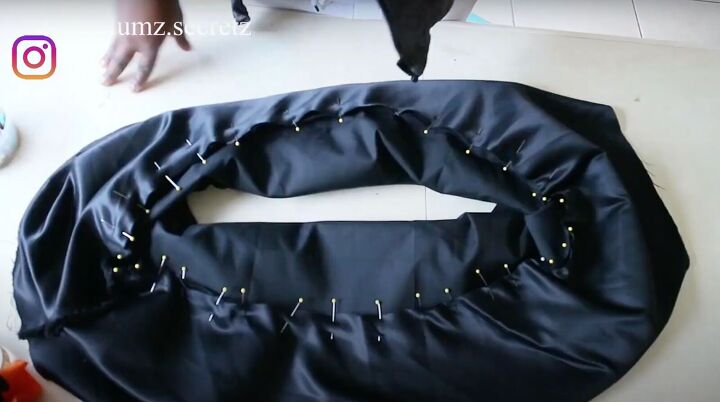
Pin the bottom tier of the skirt to the hem of the second tier lining right sides together. Leave a ½ inch seam allowance.
It should look like this.
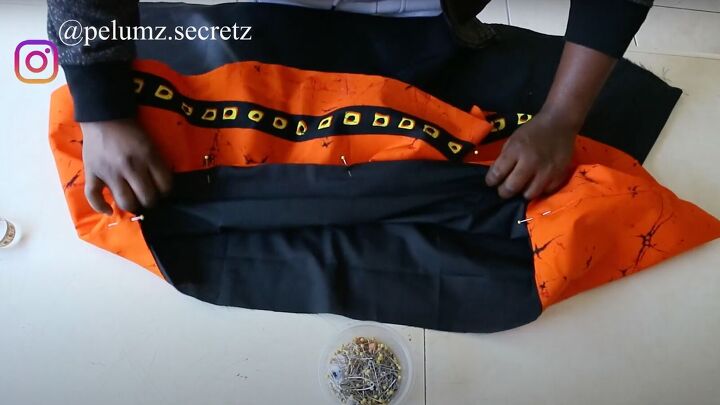
Join the second tier to the top of the lining using a straight stitch with ½ inch seam allowance.
Join the top lining piece to the first tier at the waistline with a straight stitch, right sides together.
3. Attach the waistband
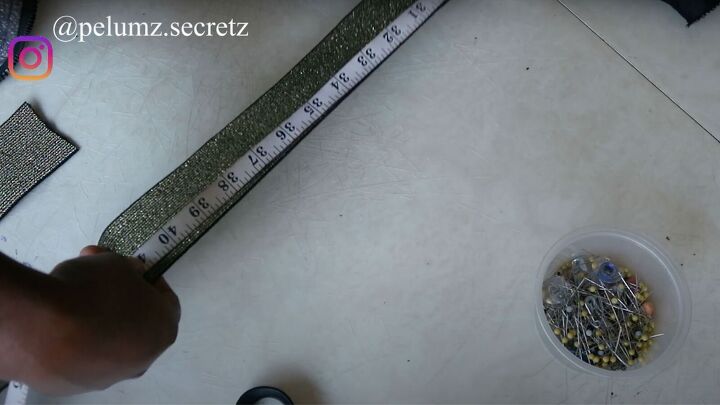
Measure your waist and subtract 2 inches. Cut the elastic band to this measurement.
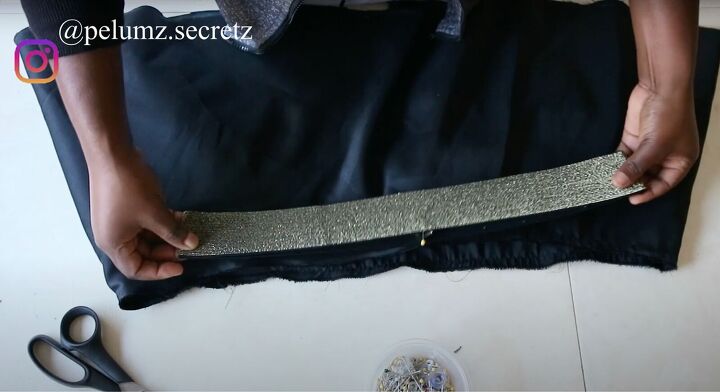
Join the two ends together securing them with repeated straight stitches to make a waistband loop.
Mark the centers of the loop with a pin. This will help you evenly spread the gathers at the waist. Pin the elastic at the centers and the side.
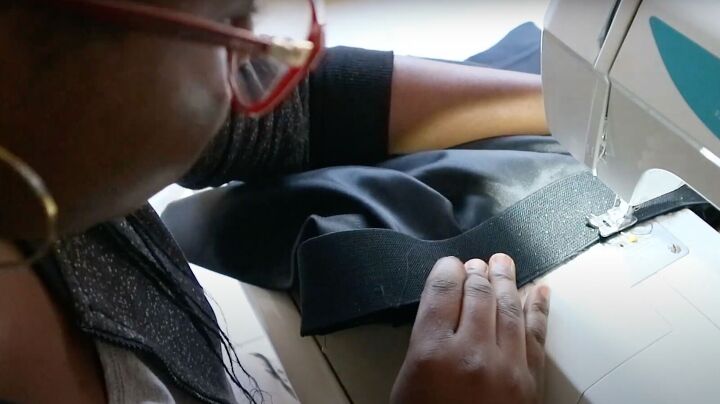
Sew the waistband to the top of the first tier, right sides together. Pull on the elastic band as you sew it to ensure all the fabric is attached at the waist.
Do a topstitch to make sure the waistband lays flat.

4. Finish the skirt
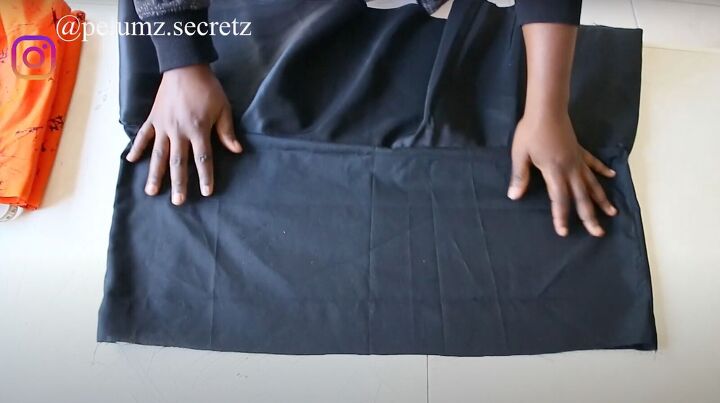
Before attaching the first tier to the rest of the skirt, fold in the hem twice.
Then join the top tier’s lining to the second tier, right sides together. Remember to zigzag stitch the raw edges.
Hem the second and third tiers to complete the skirt.

How to sew a tiered skirt
I love the exposed elastic in this layered skirt. It makes it easy to wear and it's much simpler than putting in a zipper.

Don’t forget to comment if you enjoyed this fun DIY circle skirt tutorial!
The author may collect a small share of sales from the links on this page.


Comments
Join the conversation