How to Make a Baker Boy Hat From Scratch

Today, I'm going to show you how to make a baker boy hat. Women's baker boy hats are so stylish so I thought I would try to make one myself.
This DIY baker boy hat sewing pattern and the sewing instructions are included, so you can get started right away!
Tools and materials:
- Tracing paper
- Hat fabric
- Lining Fabric
- Ruler
- Pencil
- Sewing pins
- Thread
- Sewing machine

Examples of baker boy hats.
1. Create the pattern
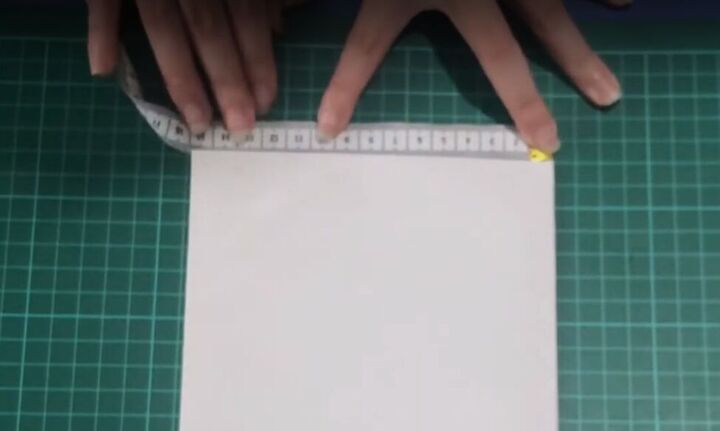
Fold a sheet of A3 paper (11.7 x 16.5 inches) in half and then in half the other way.
From the 4-layered corner, along the short side of the paper, measure, and mark 11½ and 12½ centimeters (4½ and 4.9 inches).
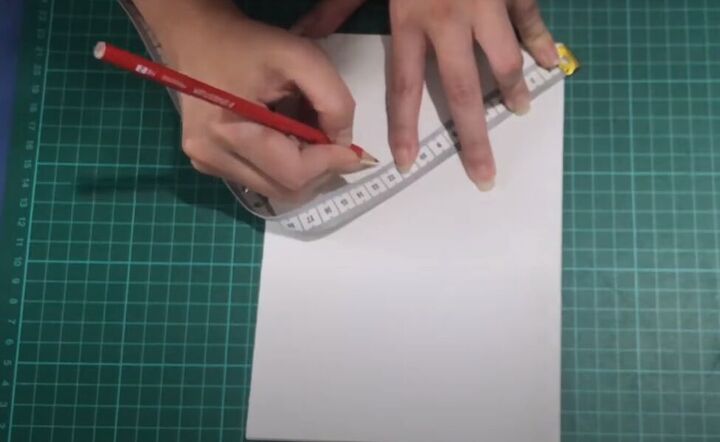
From that same corner, measure, and mark 11½ and 12½ centimeters (4½ and 4.9 inches) from the corner in a quarter-circle radius on the paper.
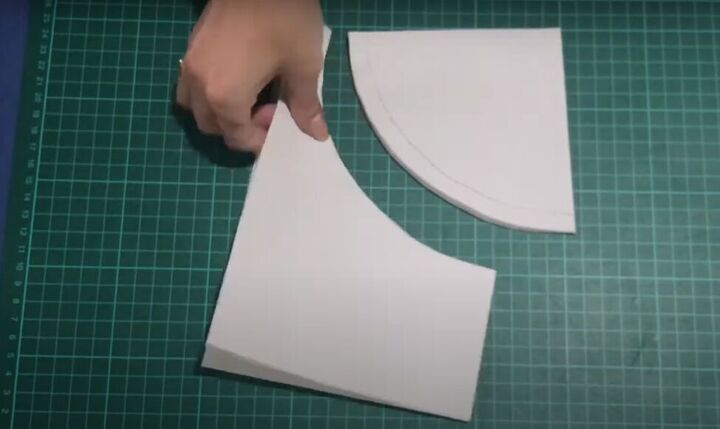
Connect the marks on the two lines and cut out the quarter circle along the 12½-centimeter (4.9-inch) line.
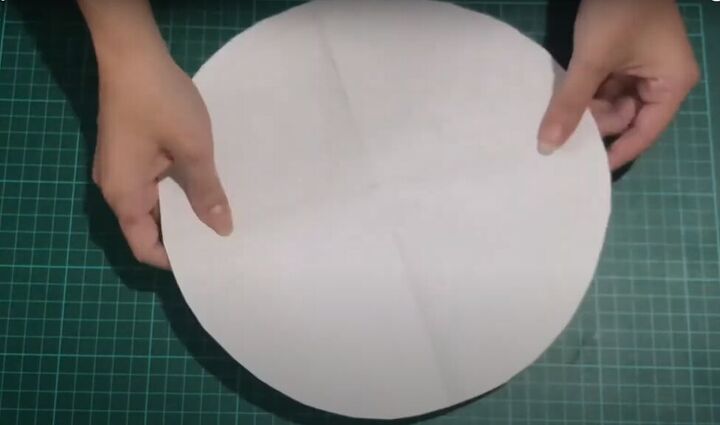
Unfold the paper and you now have a complete circle.
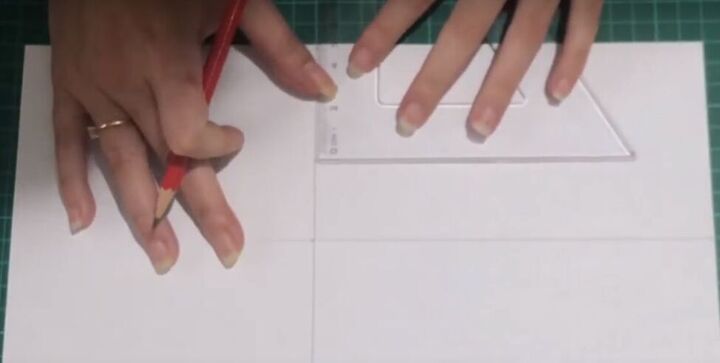
For your second pattern piece, draw a 9 x 12-centimeter (3½ x 5.7-inches) rectangle on a new piece of paper.
From the top corner along the right short side, mark 3 centimeters (1.2 inches) from the corner. Then mark 5 centimeters (2 inches) from the top corner along the left short side.
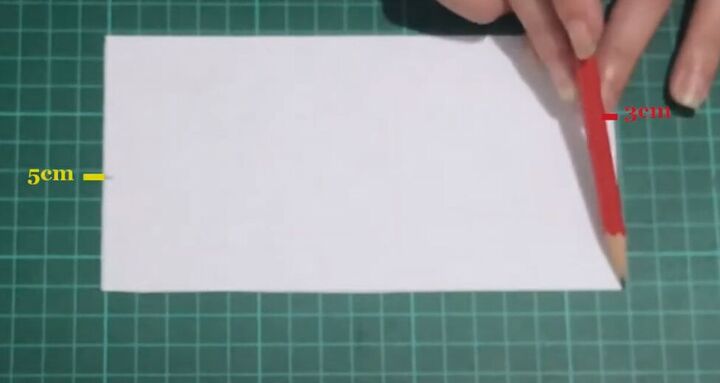
Cut out the rectangle from the paper. Draw a curved line from the bottom left corner to the 5-centimeter (2-inch) mark on the left edge.
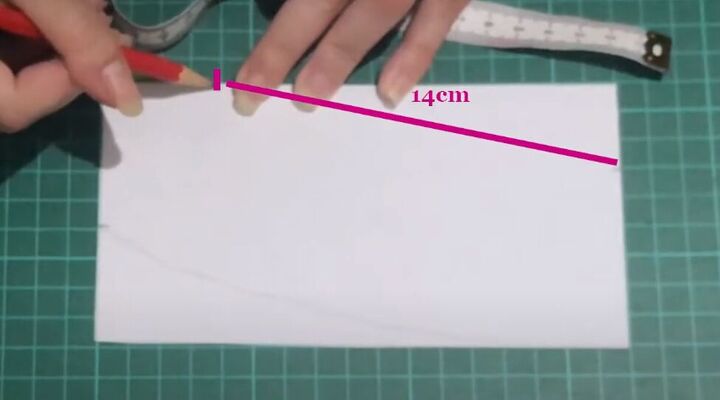
Measure the circumference of your head and divide by 4. In this tutorial I measured 56 centimeters (22 inches) for my head, so divided by 4, I got 14 centimeters (5½ inches).
Draw a 14-centimeter line (or whatever your final measurement is) from the 3-centimeter (1.2-inch) mark on the right edge of the rectangle to the top edge of the rectangle.
Try to follow the same angle as the line you made from the bottom corner to the left edge.
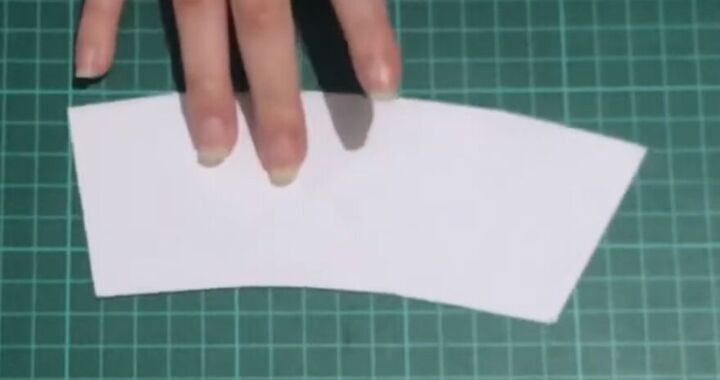
Connect all 4 of those markings and cut out your second pattern piece.
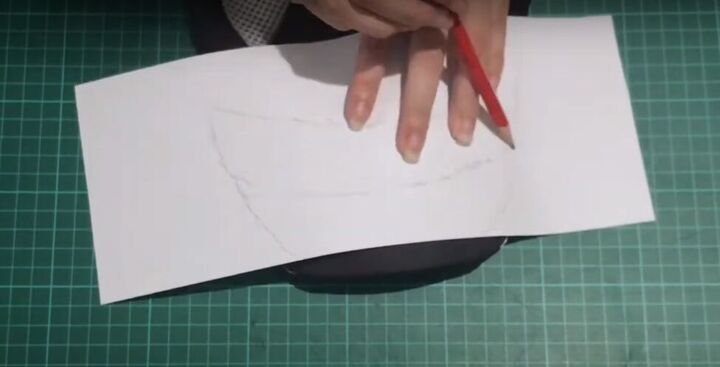
For the third pattern piece, use a cap as a template. Trace the brim of that cap onto a piece of paper.
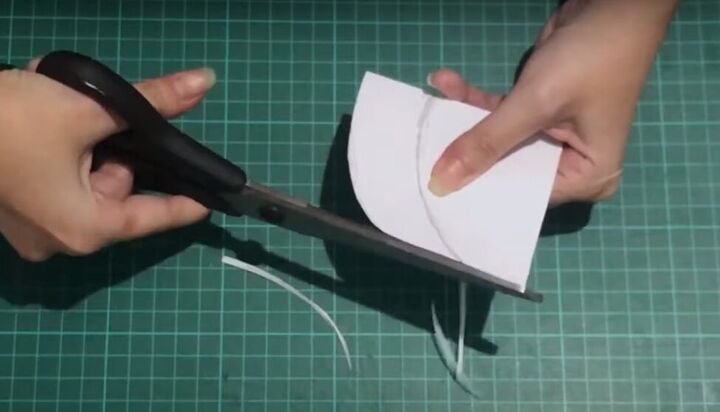
Roughly cut it out but then fold your cut paper in half and trim as necessary so that your brim pattern piece is symmetrical.
The last pattern piece is the easiest one.
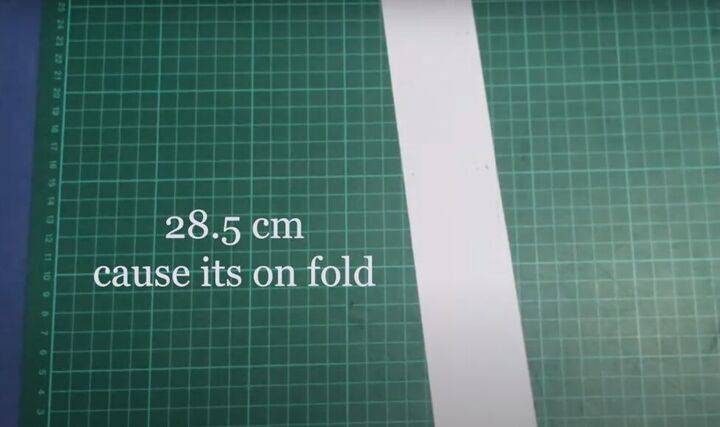
Cut a paper rectangle measuring 5 centimeters (2 inches) wide and, for the length, the measurement that is the full circumference of your head (56 centimeters or 22 inches in this tutorial, or 28cm and 11 inches if you are cutting it on a fold) plus 1 centimeter (0.4 inches) for a seam allowance.
2. Cut the fabric
Use your paper pattern pieces to cut the following:
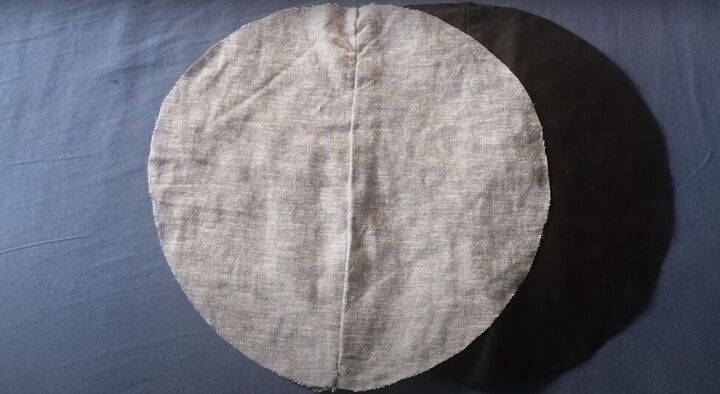
- 1 circle from the main fabric and one from the lining fabric;
- 2 rectangles from the main fabric;
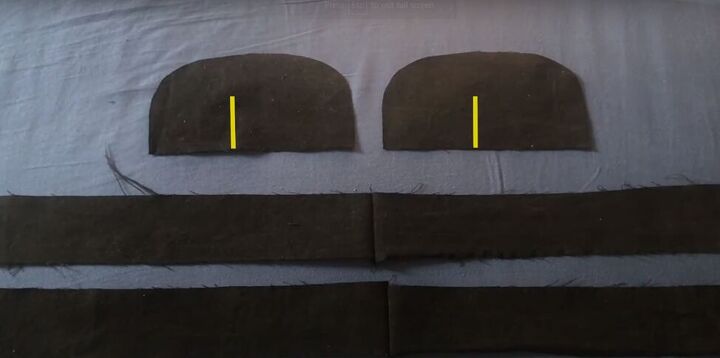
- 2 brims from the main fabric, adding some extra fabric at the bottom to make it easier to sew; and
- 4 of the custom curved pieces, 2 from the main fabric and 2 from the lining fabric.
3. Sew!
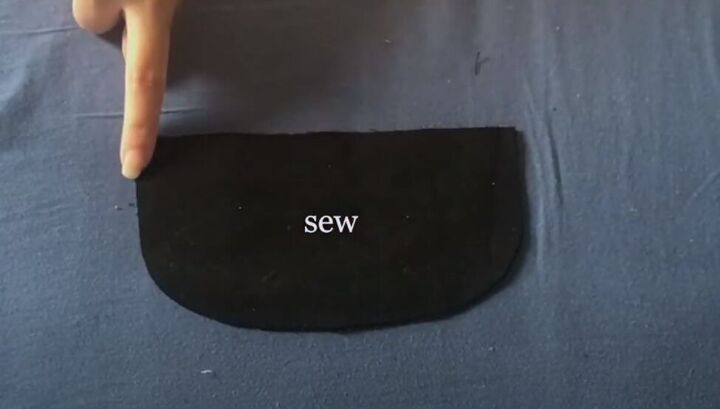
Sew the brim pieces together along the curved edge, with right sides facing and using a straight stitch. Then, cut notches in the seam allowance and turn the brim right-side out.
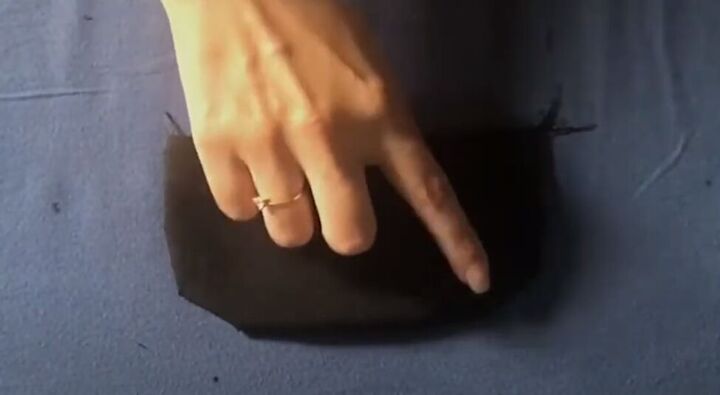
Topstitch three lines, 1 centimeter (0.4 inches) apart, around the seam to make the brim stronger. Finally, topstitch the straight open edge of the brim.
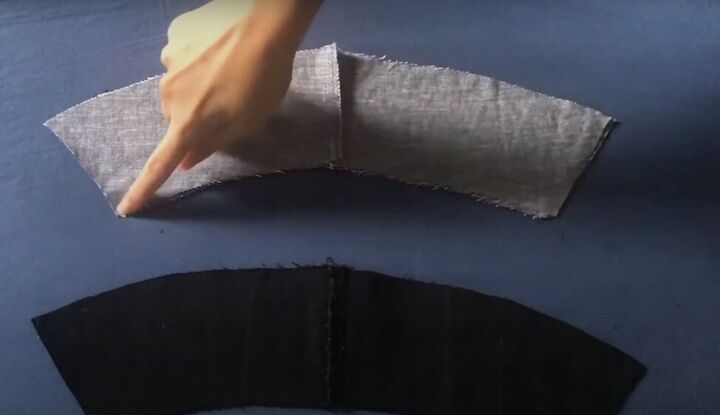
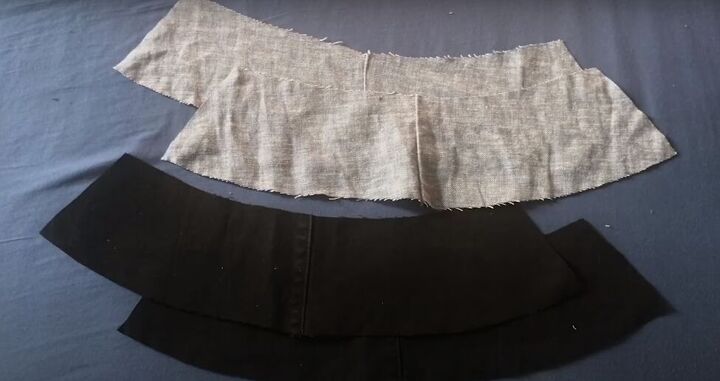
Now, sew the two main-fabric curved pieces together along the short edges and then do the same with the two lining-fabric curved pieces. That gives you two open circular shapes in total.
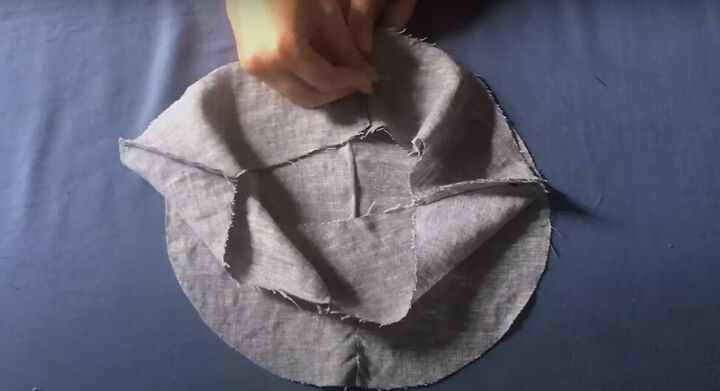
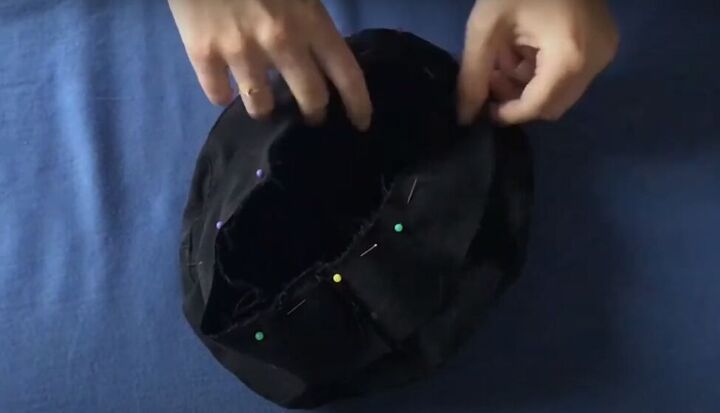
Pin the fabric curved piece to the fabric circular piece, all the way around the outer edge. Do the same with the lining curved and circular pieces.
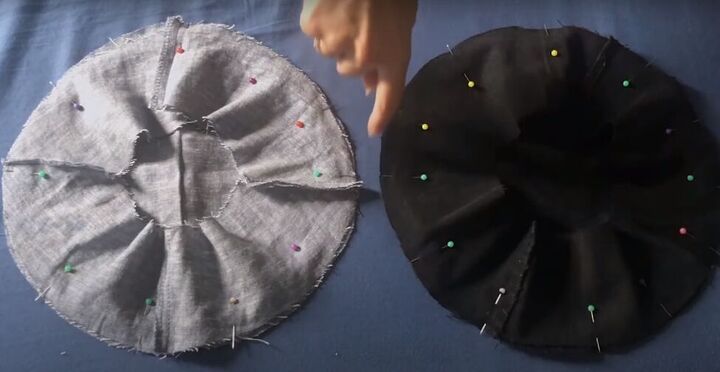
Sew the curved pieces to the circular pieces along the outer edge with a straight stitch.
Now you can see how it’s all coming together!
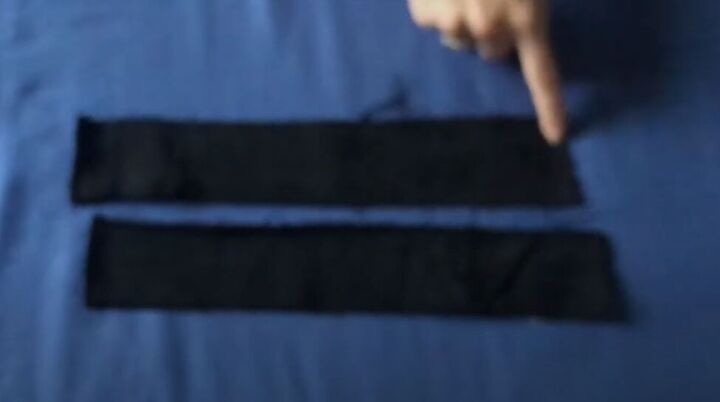
Fold each of the long rectangles in half lengthwise, with right side facing, and sew the short open edge together.
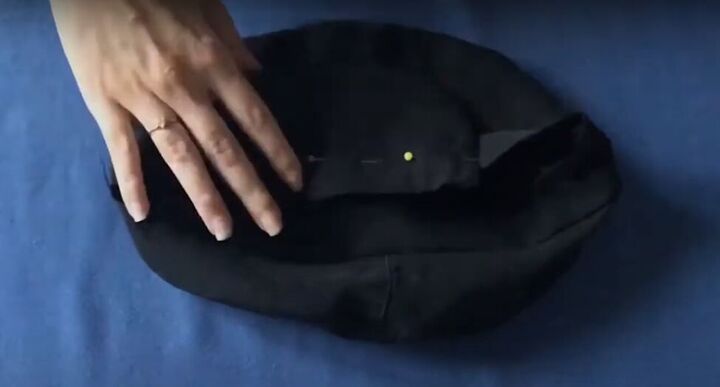
With right sides together, pin, and then sew one of the long pieces to the hat, at the open edge, using a straight stitch.
Pin and sew the hat brim to the hat with right sides facing.
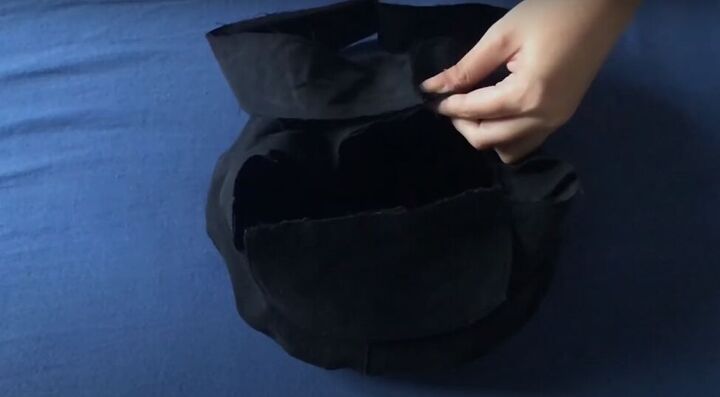
Now take the second long strip and pin and sew it to the hat just as you did before.
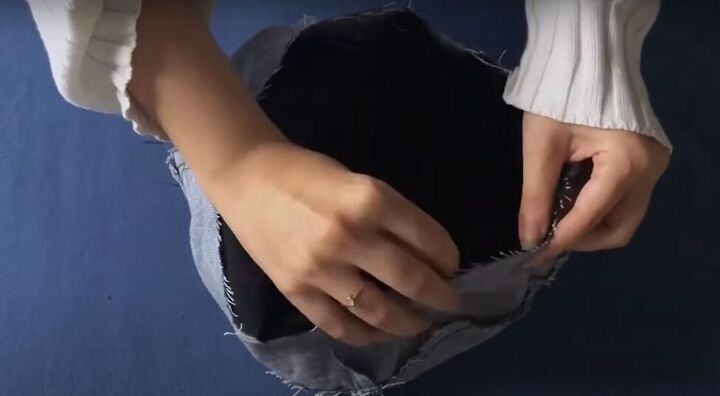
Take the lining-fabric circle and pin and sew it to the hat with right sides facing, wrapping the lining piece around the main fabric piece.
Leave one small section open to allow you to turn the hat right-side out.
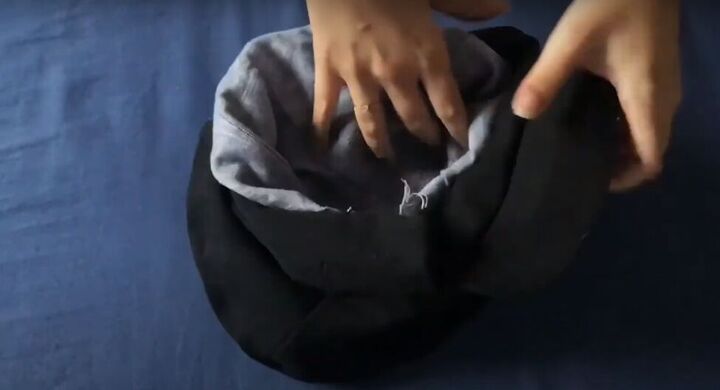
Turn the hat right sides out and tuck the lining into place. Then, use a straight stitch to sew up the gap you just left around the edge.
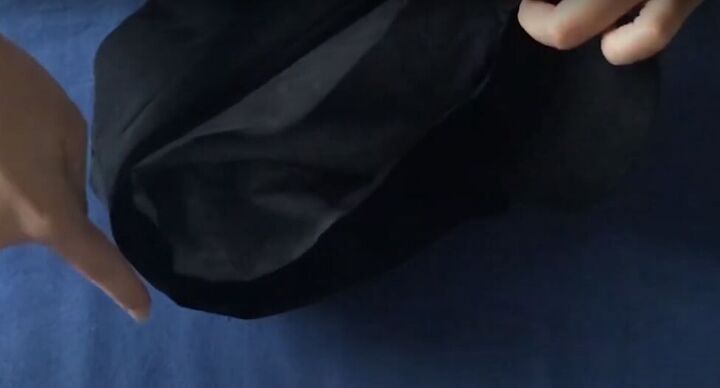
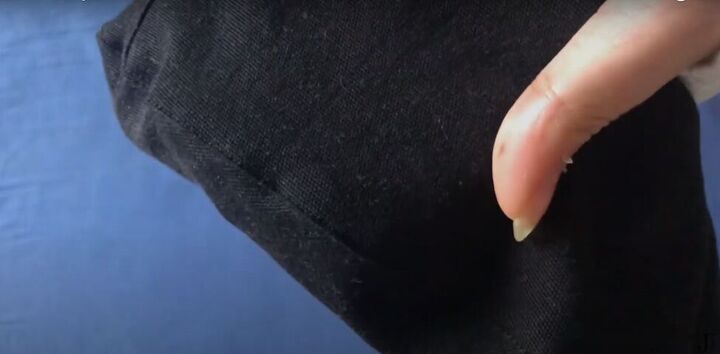
Finally, topstitch around the whole hat to give it a clean, finished look.

How to make a baker boy hat
I hope you love wearing your new DIY baker boy hat. Leave me a comment to let me know how these instructions worked for you.
The author may collect a small share of sales from the links on this page.


Comments
Join the conversation
I probably won’t sew one since I’m a beginner, but I just wanted to say how cute your hat is.