How to DIY a Cute Lace-up Mini Skirt

I found an old button front midi skirt that was too big for me and badly made, and decided to upcycle it into a lace up mini skirt.
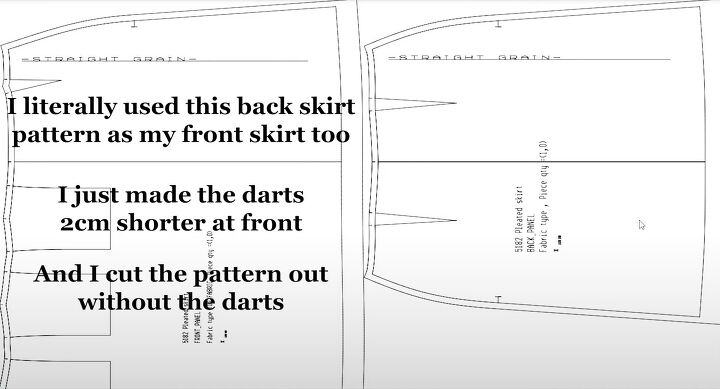
I used a free mini skirt sewing pattern that I adapted because I wanted the back and front to be princess seamed with three panels each.
I ended up using the back skirt pattern for the front and back, modifying it to make it three panels instead of two.
Tools and materials:
- Skirt to upcycle or fabric
- Invisible zipper
- Modern Sewing pattern 5182
- Paper for pattern
- Loop turner or safety pin
- Seam ripper
- Eyelets
- Pins
- Scissors
- Sewing machine
1. Cut out fabric
Print out the back pattern pieces and adjust them as needed. Remember to add seam allowances to each panel.
Deconstruct your skirt or lay out your material.
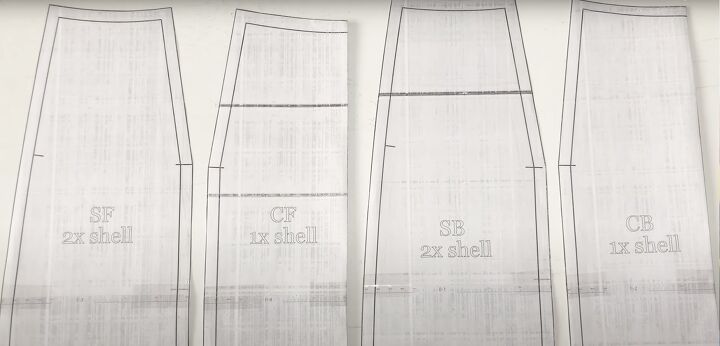
Cut out two side back panels, two side front panels and one each of the center back and center front.
Also cut out the waistband and some 1.25 inch (3 cm) wide strips for the laces.
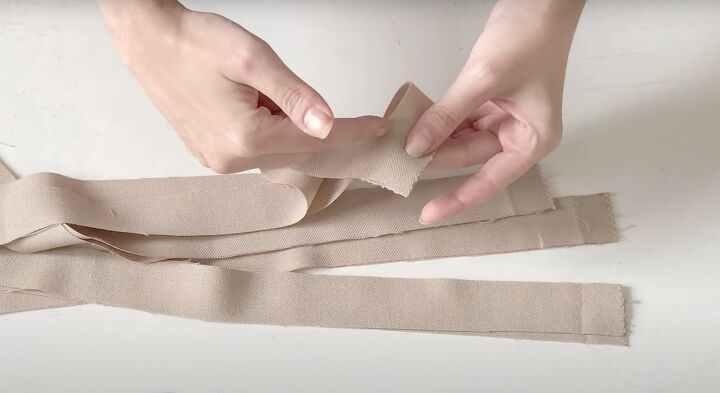
2. Make laces
Join the strips diagonally, cut off the excess fabric and press the seams open.
Fold the strip lengthways with right sides facing and sew the long edge, then use a loop turner or safety pin to turn the strip inside out.
I made my laces far too long for what I eventually needed, so you might want to leave this step to the end.
3. Assemble skirt
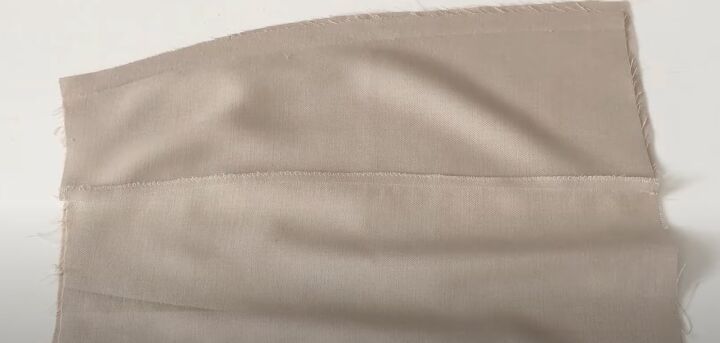
Join the three front panels, matching the notches.
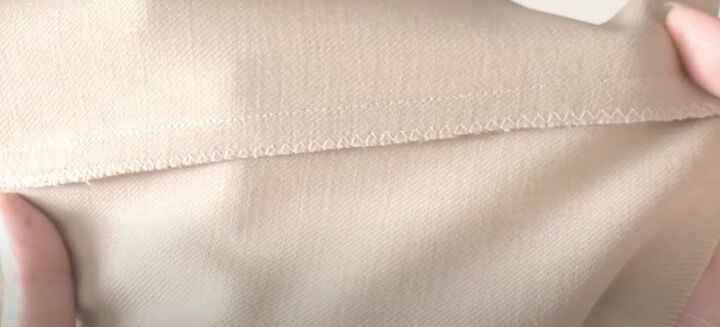
Press the seam and zigzag stitch the raw edges together.
Join the back panels in the same way.
Lay the back piece over the front, with right sides facing, and sew the side seams.

4. Attach waistband
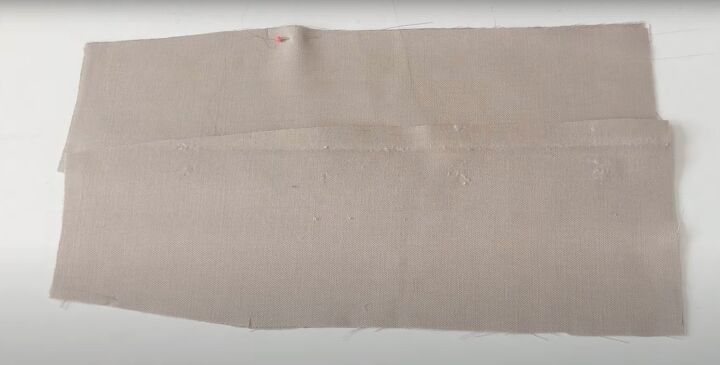
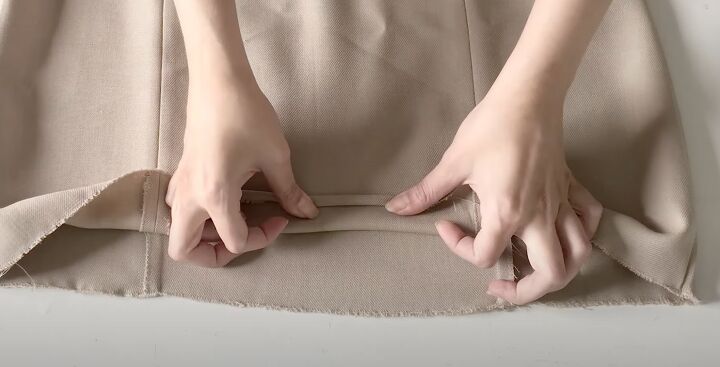
Press the long edges of the waistband to the wrong side by half an inch (1 cm).
Join the waistband pieces and stitch the top edge to the skirt, matching the seams carefully. I messed up this part and it looked so bad I had to restitch it.

5. Insert zipper and finish waistband
Baste the zipper over one of the side seams on the inside and sew it in place with a zipper foot.
I'm not good at this and it took me a few attempts to get it straight. When you're happy with the stitching, use a seam ripper to open the seam under the zipper.
Fold the waistband over the raw edge of the skirt, enclosing the zipper tape as well, and sew it in place.
You can add a hook and eye fastening to the waistband if you need it.
6. Hem
Zigzag stitch along the lower edge of the skirt. Fold it to the wrong side by 1/4" (1/2 cm) twice and sew it close to the fold.
7. Add eyelets
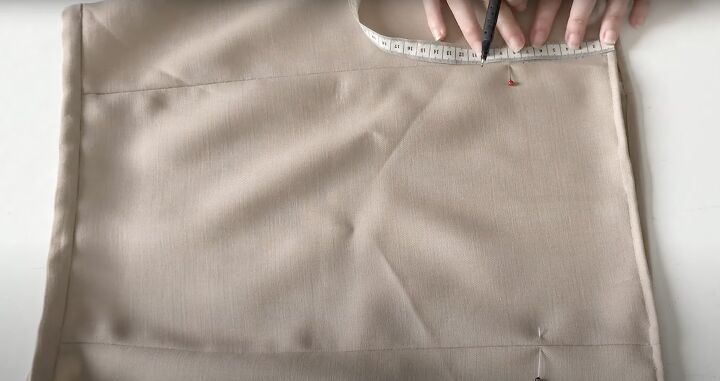
Decide how high you want the lacing to come up the skirt. Measure the position of the eyelets so they're evenly spaced on both sides.

As a guide, I added six eyelets (three each side of the seam) at the bottom of the center front panel.
I placed the eyelets 0.75 inches (2 cm) apart vertically and opened the seam for 3 inches (8 cm) in total.
Add the eyelets, then seam rip the seams open and top stitch around the slits to secure them.
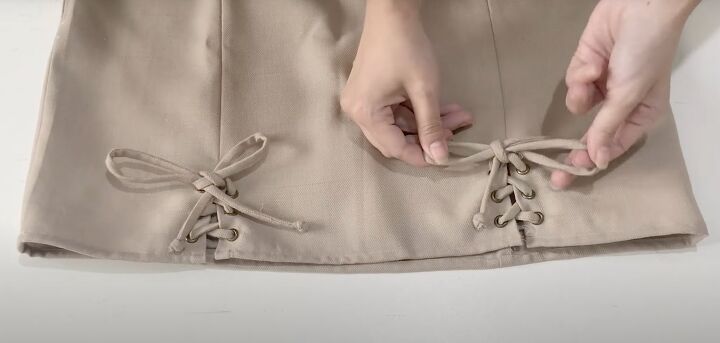
Thread the laces through the eyelets and tie them off in a bow.

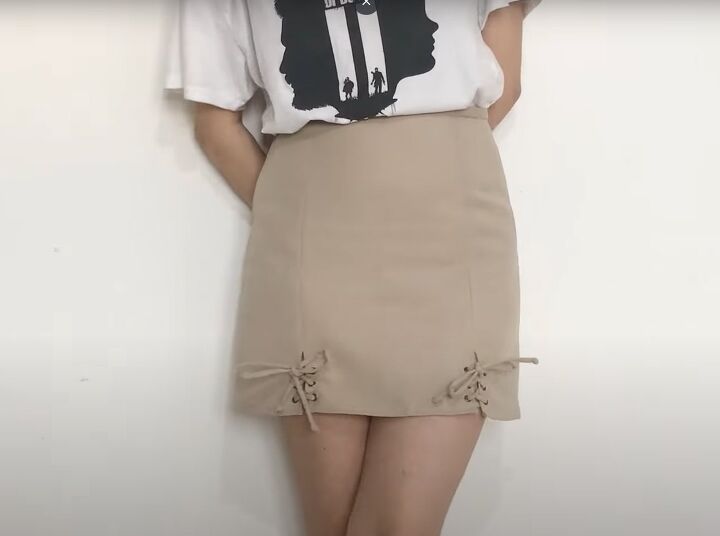
Lace up mini skirt
I think the fake lacing adds some interest to an otherwise simple mini skirt pattern. It's a good basic skirt that can be styled in many different ways, so it's a great capsule wardrobe piece.
I'm glad I upcycled a skirt I never wore into something useful. If you enjoyed this tutorial, please let me know in the comments.
For more sewing content, check out my post on How to Make a Baker Boy Hat From Scratch.
The author may collect a small share of sales from the links on this page.


Comments
Join the conversation