How to Sew a 3/4 Circle Skirt From a Bed Sheet

I decided to make a 3/4 circle skirt from a pretty bedsheet I had that has a subtle pattern on it. The difference between a full vs 3/4 circle skirt is that the full circle can be too full for some shapes and the half circle not full enough.
This 3/4 circle skirt pattern is a great compromise. You will need lots of paper for the pattern, so be prepared!
Best fabric scissors!
Tools and materials:
- Material, e.g. a bedsheet
- Invisible zipper
- Paper
- Compasses
- Pencil
- Ruler
- Measuring tape or yardstick
- Scissors
- Pins
- Seam ripper
- Sewing machine
- Zipper foot (optional)
1. Draft the pattern
I give full details of how to make a circle skirt sewing pattern, including instructions for full and half circle skirts.
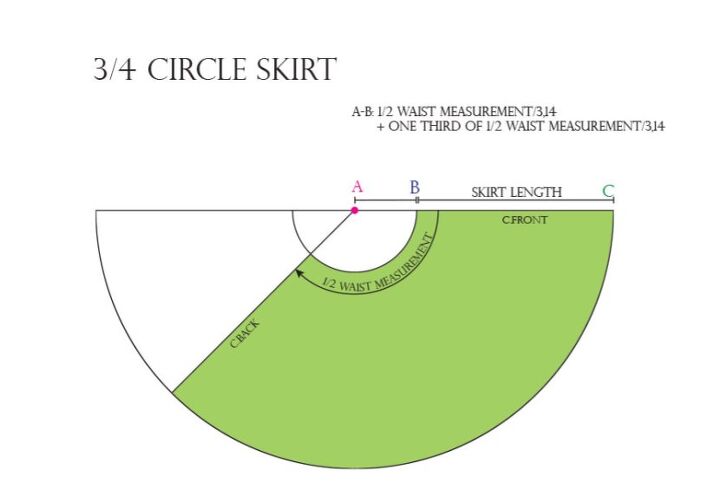
Measure your waist and divide the measurement in two. For this example, my waist measurement is 27 inches (68 cm) so half is 13.5 inches (34 cm).
Divide half your waist measurement by 3.14. For me this comes to 4.3 inches (10.8 cm). Divide that figure by 3, which is 1.45 inches (3.6 cm) and add the last two answers together.
So 4.3 inches plus 1.45 inches equals 5.75 inches (10.8 cm plus 3.6 cm equals 14.4 cm). This is the radius of your waist curve, shown as the line A-B on the diagram.
Also measure the finished length of your skirt, which is the line B-C on the diagram.
Draw a straight line across your paper and mark point A in the center of the line.
Draw a part circle around point A with your compasses set to the measurement you calculated (5.75 inches or 14.4 cm in the example) until the measurement around the inside of the curve is half your waist measurement plus 3/4 inch (1.5 cm) for the seam allowance.
From point B, extend the line by the length of your skirt to point C. Measure the length from A to C and using your measuring tape or yardstick, draw a part circle around point A until you reach the end of the inner curve.
Draw a line joining the end of the inner curve to the end of the hemline for the center back seam.
Cut out your paper pattern.
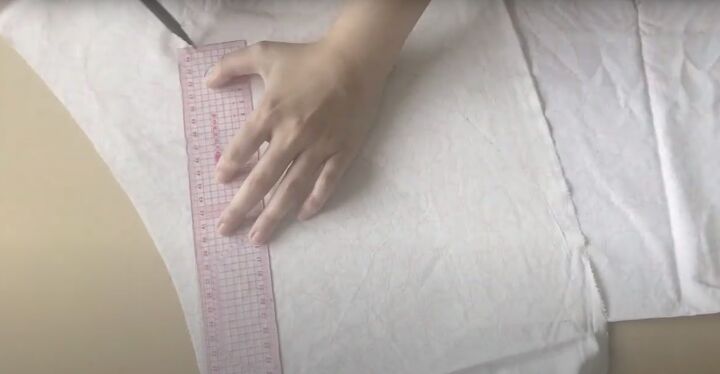
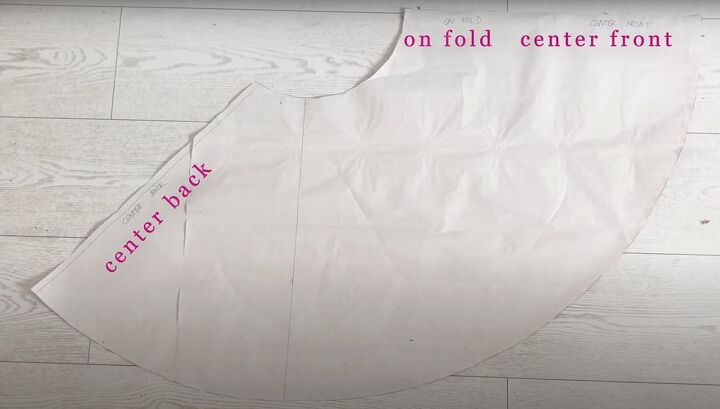
2. Cut your fabric
Place the line A-C on the fold of your fabric and cut out the main section of the skirt.
Use the folded skirt as a template to cut out a facing for the waistline approximately 3 inches (8 cm) deep, that follows the curve of the waistline.
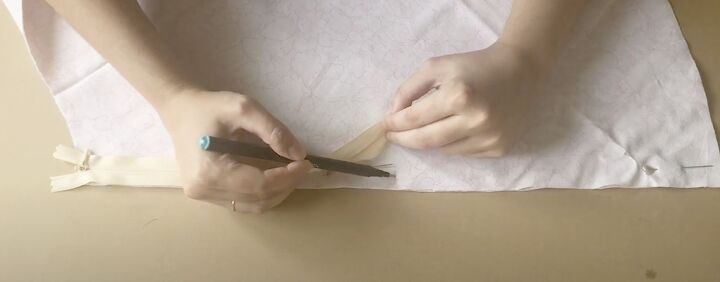
3. Insert the zipper
Pin the center back seam together.
Place the zipper on the seam with the top of the zipper teeth about half an inch (1 cm) from the waist edge.
I placed mine too high and made it more difficult for myself. Mark the point on the seam where the zipper teeth end.
Sew from the lower edge to the mark as normal, make a few backstitches and then change to a basting stitch and sew the rest of the seam to the waist edge.
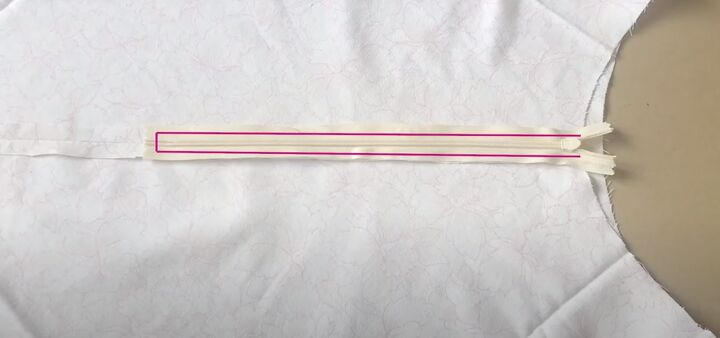
Press the seam open. Pin the zipper to the seam edge, with the right side of the zipper to the wrong side of the skirt.
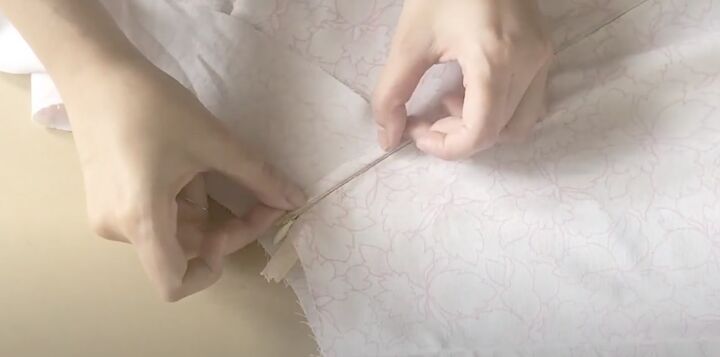
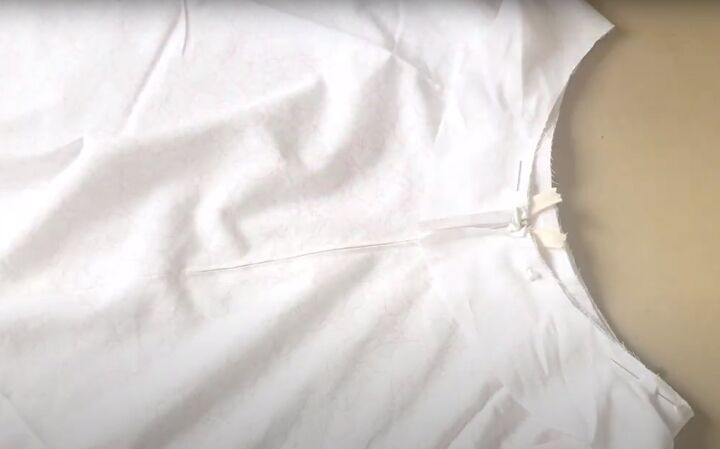
Sew around the zipper, as close to the teeth as you can. Check your stitching and then seam rip the basting stitches open.
4. Attach the waistband
Place the waistband on the edge of the skirt with the right sides together.
Fold in the short edges of the band and pin and sew it around the waist edge.
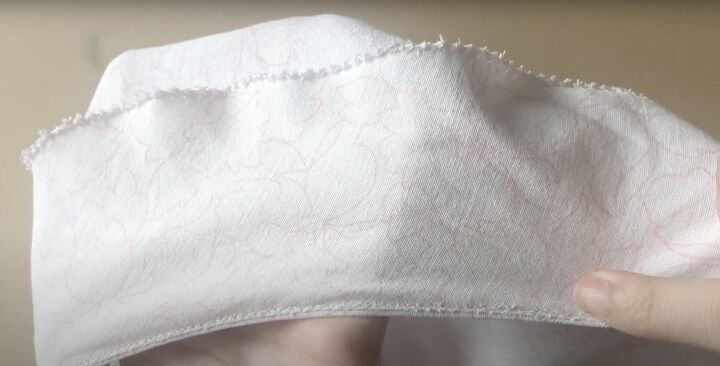
Zigzag stitch the lower edge of the waistband.
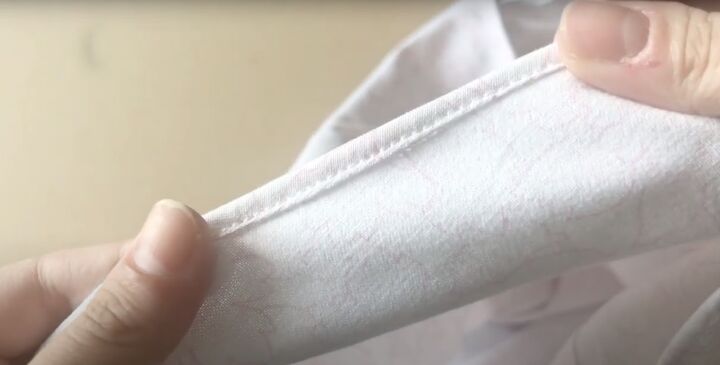
Understitch the waistband to the seam allowance on the inside. Optionally, also top stitch the waistband on the right side.
Trim the waistband seam allowance.
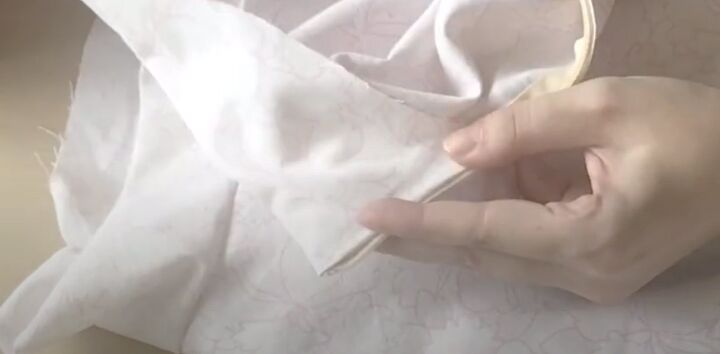
Fold the top of the zipper tape away from the zipper under the waistband and pin and sew the short edges of the waistband to the zipper, close to the teeth.
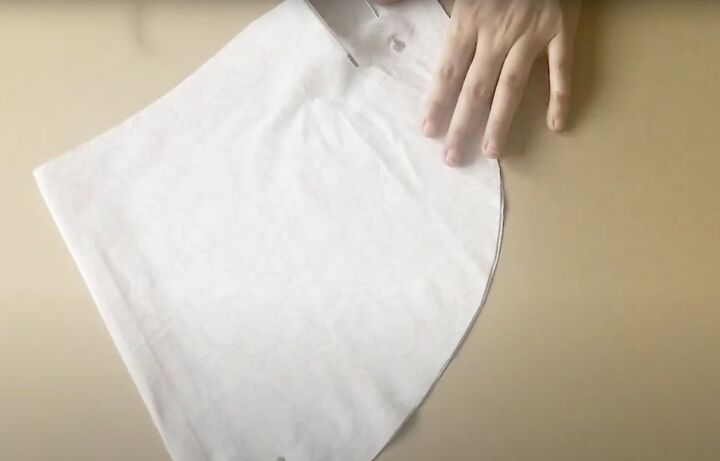
5. Finishing
Make a narrow double hem on the lower edge and sew it in place.
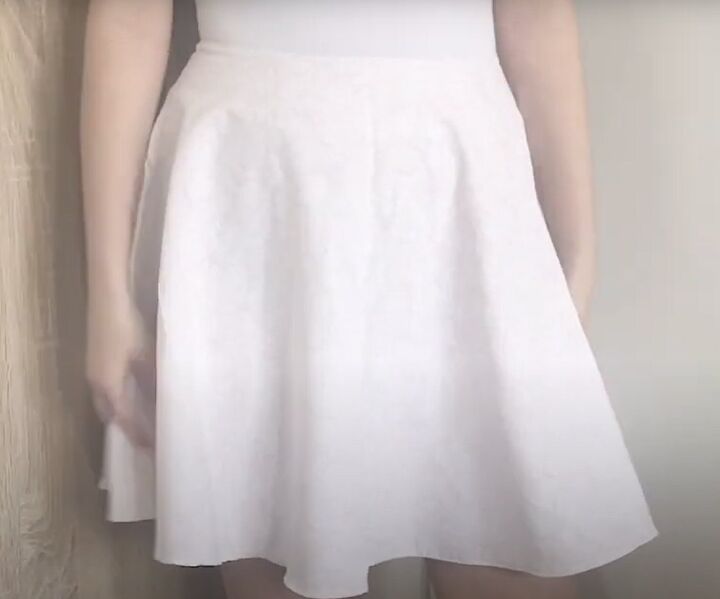
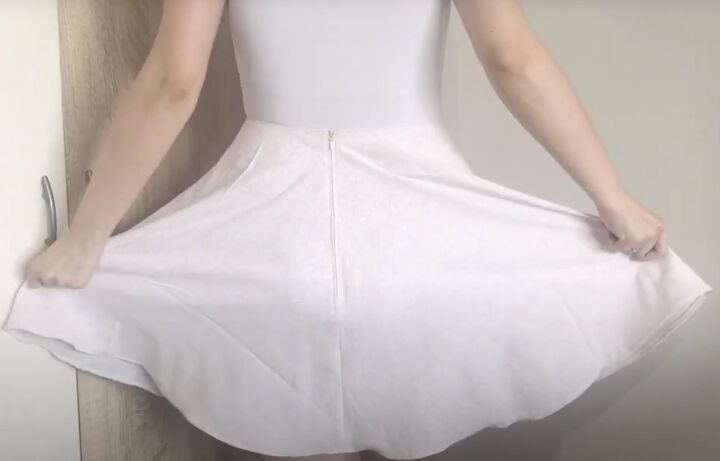
3/4 circle skirt
I made my ¾ circle skirt 18 inches (45 cm) in length but I'll probably shorten it a bit now I see it on.
Otherwise, I'm very happy with how it turned out - a good amount of flare but not too much.
Once you've calculated the radius of the waist, the rest of this project is super-easy to make and it looks great in so many different fabrics.
Please let me know if you make this. I'd love to hear from you in the comments below.
Check out my post on How to Make a Baker Boy Hat From Scratch.
The author may collect a small share of sales from the links on this page.


Comments
Join the conversation
Lovely! Thanx for sharing!
Thank you for the skirt pattern . Love it ! When I was young , taut & terrific ( LOL ) I used to make circular skirts for myself but this would be better for me now !