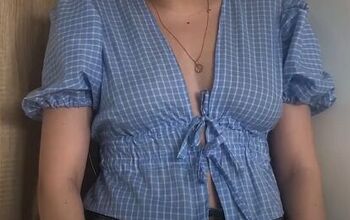
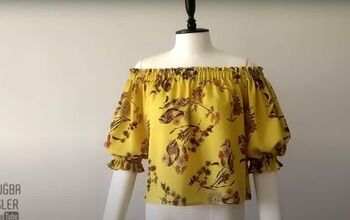
How to DIY a Cute Puff Short Sleeve Top

I thrifted an oversized button-through shirt that I decided to make up as a modified version of the Elliot puff sleeve top pattern.
You can of course use any suitable fabric for this project. If you have a lightweight, slippery fabric like mine however, I do recommend using a ballpoint needle.
I didn't have one and you can see some pulls in the stitching on mine. Also a bias tape maker will make your life a lot easier!
Tools and materials:
- Elliot Front Tie Top PDF Pattern
- Paper for pattern
- Bias tape maker (optional)
- Narrow elastic for sleeves
- 5 small buttons
- Ruler
- Pen
- Fabric marker
- Safety pin
- Pins
- Scissors
- Iron
- Sewing machine
- Ballpoint needle (optional)
- Buttonhole attachment (optional)
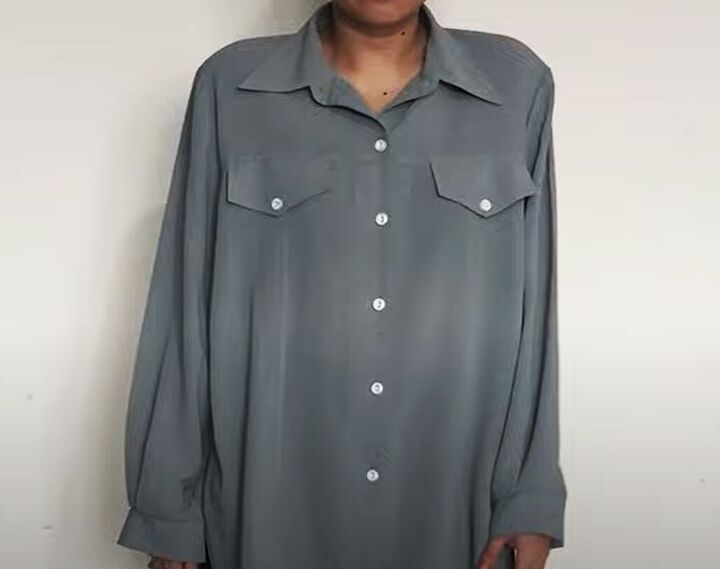
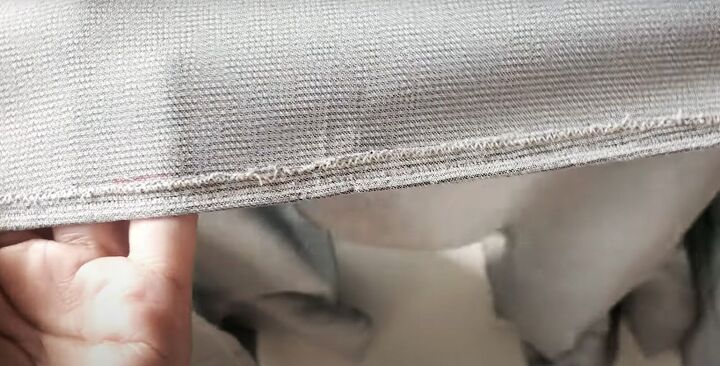
1. Prepare the fabric
If you're flipping a shirt as I did, cut off the collar, collar stand, cuffs and button plackets.
Seam rip the pocket flaps and remove the sleeves.
Cut open or seam rip the side, sleeve and shoulder seams.
Press the fabric.
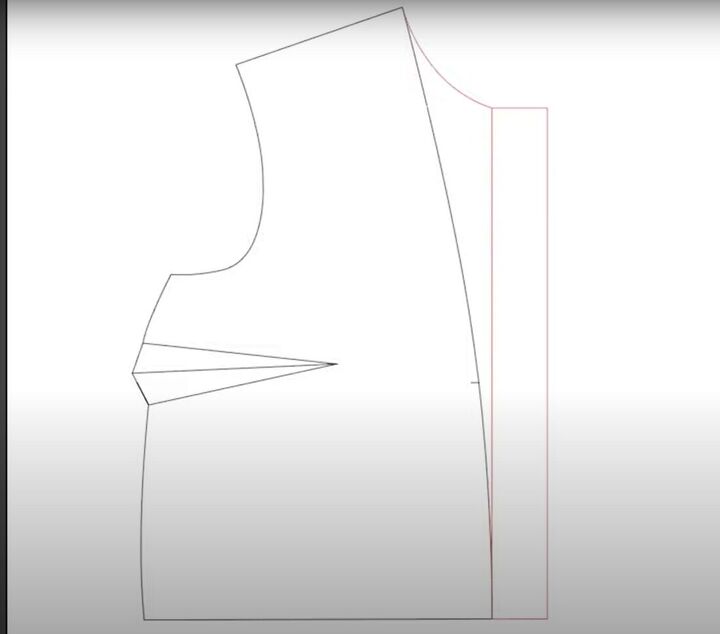
2. Modify the pattern
Print out the pattern. The only modifications are to the front bodice.
Draw a vertical line from the inner lower edge to the highest point of the shoulder. Draw a horizontal line from the top of the line to the shoulder.
Mark 3 inches (8 cm) from the top of the vertical line. Draw a curve from the shoulder to the marked point, for the neckline.
Add a rectangle 1.6 inches (4 cm) wide to the center front, from the neck curve to the hem. This will be the button placket.
Cut two modified front pieces, one back piece and two sleeves.
Transfer the bust dart and button placket markings to the fabric.
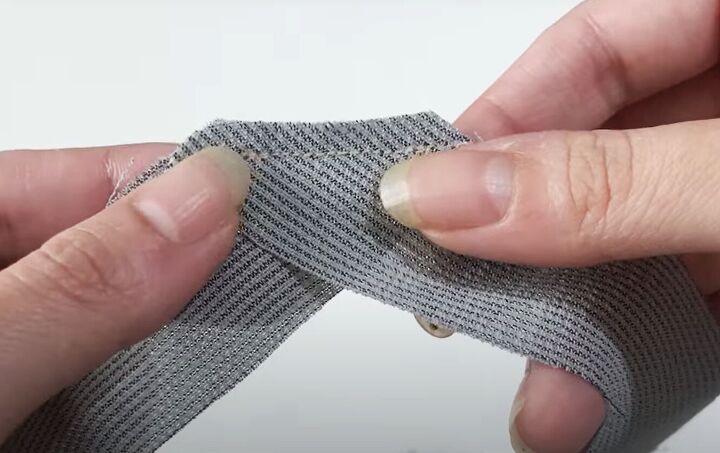
3. Make the bias tape
Cut 1.25 inches (3 cm) wide strips of fabric and join them diagonally.
You will need a total length of approximately 12 inches (30 cm) longer than the measurement around the neckline. Press the seams open.
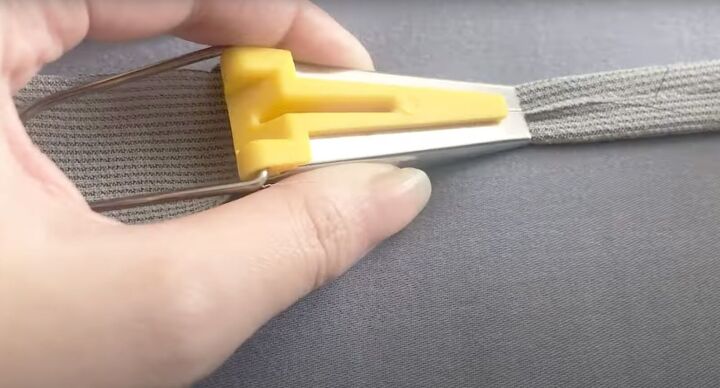
Using a bias tape maker if you have one, fold the two long edges into the center and press them in place.
Fold the tape in half and press it again, to make it easier to work with.
Turn in the short ends of the tape and sew them in place.
4. Prepare the sleeves
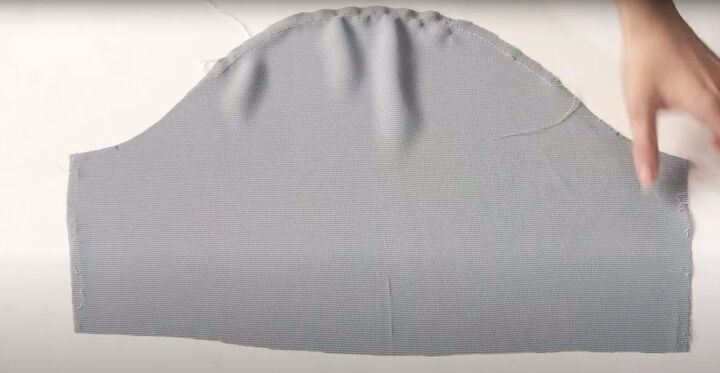
Sew a basting or gathering stitch on the top section of the sleeve head.
Join the sleeve seam, with the right sides together.

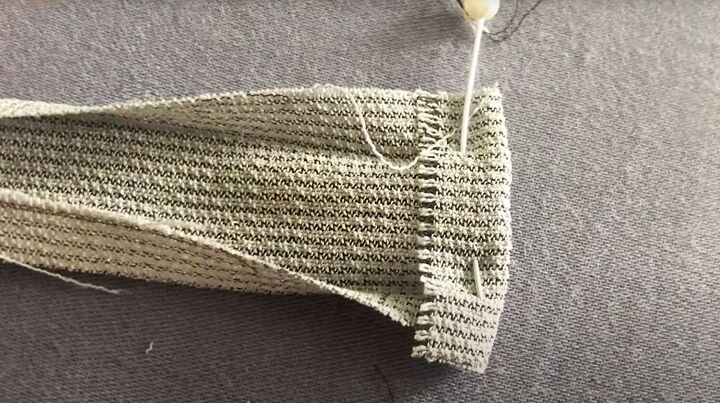
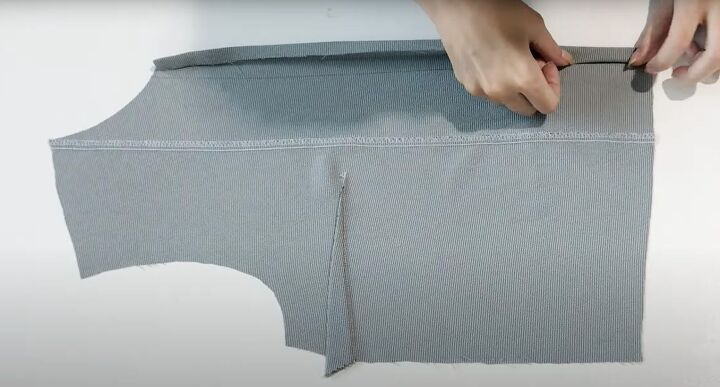
Mark half an inch (1.2 cm) and 2 inches (5 cm) from the lower edge, around the sleeve.
Make a double hem to the first mark and then fold it to the upper mark and pin in place.
Sew two rows of stitching around the sleeve, leaving a small opening to insert the elastic.
Cut the elastic to fit, plus a seam allowance. Use a safety pin to thread the elastic through the channel between the stitching lines. Join the ends and sew the gap closed.
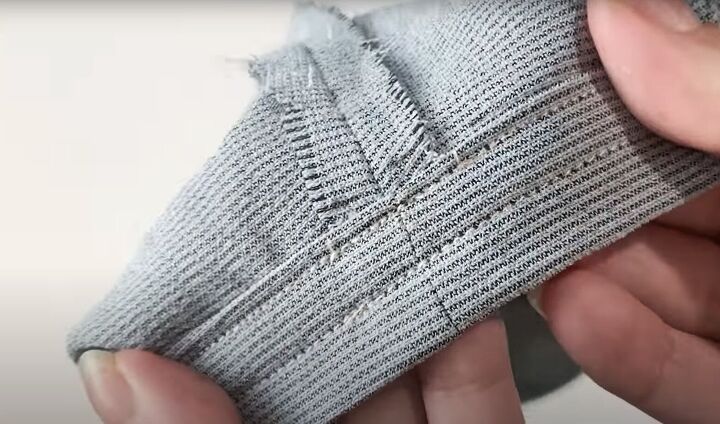
Zigzag stitch the sleeve seam allowance.
5. Front bodice
Sew the darts on the front bodice. Start sewing at the widest part with a back stitch.
When you reach the point of the dart don't backstitch, but secure the ends with a couple of knots.
Press both darts in the same direction.
Turn in a narrow hem on the raw edge of the button placket and fold it again to meet the inner edge of the placket. Sew in place.
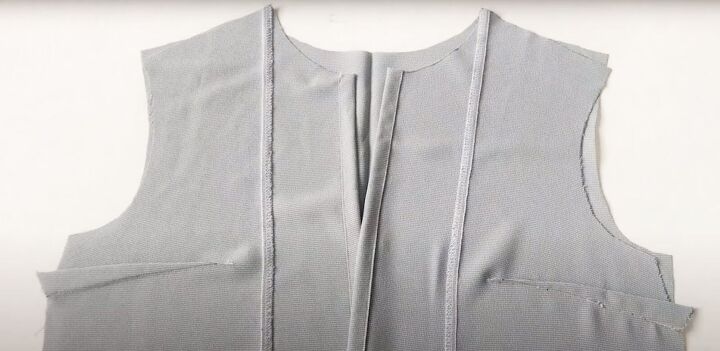
6. Assemble the top
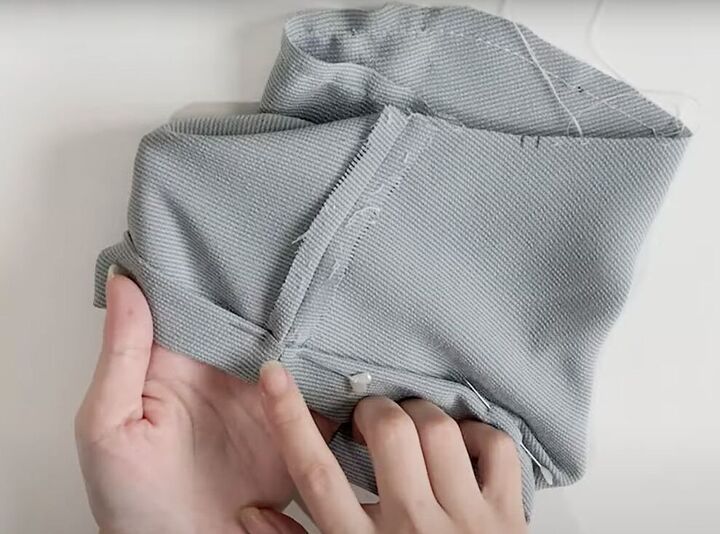
With the right sides facing, join the side and shoulder seams and zigzag stitch the seam allowances.
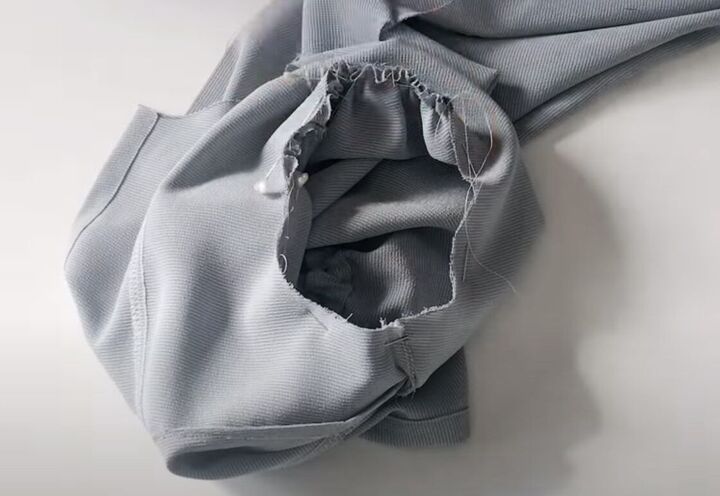
Pin the sleeves into the top with right sides facing, matching the bodice side seam with the sleeve seam.
Gather the top of the sleeve to fit, and sew in place.
7. Add the bias tape
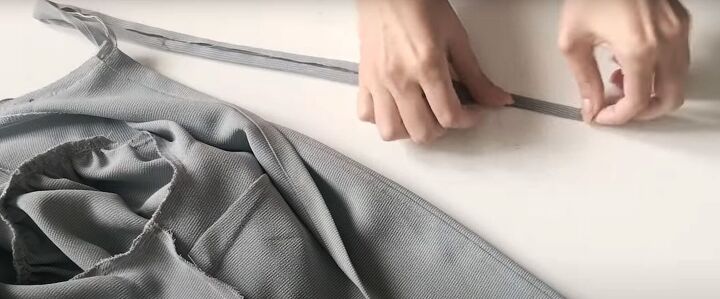
Align the center of the bias tape with the center back of the neckline. Pin and sew the tape around the neckline, with the right sides facing.
Fold the tape to the inside and sew it down along the length of the tape, starting from the beginning of the tie.
8. Make the hem
Zigzag stitch the lower edge and turn it up to make a narrow hem.
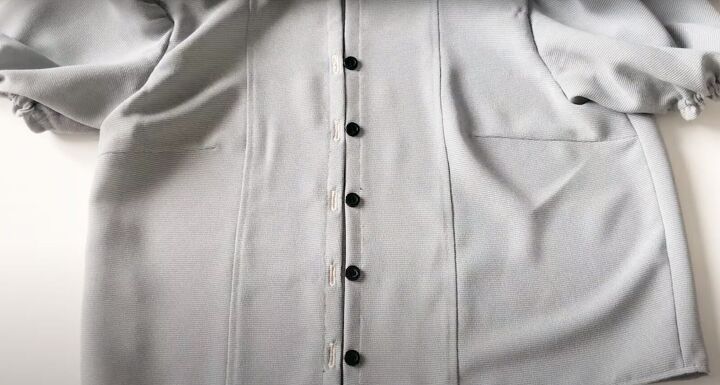
9. Buttonholes
Mark the position of the buttons and make the buttonholes to match.
Sew on the buttons.
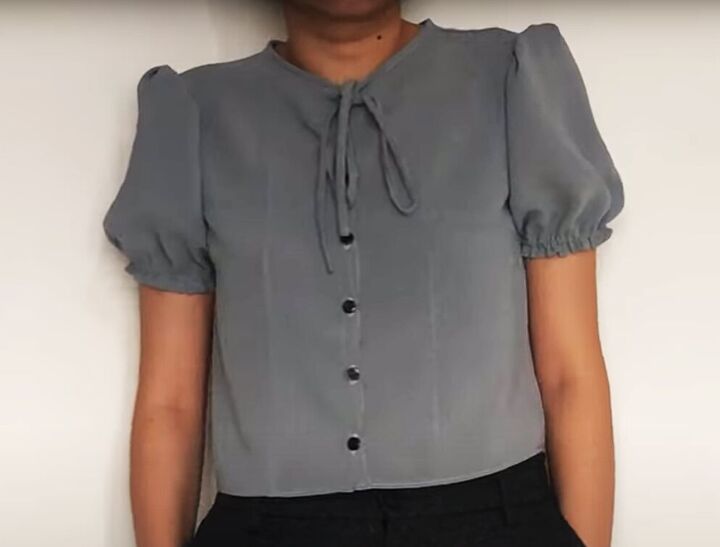
DIY puff short sleeve top
I really like this puff short sleeve top version of the Elliot blouse. It's more suitable for conservative occasions and the tie neck is super-cute and feminine.
The pattern modifications were minimal and very easy to make, so it's a great project for a beginner to take on.
I'd love to know in the comments what you think of these little hacks. Do you find them easy to follow?
Check out my post on How to Sew a 3/4 Circle Skirt From a Bed Sheet.
The author may collect a small share of sales from the links on this page.


Comments
Join the conversation