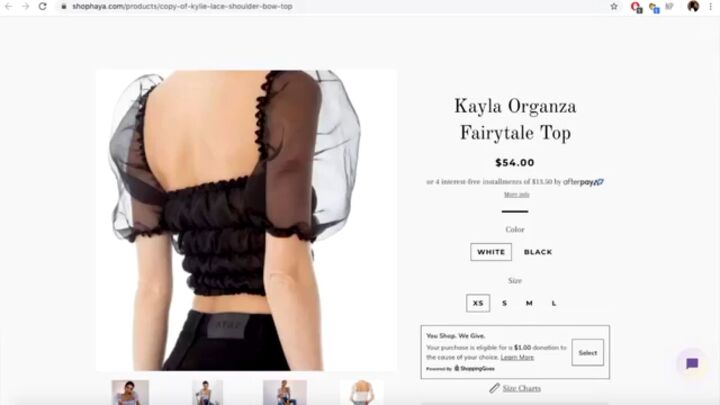
How to Make a DIY Puffy Sleeve Top With Cute Organza Sleeves

In this tutorial, we’ll be making a Pinterest-inspired puffy organza sleeve top. I think that this top looks really funky and on-trend, and I can't wait to wear it. Let's jump on in!
Tools and materials:
- Organza
- Black material
- Pen
- Paper
- Ruler
- Scissors
- Sewing machine
- Elastic
- Safety pin
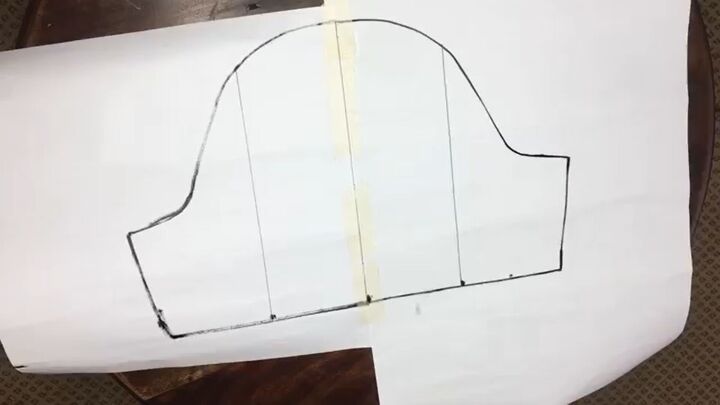
1. Draw a pattern
To create the puffy sleeves, trace out a pattern of a sleeve you know fits you well on a blank wide piece of paper. Then divide the sleeve up into four pieces and cut it up all the way through.
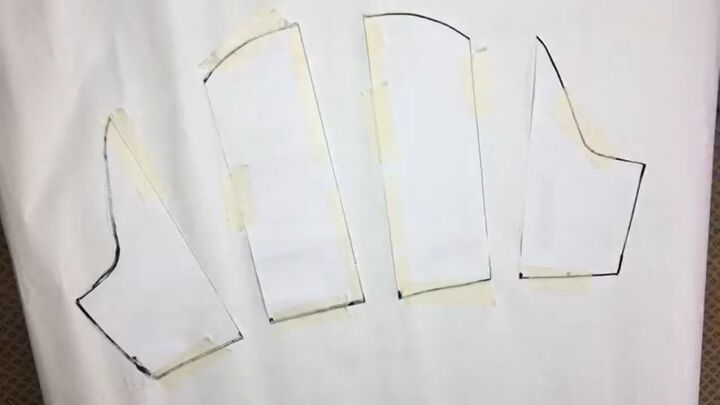
2. Spread and tape down
Now it’s time to tape down the pieces on another piece of paper. As you can see, the spaces on the top are larger than the ones on the bottom as we want the sleeves to have a bigger poof on top.
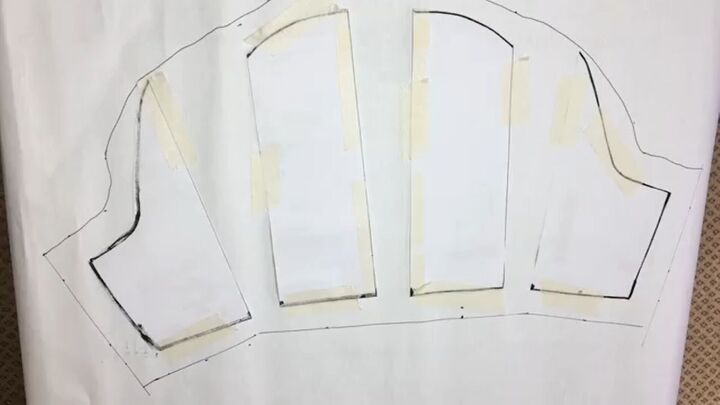
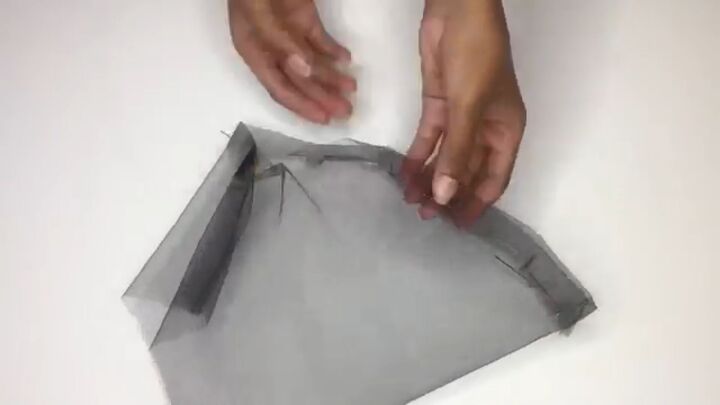
3. Cut out the template
Then take a ruler and measure 1cm (0.4 inches) for a seam allowance around the whole sleeve. Proceed to cut out along this outline.

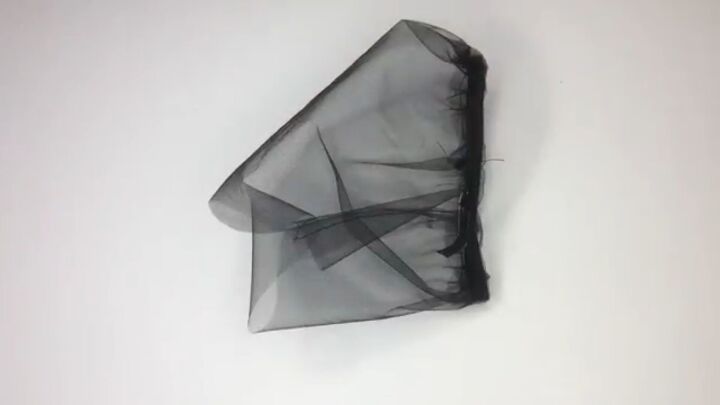
4. Cut out the material
Next, cut the shape out against the fabric.
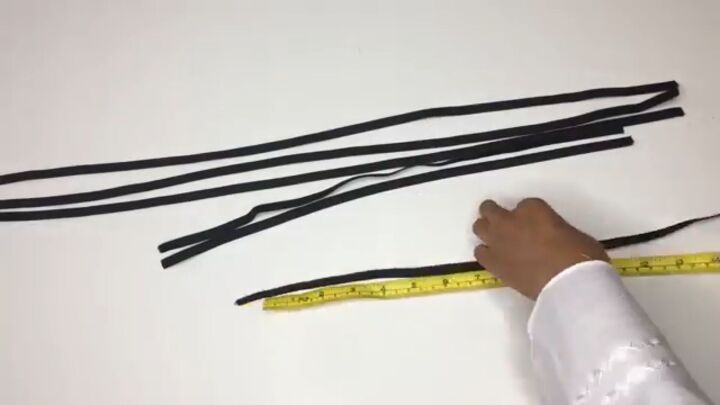
5. Cut out the elastic
The top is going to have a shirred effect, and we’re going to achieve that by attaching elastic to the material. I measured out the elastic against my body and subtracted 2cm (0.8 inches) to have a tight fit that won’t fall down.
For the top, I measured my bust. For the elastic for the sleeves, I measured from my armpits over my shoulders and then the width of my arm until my elbow.
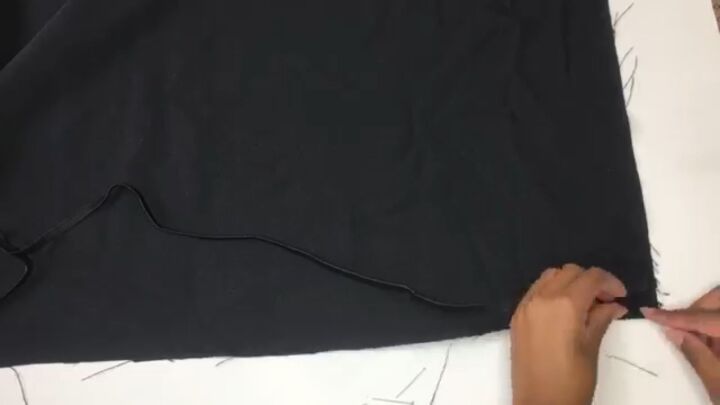
6. Cut out the material for the top
Now for the body of our top. Cut out a rectangle that is 1.5 times your bust measurement. Then take two pieces of elastic and pin them to either side of the rectangle. Then, you’re going to clean the sides of the material up with zigzag stitching so that it doesn’t fray.
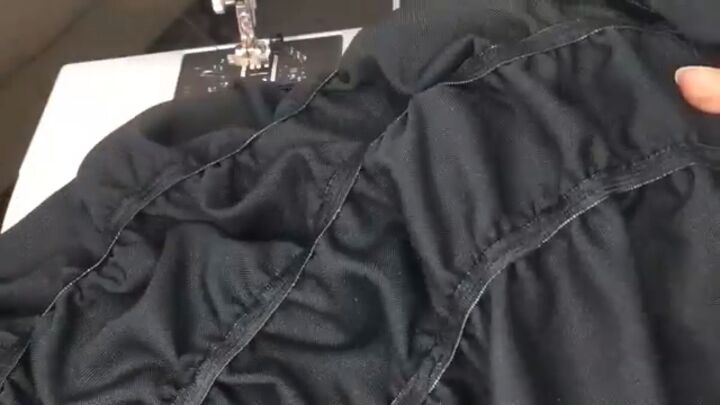
7. Attach the elastic to the top
To attach the elastic to the top, first zigzag stitch along the width of the elastic to secure it to the fabric. Then, attach it to the top by pulling it along the fabric as you zigzag stitch it so that the elastic appears to be the same length as the fabric.
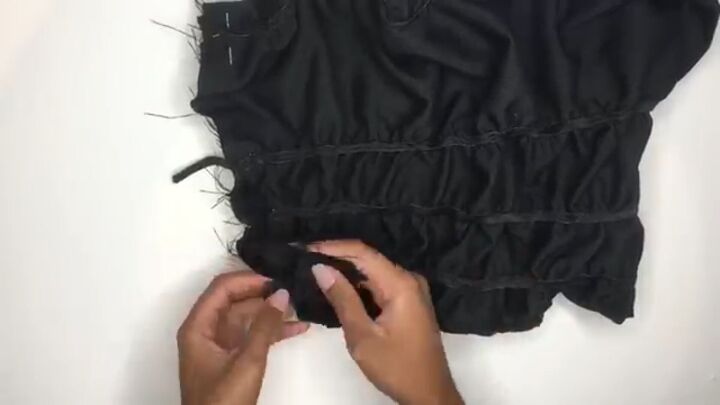
After that, repeat the same process for the remaining pieces of fabric. How much elastic you attach to the top and where you attach it is up to you; it will depend on how shirred you want the body to look.
8. Connect the top together
Now connect the two sides of the rectangle together by pinning them down, and then straight stitch along the edge. Tidy up the edges by doing a foldover stitch and then straight stitching along the end as close to the edge as possible.
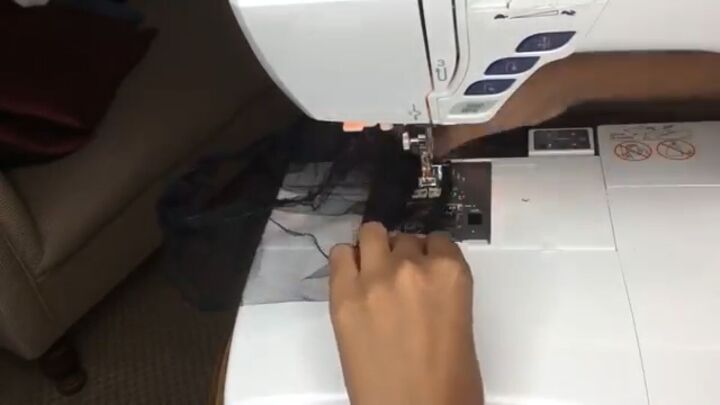
9. Create a casing on the sleeve
Now we’re going to straight stitch along the edge. Once done, we will create a casing for the elastic around the top part of the sleeve. I kind of just estimated this based on the width of my elastic.
Mine is roughly 1cm (0.4 inches) in width, and therefore the casing needed to be a little bit bigger than that. Then straight-stitch along the edge. Also, be sure to leave a 1cm (0.4-inch) gap to insert the elastic into the casing, i.e., don’t sew it all the way closed.
Try to make sure that the casing is even all the way around.
10. Insert the elastic
Once you’ve completed that, it’s time to put the elastic in the casing. I did this using the safety pin method. When done, repeat the same process at the bottom of the sleeves, creating the casing and inserting the elastic.
11. Join the elastic up
Attach the two ends of the elastic by going over them with a zigzag stitch. Do this with all the elastic ends. You also need to close the 1cm (0.4-inch) gap with a straight stitch. Repeat this process with the rest of your openings in the sleeves.
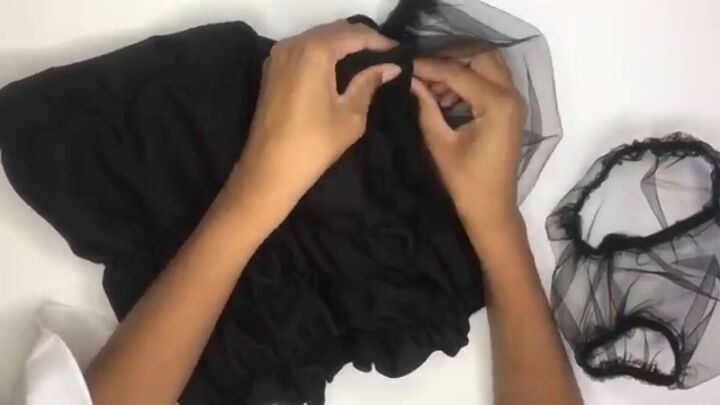
12. Attach the sleeves to the bodice
Match up the seam on the sleeves to the seam on the bodice and pin down. Once the two sleeves are attached, zigzag stitch along the pinned area to secure the sleeves on the bodice.

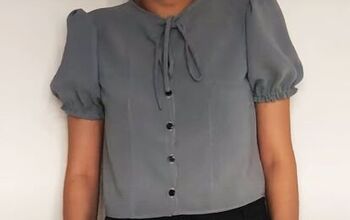
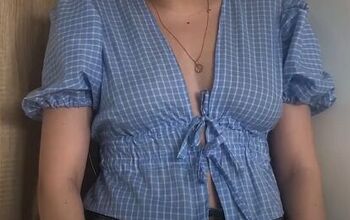
DIY puffy sleeve top tutorial
Here is the finished look! I think that it looks cool and trendy and I’m so excited to wear it! I love the puffy sleeves and the shired body, and I definitely give this DIY a 10/10.
The author may collect a small share of sales from the links on this page.


Comments
Join the conversation
Absolutely adorable! LOVE!
Very cute top! When you shop for materials, keep thinking "retails at $54.00" I doubt the fabric would cost that much, and think of the pride you'll have knowing you made it yourself.