How to Make an Adorable Tie Front Top With Puffy Sleeves

Today, I invite you to follow along with me as I sew the Elliot Tie-Front Top by Cool Stitches. I’m very excited to be using vintage fabric from my grandmother’s stash for this project. Keep reading if you’d like to see the process of creating this DIY tie front top.
Tools and materials:
- Pattern
- Cotton fabric
- Elastic band
- Pins
- Scissors
- Loop turner (optional)
- Sewing machine
- Serger
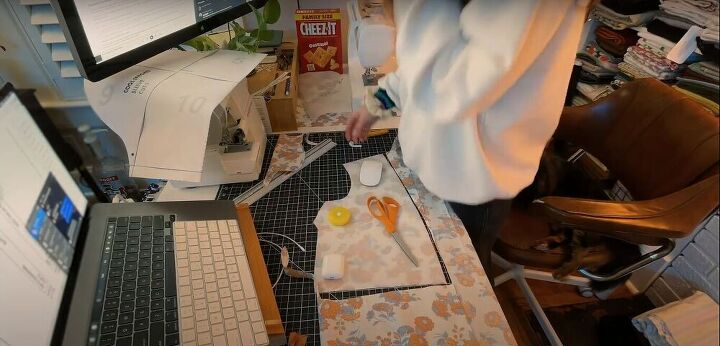
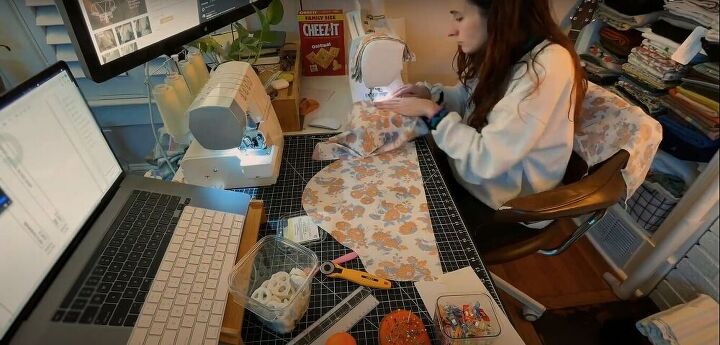
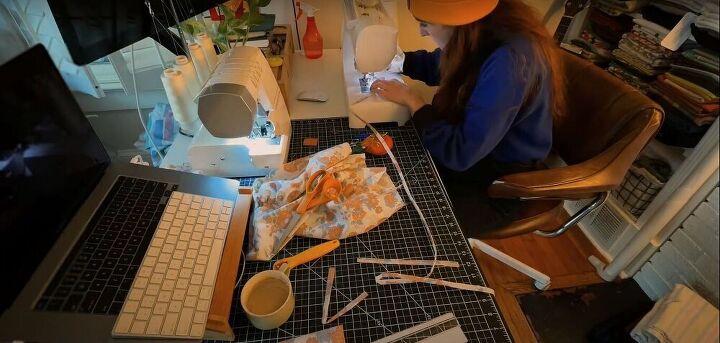
Cut
Cut out all the pattern pieces from your fabric.
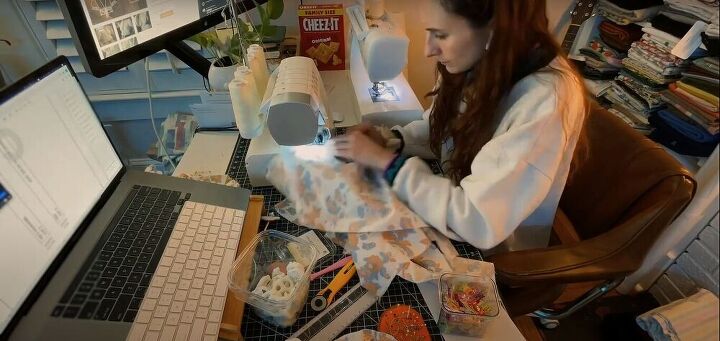
Mark, pin, and sew
Mark the darts on the front bodice pieces, pin them, and sew them down.
Serge
Serge the raw edges of the bodice.
Pin and sew
Pin and sew the shoulder seams.
Gather
Sew a basting stitch along the top edges of the sleeves, and then gather the fabric so the sleeves will be nice and puffy.
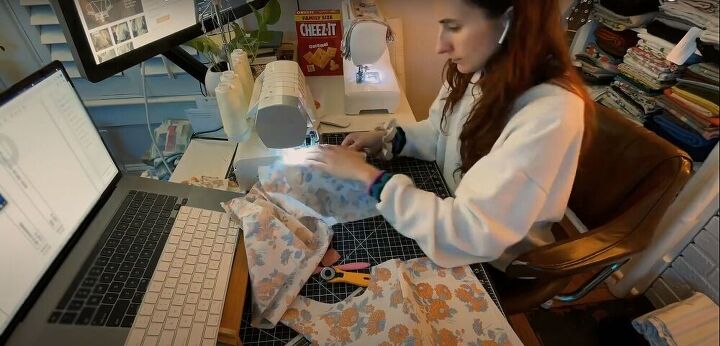
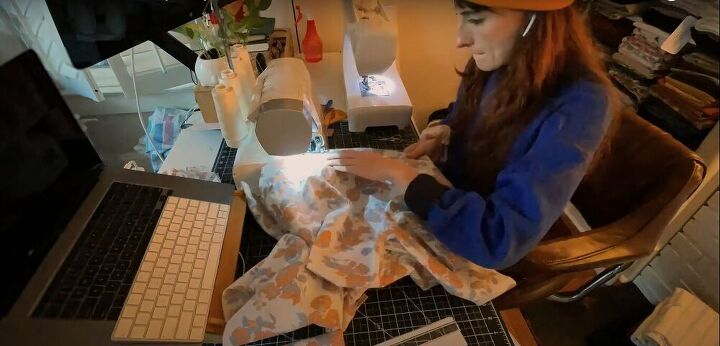
Pin and sew
Pin the sleeves to the bodice, and sew them in place. Once the sleeves were sewn on, I removed the basting stitches.
Serge
Serge the seam allowances around the sleeves.

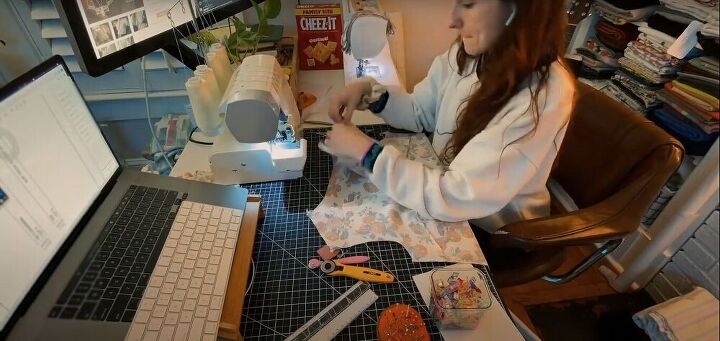
Pin, sew, and serge
Pin the seams along the sides and under the arms, and sew them down. Then serge the seam allowances.
Serge, iron, and sew
Serge the raw edge along the front opening, around the back of the neck, and down the other side of the opening. Then fold down the edge, iron it flat, and sew it down.

Try on, pin, and sew
Try on the shirt, and decide where you want the tie channels to be placed. Then pin the channels in place on the inside of the shirt. Fold in the raw edges at the ends of the channels before pinning.
I accidentally pinned them to the outside of the shirt and considered leaving them there, but I cherish this vintage fabric so much, I wanted the shirt to come out as perfectly as possible.
Once the channels are in place, sew them down.
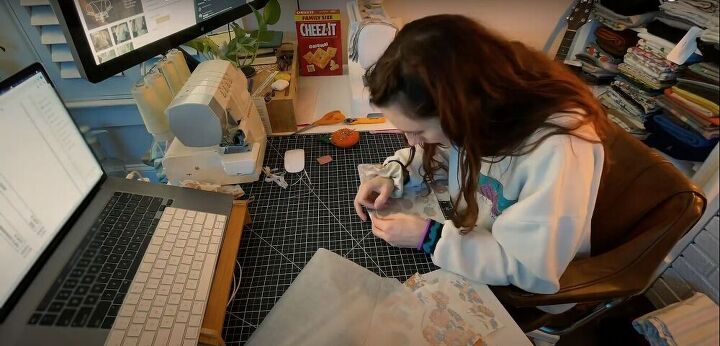
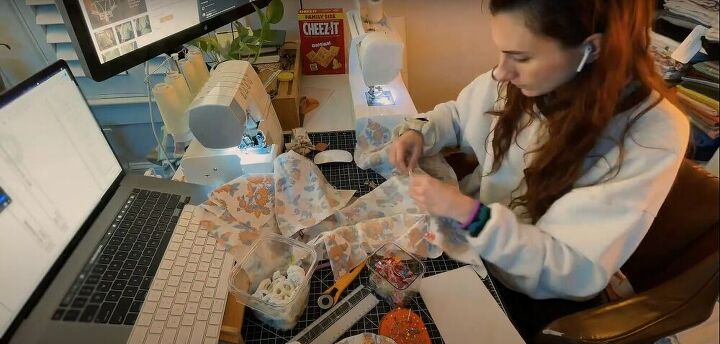
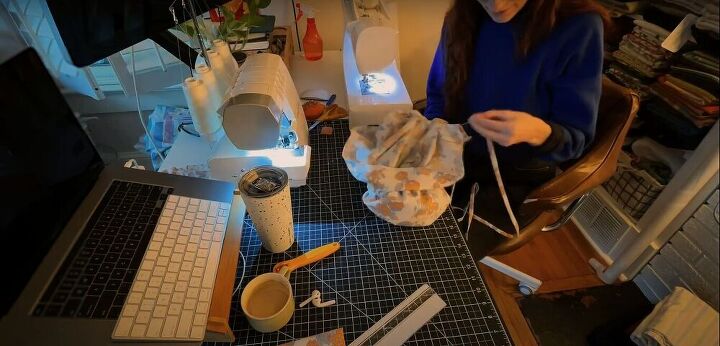
Prepare the ties
Next, sew the edges of the ties, right sides together. Then turn the ties right side out. I used a loop turner to turn the ties right side out, but you can also use a safety pin or long stick, like a knitting needle.
Once the fabric is right side out, finish the edges of the ties by tucking in the raw edges and sewing the ends closed.
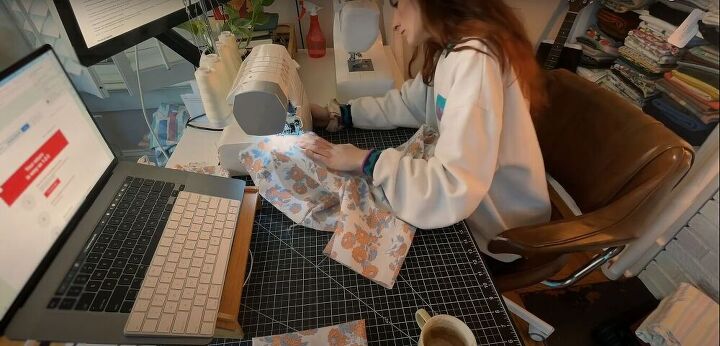
Serge and hem
Serge the bottom edge of the shirt, and then fold the edge inward and sew it down.
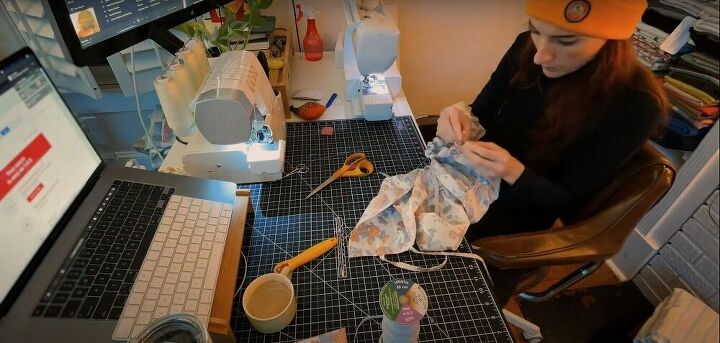
Insert the ties
Feed the ties through the tie channels. Again, I used a loop turner to do this, but you can also use a safety pin attached to one end of the tie to guide it through the channel and out the other side.

Finish the sleeves
Serge the raw edges of the sleeves. Then make a fold at the end of each sleeve wide enough to run an elastic through. Iron the fold and then sew it down, leaving a gap in the stitching through which you can insert the elastic.
Insert the elastic
Measure how much elastic you need to go around your arm so the elastic is snug, but not too tight, and cut two pieces of that length. Then feed each elastic into the gap in the stitching and through the channels at the ends of the sleeves. Sew the ends of the elastic together, and close up the gap in the stitching.

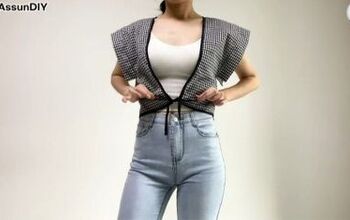
And here’s the big reveal!
I had a great time making this top. I really hope you guys go and check out the pattern at Cool Stitches and make a tie-front top for yourself. Let me know if you want to see more tutorials like this one.
The author may collect a small share of sales from the links on this page.


Comments
Join the conversation
Adorable top! I saw your trouser tutorial and liked it. Please make a skirt tutorial next!
Your very professional…I love the feminine top…I wish I had patience to sew from scratch like you..keep enjoying your abilities..